VASNER VASNER
4 5
• Heatersmustnotbewithinreachnoraccessibletochildrenorpeoplewho
are incapacitated. They must always be supervised when near heaters. The
same applies to pets.
• Boththefrontandtheheaterhousingwillbecomeveryhotduringopera-
tion. Never directly touch the heater during operation, and allow it to cool
down before touching it. Disregarding this safety information may result in
burns and injuries.
• Nevertouchtheplugwithwethandsandensurethatthesocketisclean
and free of dust.
• Alwaysholdtheplugwhenpluggingtheheaterinorout.Neverpullonthe
cable.
• Whencleaning,repositioning,maintainingorinstallingtheheater,turno
the heater completely and always unplug it from the socket.
• Neverinsertanyobjectsoryourngersintooneoftheheateropenings.
• Neveroperatetheheaternearammableliquidsorotherammableand
highly combustible materials such as paints, lacquers, petrol, gas pipes, gas
tanks or spray cans, for example.
• Checkthepowercableandplugregularlytoensuretheyareingood
condition.
• Lookforanypossibledamagetotheheater.Thisisparticularlyimportantif
the heater has fallen down or has been damaged in any other way. If you
notice any faults or damage to the housing, bars, cables or plug, switch the
heater o immediately and disconnect it from the power supply. There is a
serious risk of injury, re and other damage.
• Donotleavetheheaterunattendedwhenitisswitchedon.Ensurethatthe
heater cannot be switched on by automatic timers and similar devices if it is
unattended.
• Onlyusetheheaterforitsintendedpurpose,asdescribedinthisuser
manual. Deviating from this user manual may result in damage or injuries
to people, animals and objects. This automatically results in the warranty
being voided, and dealers, manufactures and/or importers shall not assume
any liability.
Description and accessories
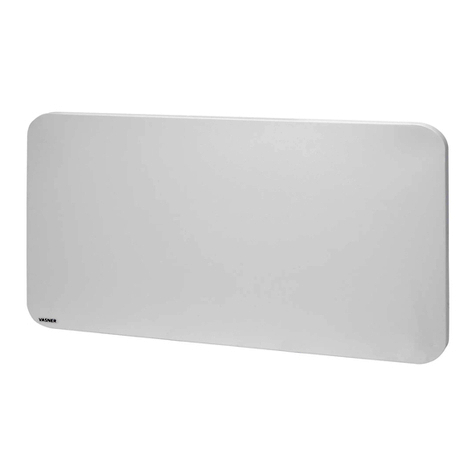
The Appino 20 is the latest infrared heater that features Bluetooth and app
control, and can be installed in a variety of ways.
The Appino 20 scope of delivery includes the following
components:
Appino 20 infrared heater with plug:
1. Hanging bracket on the heater to t various
installation brackets (rear)
2. Bluetooth antenna (rear)
3. On and o switch (side)
4. Reset button (side)
5. Holes for optional chain bracket (rear)
6. Bluetooth status LED (blue) (front)
7. “On”operating display, blue LED (front)
Accessories:
8. 3 dierent metal installation brackets
9. 3 screws with metal dowels
for wall installation
10. 2 wing screws and nuts
11. Allen key for positioning the
main screw for the installation brackets
12. Remote control (batteries not included)
13. 1 user manual
Installation
1. Remove the heater from its packaging and remove any packaging
materials from the heater and accessories. It is particularly important to
remove the two foam strips that protect the bars during transport. Carefully
pull these strips away from the heater in the direction of the arrow.
If you have tested the heater function before installing it, allow it to cool
before installing it.
1.
2.
3.
4.
5.
6./7.
