manuals.online logo
Brands
  1. Home
  2. •
  3. Brands
  4. •
  5. Vaxcel
  6. •
  7. Outdoor Light
  8. •
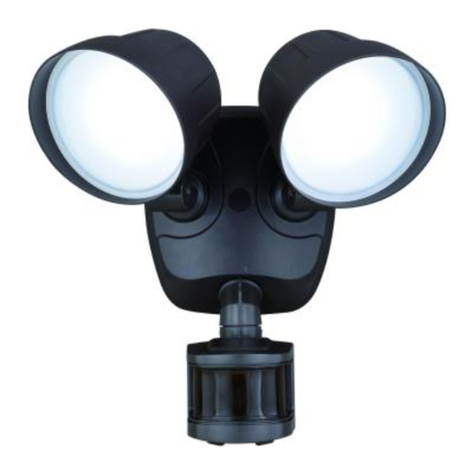
  9. Vaxcel T0616 Instruction manual

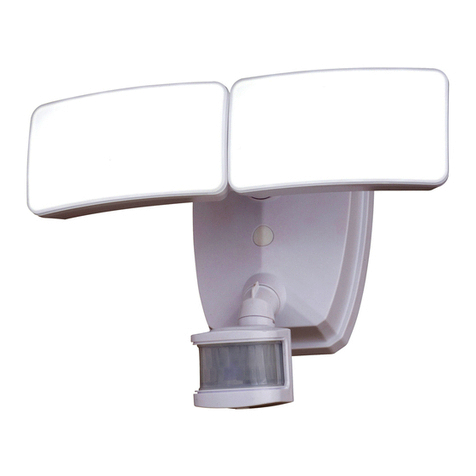
Vaxcel T0616 Instruction manual

Page 1 / 3
220126
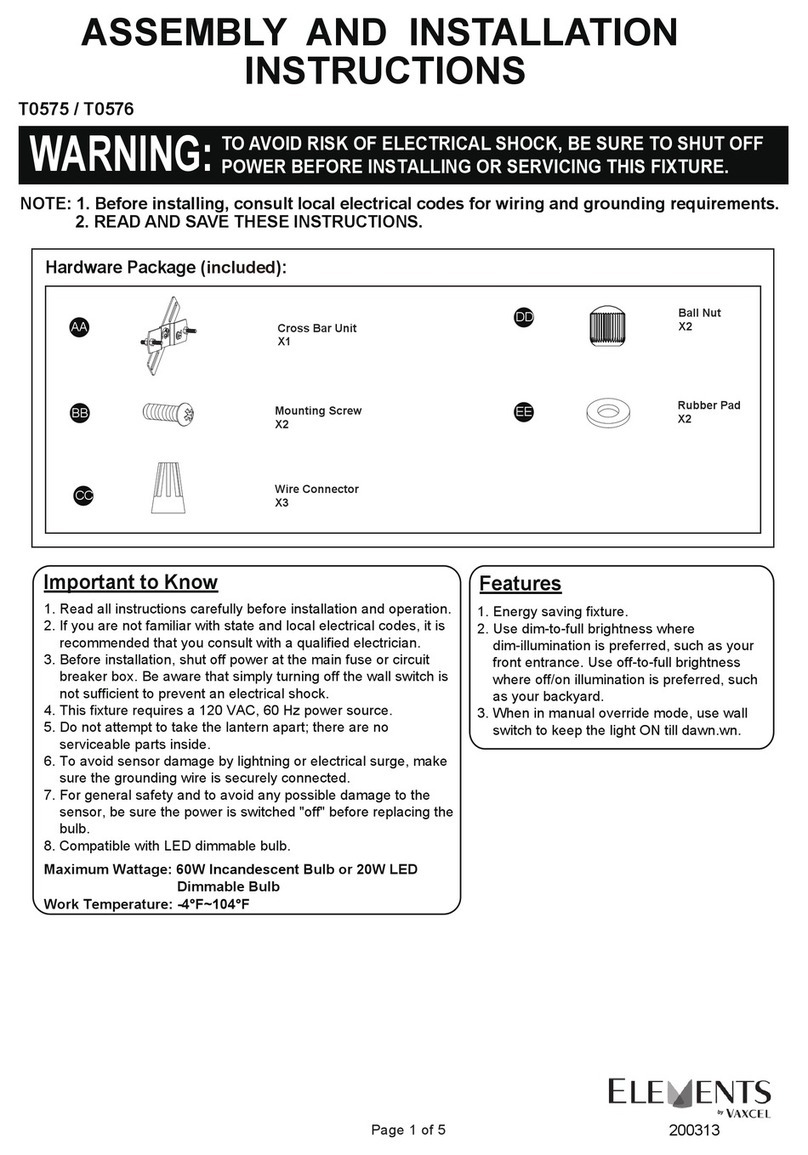
Important to Know:
1. If you are not familiar with state and local electrical
codes, it is recommended that you consult with a
qualified electrician.
2. This fixture requires a 120 VAC, 60 Hz power
source.
3. For general safety and to avoid any possible
damage to the sensor, be sure the power is
switched "off" before adjustment.
Maximum Wattage: 24 W
Working Temperature Range: -13°F ~ 113°F
ASSEMBLY AND INSTALLATION
INSTRUCTIONS
NOTES: 1. Before installing, consult local electrical codes for wiring and grounding requirements.
2. READ AND SAVE THESE INSTRUCTIONS.
T0616 / T0617
Features:
WARNING:
TO AVOID RISK OF ELECTRICAL SHOCK, BE SURE TO SHUT OFF
POWER BEFORE INSTALLING OR SERVICING THIS FIXTURE.
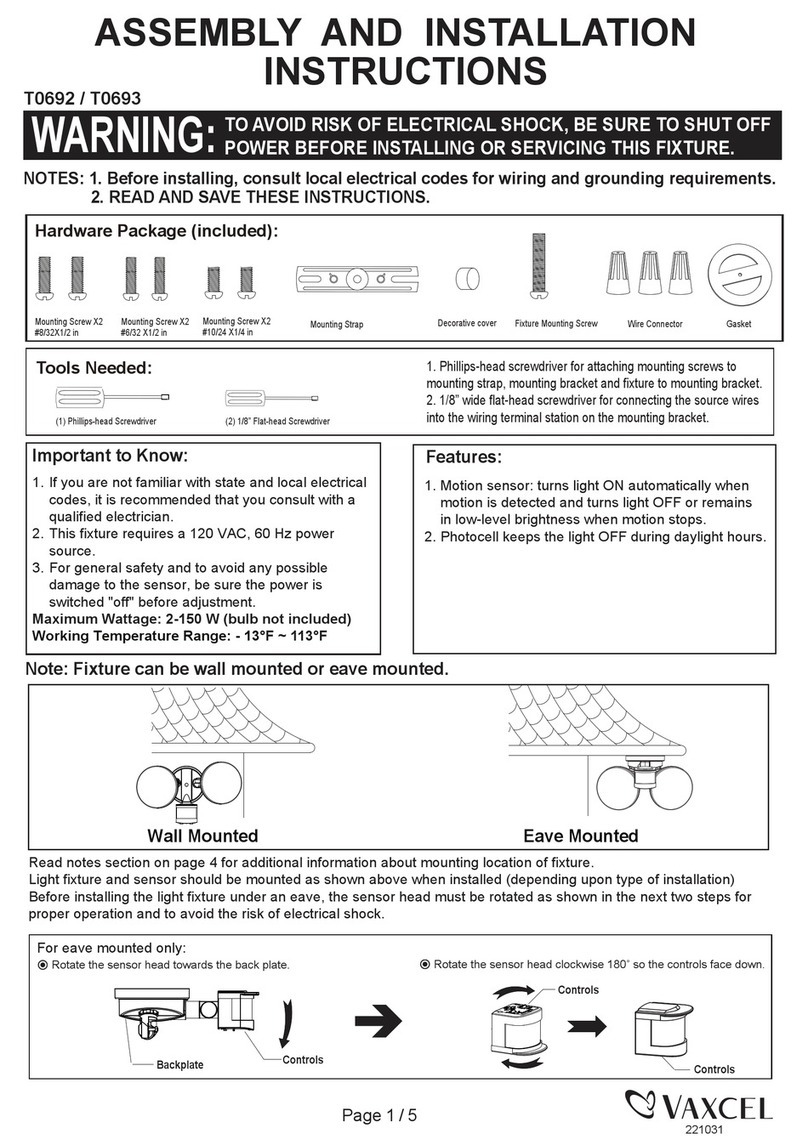
Note: Fixture can be wall mounted or eave mounted.
Wall Mounted Eave Mounted
1. Energy saving LED fixture.
2.
4.
Sensor
Backplate Light Fixture
Fixture Mounting Screw
Decorative cover
Tools Needed:
1. Phillips-head screwdriver for attaching mounting screws to
mounting strap, mounting bracket and fixture to mounting bracket.
2. 1/8” wide flat-head screwdriver for connecting the source wires
into the wiring terminal station on the mounting bracket.
(1) Philip-head Screwdriver (2) 1/8" wide Flat-head Screwdriver
Photocell automatically keeps the light OFF during
daylight hours and automatically turns the light ON
during evening hours.
The light will DIM to low level brightness
automatically after 6 hours of evening illumination
The wall switch that the light is connected to can be
used to manually override and change functionality
and settings of certain modes.
Mounting
Strap
Outlet Box
Mounting Screw
Mounting Bracket
FRONT
Terminal
Station
L GND N
Mounting Bracket
Hole
Mounting Screw
Fixture Mounting
Screw Hole
3.
Hardware Package (included):
Mounting Screw X2
#8/32X1/2 in
Fixture Mounting Screw
Mounting Strap
Mounting Screw X2
#6/32 X1/2 in
Mounting Screw X2
#10/24 X1/4 in
Decorative cover
Page 2 / 3
Illumination & CCT:
At dask, the light turns to high-level brightness (100%) atCCT 5000K, and stays "ON" for 6 hours, then after 6
hours, it turns to low-level brightness (30%) atCCT 5000K.
* When in "Low Level" mode, turn the wall switch "OFF" then "ON"
twice within 3 seconds, the light will then remain on at full
brightness (5000K) all night long.
*To shift back to "Low Level" mode, turn the wall switch "OFF" then
turn it "ON" twice within 3 seconds again.
*The will automatically light turn off at dawn.
LOW LEVEL Manual
Override
Manual Override Operation Diagram
Turn wall switch OFF-ON-OFF-ON
in 0.5~3 Seconds
Turn wall switch OFF-ON-OFF-ON
in 0.5~3 Seconds
Fig.5
Installation Steps
Turn off the power at fuse or circuit box.
Turn on the power at the main fuse or circuit breaker box.
Adjusting the Light Head:
Fig.4
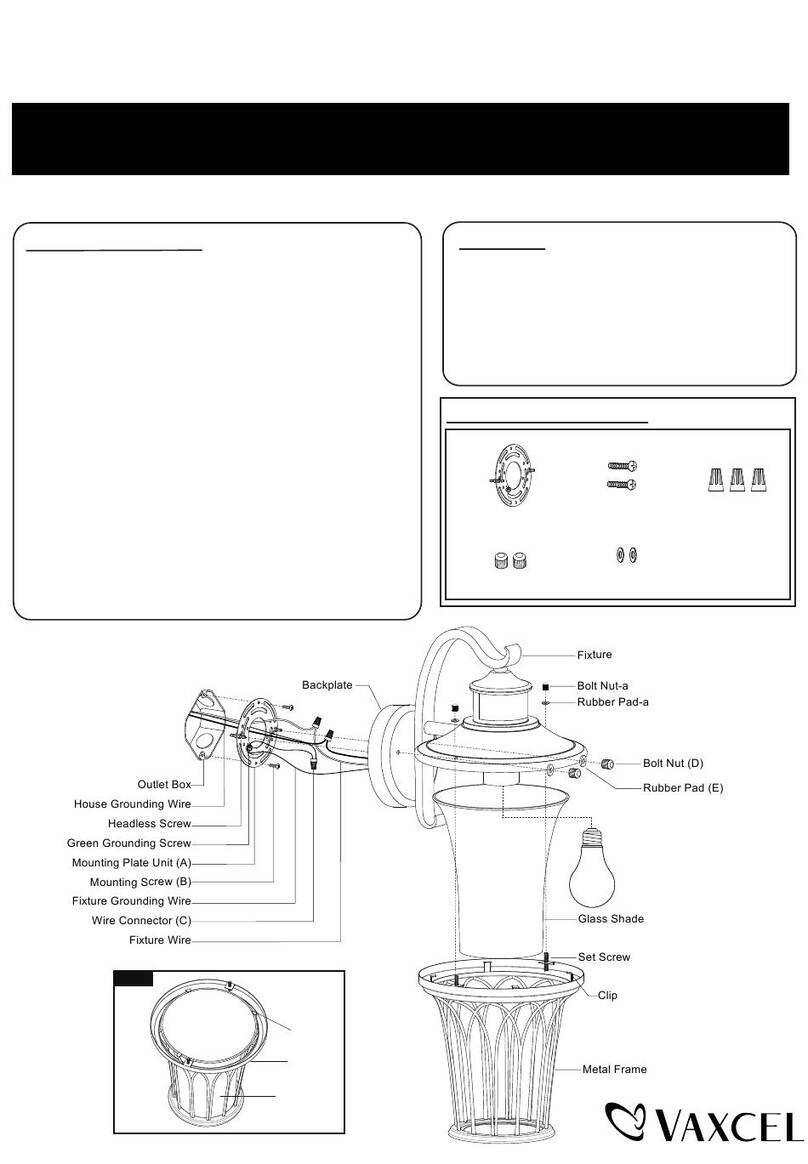
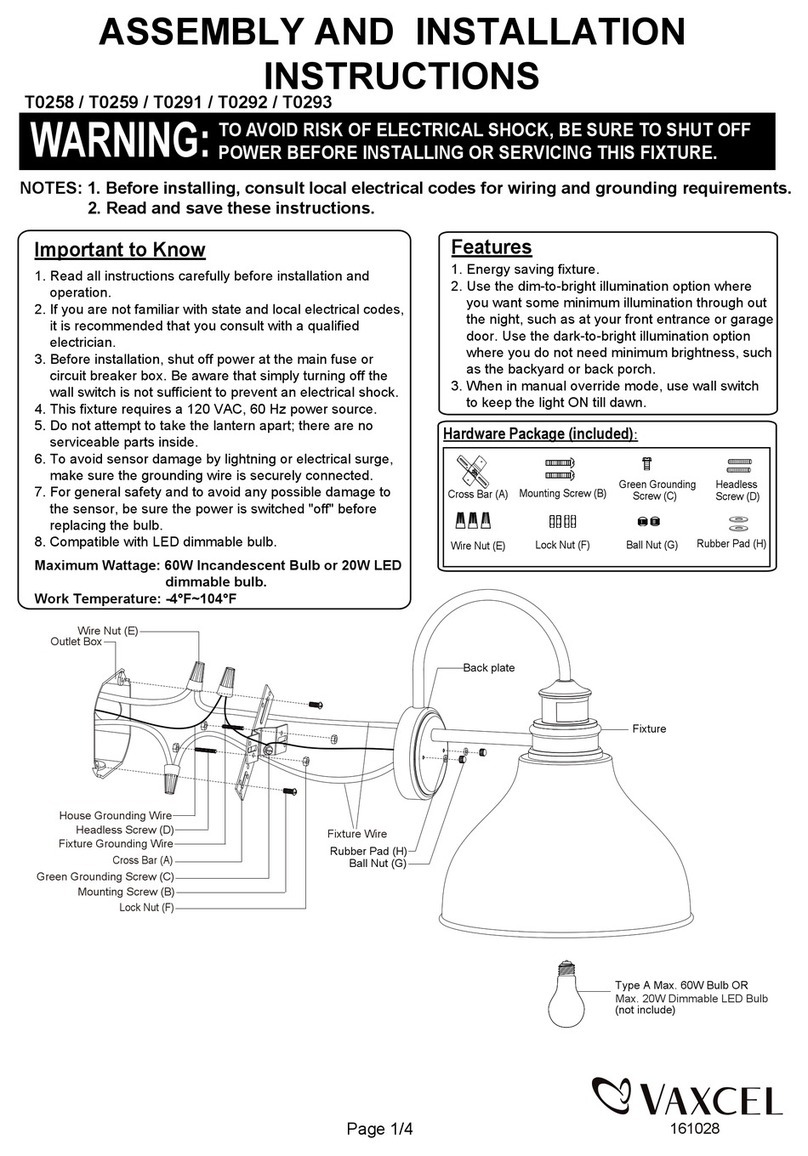
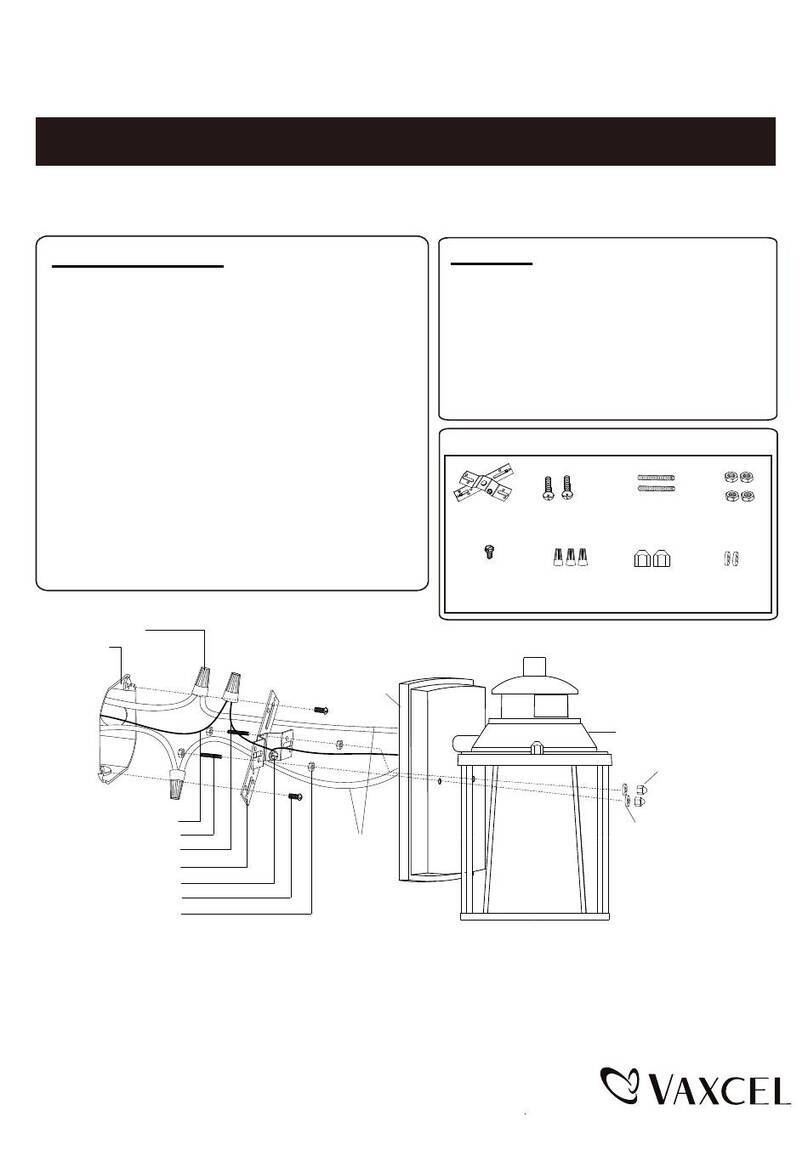
1. The fixture mounting bracket is pre-assembled on the light fixture. Unscrew both the decorative cover and the fixture
mounting screw in order to remove the mounting bracket.
2. Install the mounting strap to the outlet box with the stamped word “FRONT” facing away from the outlet box, using two
mounting screws that best fit the outlet box. Mounting bracket should sit flush against wall surface when secured.
(Choose one matching pair of suitable mounting screws from the 3 pairs provided).
3. Pull out the source wires from the outlet box. Using a 1/8” flat-head screwdriver connect the black wire from the outlet
box to the "L" interface of the terminal station on the mounting bracket. Connect the white wire from the outlet box to
the "N" interface of the terminal station on the mounting bracket. Connect the Ground wire from outlet box to "GND"
interface of the terminal station on the mounting bracket. Carefully tuck the wires back into the outlet box.
4. Place mounting bracket against the outlet box, insert the mounting bracket screw through the mounting bracket hole,
thread mounting bracket screw into the center hole of the mounting strap. Tighten the mounting bracket screw securely.
5. Attach the backplate of the light fixture to the mounting fixture mounting screw. Then push the decorative cover firmly
into the fixture mounting screw hole on the light fixture. Tighten the fixture mounting screw securely.
6. With silicone caulking compound, caulk completely around where the back plate meets the wall surface.
CAUTION: Be sure to caulk completely where the back plate meets the wall surface to prevent water from
seeping into the outlet box.
220126
Manual Override (nighttime operation only):
Adjustable Joint
Both lamp heads can be adjusted to point towards
your desired light coverage area by turning and
bending the Adjustable Joint.
Keep the light heads at least 1˝ (25mm) away from
the sensor.(See Fig. 4)
1.
.Keep the light heads 30˚ below horizontal to avoid
water damage and electrical shock.
2.
Page 3 / 3
220126
Fig. 2
Mounting Screw X2
#8/32X1/2 in
Fixture Mounting Screw
Mounting Strap
Mounting Screw X2
#6/32 X1/2 in
Mounting Screw X2
#10/24 X1/4 in
Decorative cover
Assembly Kit
6460MM (1 SET) for T0616
6461MM (1 SET) for T0617
The following parts are available for re-order if damaged or missing. Call our toll free at 1-800-887-6326.
---The light comes on for no apparent reason
Reposition the light heads away from the motion sensor.
Troubleshooting
---The light does not come on at all:
1. Make sure the wall switch and circuit breaker are on.
2. Make sure the wiring is correct.
3. Cover the sensor with dark color cloth to verify that the ambient light level is not too high.
A: 5-1/4"
B:10"
C: 5-1/2"
5-YEAR LIMITED WARRANTY:
All products are warranted to be free of defects in material and workmanship for five (5) years from date of purchase.
This warranty is limited to the correction of any such defect, or the replacement of any such defective item(s), provided
that: (a) we are properly notified and consent to return of the item(s) in question:(b) the item(s) is / are returned with proof
of purchase date; and (c) it is found upon inspection by us that the item(s) is / are defective as noted above. This warranty
does not cover labor costs, consequential damages, nor does it apply to any item(s) that have been improperly installed,
overloaded, altered, or otherwise abused by the customer, its agent(s) or employee(s). Finishes are specially excluded
from the terms of this warranty since they are subject to environmental maintenance deemed beyond our control. Other
than the described obligation, we assume no further liability with respect to the sale or use of our products.We make no
warranty, express or implied, and disclaim any warranty of merchantability or fitness for a particular purpose.
C
A
B
---The light flashes on and off:
Do not use a dimmer or timer to control the light fixture. Replace the dimmer or timer with a standard on/off wall

This manual suits for next models

1

Other Vaxcel Outdoor Light manuals

Vaxcel T0698 Instruction manual

Vaxcel

Vaxcel T0698 Instruction manual

Vaxcel T0130 Instruction manual

Vaxcel

Vaxcel T0130 Instruction manual

Vaxcel T0181 Instruction manual

Vaxcel

Vaxcel T0181 Instruction manual

Vaxcel T0694 Instruction manual

Vaxcel

Vaxcel T0694 Instruction manual

Vaxcel T0246 Instruction manual

Vaxcel

Vaxcel T0246 Instruction manual

Vaxcel T0297 Instruction manual

Vaxcel

Vaxcel T0297 Instruction manual

Vaxcel T0241 Instruction manual

Vaxcel

Vaxcel T0241 Instruction manual

Vaxcel T0103 Instruction manual

Vaxcel

Vaxcel T0103 Instruction manual

Vaxcel T0717 Instruction manual

Vaxcel

Vaxcel T0717 Instruction manual

Vaxcel T0542 Instruction manual

Vaxcel

Vaxcel T0542 Instruction manual
Vaxcel T0647 Instruction manual

Vaxcel

Vaxcel T0647 Instruction manual

Vaxcel T0696 Instruction manual

Vaxcel

Vaxcel T0696 Instruction manual

Vaxcel T0362 Instruction manual

Vaxcel

Vaxcel T0362 Instruction manual

Vaxcel T0389 Instruction manual

Vaxcel

Vaxcel T0389 Instruction manual

Vaxcel T0694 Instruction manual

Vaxcel

Vaxcel T0694 Instruction manual

Vaxcel T0274 Instruction manual

Vaxcel

Vaxcel T0274 Instruction manual

Vaxcel T0112 User manual

Vaxcel

Vaxcel T0112 User manual

Vaxcel T0594 Instruction manual

Vaxcel

Vaxcel T0594 Instruction manual
Vaxcel T0371 Instruction manual

Vaxcel

Vaxcel T0371 Instruction manual

Vaxcel T0414 Instruction manual

Vaxcel

Vaxcel T0414 Instruction manual

Vaxcel T0364 Instruction manual

Vaxcel

Vaxcel T0364 Instruction manual

Vaxcel T0692 Instruction manual

Vaxcel

Vaxcel T0692 Instruction manual
Vaxcel T0468 Instruction manual

Vaxcel

Vaxcel T0468 Instruction manual

Vaxcel T0449 Instruction manual

Vaxcel

Vaxcel T0449 Instruction manual

Popular Outdoor Light manuals by other brands

Knightsbridge SPIKE4BL Installation & maintenance manual

Knightsbridge

Knightsbridge SPIKE4BL Installation & maintenance manual

LIGMAN LIGHTALK 8 installation manual

LIGMAN

LIGMAN LIGHTALK 8 installation manual

GE 19200LO manual

GE

GE 19200LO manual

LIGMAN ZE-50029-30 installation manual

LIGMAN

LIGMAN ZE-50029-30 installation manual

JONATHAN Y JYL3048 quick start guide

JONATHAN Y

JONATHAN Y JYL3048 quick start guide

Davey Lighting Original BTC 0750 instruction manual

Davey Lighting

Davey Lighting Original BTC 0750 instruction manual

LUCIDE COMBO-LED 27874/25/30 quick start guide

LUCIDE

LUCIDE COMBO-LED 27874/25/30 quick start guide

Paradise Datacom GL33210 instructions

Paradise Datacom

Paradise Datacom GL33210 instructions

DW Windsor Kirium Pro Series installation instructions

DW Windsor

DW Windsor Kirium Pro Series installation instructions

LUG URBANO LED Installation instruction

LUG

LUG URBANO LED Installation instruction

RH NATURAL ANTLER quick start guide

RH

RH NATURAL ANTLER quick start guide

Prilux Ircana LED instruction manual

Prilux

Prilux Ircana LED instruction manual

SLV SQUARE 1000344 instruction manual

SLV

SLV SQUARE 1000344 instruction manual

Beacon RWL1 installation instructions

Beacon

Beacon RWL1 installation instructions

Qazqa New York WL Dark Grey instruction manual

Qazqa

Qazqa New York WL Dark Grey instruction manual

hudson valley L1040 Installation instruction

hudson valley

hudson valley L1040 Installation instruction

SLV TINY SUN 1007363 instruction manual

SLV

SLV TINY SUN 1007363 instruction manual

Kogan SMARTERHOME RGB user guide

Kogan

Kogan SMARTERHOME RGB user guide

manuals.online logo
manuals.online logoBrands
  • About & Mission
  • Contact us
  • Privacy Policy
  • Terms and Conditions

Copyright 2025 Manuals.Online. All Rights Reserved.