manuals.online logo
Brands
  1. Home
  2. •
  3. Brands
  4. •
  5. VEE GEE
  6. •
  7. Measuring Instrument
  8. •
  9. VEE GEE CTX-1 User manual

VEE GEE CTX-1 User manual

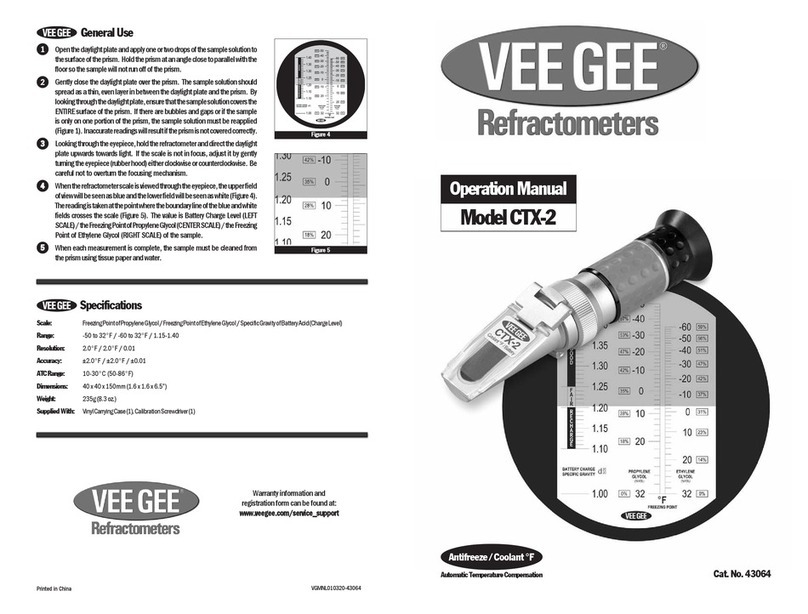
Scale: FreezingPointofPropyleneGlycol/FreezingPointofEthyleneGlycol/SpecificGravityofBatteryAcid(ChargeLevel)
Range: -50 to 0°C / -50 to 0°C / 1.15-1.40
Resolution: 1.0°C / 1.0°C / 0.01
Accuracy: ±1.0°C / ±1.0°C / ±0.01
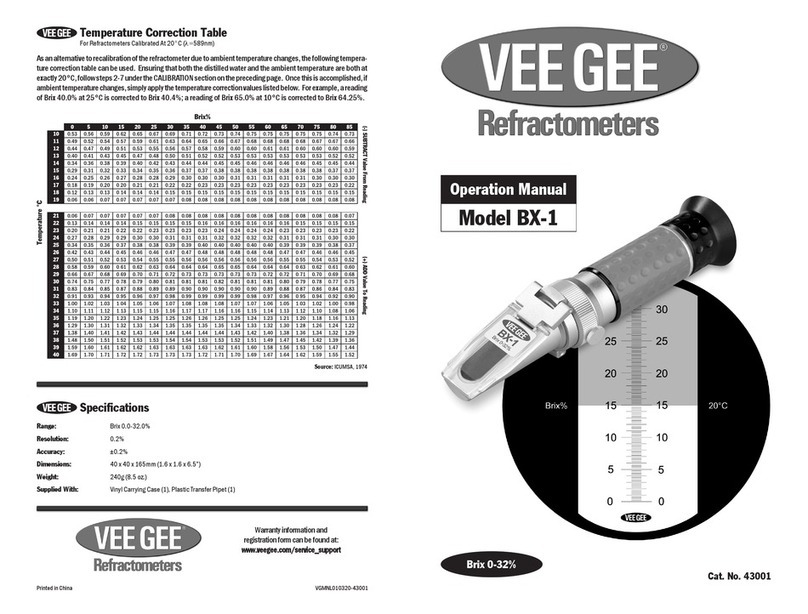
ATC Range: 10-30°C (50-86°F)
Dimensions: 40 x 40 x 150mm (1.6 x 1.6 x 6.5”)
Weight: 235g (8.3 oz.)
Supplied With: VinylCarryingCase(1),CalibrationScrewdriver(1)
Printed in China VGMNL010320-43062
Operation Manual
Model CTX-1
Antifreeze / Coolant °C
Specifications
Cat. No. 43062
Automatic Temperature Compensation
Figure 4
Figure 3
1
2
55
55
5
44
44
4
33
33
3
General Use
Open the daylight plate and apply one or two drops of the sample solution to
the surface of the prism. Hold the prism at an angle close to parallel with the
floor so the sample will not run off of the prism.
Gently close the daylight plate over the prism. The sample solution should
spread as a thin, even layer in between the daylight plate and the prism. By
lookingthrough thedaylight plate,ensure thatthe samplesolution coversthe
ENTIRE surface of the prism. If there are bubbles and gaps or if the sample
is only on one portion of the prism, the sample solution must be reapplied
(Figure 1). Inaccuratereadings will result if the prism is not covered correctly.
Looking through the eyepiece, hold the refractometer and direct the daylight
plate upwards towards light. If the scale is not in focus, adjust it by gently
turning the eyepiece (rubber hood) either clockwise or counterclockwise. Be
careful not to overturn the focusing mechanism.
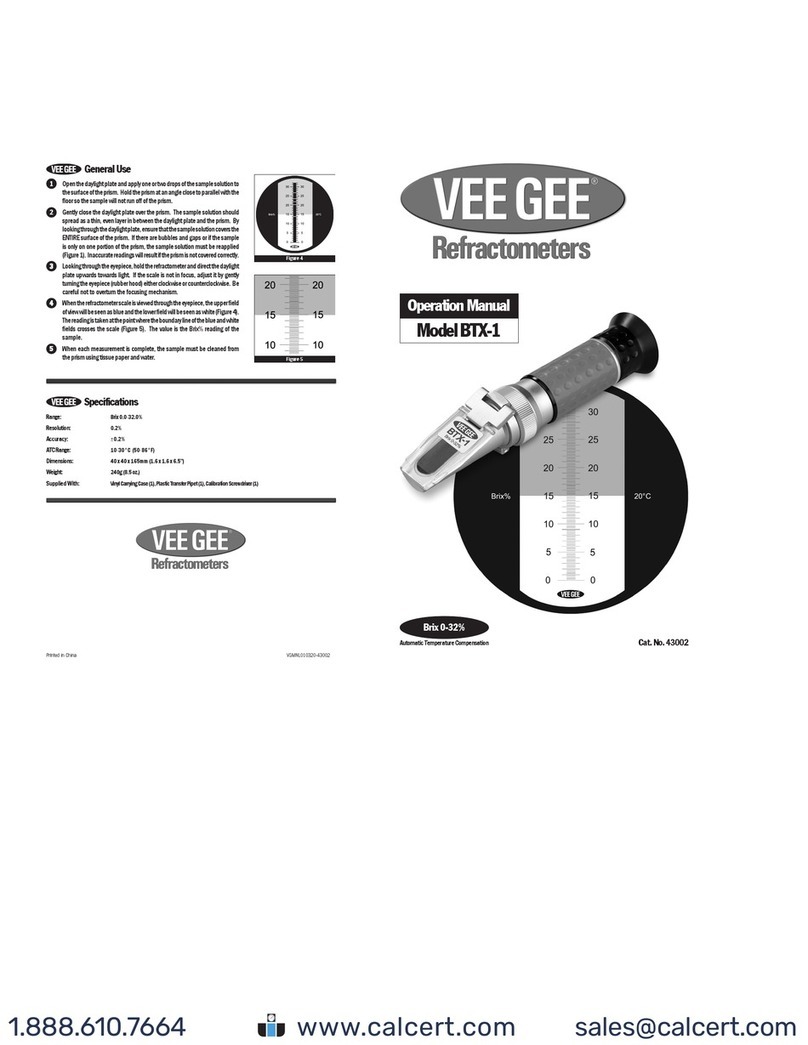
When the refractometer scale is viewed through the eyepiece, the upper field
ofview will be seen asblue and the lower fieldwill be seen as white(Figure 4).
Thereading istaken atthe pointwhere theboundary lineofthe blueand white
fields crosses the scale (Figure 5). The value is Battery Charge Level (LEFT
SCALE)/the FreezingPointofPropylene Glycol(CENTERSCALE) /theFreezing
Point of Ethylene Glycol (RIGHT SCALE) of the sample.
When each measurement is complete, the sample must be cleaned from
the prism using tissue paper and water.
Figure 5
Warranty information and
registration form can be found at:
www.veegee.com/service_support
Refractometer Components
Calibration Ring
Mechanismusedtozeroorcalibratetherefractometer.
Rubber Hood
Houses and protects the focusable lens. Prevents
lightfrom entering through the eyepiece duringuse.
Rubber Grip
Insulatestherefractometeragainsthand
heatforaccurateresults.
Non-Roll Stand
Protectsagainstdamagetotheinstrumentwhen
setdown between measurements.
Daylight Plate & Prism
The prism and sample are covered by the
daylightplate duringreadings.
This refractometer is an optical instrument -- it can become damaged if dropped or handled in a rough manner.
Theprism ismade ofoptical glassand issusceptible toscratches-- donot applyany roughor abrasivematerial andtake
care when cleaning the prism.
After each use, clean the prism surface and daylight plate with a soft cloth or tissue soaked in water and wipe off with
a dry cloth or tissue.
Do not hold the refractometer under a stream of water from a faucet. Do not splash it with or dip it in water.
If the surface of the prism becomes coated with an oily solution or similar, it will repel test samples and affect readings.
If this occurs, the prism should be cleaned with a weakened detergent or similar solvent.
2 3
1
2
55
55
5
44
44
4
33
33
3
Calibration
Precautions
CalibrationofATC refractometersshouldonly beconductedwhen theprevious
calibration setting has shifted and is noticeably affecting measurements.
DO NOT PERFORM CALIBRATIONS IN THE FIELD! Calibration must
take place in a controlled environment of 20°C (68°F) using distilled water
of the same temperature. It’s recommended to allow the refractometer and
the distilled water to reach temperature equilibrium with the controlled
environment before calibration takes place.
Openthe daylight plateand apply oneor two dropsof distilled wateron tothe
surfaceof theprism. Hold theprism atan angle closeto parallelwith thefloor
so the distilled water will not run off of the prism.
Gently close the daylight plate over the prism. The distilled water should
spread as a thin, even layer in between the daylight plate and the prism. By
looking through the daylight plate, ensure that the distilled water covers the
ENTIRE surface of the prism. If there are bubbles and gaps or if the distilled
wateris onlyon oneportion ofthe prism,the distilledwater mustbe reapplied
(Figure1). Inaccuratecalibrationswill resultifthe prismisnotcovered correctly.
Looking through the eyepiece, hold the refractometer and direct the daylight
plate upwards towards light. If the scale is not in focus, adjust it by gently
turning the eyepiece (rubber hood) either clockwise or counterclockwise. Be
careful not to overturn the focusing mechanism.
When the refractometer scale is viewed through the eyepiece, the upper field
ofview will be seen asblue and the lower fieldwill be seen as white(Figure 2).
Confirmthat theboundary linecrosses thescale at0°C/1.00 S.G. (Figure3).
Ifthe boundarylinefallsaboveorbelow0°C/1.00S.G.,gentlyloosenthesetscrew
on the calibration ring with the supplied screwdriver. While looking through
the eyepiece, gently turn the calibration ring clockwise or counterclockwise
untilthe boundaryline isatzero. Once thisis achievedgently tightendown the
setscrew with thesupplied screwdriver. (NOTE:Do not over-tighten. Ifthe set
screw is over-tightened, the boundary line may shift slightly).
When calibration is complete, gently wipe the prism using tissue paper.
Thank you for purchasing this VEE GEE Refractometer. With the user in mind, VEE GEE Refractometers are built from modern
designs and, with proper care, this instrument should provide many years of reliable performance. It’s recommended this
manual is read entirely before using the refratometer for the first time.
Introduction
Figure 1
Figure 2
Figure 3
Figure 3
66
66
6
77
77
7
VEE GEE Model CTX-1 Refractometer is equipped with an Automatic Temperature Compensation (ATC) mechanism.
Refractometers that do not feature such a mechanism must be recalibrated (zeroed) when shifts in ambient temperature
occur, or make use of a temperature correction table. Model CTX-1 automatically compensates for ambient temperature
changes (10-30°C), so recalibration is not required.
With continued use, the calibration setting on ATC refractometers can shift over time . It’s good practice to periodically check
the refractometer by conducting a measurement of distilled water. If the reading is more than one subdivision from zero,
the refractometer should be manually calibrated. Please refer to the Calibration section below.
DO NOT PERFORM CALIBRATIONS IN THE FIELD! Calibrationmusttake place
in a controlled environment of 20°C (68°F) using distilled water of the same
temperature. It’s recommended to allow the refractometer and the distilled water to
reach temperature equilibrium with the controlled environment before calibration
takes place.
Automatic Temperature Compensation
Scale: FreezingPointofPropyleneGlycol/FreezingPointofEthyleneGlycol/SpecificGravityofBatteryAcid(ChargeLevel)
Range: -50 to 32°F / -60 to 32°F / 1.15-1.40
Resolution: 2.0°F / 2.0°F / 0.01
Accuracy: ±2.0°F / ±2.0°F / ±0.01
ATC Range: 10-30°C (50-86°F)
Dimensions: 40 x 40 x 150mm (1.6 x 1.6 x 6.5”)
Weight: 235g (8.3 oz.)
Supplied With: VinylCarryingCase(1), Calibration Screwdriver (1)
Printed in China VGMNL010320-43064
Operation Manual
Model CTX-2
Antifreeze / Coolant °F
Specifications
Cat. No. 43064
Automatic Temperature Compensation
Figure 4
Figure 3
1
2
55
55
5
44
44
4
33
33
3
General Use
Open the daylight plate and apply one or two drops of the sample solution to
the surface of the prism. Hold the prism at an angle close to parallel with the
floor so the sample will not run off of the prism.
Gently close the daylight plate over the prism. The sample solution should
spread as a thin, even layer in between the daylight plate and the prism. By
lookingthrough thedaylight plate,ensure thatthe samplesolution coversthe
ENTIRE surface of the prism. If there are bubbles and gaps or if the sample
is only on one portion of the prism, the sample solution must be reapplied
(Figure 1). Inaccuratereadings will result if the prism is not covered correctly.
Looking through the eyepiece, hold the refractometer and direct the daylight
plate upwards towards light. If the scale is not in focus, adjust it by gently
turning the eyepiece (rubber hood) either clockwise or counterclockwise. Be
careful not to overturn the focusing mechanism.
When the refractometer scale is viewed through the eyepiece, the upper field
ofview will be seen asblue and the lower fieldwill be seen as white(Figure 4).
Thereading istaken atthe pointwhere theboundary lineofthe blueand white
fields crosses the scale (Figure 5). The value is Battery Charge Level (LEFT
SCALE)/the FreezingPointofPropylene Glycol(CENTERSCALE) /theFreezing
Point of Ethylene Glycol (RIGHT SCALE) of the sample.
When each measurement is complete, the sample must be cleaned from
the prism using tissue paper and water.
Figure 5
Warranty information and
registration form can be found at:
www.veegee.com/service_support
Refractometer Components
Calibration Ring
Mechanismused to zeroorcalibratetherefractometer.
Rubber Hood
Houses and protects the focusable lens. Prevents
lightfrom entering through the eyepiece duringuse.
Rubber Grip
Insulatestherefractometeragainsthand
heatforaccurateresults.
Non-Roll Stand
Protectsagainstdamagetotheinstrumentwhen
setdown between measurements.
Daylight Plate & Prism
The prism and sample are covered by the
daylightplate duringreadings.
This refractometer is an optical instrument -- it can become damaged if dropped or handled in a rough manner.
Theprism ismade ofoptical glassand issusceptible toscratches-- donot applyany roughor abrasivematerial andtake
care when cleaning the prism.
After each use, clean the prism surface and daylight plate with a soft cloth or tissue soaked in water and wipe off with
a dry cloth or tissue.
Do not hold the refractometer under a stream of water from a faucet. Do not splash it with or dip it in water.
If the surface of the prism becomes coated with an oily solution or similar, it will repel test samples and affect readings.
If this occurs, the prism should be cleaned with a weakened detergent or similar solvent.
2 3
1
2
55
55
5
44
44
4
33
33
3
Calibration
Precautions
CalibrationofATC refractometersshouldonly beconductedwhen theprevious
calibration setting has shifted and is noticeably affecting measurements.
DO NOT PERFORM CALIBRATIONS IN THE FIELD! Calibration must
take place in a controlled environment of 20°C (68°F) using distilled water
of the same temperature. It’s recommended to allow the refractometer and
the distilled water to reach temperature equilibrium with the controlled
environment before calibration takes place.
Openthe daylight plateand apply oneor two dropsof distilled wateron tothe
surfaceof theprism. Hold theprism atan angle closeto parallelwith thefloor
so the distilled water will not run off of the prism.
Gently close the daylight plate over the prism. The distilled water should
spread as a thin, even layer in between the daylight plate and the prism. By
looking through the daylight plate, ensure that the distilled water covers the
ENTIRE surface of the prism. If there are bubbles and gaps or if the distilled
wateris onlyon oneportion ofthe prism,the distilledwater mustbe reapplied
(Figure1). Inaccuratecalibrationswill resultifthe prismisnotcovered correctly.
Looking through the eyepiece, hold the refractometer and direct the daylight
plate upwards towards light. If the scale is not in focus, adjust it by gently
turning the eyepiece (rubber hood) either clockwise or counterclockwise. Be
careful not to overturn the focusing mechanism.
When the refractometer scale is viewed through the eyepiece, the upper field
ofview will be seen asblue and the lower fieldwill be seen as white(Figure 2).
Confirmthatthe boundaryline crossesthescale at32°F/1.00S.G. (Figure3).
Ifthe boundarylinefallsaboveorbelow32°F/1.00S.G.,gentlyloosenthesetscrew
on the calibration ring with the supplied screwdriver. While looking through
the eyepiece, gently turn the calibration ring clockwise or counterclockwise
untilthe boundaryline isatzero. Once thisis achievedgently tightendown the
setscrew with thesupplied screwdriver. (NOTE:Do not over-tighten. Ifthe set
screw is over-tightened, the boundary line may shift slightly).
When calibration is complete, gently wipe the prism using tissue paper.
Thank you for purchasing this VEE GEE Refractometer. With the user in mind, VEE GEE Refractometers are built from modern
designs and, with proper care, this instrument should provide many years of reliable performance. It’s recommended this
manual is read entirely before using the refratometer for the first time.
Introduction
Figure 1
Figure 2
Figure 3
Figure 3
66
66
6
77
77
7
VEE GEE Model CTX-2 Refractometer is equipped with an Automatic Temperature Compensation (ATC) mechanism.
Refractometers that do not feature such a mechanism must be recalibrated (zeroed) when shifts in ambient temperature
occur, or make use of a temperature correction table. Model CTX-2 automatically compensates for ambient temperature
changes (10-30°C), so recalibration is not required.
With continued use, the calibration setting on ATC refractometers can shift over time . It’s good practice to periodically check
the refractometer by conducting a measurement of distilled water. If the reading is more than one subdivision from zero,
the refractometer should be manually calibrated. Please refer to the Calibration section below.
DO NOT PERFORM CALIBRATIONS IN THE FIELD! Calibrationmusttake place
in a controlled environment of 20°C (68°F) using distilled water of the same
temperature. It’s recommended to allow the refractometer and the distilled water to
reach temperature equilibrium with the controlled environment before calibration
takes place.
Automatic Temperature Compensation

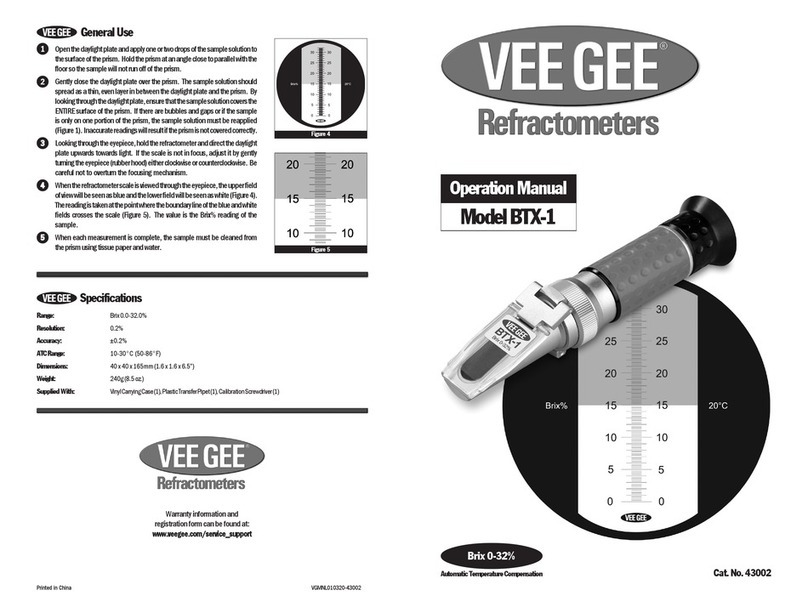
This manual suits for next models

1

Other VEE GEE Measuring Instrument manuals

VEE GEE STX-3 User manual

VEE GEE

VEE GEE STX-3 User manual

VEE GEE BTX-1 User manual

VEE GEE

VEE GEE BTX-1 User manual

VEE GEE BTX-20 User manual

VEE GEE

VEE GEE BTX-20 User manual

VEE GEE CTX-2 User manual

VEE GEE

VEE GEE CTX-2 User manual

VEE GEE BX-20 User manual

VEE GEE

VEE GEE BX-20 User manual

VEE GEE BX-3 User manual

VEE GEE

VEE GEE BX-3 User manual

VEE GEE 43035 User manual

VEE GEE

VEE GEE 43035 User manual

VEE GEE BTX-1 User manual

VEE GEE

VEE GEE BTX-1 User manual

VEE GEE BX-1 User manual

VEE GEE

VEE GEE BX-1 User manual

VEE GEE 43045 User manual

VEE GEE

VEE GEE 43045 User manual

VEE GEE BX-20 User manual

VEE GEE

VEE GEE BX-20 User manual

VEE GEE BX-2 User manual

VEE GEE

VEE GEE BX-2 User manual

VEE GEE C25L User manual

VEE GEE

VEE GEE C25L User manual

VEE GEE BX-10 User manual

VEE GEE

VEE GEE BX-10 User manual

VEE GEE BX-20 User manual

VEE GEE

VEE GEE BX-20 User manual

VEE GEE SX-2 User manual

VEE GEE

VEE GEE SX-2 User manual

VEE GEE NDX-1 User manual

VEE GEE

VEE GEE NDX-1 User manual

VEE GEE SGX-1 User manual

VEE GEE

VEE GEE SGX-1 User manual

VEE GEE BTX-1 User manual

VEE GEE

VEE GEE BTX-1 User manual

VEE GEE BTX-1 User manual

VEE GEE

VEE GEE BTX-1 User manual

VEE GEE C10 User manual

VEE GEE

VEE GEE C10 User manual

VEE GEE BX-4 User manual

VEE GEE

VEE GEE BX-4 User manual

Popular Measuring Instrument manuals by other brands

Carel AS Series quick start guide

Carel

Carel AS Series quick start guide

Endress+Hauser StamoLys CA 71 CU operating instructions

Endress+Hauser

Endress+Hauser StamoLys CA 71 CU operating instructions

iRay Technology Tube Series user manual

iRay Technology

iRay Technology Tube Series user manual

Campbell CR7 instruction manual

Campbell

Campbell CR7 instruction manual

GW Instek LCR Series user manual

GW Instek

GW Instek LCR Series user manual

Keysight M9601A Startup guide

Keysight

Keysight M9601A Startup guide

Simrad PI50 -  REV A Reference manual

Simrad

Simrad PI50 - REV A Reference manual

Agilent Technologies 86122A user guide

Agilent Technologies

Agilent Technologies 86122A user guide

Emerson Rosemount CT5100 Reference manual

Emerson

Emerson Rosemount CT5100 Reference manual

LumaSense IN 5 user manual

LumaSense

LumaSense IN 5 user manual

FrontLine FTS4USB quick start guide

FrontLine

FrontLine FTS4USB quick start guide

Prodigit 5302A manual

Prodigit

Prodigit 5302A manual

TESTO 330 instruction manual

TESTO

TESTO 330 instruction manual

Hach DR/2010 instruction sheet

Hach

Hach DR/2010 instruction sheet

Fluidwell F115-P Operation manual

Fluidwell

Fluidwell F115-P Operation manual

Hanna Instruments HI 991301 instruction manual

Hanna Instruments

Hanna Instruments HI 991301 instruction manual

YSI ProDSS Calibration and Routine Maintenance

YSI

YSI ProDSS Calibration and Routine Maintenance

Endress+Hauser Prosonic T FMU 130 operating manual

Endress+Hauser

Endress+Hauser Prosonic T FMU 130 operating manual

manuals.online logo
manuals.online logoBrands
  • About & Mission
  • Contact us
  • Privacy Policy
  • Terms and Conditions

Copyright 2025 Manuals.Online. All Rights Reserved.