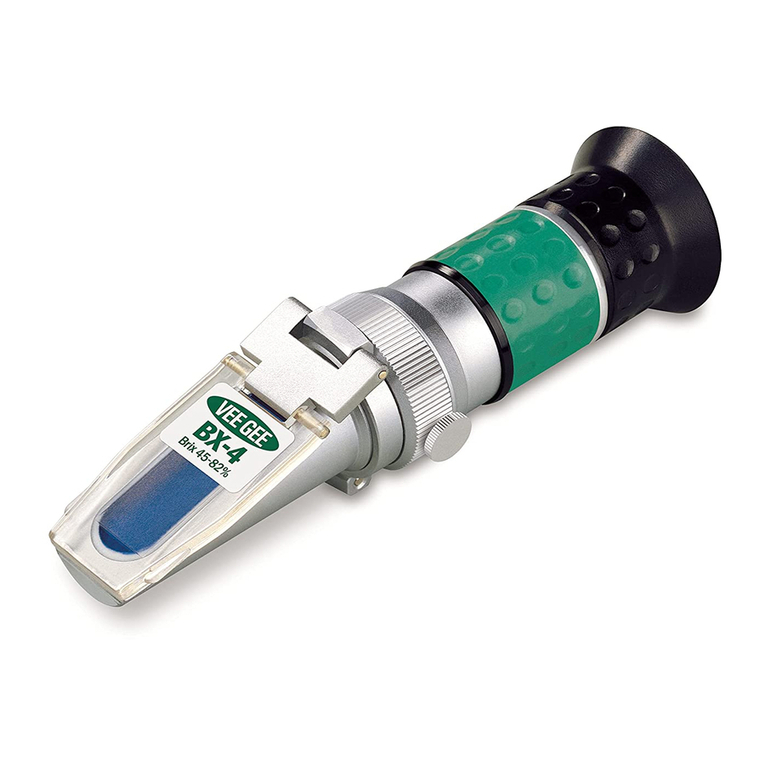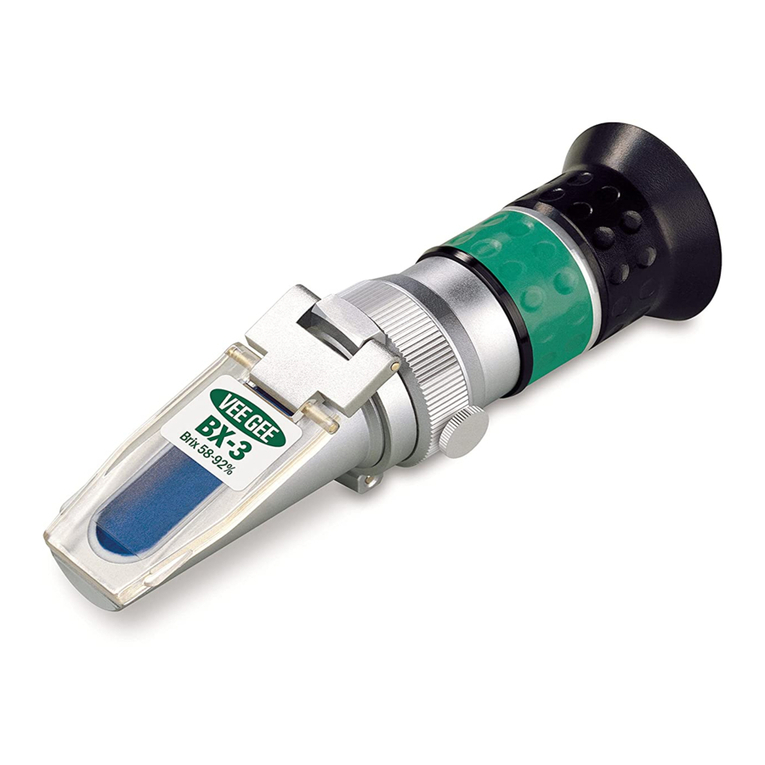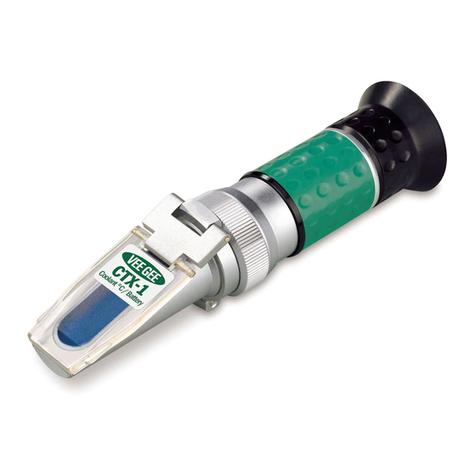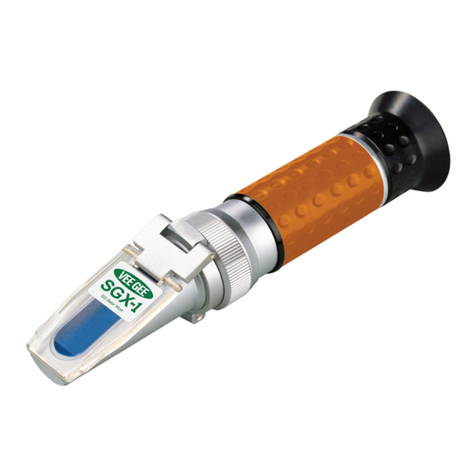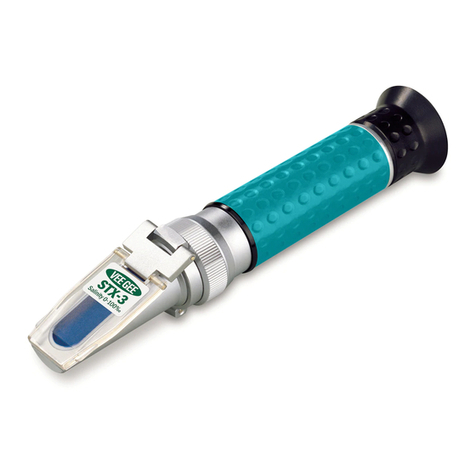
Refractometer Components
Calibration Ring
Mechanismusedtozeroor calibrate therefractometer,
withouttherequirementof additionaltools.
Rubber Hood
Houses and protects the focusable lens. Prevents
lightfromenteringthroughtheeyepieceduringuse.
Rubber Grip
Insulatestherefractometeragainsthand
heatforaccurateresults.
Non-Roll Stand
Protectsagainstdamagetotheinstrumentwhen
setdownbetweenmeasurements.
Daylight Plate & Prism
The prism and sample are covered by the
daylightplate during readings.
This refractometer is an optical instrument -- it can become damaged if dropped or handled in a rough manner.
Theprism ismadeof opticalglass and issusceptible toscratches-- donot applyanyrough orabrasivematerial andtake
care when cleaning the prism.
After each use, clean the prism surface and daylight plate with a soft cloth or tissue soaked in water and wipe off with
a dry cloth or tissue.
Do not hold the refractometer under a stream of water from a faucet. Do not splash it with or dip it in water.
If the surface of the prism becomes coated with an oily solution or similar, it will repel test samples and affect readings.
If this occurs, the prism should be cleaned with a weakened detergent or similar solvent.
2 3
1
2
5
4
3
Calibration
Precautions
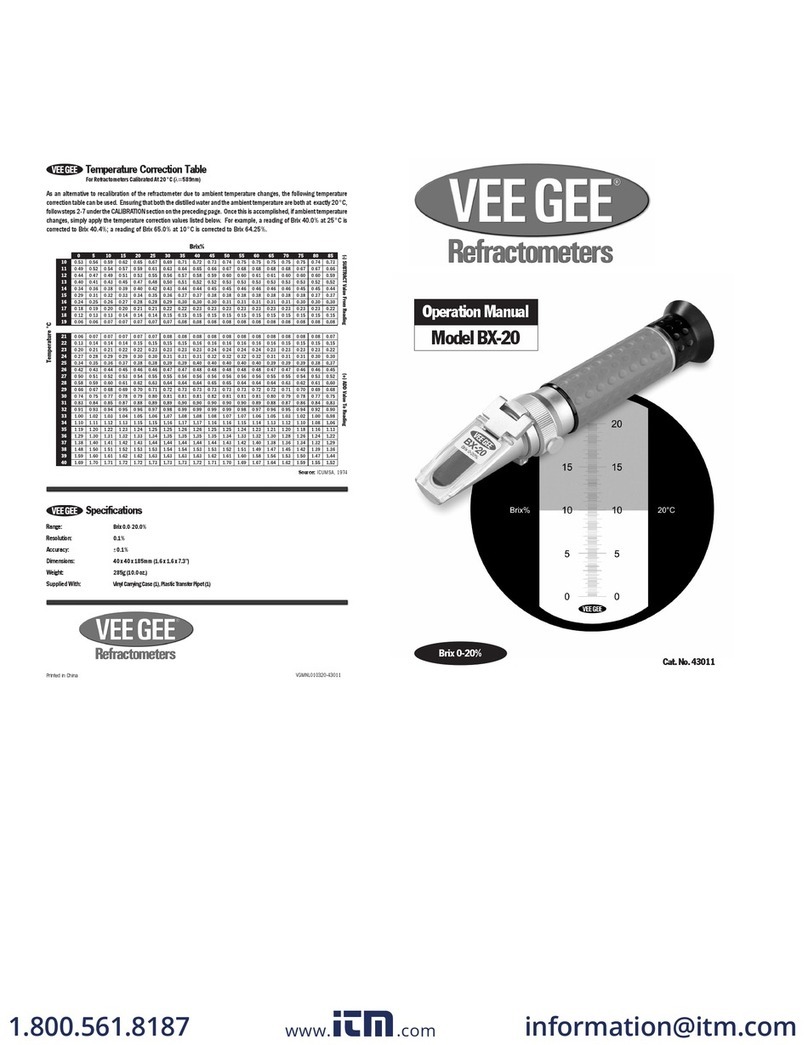
Calibration should be conducted at the start of each day or when any shifts in
ambient temperature occur. If recalibration is impractical, refer to the directions
and temperature correction table on the following page. For standard calibration
procedures, please follow the directions below.
Open the daylight plate and apply one or two drops of a liquid standard on to
the surface of the prism [a Brix 50.0% oil standard is used for this example.
A prepared sucrose solution (weight of sucrose vs. distilled water) of a
known concentration (minimum Brix 28.0%) may also be used for
calibration purposes]. Hold the prism at an angle close to parallel with the floor
so the liquid standard will not run off of the prism.
Gently close the daylight plate over the prism. The liquid standard should spread
as a thin, even layer in between the daylight plate and the prism. By looking
through the daylight plate, ensure that the liquid standard covers the ENTIRE
surface of the prism. If there are bubbles and gaps or if the liquid standard is only
on one portion of the prism, the liquid standard must be reapplied (Figure 1).
Inaccurate calibrations will result if the prism is not covered correctly.
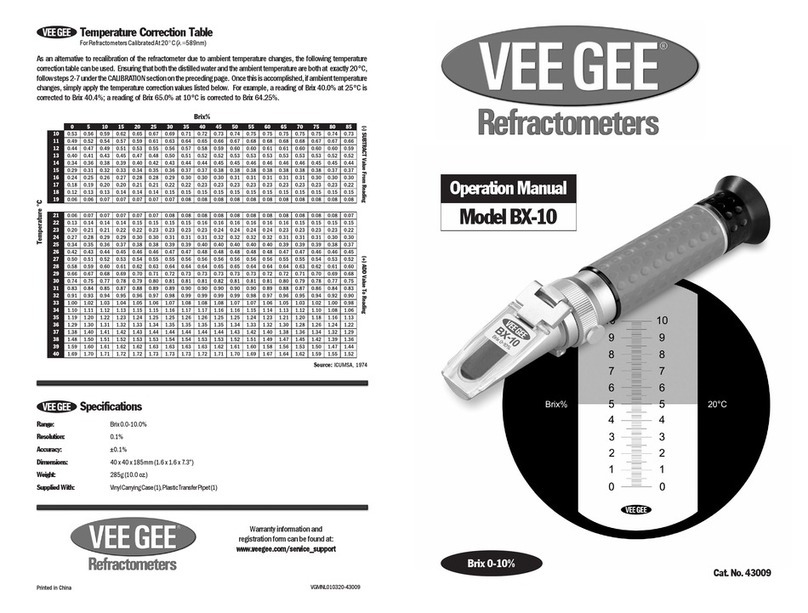
Lookingthrough theeyepiece, hold therefractometer anddirect the daylightplate
upwards towards light. If the scale is not in focus, adjust it by gently turning the
eyepiece (rubber hood) either clockwise or counterclockwise. Be careful not to
overturn the focusing mechanism.
When the refractometer scale is viewed through the eyepiece, the upper field of
viewwillbe seen asblueandthe lowerfieldwillbe seen aswhite(Figure2). Confirm
thatthe boundarylinecrosses thescaleat “50”(orthe valueofthe liquidstandard
being used) (Figure 3).
If the boundary line falls above or below “50”, gently loosen the set screw on the
calibration ring. While looking through the eyepiece, gently turn the calibration
ring clockwise or counterclockwise until the boundary line is at “50.” Once this
is achieved gently tighten down the set screw. (NOTE: Do not over-tighten. If the
set screw is over-tightened, the boundary line may shift slightly).
When calibration is complete, gently wipe the prism using tissue paper.
Thank you for purchasing this VEE GEE Refractometer. With the user in mind, VEE GEE Refractometers are built from modern
designs and, with proper care, this instrument should provide many years of reliable performance. It’s recommended this
manual is read entirely before using the refratometer for the first time.
Introduction
1
2
5
4
3
General Use
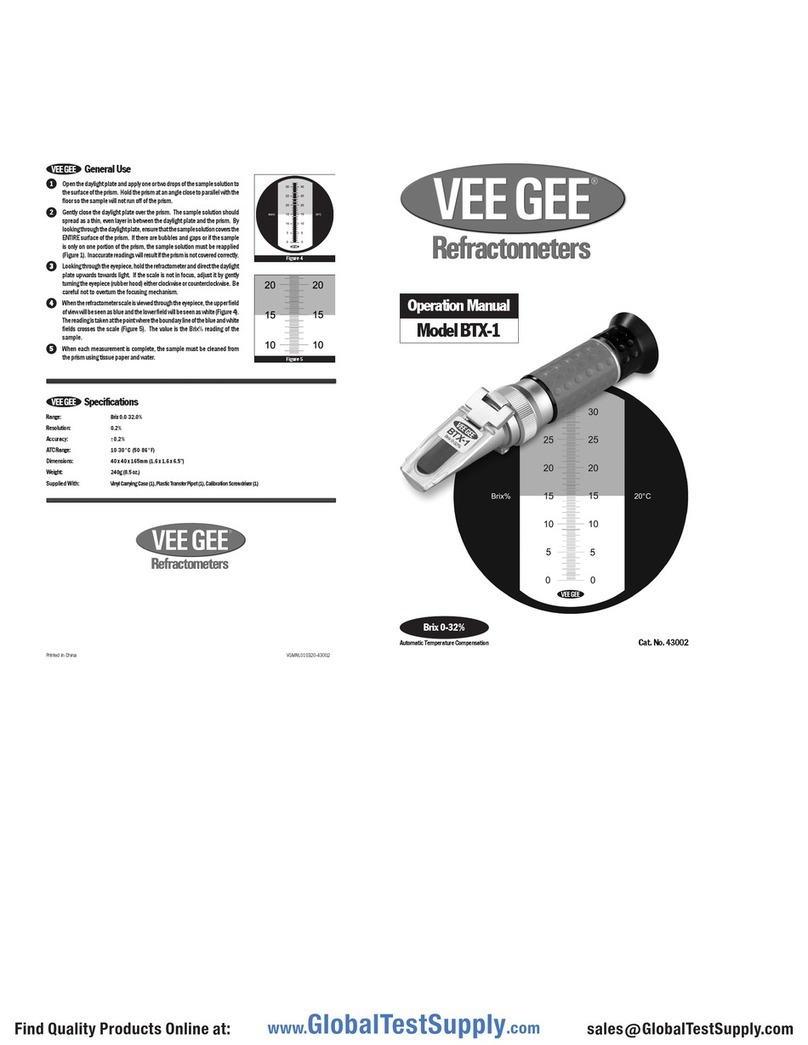
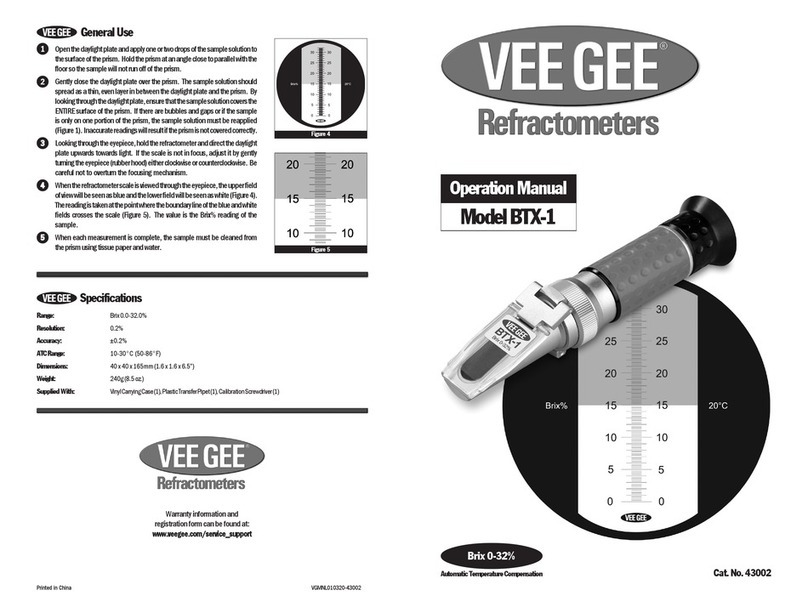
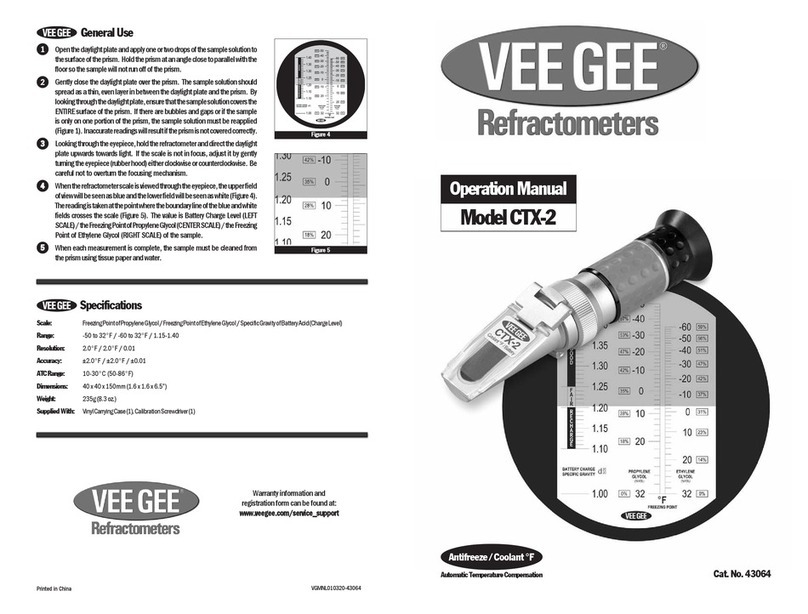
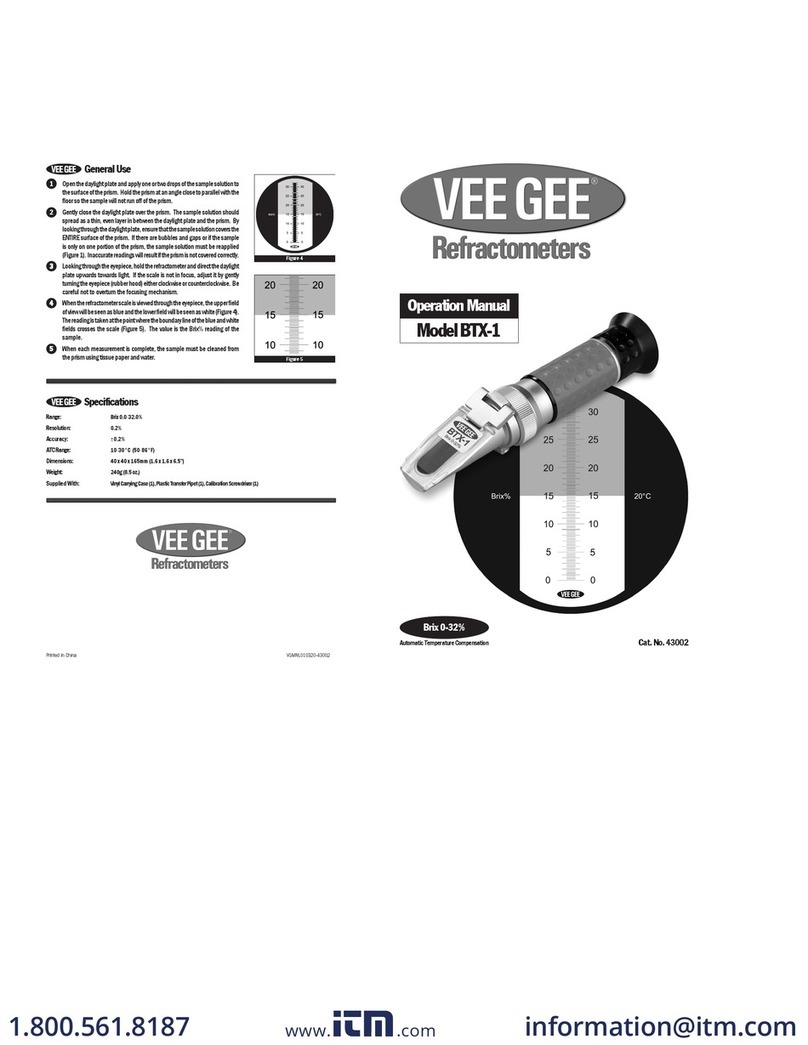
Open the daylight plate and apply one or two drops of the sample solution to the
surface of the prism. Hold the prism at an angle close to parallel with the floor so
the sample will not run off of the prism.
Gently close the daylight plate over the prism. The sample solution should spread
as a thin, even layer in between the daylight plate and the prism. By looking
through the daylight plate, ensure that the sample solution covers the ENTIRE
surface of the prism. If there are bubbles and gaps or if the sample is only on one
portion ofthe prism, thesample solutionmust bereapplied (Figure 1). Inaccurate
readings will result if the prism is not covered correctly.
Lookingthrough theeyepiece, hold therefractometer anddirect the daylightplate
upwards towards light. If the scale is not in focus, adjust it by gently turning the
eyepiece (rubber hood) either clockwise or counterclockwise. Be careful not to
overturn the focusing mechanism.
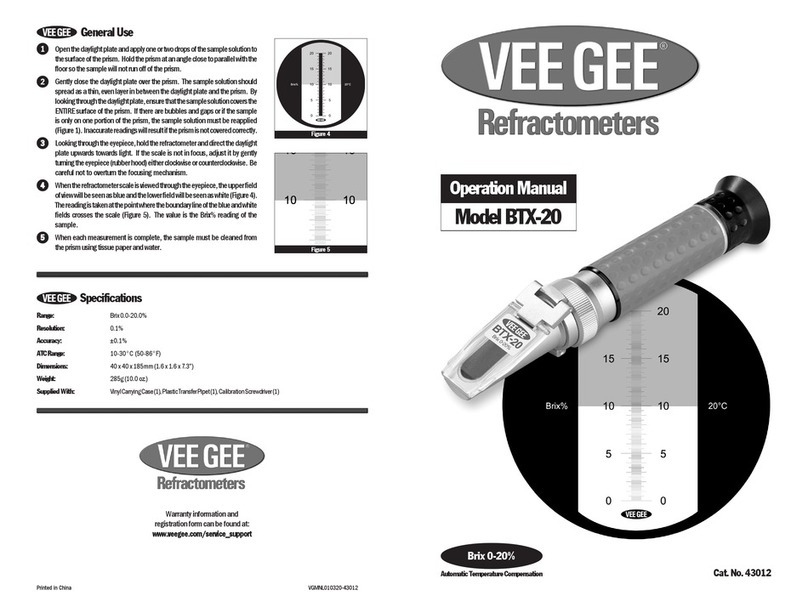
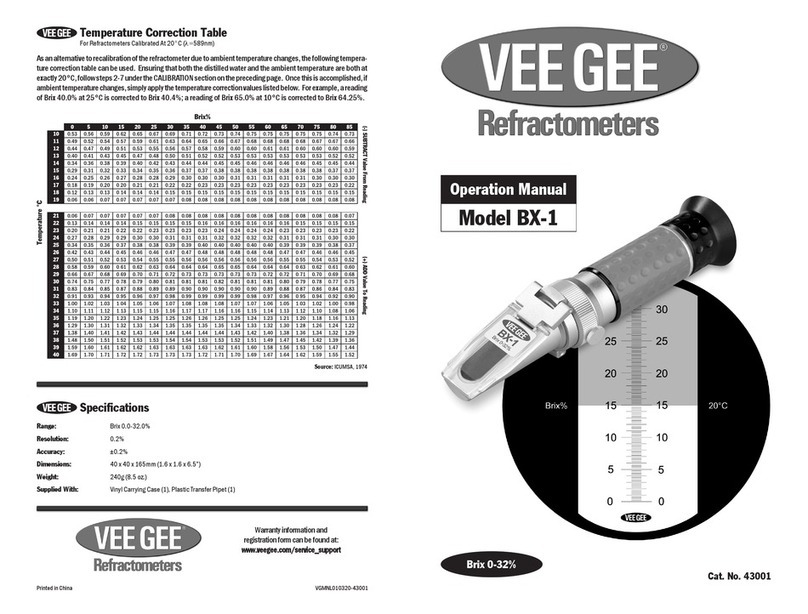
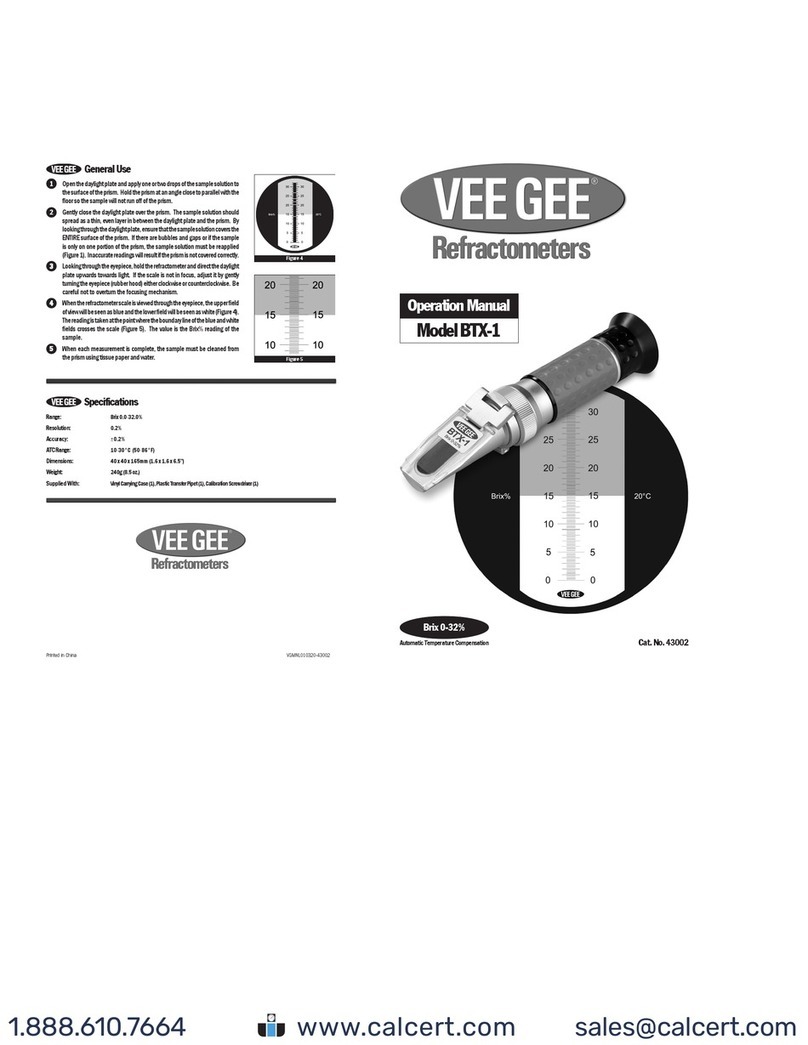
When the refractometer scale is viewed through the eyepiece, the upper field of
view will be seen as blue and the lower field will be seen as white (Figure 4). The
reading is taken at the point where the boundary line of the blue and white fields
crosses the scale (Figure 5). The value is the Brix% reading of the sample.
When each measurement is complete, the sample must be cleaned from the
prism using tissue paper and water.
Calibration Ring Set Screw
Securesthecalibrationringin place toprotect
fromanyshiftswhichcouldoccur during use.
6
7
Figure 1
Figure 2
Figure 3
Figure 4
Figure 3
Figure 5
Figure 3

