manuals.online logo
Brands
  1. Home
  2. •
  3. Brands
  4. •
  5. VEE GEE
  6. •
  7. Measuring Instrument
  8. •
  9. VEE GEE NDX-1 User manual

VEE GEE NDX-1 User manual

This manual suits for next models

1

Other VEE GEE Measuring Instrument manuals

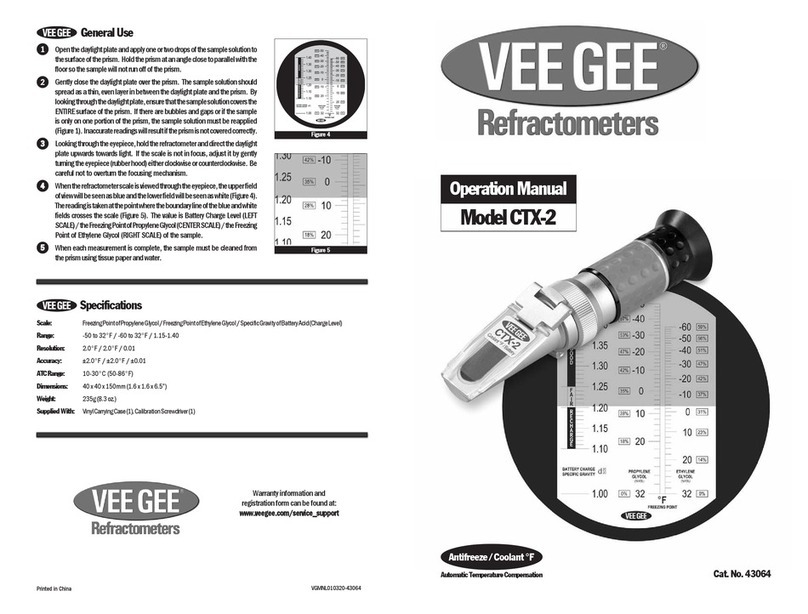
VEE GEE CTX-2 User manual

VEE GEE

VEE GEE CTX-2 User manual

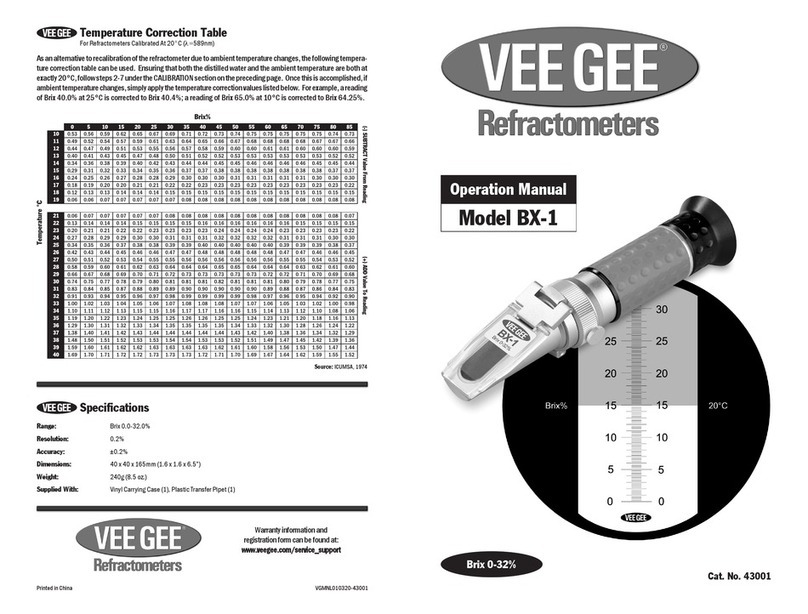
VEE GEE BX-1 User manual

VEE GEE

VEE GEE BX-1 User manual

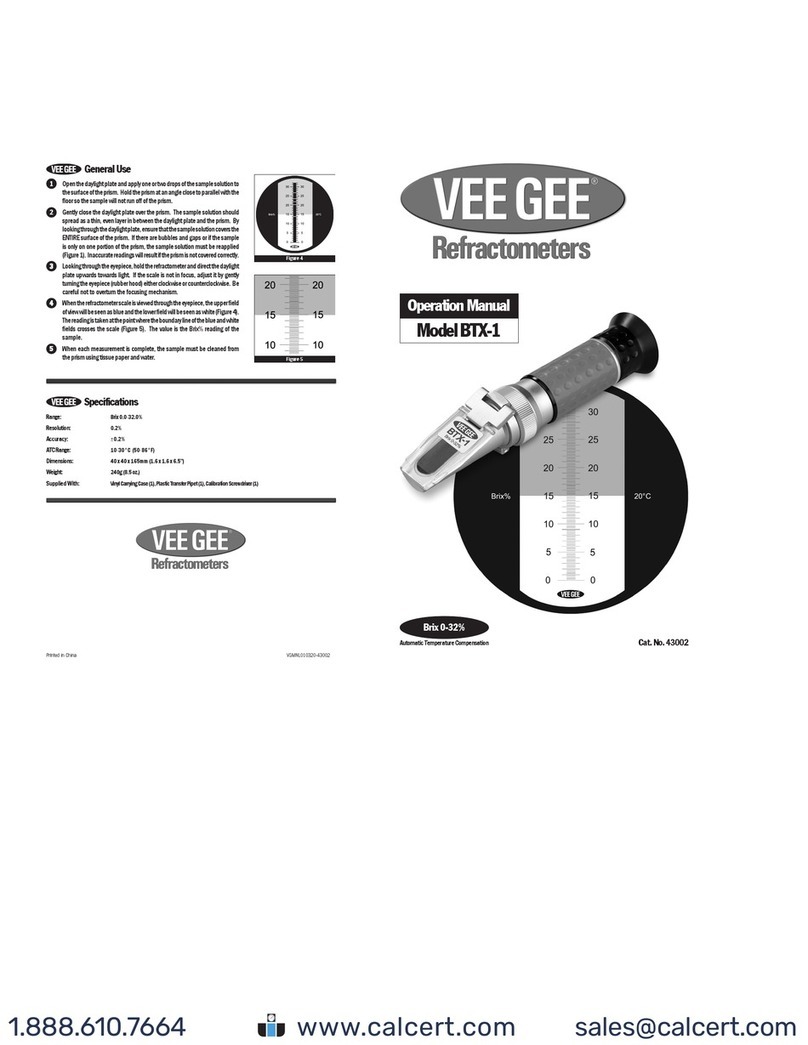
VEE GEE BTX-1 User manual

VEE GEE

VEE GEE BTX-1 User manual

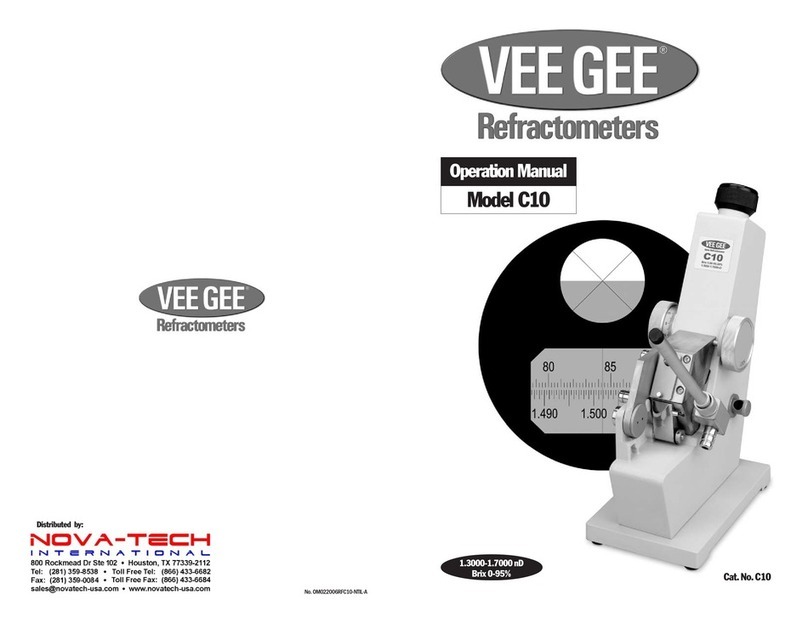
VEE GEE C10 User manual

VEE GEE

VEE GEE C10 User manual

VEE GEE CTX-1 User manual

VEE GEE

VEE GEE CTX-1 User manual

VEE GEE C25L User manual

VEE GEE

VEE GEE C25L User manual

VEE GEE BX-20 User manual

VEE GEE

VEE GEE BX-20 User manual

VEE GEE BX-10 User manual

VEE GEE

VEE GEE BX-10 User manual

VEE GEE 43045 User manual

VEE GEE

VEE GEE 43045 User manual

VEE GEE BTX-1 User manual

VEE GEE

VEE GEE BTX-1 User manual

VEE GEE BTX-1 User manual

VEE GEE

VEE GEE BTX-1 User manual

VEE GEE BTX-20 User manual

VEE GEE

VEE GEE BTX-20 User manual

VEE GEE BX-2 User manual

VEE GEE

VEE GEE BX-2 User manual

VEE GEE BX-4 User manual

VEE GEE

VEE GEE BX-4 User manual

VEE GEE STX-3 User manual

VEE GEE

VEE GEE STX-3 User manual

VEE GEE BTX-1 User manual

VEE GEE

VEE GEE BTX-1 User manual

VEE GEE SX-2 User manual

VEE GEE

VEE GEE SX-2 User manual

VEE GEE 43035 User manual

VEE GEE

VEE GEE 43035 User manual

VEE GEE SGX-1 User manual

VEE GEE

VEE GEE SGX-1 User manual

VEE GEE BX-20 User manual

VEE GEE

VEE GEE BX-20 User manual

VEE GEE BX-3 User manual

VEE GEE

VEE GEE BX-3 User manual

VEE GEE BX-20 User manual

VEE GEE

VEE GEE BX-20 User manual

Popular Measuring Instrument manuals by other brands

Powerfix Profi 278296 Operation and safety notes

Powerfix Profi

Powerfix Profi 278296 Operation and safety notes

Test Equipment Depot GVT-427B user manual

Test Equipment Depot

Test Equipment Depot GVT-427B user manual

Fieldpiece ACH Operator's manual

Fieldpiece

Fieldpiece ACH Operator's manual

FLYSURFER VIRON3 user manual

FLYSURFER

FLYSURFER VIRON3 user manual

GMW TG uni 1 operating manual

GMW

GMW TG uni 1 operating manual

Downeaster Wind & Weather Medallion Series instruction manual

Downeaster

Downeaster Wind & Weather Medallion Series instruction manual

Hanna Instruments HI96725C instruction manual

Hanna Instruments

Hanna Instruments HI96725C instruction manual

Nokeval KMR260 quick guide

Nokeval

Nokeval KMR260 quick guide

HOKUYO AUTOMATIC UBG-05LN instruction manual

HOKUYO AUTOMATIC

HOKUYO AUTOMATIC UBG-05LN instruction manual

Fluke 96000 Series Operator's manual

Fluke

Fluke 96000 Series Operator's manual

Test Products International SP565 user manual

Test Products International

Test Products International SP565 user manual

General Sleep Zmachine Insight+ DT-200 Service manual

General Sleep

General Sleep Zmachine Insight+ DT-200 Service manual

Sensa Core Lacto Spark user manual

Sensa Core

Sensa Core Lacto Spark user manual

VOLTCRAFT UTS-1980 operating instructions

VOLTCRAFT

VOLTCRAFT UTS-1980 operating instructions

EBCHQ 94915 Operation manual

EBCHQ

EBCHQ 94915 Operation manual

Balluff BIP LD2-T017-01-EP-S4 Series user guide

Balluff

Balluff BIP LD2-T017-01-EP-S4 Series user guide

Pulsar IMP Lite Series instruction manual

Pulsar

Pulsar IMP Lite Series instruction manual

ETCR 6800 user manual

ETCR

ETCR 6800 user manual

manuals.online logo
manuals.online logoBrands
  • About & Mission
  • Contact us
  • Privacy Policy
  • Terms and Conditions

Copyright 2025 Manuals.Online. All Rights Reserved.

Printed in the USA No. OM122006RFNDX-1-A
Operation Manual
Model NDX-1
1.3330-1.5170 nD
Specifications
Cat. No. 43053
Temperature Correction
Model NDX-1 is factory-calibrated to conduct readings at 20°C. For the best accuracy, if
ambient temperature falls above or below 20°C, temperature correction values should be ap-
plied to readings. When a reading is taken under these circumstances, note the temperature
value from the thermometer mounted on the side of the refractometer and follow the procedure
listedbelow.
Temperature coefficients are used to correct measured values conducted at temperatures other than the reference
(calibration) temperature. For each °C higher than the reference temperature, a temperature coefficient is subtracted from
the value; for each °C lower than the reference temperature, a temperature coefficient is added to the value. Model NDX-1
canbeusedformeasuring both water-based solutions and oils. The coefficients used for temperature correction onoil-based
solutionsareslightlyhigherthanthoseusedforwater-basedsolutions(seeupper right corner). If there is aspecifictemperature
coefficient known for the sample being tested, use this value. Otherwise use an average of the values shown in the upper right
corner. Confirm the type of sample being tested and perform the following calculations:
Temperature Coefficients
Water-Based Solutions:
(-0.0001to -0.0002/+°C)
Oil-Based Solutions:
(-0.0003to -0.0004/+°C)
Common Oils
Range: 1.3330-1.5170nD (Refractive Index)
Resolution: 0.0005
Accuracy: ±0.0005
Dimensions: 35 x 35 x 200mm (1.4 x 1.4 x 7.9”)
Weight: 650g (22.9 oz.)
Supplied With: VinylCarryingCase (1),Plastic TransferPipet (1)
Refractometer Components
Secondary Prism
Coverstheprimary prismand sampleduring readings.
Eyepiece
Theeyepiece is focusableto ensuresharp, accurate
readings.
Dispersion Dial
Eliminates color/blurriness from the
boundaryline.
Thermometer
Displaysthecurrenttemperatureofthesample/
prismassembly.
Primary Prism
Theprimary prism andsample are covered
by the secondary prism during readings.
This refractometer is an optical instrument -- it can become damaged if dropped or handled in a rough manner.
Theprismis made of optical glass and is susceptible to scratches--donotapplyanyroughor abrasive material and take
care when cleaning the prism.
After each use, clean the prism surface and daylight plate with a soft cloth or tissue soaked in water and wipe off with
a dry cloth or tissue.
Do not hold the refractometer under a stream of water from a faucet. Do not splash it with or dip it in water.
If the surface of the prism becomes coated with an oily solution or similar, it will repel test samples and affect readings.
If this occurs, the prism should be cleaned with a weakened detergent or similar solvent.
2 3
Precautions
Thank you for purchasing this VEE GEE Refractometer. With the user in mind, VEE GEE Refractometers are built from modern
designs and, with proper care, this instrument should provide many years of reliable performance. It’s recommended this
manual is read entirely before using the refratometer for the first time.
Introduction
1
2
5
4
3
General Use
Open the secondary prism and apply one or two drops of the sample solution
to the surface of the primary prism. Hold the refractometer at an angle close to
parallel with the floor so the sample will not run off of the prism.
Gently close the secondary prism over the primary prism. The sample solution
should spread as a thin, even layer in between the seconary prism and the
primary prism. If there are bubbles and gaps or if the sample is only on one
portion ofthe prism, thesample solution mustbe reapplied (Figure 1). Inaccurate
readings will result if the prism is not covered correctly.
Before performing a reading, the range selection dial must be set to the range
which covers the approximate value of the sample solution. Choose from the
following:
RANGE No. 1:
1.3330-1.4050nD
(RIGHT)
RANGE No. 2:
1.4050-1.4670nD
(CENTER)
RANGE No. 3:
1.4680-1.5170nD
(LEFT)
If an approximate value of the sample is unknown, cycle through the three ranges
and select the range which provides the sharpest contrast at the boundary line.
Looking through the eyepiece, hold the refractometer (secondary prism facing
up) and direct the prism assembly upwards towards light. If the scale is not in
focus,adjust it bygentlyturning the eyepiece eitherclockwise or counterclockwise.
Be careful not to overturn the focusing mechanism.
In the field of view, the boundary line may appear colored and/or blurry (Figures
2& 3). If this isthe case, turn thedispersiondial until the coloringandor blurriness
is replaced by sharp contrast.
When the refractometer scale is viewed through the eyepiece (with the dispersion
dial at the proper setting), the upper field of view will be seen as grey and the lower
field will be seen as white (Figure 4). The reading is taken at the point where the
boundary line of the grey and white fields crosses the scale (Figure 5). The value
is the Refractive Index (nD) reading of the sample.
When each measurement is complete, the sample must be cleaned from the
prism using tissue paper and water.
This refractometer is equipped with a thermometer indicating the temperature of
the sample/prism assembly. These temperature readings are used to calculate
temperature correction values when readings are conducted in ambient
temperatures above or below 20°C. Please refer to the follwoing page for
temperature correction procedures.
Range Selection Dial
Setstheoptics toone ofthe3 availablescales.
Figure 1
Figure 2
Figure 3
Figure 4
Figure 3
Figure 5
Figure 3
6
7
8
9