manuals.online logo
Brands
  1. Home
  2. •
  3. Brands
  4. •
  5. Vega
  6. •
  7. Industrial Equipment
  8. •
  9. Vega VEGAMET 308 Manual

Vega VEGAMET 308 Manual

VEGAMET 307 / 308
TIB • Technical Information • Operating Instructions
Signal conditioning
instrument
for continuous level
measurement
• for connection of a
capacitive measuring
electrode
or
• a pressure sensor
VEGA Grieshaber KG
Am Hohenstein 113
Postfach 11 42
D-77757 Schiltach
Phone 0 78 36/50-0
Fax 0 78 36/50-201
AB
0 4
mA
VEGAMET 308
020 40 60 80 100
%
Application
These signal conditioning instruments VEGAMET
307 / 308 are used for level proportional output and
indication of levels (continuous level measure-
ment).
The VEGAMET 308 is additionally equipped with
an integral level switch with adjustable switching
hysteresis. Therefore level dependent switching
functions are possible.
The VEGAMET 307 consists of:
• plastic housing with pluggable multipoint connec-
tor (series 300)
• electronics
• front panel with
- analog indicating meter
- mains control lamp
- potentiometer for empty adjustment
- potentiometer for full adjustment
- change-over switch for current output range
0 … 20 mA or 4 … 20 mA.
The VEGAMET 308 consists of:
• as VEGAMET 307
• however additional adjustment elements for the
level switch:
- 2 pressure keys and 2 potentiometers for
adjustment of the switch points
- relay control lamp
- A/B-switch
A measuring system consists of:
• signal conditioning instrument VEGAMET 307 or
VEGAMET 308
• capacitive electrode with oscillator
or
• pressure sensor with oscillator
Additional indicators and auxiliary level switches
can be connected to the current and voltage
outputs.
Level measurement with capacitive electrodes
Electrode, product and vessel wall, or electrode
and product form a capacitor. The capacitance
increases with increasing level.
In either case the oscillator converts this capaci-
tance change into a level proportional measuring
signal. This signal is fed to the VEGAMET 307 or
308 for signal conditioning.
Level measurement with pressure sensors
The diaphragm of the pressure sensor converts the
hydrostatic pressure of the product into a linear
movement. This movement is transmitted to the
plunger-type capacitor. The level of the product
therefore changes the capacitance.
Configuration
Function
2VEGAMET 307 / 308
Power supply 20 … 250 V AC; 48 … 62 Hz
20 … 90 V DC
Power consumption at UNapprox. 3 VA
Measuring signal Connection line 2-wire, unscreened (standard cable)
input Resistance per conductor max. 50 Ohms
Linearity error 0,1 % measuring range
Temperature error 0,01 % measuring range / 10 K
Adjustment data Empty adjustment range 3,5 … 17 mA
Current difference between
empty and full adjustment: > 600 µA
Indication analog indication 0 … 100 %
Current output Range 0 … 20 mA or 4 … 20 mA
(adjustable)
Load max. 750 Ohm
Resolution 0,05 %
Linearity error 0,025 % measuring range
Temperature error 0,025 % measuring range / 10 K
Voltage output Range 0 … 10 V, max. 1 mA (short-circuit protected)
Resolution 0,05 %
Linearity error 0,025 % measuring range
Temperature error 0,025 % measuring range / 10 K
Relay output
(only VEGAMET 308) Contact 1 spdt
Function two-point switching
Mode A/B
Relay data:
Contact material AgCdO and Au plated
min. turn-on voltage 10 mV
switching current 10 µA
max. turn-on voltage AC 250 V, DC 60 V
switching current AC 2A, DC 1 A
max. breaking power 125 VA, 60 W
Permissible ambient temperature (housing) –25°C … +60°C / –4°F … +140°F
Storage and transport temperature –25°C … +70°C / -4°F … +158°F
Housing Type plastic ABS
Protection IP 40
Dimensions w = 96 mm, d = 76 mm, h = 102 mm
Pluggable multipoint connector (cross section area of conductor) max. 2,5 mm2
Weight approx. 270 g
Technical data
3
VEGAMET 307 / 308
Iso-housing IP 55 for series 300 (Option)
Dimensional drawing
100 125 9107
ø4,5
157 9
020 40 60 80 100
%
AB0 4
mA
VEGAMET308
576
102
92
41
3
Terminal board Adapter
96
96
105
80
42
41
Metal link
119
110
92
with transparent cover
89
125
15
on
0 4
mA
VEGAMET 307
AB
0 4
mA
VEGAMET 308
020 40 60 80 100
%
020 40 60 80 100
%
Surface mounting
Panel mounting
4VEGAMET 307 / 308
Mounting instructions
Electrical connection
5
VEGAMET 307 / 308
The instrument is suitable for panel or surface
mounting. The required parts are attached.
Panel mounting
• Pull pluggable multipoint connector on the instru-
ment upwards.
• Screw in and fasten the pin on the rear of the
instrument.
• Push instrument into the front panel cut-out.
• Push the terminal from the back on the pin and
fasten with the screw.
When using the lockable transparent cover pro-
ceed as follows:
• Open cover.
• Push the frame from the back over the upper
instrument edge.
• Further mounting as described above.
Surface mounting
a) Screw fastening
• Push the metal sleeve in the instrument cut-out
(see sketches)
• Fasten the instrument with 3 screws to the
mounting plate.
For increased protection, Iso-housing with transpa-
rent cover (protection IP 55) is available (mounting
of the instrument into the housing as described
under a).
b) Rail mounting (Snap-in)
• Fasten adapter plate for rail TS 35 x 7,5 mm acc.
to EN 50 022 on the back of the instrument with
a screw (spring of the adapter must be below).
• Plug the instrument from the bottom to the carry-
ing rail and push until snap-in.
14
13
12
11
10
9
6
7
8
5
4
3
2
1
+
-
+
+
-
VEGAMET 307 / 308
Current output 0/4 … 20 mA
Mains connection
1
2
N (-)
L (+)
Voltage output 0 … 10 V
1
2
Pressure sensor
with oscillator Electrode
with oscillator
Relay output
(with VEGAMET 308)
-
The electrical connection is made on the multipoint
connector acc. to the diagram on the upper part of
the housing.
Standard 2-wire cable can be used between
VEGAMET and transducer.
If electromagnetic interference is expected,
screened cable should be used.
Protective measures:
If voltage spikes are expected, the use of overvol-
tage arresters is recommended.
Observe TIB "overvoltage arresters" for their
connection!
Indicated Current Voltage
value output output
0 % 0 / 4 mA 0 V
100 % + 20 mA + 10 V
6VEGAMET 307 / 308
• Adjust the requested current output range
0 … 20 mA or 4 … 20 mA.
• Feed supply voltage, should comply with the
voltage stated on the connection diagram.
• Carry out adjustment and switch point adjustment
(VEGAMET 308) acc. to the following description.
Potentiometer for
empty adjustment
Multipoint
connector
Indicating meter
Potentiometer for
full adjustment
Mains control lamp
Potentiometer for
adjustment of the
max. switch point
Relay control lamp
Potentiometer for
adjustment of the
min. switch point
Key for indication and
adjustment of the max.
switch point
A / B switch
Key for indication and
adjustment to the min.
switch point
Switch for
current output
AB
0 4
mA
VEGAMET 308
020 40 60 80 100
%
Indicating and operating elements
Start-up
only VEGAMET 308
7
VEGAMET 307 / 308
Adjustment
Empty and full adjustment via the spindle potentio-
meter. The integrated slide clutch avoids overwin-
ding.
Before either adjustment each potentiometer must
be turned by approx. 22 turns clockwise.
In practice 3 versions are possible to carry out the
empty / full adjustment.
a) The level can be set to the required min. level
(= 0%) and max. level (= 100 %)
Empty adjustment
• Set level to the required min. level.
• Adjust the indication of the instrument to 0 % by
the potentiometer for empty adjustment.
Full adjustment
• Set level to the required max. level.
• Adjust the indication of the instrument to 100 %
by the potentiometer for full adjustment.
b) The level in the vessel can be set to the
required min. level (= 0 %), but only to a max.
level < 100 %
Empty adjustment
• Set level to the required min. level.
• Adjust the indication of the instrument to 0 % by
the potentiometer for empty adjustment.
Full adjustment
• Set product to the highest level and check with
dip measure (e.g. 80 %).
• Adjust the indication of the instrument to the
checked value (in the example 80 %) with the
potentiometer for full adjustment.
c) The level in the vessel can be only set to a
min. level of > 0 % and a max. level ≤100 %
Empty adjustment
• Set product to the low level and check with dip
measure (e.g. 20 %)
• Set indication of the instrument to 0 % with the
potentiometer for empty adjustment.
Full adjustment
• Set level to highest possible level and check with
dip measure (e.g. 60 %).
• Calculate the indicated value to be adjusted:
highest level minus lowest level = indicated value
to be adjusted.
In the example: 60 % – 20 % = 40 %.
• Set indication of the instrument to the calculated
value (in the example 40 %) with potentiometer
for full adjustment.
• Set the indication of the instrument to the actual
level (highest level, in the example 60 %) with
the potentiometer for empty adjustment.
Switch point adjustment (only possible on VEGAMET 308)
• Set A/B-switch acc. to the following description to the desired mode
A or B.
Mode A
When exceeding the adjusted max. level:
Relay de-energized
Relay control lamp lights
Terminals 9-10 are connected through relay
Mode B
When decreasing the adjusted min. level:
Relay de-energized
Relay control lamp lights
Terminals 9-10 are connected through relay
• Adjust switch point for min. level
Push button for adjustment of the min. switch point and adjust the
potentiometer of
the indicating instrument to the desired min. value.
• Adjust switch point for max. level
Push button for adjustment of the max. switch point and adjust the
potentiometer
of the indicating instrument to the desired max. value.
Adjustment for single-point switching
• Push button for adjustment of the max. switch point and set the
indicating instrument
with the respective potentiometer to "0".
• Push button for adjustment of the min. switch point and set the
indicating instrument
with the respective potentiometer to the required value.
Note:
The switching hysteresis is in this case 0,5 %.
HiTECH Technologies, Inc.
301 Oxford Valley Road -Building 505
Yardley, PA 19067-7706
Tel: 215. 321. 6012; Fax: 215. 321. 6067
Tech Support (Toll Free) 866-DrLevel or 888-NIVELCO
Email: [email protected] or [email protected]
Web Site: www.DrLevel.com or www.hitechtech.com

This manual suits for next models

1

Other Vega Industrial Equipment manuals

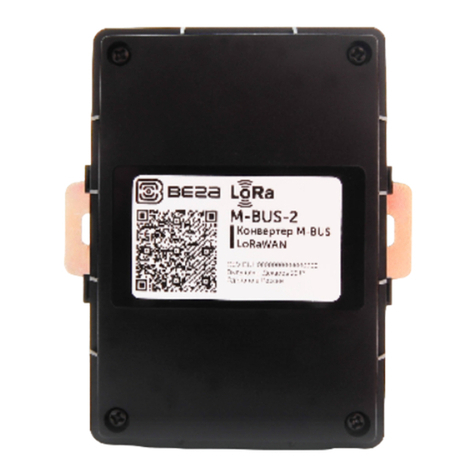
Vega M-BUS-2 User manual

Vega

Vega M-BUS-2 User manual

Vega PEL-4 User manual

Vega

Vega PEL-4 User manual

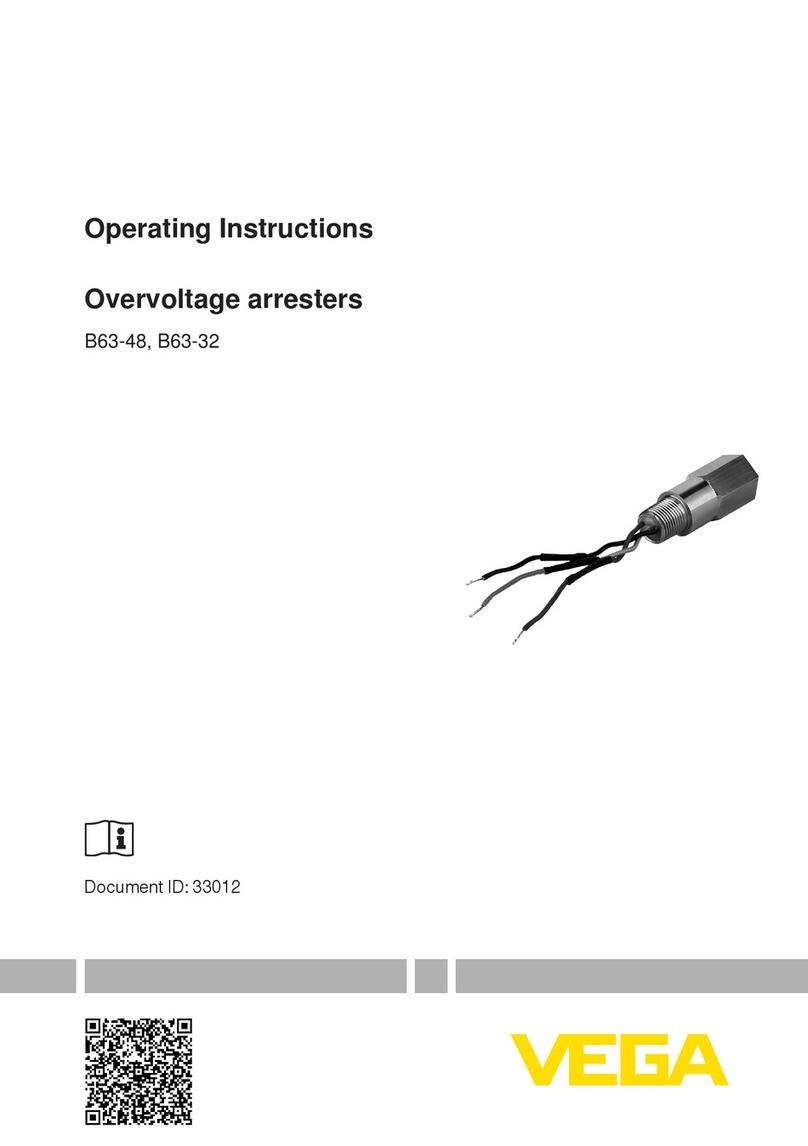
Vega B63-48 User manual

Vega

Vega B63-48 User manual

Vega VEGALOG 571 AT User manual

Vega

Vega VEGALOG 571 AT User manual

Vega VEGABAR 82 User manual

Vega

Vega VEGABAR 82 User manual

Vega VEGASOURCE 85 User manual

Vega

Vega VEGASOURCE 85 User manual

Vega SHLD 2 User manual

Vega

Vega SHLD 2 User manual

Vega VEGAPULS 68 User manual

Vega

Vega VEGAPULS 68 User manual

Vega VEGAPULS 6X User manual

Vega

Vega VEGAPULS 6X User manual

Vega VEGASOURCE 83 User manual

Vega

Vega VEGASOURCE 83 User manual

Vega HAN 8D Wiring diagram

Vega

Vega HAN 8D Wiring diagram

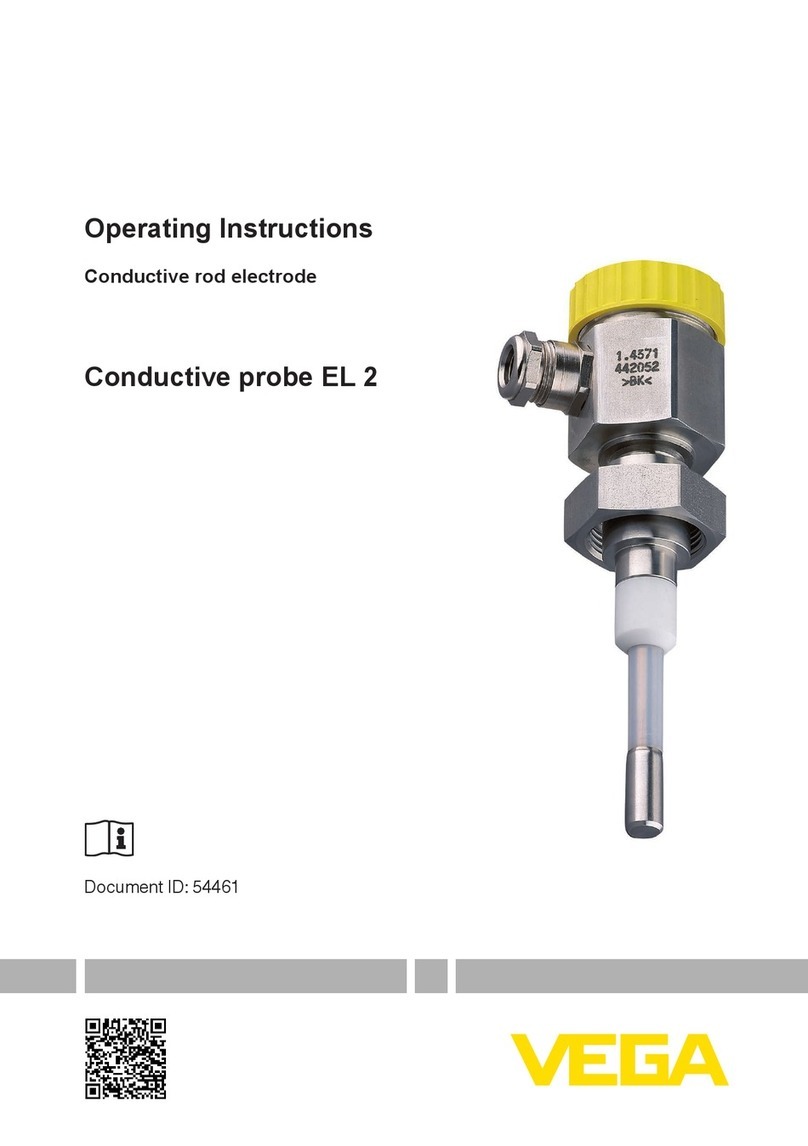
Vega EL 2 User manual

Vega

Vega EL 2 User manual

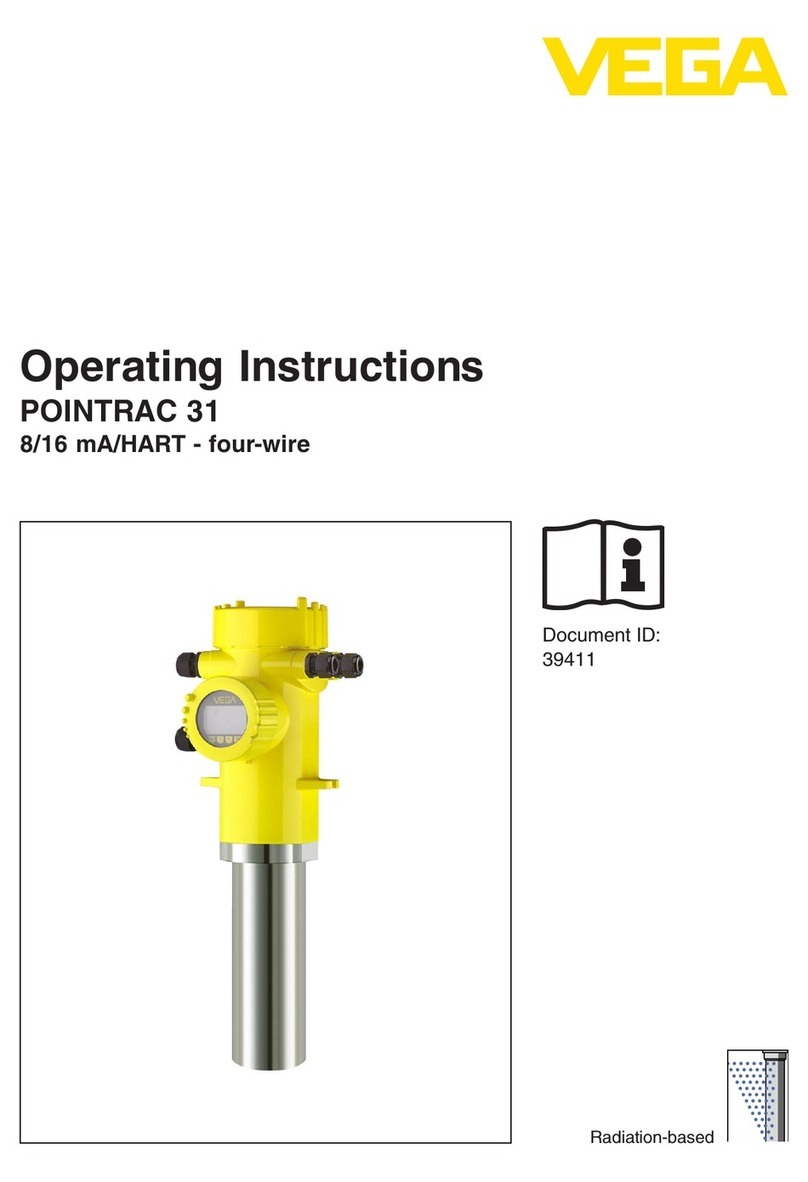
Vega POINTRAC 31 User manual

Vega

Vega POINTRAC 31 User manual

Vega VEGACAL 60 Series User manual

Vega

Vega VEGACAL 60 Series User manual

Vega VEGAPULS 64 User manual

Vega

Vega VEGAPULS 64 User manual

Vega VEGASOURCE 82 User manual

Vega

Vega VEGASOURCE 82 User manual

Vega SHLD1 User manual

Vega

Vega SHLD1 User manual

Vega VEGATOR 636 Ex User manual

Vega

Vega VEGATOR 636 Ex User manual

Vega VEGATOR 256C User manual

Vega

Vega VEGATOR 256C User manual

Vega VEGABAR 12 User manual

Vega

Vega VEGABAR 12 User manual

Vega VEGASOURCE 84 User manual

Vega

Vega VEGASOURCE 84 User manual

Vega VEGASOURCE 86 User manual

Vega

Vega VEGASOURCE 86 User manual

Vega PLICSMOBILE Series User manual

Vega

Vega PLICSMOBILE Series User manual

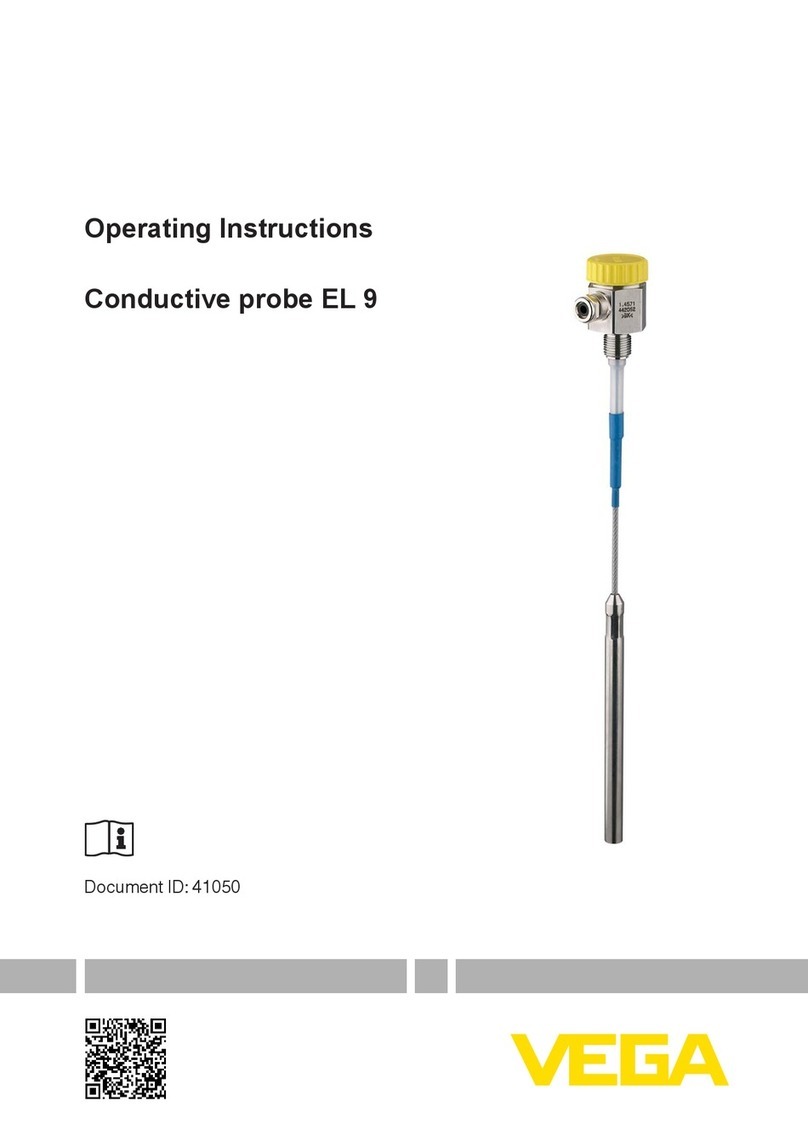
Vega EL 9 User manual

Vega

Vega EL 9 User manual

Popular Industrial Equipment manuals by other brands

ABB Power2 850-M46 Operation manual

ABB

ABB Power2 850-M46 Operation manual

Festo VAMC-S6-CH Assembly instructions

Festo

Festo VAMC-S6-CH Assembly instructions

Hermetica 10 Series user manual

Hermetica

Hermetica 10 Series user manual

NEUGART PLE operating manual

NEUGART

NEUGART PLE operating manual

Siemens 3VW9011-0BB21 operating instructions

Siemens

Siemens 3VW9011-0BB21 operating instructions

McElroy Talon 2000 Operator's manual

McElroy

McElroy Talon 2000 Operator's manual

Apeks THE FORCE 2-STAGE Operation manual

Apeks

Apeks THE FORCE 2-STAGE Operation manual

LSLIDAR LS30MVA user manual

LSLIDAR

LSLIDAR LS30MVA user manual

GESTRA TA 50 installation instructions

GESTRA

GESTRA TA 50 installation instructions

Pfannenberg PWS 6502 T 230V operating manual

Pfannenberg

Pfannenberg PWS 6502 T 230V operating manual

Danfoss IPS 8 Startup guide

Danfoss

Danfoss IPS 8 Startup guide

Zoeller MEDIUM X2 operating manual

Zoeller

Zoeller MEDIUM X2 operating manual

Cannon CT-500 instruction & operation manual

Cannon

Cannon CT-500 instruction & operation manual

Shini SAL-810 manual

Shini

Shini SAL-810 manual

Thermal Edge A2W30120 User's & technical manual

Thermal Edge

Thermal Edge A2W30120 User's & technical manual

Global Industrial B237006 Assembly instructions

Global Industrial

Global Industrial B237006 Assembly instructions

Genesis GXT 115 reference guide

Genesis

Genesis GXT 115 reference guide

evoheat EVO Fusion-i Series manual

evoheat

evoheat EVO Fusion-i Series manual

manuals.online logo
manuals.online logoBrands
  • About & Mission
  • Contact us
  • Privacy Policy
  • Terms and Conditions

Copyright 2025 Manuals.Online. All Rights Reserved.