manuals.online logo
Brands
  1. Home
  2. •
  3. Brands
  4. •
  5. Vertiv
  6. •
  7. UPS
  8. •
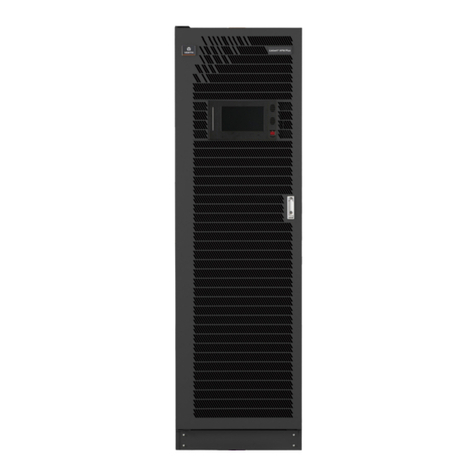
  9. Vertiv LIEBERT EXS 208/220-V 30 KVA User manual

Vertiv LIEBERT EXS 208/220-V 30 KVA User manual

LIEBERT® EXS™ UPS
208/220‑V30KVA
Quick Installation Guide
590-1971-501A/SL-70330_REV0 1
I M P O R TA N T: Before installing,
connecting to supply or operating
your Liebert EXS UPS, please
review the Safety and Regulatory
Statements sheet. For detailed
installation, operating, maintenance
and troubleshooting information
visit the EXS product page for the
EXS Installer/User Guide available
at www.Vertiv.com or use the QR
code below.
INSTALLATION
Inspecting the UPS
Inspect the UPS for any signs of
obvious damage. If damage is
visible, do not proceed. File a
damage claim with the carrier
immediately and send a copy to:
Vertiv Corporation
1050 Dearborn Drive
P.O. Box 29186
Columbus OH 43085
Attn. Traic Department
Choosing a location
The UPS measures 23.6 x 33.5 x
63 in. (600 x 850 x 1600 mm).
Install the UPS in a clean, well-
ventilated environment with the
ambient temperature range of 32°F
to 104°F (0°C to 40°C).
For installation and maintenance,
3 ft (914 mm) clearance is required
in the front and rear of the unit. For
proper ventilation during normal
operation, leave 8 in. (203 mm)
clearance on the rear. No side
clearance is required for installation
or operation of the UPS.
Handling and unpacking
the unit
The unit weighs up to 1,650 lb
(748 kg), depending on the number
of batteries included. The UPS
ships on a pallet and is equipped
with casters that permit two or
more people to roll it o the pallet
for installation. Use a forklift or
pallet jack to move the palleted
UPS as close as possible to the
installation location before
removing packing material or
loosening shipping brackets.
1. Remove the protective
packaging, shown in the
illustration at the top-right.
2. Locate the accessories
package on top of the UPS and
set aside.
3. Use a 16-mm (5/8-in.) wrench
or socket to un-bolt the
shipping brackets from the
pallet.
4. Un-bolt the shipping brackets
from the front and rear of the
UPS. Remove the front lower
panel from the UPS to remove
the front bracket.
5. Make sure the leveling feet are
raised so they do not interfere
when rolling the unit on the
casters.
6. Roll the unit down the ramp to
the installation location, see
the illustration above, then
lower the leveling feet to x the
UPS in the install location.
Repositioned ramp
placed for unit
transfer to
installation location
Removing Packaging and Moving the UPS
Ramp in
shipping position
Packaging
LIEBERT® EXS™ UPS 208/220 ‑V 30 KVA
Quick Installation Guide
2 590-1971-501A/SL-70330_REV0
POWER WIRING AND
CONDUIT
When connecting wiring, follow the
local wiring regulations, and take the
environment situation into account.
NOTE: The conduit size and wiring
method must be in accordance with
all local, regional and national codes
and regulations, including NEC
ANSI/NFPA 70.
The maximum current for operating
modes, the recommended wire
sizes, and the recommended power
cables and plugs are listed in Tables
1 to 3, above, and are based upon
an
86°F (30°C) ambient temperature.
Lock-out and tag before
you begin
Ensure that the feeder breakers are
open and locked, and tagged to
prevent inadvertent operation by
unauthorized personnel.
HARDWIRE INPUT/OUTPUT
CONNECTIONS
Connecting a
single-input conguration
1. On the rear panel of the UPS,
remove the upper conduit-
entry panel, punch holes for
the conduit, connect the
conduit to the panel, and
re-install the conduit-entry
panel.
2. Remove the lower cover plate
to access the terminal blocks,
shown in the “Terminal-block
Connections” illustration on the
next page.
3. Leave the factory-installed
single-input jumpers on the
input terminal blocks and make
the following input connections
from the upstream feeder
panel to the input terminal:
•Phase A to rA
•Phase B to rB
•Phase C to rC
•Neutral to inN
•Ground cable to PE
4. Make the following output
connections from the UPS
output terminal to the
downstream distribution-panel
main lug breaker:
•oA to Phase A
•oB to Phase B
•oC to Phase C
•oN to neutral bus
•PE to ground bus
5. Torque phase conductor
connections to 50 lb-in, and
neutral and ground conductor
connections to 126 lb-in.
6. Reinstall the terminal-block
cover plate.
Connecting a
dual-input conguration
Table 3 Recommended lug sizes for phase, neutral and ground conductors
6 AWG (13.3 mm2)1/0 AWG (53.5 mm2)2/0 (67.4 mm2)
Part Number
McMaster-Carr: 7113K366 Thomas & Betts: 54152NT Thomas & Betts: 54157NT
Thomas & Betts: RE6-14
Recommended Torque 50 lb-in. / 4.2 lb-ft . / 5.6 Nm
Table 3 Recommended lug sizes for external battery conductors
6 AWG (13.3 mm2)1/0 AWG (53.5 mm2)2/0 (67.4 mm2)
Part Number
Thomas & Betts: RE6-516 Thomas & Betts: 54153NT Thomas & Betts: 54158NT
Thomas & Betts: CTL6-516
Recommended Torque 126 lb-in. / 10.5 lb-ft . / 14.2 Nm
Table 1 Currents and Wire Size — UPS rectier input
Unit Rating Maximum Input
Current (A)
Recommended OPD,
Amp Trip
75°C THW Copper Wire (phase)
Number of Cables per phase:1
75°C THW Copper Wire
neutral)
Number of Cables:1
75°C THW Copper Wire
(ground)
Number of Cables: 1
30 kVA/kW 105 150 2/0 2/0 6 AWG
Table 2 AC Currents and Wire Size — UPS bypass input* and output
Unit Rating Maximum Input
Current (A)
Recommended OPD,
Amp Trip
75°C THW Copper Wire (phase)
Number of Cables per phase:1
75°C THW Copper Wire
(neutral)
Number of Cables:1
75°C THW Copper Wire
(ground)
Number of Cables: 1
30 kVA/kW 83 125 1/0 1/0 6 AWG
*Bypass input for dual-input congurations only.
LIEBERT® EXS™ UPS 208/220 ‑V 30 KVA
Quick Installation Guide
590-1971-501A/SL-70330_REV0 3
1. On the rear panel of the UPS,
remove the upper conduit-
entry panel, punch holes for
the conduit, connect the
conduit to the panel, and
re-install the conduit-entry
panel.
2. Remove the lower cover plate
to access the terminal blocks,
shown in the “Terminal-block
Connections” illustration above.
3. Remove the factory-installed
single-input jumpers from the
input terminal blocks.
4. Make the following
connections from the upstream
feeder panel to the main/
rectier input terminal block:
• Phase A to rA
• Phase B to rB
• Phase C to rC
• Neutral to iN
• Ground cable PE
5. Make the following
connections from the upstream
feeder panel to the bypass-
input terminal block:
• Phase A to bA
• Phase B to bB
• Phase C to bC
• Neutral to iN
• Ground cable to PE
6. Make the following output
connections from the UPS
output terminal to the
downstream distribution-panel
main lug breaker:
• oA to Phase A
• oB to Phase B
• oC to Phase C
• oN to neutral bus
• PE to ground bus
7. Torque phase conductor
connections to 50 lb-in, and
neutral and ground conductor
connections to 126 lb-in.
8. Reinstall the terminal-block
cover plate.
BATTERY CONNECTION
The batteries are shipped
disconnected. Refer to the diagram
on the back of the outer battery
panel to make the connections.
REPO CONNECTION
If a remote emergency power-o
connection is not required, leave
the factory-installed jumper
between Pins 2 and 4 on the REPO
terminal block.
If using a REPO connection, refer to
the detailed installation steps in the
EXS Installer/User Guide available
at www.VertivCo.com
POWERING THE UPS
NOTE: Do not start the UPS until
after the installation is nished, all
UPS wiring is complete, and all
access panels removed for
installation are replaced and
secured on the UPS.
1. Close the upstream feeder
breaker for the UPS rectier
and, for dual-input
conguration, close the
upstream feeder breaker for the
UPS bypass.
2. Close all downstream breakers
including distribution-panel
main breaker and/or branch
circuit breakers.
3. Referring to the illustration,
Front-panel Breakers, at the
right:
Terminal-block Connections
OUTPUT TERMINALS
BATTERY TERMINALS
rA bA rB bB rC bC iN iN
oA oB oC oN oN
BATNBAT+ BAT-
PE
INPUT TERMINALS
GROUND BUSBAR
LIEBERT® EXS™ UPS 208/220 ‑V 30 KVA
Quick Installation Guide
To contact Vertiv Technical Support: visit www.Vertiv.com
© 2019 Vertiv Group Corp. All rights reserved. Vertiv and the Vertiv logo are trademarks or registered trademarks of Vertiv Group Corp. All other names and logos referred to are
trade names, trademarks or registered trademarks of their respective owners. While every precaution has been taken to ensure accuracy and completeness herein, Vertiv Group
Corp. assumes no responsibility, and disclaims all liability, for damages resulting from use of this information or for any errors or omissions. Specications are subject to change
without notice.
4 590-1971-501A/SL-70330_REV0 7-19
•Open the maintenance-
bypass breaker (MBB) and
secure the mechanical
interlock near the breaker
hand in the lower position.
•Close the rectier-input
breaker (RIB), bypass-input
breaker (BIB), and
maintenance-isolation
breaker) MIB.
The UPS starts and performs
boot-up system checks for 20 to 30
seconds.
4. Power-on the UPS using the
Operation and Display Panel by
pressing the power button until
the conrmation dialog
appears. Use the Up/Down
arrows to select “YES”, then
press Enter.
NOTE:During operation, the UPS
may sound an alarm. You may
press-and-hold the Esc button for
3 seconds to silence the audible
alarm.
Front-panel Breakers
RIB
BIB
MBB
MIB
Operation and Display Panel
Power
Alarm
Run
Escape
Up
Down
Enter
Display

Other Vertiv UPS manuals

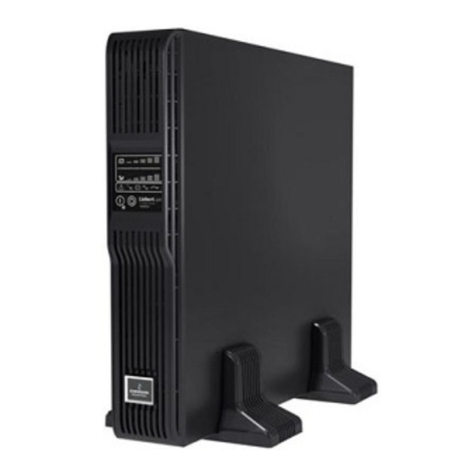
Vertiv Liebert ITA2-08KRT208 User manual

Vertiv

Vertiv Liebert ITA2-08KRT208 User manual

Vertiv Liebert EXS 80kVA UPS User manual

Vertiv

Vertiv Liebert EXS 80kVA UPS User manual

Vertiv Liebert APM User manual

Vertiv

Vertiv Liebert APM User manual

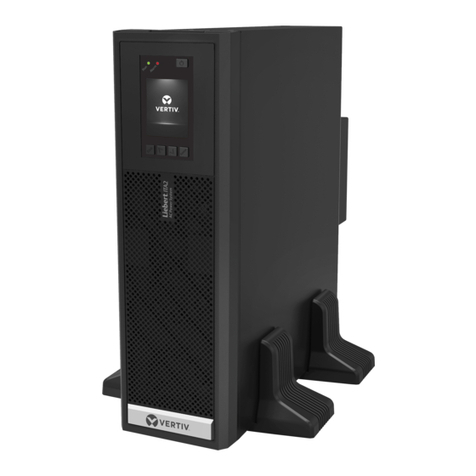
Vertiv PSA4-1000MT120 Installation and maintenance instructions

Vertiv

Vertiv PSA4-1000MT120 Installation and maintenance instructions

Vertiv Liebert NXC 0060kTJ1AFN02000 User manual

Vertiv

Vertiv Liebert NXC 0060kTJ1AFN02000 User manual

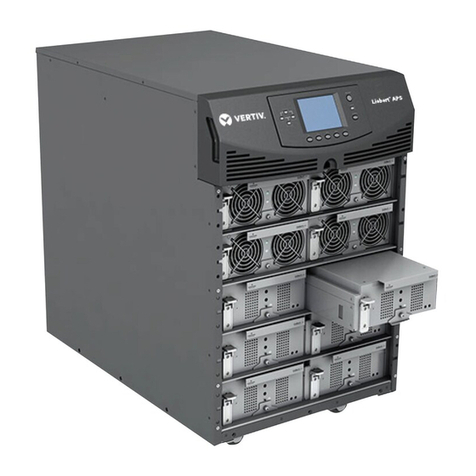
Vertiv Liebert APS User manual

Vertiv

Vertiv Liebert APS User manual

Vertiv Liebert Trinergy Cube Instruction Manual

Vertiv

Vertiv Liebert Trinergy Cube Instruction Manual

Vertiv Liebert PST4-660MT120 Installation and maintenance instructions

Vertiv

Vertiv Liebert PST4-660MT120 Installation and maintenance instructions

Vertiv Liebert GXT5 Installation and maintenance instructions

Vertiv

Vertiv Liebert GXT5 Installation and maintenance instructions

Vertiv Edge LI Series User manual

Vertiv

Vertiv Edge LI Series User manual

Vertiv Liebert GXT5-6000IRT5UXLN User manual

Vertiv

Vertiv Liebert GXT5-6000IRT5UXLN User manual

Vertiv Liebert EXM User manual

Vertiv

Vertiv Liebert EXM User manual

Vertiv Liebert GXT4-6000RTL630 Installation and maintenance instructions

Vertiv

Vertiv Liebert GXT4-6000RTL630 Installation and maintenance instructions

Vertiv LIEBERT PSI5 Series Installation and maintenance instructions

Vertiv

Vertiv LIEBERT PSI5 Series Installation and maintenance instructions

Vertiv Liebert GXT5-8000HVRT5UXLN User manual

Vertiv

Vertiv Liebert GXT5-8000HVRT5UXLN User manual

Vertiv EDGE-750IMT User manual

Vertiv

Vertiv EDGE-750IMT User manual

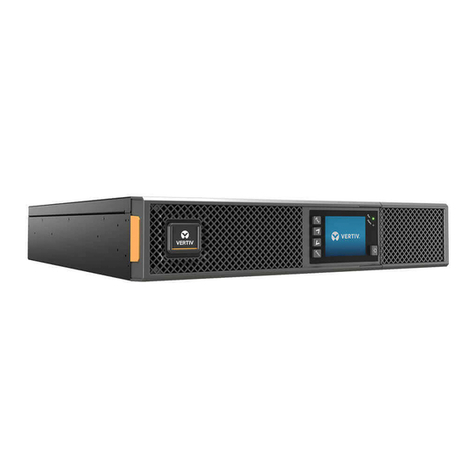
Vertiv Liebert ITA2 1-3kVA User manual

Vertiv

Vertiv Liebert ITA2 1-3kVA User manual

Vertiv Liebert CW Series User guide

Vertiv

Vertiv Liebert CW Series User guide

Vertiv LIEBERT GXT5-6000IRT5UXL User manual

Vertiv

Vertiv LIEBERT GXT5-6000IRT5UXL User manual

Vertiv Liebert GXT5 Installation and maintenance instructions

Vertiv

Vertiv Liebert GXT5 Installation and maintenance instructions

Vertiv Liebert NXL User manual

Vertiv

Vertiv Liebert NXL User manual

Vertiv Liebert EXM User manual

Vertiv

Vertiv Liebert EXM User manual

Vertiv Desktop UPS User manual

Vertiv

Vertiv Desktop UPS User manual

Vertiv Liebert ITA2 User manual

Vertiv

Vertiv Liebert ITA2 User manual

Popular UPS manuals by other brands

Njoy Shed 625 instruction manual

Njoy

Njoy Shed 625 instruction manual

OPTI-UPS Thunder Shield Series TS1000 Brochure & specs

OPTI-UPS

OPTI-UPS Thunder Shield Series TS1000 Brochure & specs

Sanyo Denki SANUPS ASE10S1HU002-08 instruction manual

Sanyo Denki

Sanyo Denki SANUPS ASE10S1HU002-08 instruction manual

Uninterruptible Power Supplies Minipower Plus Rack user manual

Uninterruptible Power Supplies

Uninterruptible Power Supplies Minipower Plus Rack user manual

LEGRAND NUMERIC Valura 1-3 kVA IBB Quick setup guide

LEGRAND

LEGRAND NUMERIC Valura 1-3 kVA IBB Quick setup guide

Mustek PM 600 PLUS user manual

Mustek

Mustek PM 600 PLUS user manual

Tripp Lite SmartOnline owner's manual

Tripp Lite

Tripp Lite SmartOnline owner's manual

Tripp Lite SU10KMBPKX Installation and operation manual

Tripp Lite

Tripp Lite SU10KMBPKX Installation and operation manual

Delta Amplon RT Series user manual

Delta

Delta Amplon RT Series user manual

Tripp Lite SmartOnline SVTX Series owner's manual

Tripp Lite

Tripp Lite SmartOnline SVTX Series owner's manual

Technoline EVO PLUS 1.000 PF user manual

Technoline

Technoline EVO PLUS 1.000 PF user manual

PowerGuard 6KT user manual

PowerGuard

PowerGuard 6KT user manual

Tripp Lite OMNISMT700M quick start guide

Tripp Lite

Tripp Lite OMNISMT700M quick start guide

East EA900Pro Series Operation manual

East

East EA900Pro Series Operation manual

Tripp Lite Internet Office INTERNET350SER owner's manual

Tripp Lite

Tripp Lite Internet Office INTERNET350SER owner's manual

Tripp Lite 1400VA owner's manual

Tripp Lite

Tripp Lite 1400VA owner's manual

Tripp Lite INTERNET525U Specifications

Tripp Lite

Tripp Lite INTERNET525U Specifications

Tripp Lite Smart INT 1000 owner's manual

Tripp Lite

Tripp Lite Smart INT 1000 owner's manual

manuals.online logo
manuals.online logoBrands
  • About & Mission
  • Contact us
  • Privacy Policy
  • Terms and Conditions

Copyright 2025 Manuals.Online. All Rights Reserved.