VESPA LXV 50 2012 User manual

Vespa would like to thank you
for choosing one of its products. We have prepared this manual to help you to get the very best from your vehicle. Please read it carefully before riding
the vehicle for the first time. It contains information, tips and precautions for using your vehicle. It also describes features, details and devices to assure
you that you have made the right choice. We believe that if you follow our suggestions, you will soon get to know your new scooter and it will serve you
well for a long time to come. This booklet forms an integral part of the vehicle; should the vehicle be sold, it must be transferred to the new owner.
Vespa LXV 50
Ed. 02_11/2012

The instructions given in this manual are intended to provide a clear, simple guide to using your vehicle; this booklet also details routine maintenance
procedures and regular checks that should be carried out on the vehicle at an authorised Dealer or Service Centre. The booklet also contains
instructions for simple repairs. Any operations not specifically described in this booklet require the use of special tools and/or particular technical
knowledge: to carry out these operations, refer to any authorised Dealer or Service Centres.
2

Personal safety
Failure to completely observe these instructions will result in serious risk of personal
injury.
Safeguarding the environment
Sections marked with this symbol indicate the correct use of the vehicle to prevent dam-
aging the environment.
Vehicle intactness
The incomplete or non-observance of these regulations leads to the risk of serious
damage to the vehicle and sometimes even the invalidity of the guarantee.
The signs that you see on this page are very important. They are used to highlight parts
of the booklet that should be read with particular care. The different symbols are used
to make each topic in the manual simple and quick to locate.
3

4

INDEX
VEHICLE...................................................................................... 7
Dashboard................................................................................ 8
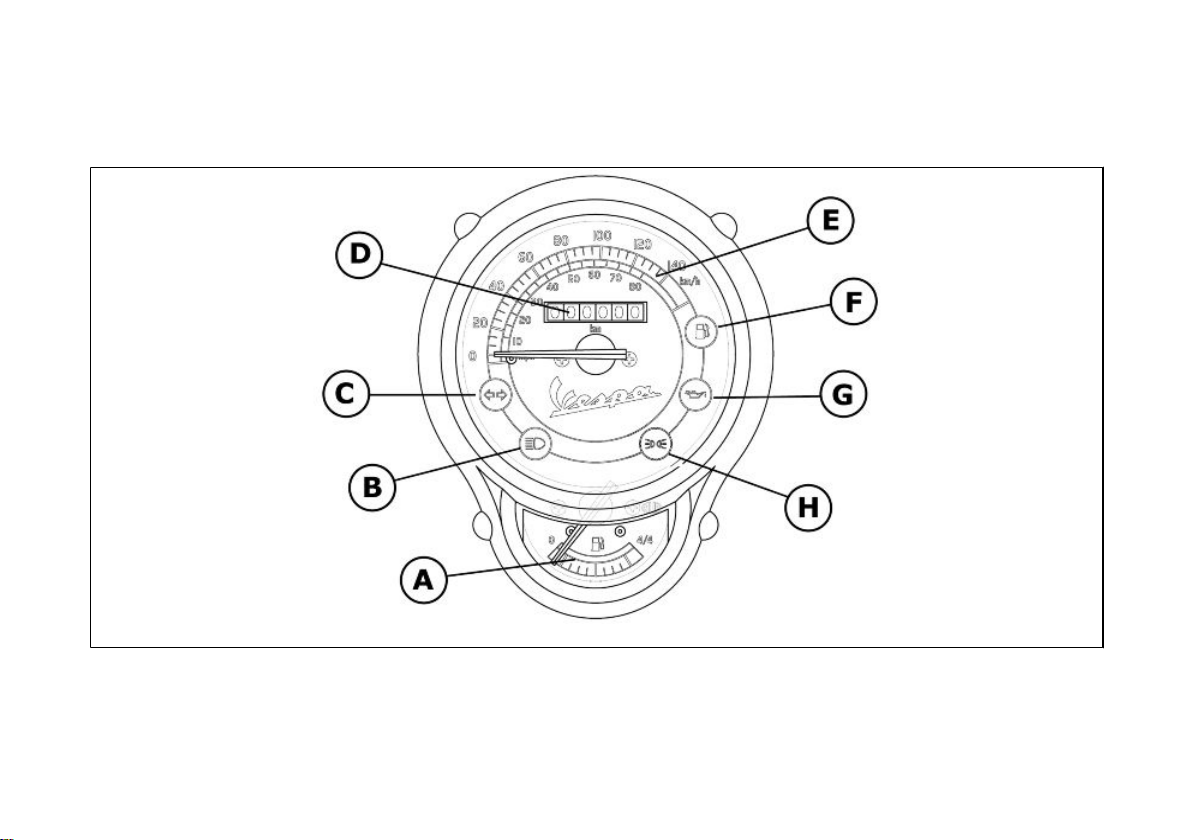
Analogueinstrumentpanel......................................................... 9
Keyswitch.................................................................................. 11
Lockingthesteeringwheel....................................................... 11
Releasingthesteeringwheel................................................... 11
Switchdirectionindicators.......................................................... 12
Hornbutton................................................................................ 12
Lightswitch................................................................................ 13
Start-upbutton........................................................................... 13
Thesaddle................................................................................. 13
Openingthesaddle................................................................. 14
Keys.......................................................................................... 15
Identification.............................................................................. 15
Reartopboxopening................................................................... 16
USE.............................................................................................. 17
Checks...................................................................................... 18
Refuelling.................................................................................. 18
Tyrepressure............................................................................. 20
Runningin.................................................................................. 20
Startinguptheengine.................................................................. 21
Difficultstartup........................................................................... 22
Stoppingtheengine.................................................................... 23
Catalyticsilencer........................................................................ 23
Automatictransmission.............................................................. 24
Safedriving................................................................................ 25
MAINTENANCE........................................................................... 27
Huboillevel................................................................................ 28
Tyres......................................................................................... 29
Sparkplugdismantlement.......................................................... 30
Removingtheairfilter.................................................................. 31
Secondaryairsystem................................................................. 32
Intakeplug................................................................................. 32
Checkingthebrakeoillevel.......................................................... 33
Battery....................................................................................... 34
Checkingtheelectrolytelevel................................................... 35
Long periods of inactivity.......................................................... 36
Fuses........................................................................................ 37
Frontlightgroup.......................................................................... 40
Headlightadjustment.............................................................. 41
Frontdirectionindicators............................................................. 42
Rearopticalunit.......................................................................... 42
Rearturnindicators..................................................................... 43
Rear-viewmirrors....................................................................... 43
Idleadjustment........................................................................... 44
Frontdiscbrake.......................................................................... 44
Reardrumbrake......................................................................... 45
Puncture.................................................................................... 46
delveicolo.................................................................................. 46
Cleaningthevehicle.................................................................... 47
TECHNICALDATA....................................................................... 53
Toolkit....................................................................................... 56
SPAREPARTSANDACCESSORIES........................................... 57
Warnings................................................................................... 58
SCHEDULEDMAINTENANCE..................................................... 59
Scheduledservicingtable........................................................... 60
SelèniaMotoRider..................................................................... 63
5

6

Vespa LXV 50
Chap. 01
Vehicle
7

Dashboard (01_01)
A= Starter button
B= Throttle grip
C= Front brake lever
D= Instrument panel
E= Light switch
F= Front brake lever
G= Turn indicator switch
H= Horn button
8
1 Vehicle

01_01
Analogueinstrumentpanel (01_02)
A= Fuel gauge
B= High-beam warning light
C= Turn indicator warning light
D= Odometer
E= Speedometer
9
1 Vehicle

F= Low fuel warning light
G= Low oil pressure warning light
H= Headlight warning light
01_02
10
1 Vehicle

01_03
Keyswitch (01_03)
LOCK = Ignition disabled, extractable key, steering lock engaged front glove-box
locked.
OFF = Ignition disabled, extractable key, steering lock disengaged, front glove-box
unlocked.
ON = Ready to start position, anti-theft device disabled, non-extractable key, glove-
box unlocked.
Lockingthesteeringwheel
Turn the handlebar to the left (as far as it will go), turn the key to «LOCK» and remove
the key.
CAUTION
DO NOT TURN THE KEY TO «LOCK» OR «KEY OFF» WHILE RIDING.
Releasingthesteeringwheel
Reinsert the key and turn it to «OFF».
CAUTION
DO NOT TURN THE KEY TO «LOCK» OR «KEY OFF» WHILE RIDING.
11
1 Vehicle

01_04
Switchdirectionindicators (01_04)
To set the left turn indicators flashing, move lever «B» to the left; to set the right turn
indicators flashing, move it to the right. The lever automatically returns to the central
positionandtheindicatorsremainon.Toturntheindicatorsoff,pressthelevertowards
the switch.
01_05
Hornbutton (01_05)
Horn button «E»
12
1 Vehicle

01_06
Lightswitch (01_06)
1 = High beam and side light
2 = Low beam and side light
3= High-beam light passing mode
01_07
Start-upbutton (01_07)
To start the engine, press the starter button, «P», after pulling either one of the two
brake levers.
Thesaddle
Saddles fitted to this scooter are upholstered in Authentic Leather, and are a stylish
accessory to emphasise an already exclusive product such as your Vespa. As leather
is a natural and vivid material, it tends to get "very opaque" aspect as time goes by,
an aspect typical of Authentic Leather. This product may also show characteristic un-
dertones and strains.
13
1 Vehicle

To care and maintain the features of the saddle through time, follow these tips: Do not
exposeit toweather changes,when thescooter isparked protectit withthe waterproof
cover supplied and stored under the saddle.
Periodically, especially during rainy seasons, apply commercially available water-
proofing products (footwear spray). Do not apply shoe polish or wax on the saddle so
as not to stain your clothes.
In case of forced and prolonged exposure to water, dry the saddle far from any heat
source, do not to use alcohol, solvent-based products and pay special care when
refuelling.
If the saddle gets stained, wipe the area and if necessary wash it with lukewarm water
and neutral soap.
To prevent the waterproof cover from being taken away when the scooter is left un-
attended, fasten it with hook next to the saddle hinge.
01_08
Openingthesaddle (01_08)
Insertthe key into the saddle lock «A», turn it anticlockwise andtip the saddle forward.
14
1 Vehicle

01_09
Keys (01_09)
The vehicle is supplied with two keys (one spare) which serve to start the engine and
unlock the saddle compartment. The keys are accompanied by a tag marked with the
identification code to be quoted when ordering duplicates.
WARNING
WE RECOMMEND KEEPING THE DUPLICATE KEY TOGETHER WITH ITS CODE
IN A SAFE PLACE AND NOT ON THE VEHICLE
01_10
01_11
Identification (01_10, 01_11)
The identification numbers consist of a prefix stamped on the chassis and on the en-
gine, followed by a number. They must be quoted when ordering spare parts. We
recommendthat you check that the prefixand chassis number stamped on thevehicle
correspond with those in the vehicle documents.
CAUTION
PLEASE REMIND THAT ALTERING IDENTIFICATION REGISTRATION NUM-
BERS CAN LEAD TO SERIOUS PENAL SANCTIONS (IMPOUNDING OF THE
VEHICLE, ETC.).
15
1 Vehicle

Reartopboxopening
Turn the key to «OFF». Then press it. When the key is set to «LOCK», the glove-box
is locked.
16
1 Vehicle

Vespa LXV 50
Chap. 02
Use
17

Checks
Before using the vehicle, check:
1.That the petrol tank and the oil reservoir are full.
2.Rear hub oil level.
3.That the tyres are properly inflated.
4.The correct functioning of headlights, rear light and turn indicators.
5.The correct functioning of front and rear brakes.
6.The fluid level in the brake pump reservoir.
02_01
Refuelling (02_01, 02_02)
Fill fuel tank «A» with unleaded petrol with a minimum octane rating of 95.
The low fuel warning light on the instrument panel turns on to signal low fuel (see the
"Control Panel" section).
Top up oil tank «B» using recommended oil. The oil warning light on the instrument
panel turns on to signal oil minimum level (see the "Control Panel" section).
Should this warning light turn on, the oil tank should be topped-up at the following
refuelling and in any case before travelling another 150 km.
When turning the key «ON», the oil warning light turns on for a few seconds indicating
the correct functioning of the bulb and oil reserve circuit.
If the warning light fails to come on, it is faulty. Should this happen, contact an Au-
thorised Piaggio Service Centre.
CAUTION
SHUT OFF THE ENGINE BEFORE REFUELLING WITH PETROL. PETROL IS
HIGHLYFLAMMABLE.DONOTLETPETROLSPILLFROMTHETANKORWHILE
REFUELLING 18
2 Use

02_02
CAUTION
DO NOT BRING NAKED FLAMES OR CIGARETTES NEAR THE MOUTH OF THE
FUEL TANK: FIRE HAZARD. ALSO AVOID INHALING HARMFUL VAPOURS.
IMPORTANT: NEVER EMPTY THE MIXER OIL RESERVOIR.
CAUTION
THE USE OF OILS AND SPARK PLUGS OTHER THAN THOSE RECOMMENDED
CAN SHORTEN THE LIFE OF THE ENGINE.
Recommended products
eni i-Ride PG 2t
Synthetic based lubricant for low smoke 2-stroke engines and additives.
API TC - JASO FC - ISO-L-EGD
Characteristic
oil mixer tank
Plastic, capacity ~ 1.2 l
Topping up mixer oil reservoir
Topping up oil reservoir: 0.5 ÷ 0.7 l
Fuel tank capacity
~ 8.5 l (2 l of which is reserve)
19
2 Use

Tyrepressure
CAUTION
TYRE PRESSURE SHOULD BE CHECKED WHEN TYRES ARE COLD.INCOR-
RECT TYRE PRESSURE CAUSES ABNORMAL TYRE WEAR AND MAKES RID-
ING DANGEROUS.
TYRES MUST BE REPLACED WHEN THE TREAD REACHES THE WEAR LIMITS
SET FORTH BY LAW.
Characteristic
Front tyre pressure
1.6 bar
Rear tyre pressure
2 bar
Rear tyre pressure - driver and passenger
2.2 bar
Runningin
WARNING
DURING THE FIRST 1000 KM DO NOT RIDE THE VEHICLE OVER 80% OF ITS
MAXIMUM SPEED. AVOID TWISTING THE THROTTLE GRIP FULLY OR KEEP-
ING A CONSTANT SPEED ALONG LONG SECTIONS OF ROAD. AFTER THE
20
2 Use
Table of contents
Other VESPA Scooter manuals

VESPA
VESPA LX Series User manual

VESPA
VESPA 42 L2 Guide

VESPA
VESPA S 50 4T 4V (2008) User manual

VESPA
VESPA 125 Primavera User manual

VESPA
VESPA GT 200 Instruction manual

VESPA
VESPA S 2012 Guide

VESPA
VESPA GT 125 Instruction manual

VESPA
VESPA GTS 300 i.e. User manual

VESPA
VESPA GTS Super 300 User manual

VESPA
VESPA LT 3V ie User manual

VESPA
VESPA S 50 4T 2V 2012 User manual

VESPA
VESPA Vespa GTS 250 User manual

VESPA
VESPA ET4 50 Instruction manual

VESPA
VESPA LX 50 User manual

VESPA
VESPA 125 Primavera Guide

VESPA
VESPA GTS Supertech 300 hpe User manual

VESPA
VESPA 946 User manual

VESPA
VESPA Primavera S User manual

VESPA
VESPA PX 150 USA Instruction manual

VESPA
VESPA PRIMAVERA 50 2T 2013 User manual