VEVOR EB-1550 User manual

Technical Support and E-Warranty Certificate www.vevor.com/support
BATTERY PRESSING TOOL
OPERATING INSTRUCTION
MODEL:EB-1550
We continue to be committed to provide you tools with competitive price.
"Save Half", "Half Price" or any other similar expressions used by us only represents an
estimate of savings you might benefit from buying certain tools with us compared to the major
top brands and doses not necessarily mean to cover all categories of tools offered by us. You
are kindly reminded to verify carefully when you are placing an order with us if you are
actually saving half in comparison with the top major brands.

- 1 -
MODEL: EB-1550
Have product questions? Need technical support? Please feel free to
contact us: Technical Support and E-Warranty Certificate
www.vevor.com/support
NEED HELP? CONTACT US!
This is the original instruction, please read all manual instructions
carefully before operating. VEVOR reserves a clear interpretation of our
user manual. The appearance of the product shall be subject to the
product you received. Please forgive us that we won't inform you again if
there are any technology or software updates on our product.
BATTERY
PRESSING TOOL
- 2 -
SAVE THIS MANUAL
Keep this manual for the safety warnings and precautions, assembly, operating,
inspection, maintenance and cleaning procedures. Write the month and year of
purchase. Keep this manual and the receipt in a safe and dry place for future
reference.
IMPORTANT SAFETY INFORMATION
In this manual, on the labeling, and all other information provided with this product:
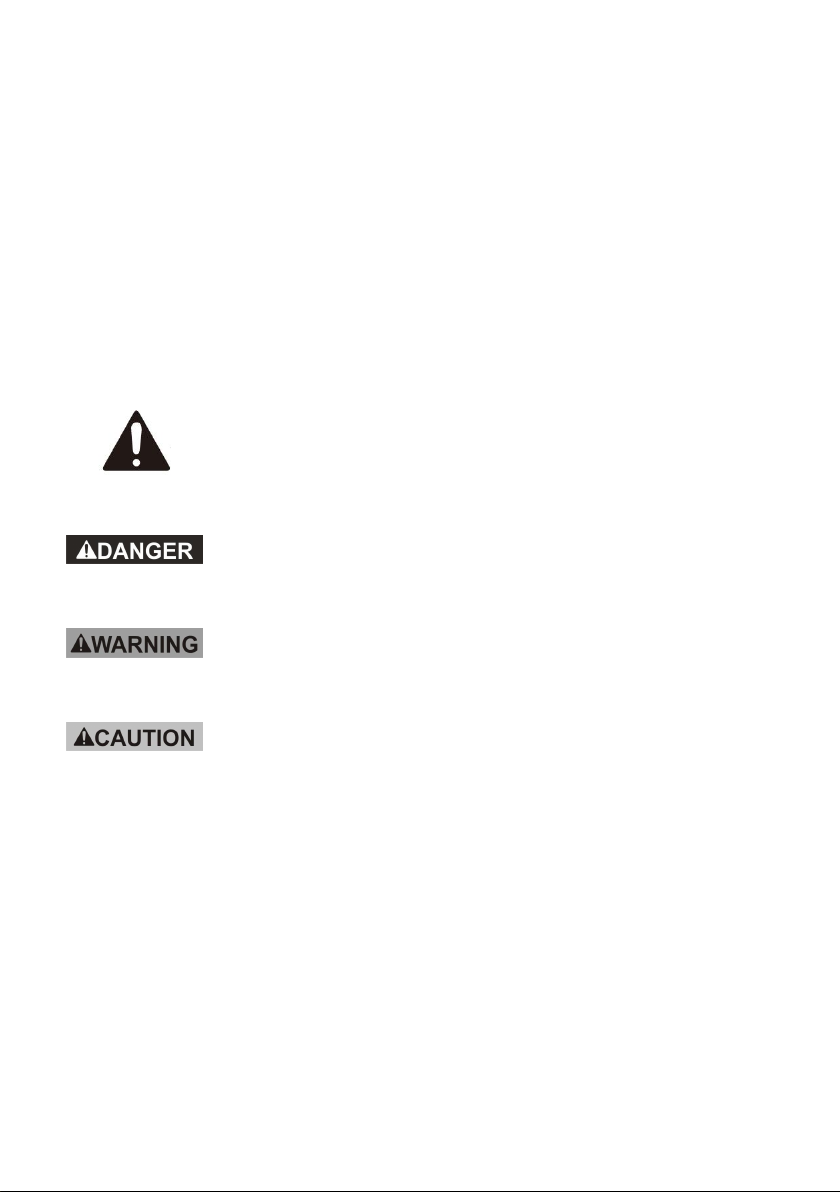
This is the safety alert symbol. It is used to alert you to potential
personal injury hazards. Obey all safety messages that follow this
symbol to avoid possible injury or death.
DANGER indicates a hazardous situation which,
if not avoided, will result in death or serious injury.
WARNING indicates a hazardous situation which,
if not avoided, could result in death or serious injury.
CAUTION, used with the safety alert symbol, indicates a
hazardous situation which, if not avoided, could result in minor
or moderate injury.
GENERAL SAFETY RULES
TO WORK IN SAFE CONDITIONS WITH THIS TOOLING, IT IS IMPERATIVE TO
READ CAREFULLY THE DIRECTIONS FOR USE AND TO FOLLOW THE
INSTRUCTIONS IT CONTAINS. IF YOU DO NOT RESPECT THE INFORMATION
WRITTEN IN THAT INSTRUCTION MANUAL THE WARRANTY WILL BE
CANCELLED.

- 3 -
1. Work area safety
a. Keep work area clean and clear. Cluttered or dark areas invite accidents.
b. This tool is not insulated; please do not use it on live conductor.
c. Please do not use or store the tool under high temperature, or one
surrounding filling with corrosive fluid. Pay attention to the sealing kits
becoming aging.
d. Keep children and bystander away while operating the Battery powered tool.
Distractions will cause you to lose control.
2. Electrical safety
a. Make sure the plug matches with the plug seat. Never try any changes on the
plug.
b. Do not put tool, battery and charger under a rainy or humid surroundings, it is
easy to trigger an electric shock accident if any water goes into the electric
system of the tool.
c. Do not use electric wire to carry, pull, or to draw out the plug and do not
connect the “-“and “+”, the damaged or twined wire may cause an electric
shock accident.
d. If the charger was strongly crashed, or dropping down or any other damages
happening, please do not try to repair it by yourself, send it back to the
authorized service center as soon as possible. The damaged charger may
cause an electric shock accident.
e. The best temperature for charging is between 10℃-40℃. Make sure the air
hole of the battery and charger are uncovered during charging.
f. Please cut off the power of the charger each time to reduce the hazard from
child or the person who not expert on the tool.
g. Do not charging when the power give out, the give out will caused the battery
does not working anymore. Please keep the battery out of the tool to avoid
the power discharge.
h. Please do not burn the battery or make it being short-circuited, it may cause

- 4 -
explosion.
i. Do not use the waste battery otherwise it will cause the electric shock.
j. Do not disassemble the battery and charger. If any problem please contact
with manufacture or agent.
3. Personal safety
a. Stay alert, watch what you are doing and use common sense when operating
the tool. Do not use the tool while you are tired or still under the influence of
drugs, alcohol or medication. A moment of inattention may result in series
personal injury.
b. Use safety equipment. Always use safety equipment such as mask, helmet,
safety cap, insulating shoes and etc to reduce the risk of personal injury.
c. Dress properly. Do not wear loose clothing or jewelry. Keep your hair, clothing
and gloves away from moving parts. Loose clothes jewelry or long hair can be
caught in moving parts.
d. Maintain power tools. Check for misalignment or binding of moving parts,
breakage of parts and any other condition that may affect the tool operation. If
damaged, have the tool repaired before use. Many accidents are caused by
poorly maintained power tools.
e. Please use the tool properly, the tool with correct power will do the job better
and safer at the rate for which it was designed.
f. Do not put your fingers into the head of the tool during operating. Your fingers
could be pinched very severely.
4. Service
Have your Battery Pressing Tool serviced by a qualified service technician using
only identical replacement parts. This will ensure that the safety of the Hydraulic
Crimping Tool Kit is maintained.

- 5 -
SPECIFIC SAFETY RULES
1) Maintain labels and nameplates on the tool which carry important safety
information. If unreadable or missing, contact the agent to replace.
2) This product is not a toy, keep it out of reach of children.
3) Do not put your fingers into the head of the tool during operating. Your fingers
could be pinched very severely.
4) Make sure the head was locked firmly during operation.
5) Do not use the tool without dies
6) Do not knock any parts of the tool, otherwise it will cause injury.
7) Do not operate at will, it will damage the MCU and electric system
8) The design of the limit screw on the head is for preventing the head from
dropping or popping.
9) Make sure the head was locked firmly during operation.
10) Do not use this tool for continuous use. After 30 to 40 cycles, allow the tool to
cool for 15 minutes.
11) Do not secure this tool in a vise. This tool is designed for hand-held operation.
12) The built-in safety valve goes through strict pressure test before marketing;
please do not adjust the pressure by unprofessional person. If the pressure is
not enough please return the tools back to the service center. The tool only
can be reused after checking and testing by trained person.
13) The warnings, precautions, and instructions discussed in this instruction
manual cannot cover all possible conditions and situations that may occur. It
must be understood by the operator that common sense and caution are
factors which cannot be built into this product, but must be supplied by the
operator.
UNDERSTAND YOUR TOOL
EB-1550 is a tool for connecting stainless steel pipe, XPAP, PEX pipe with fittings.
It is powered by Li-ion, actuated by brushless motor and controlled by MCU. With
a high pressure hydraulic system and longer life, saving more power, it is a perfect
tool to be used in electrical construction site

1. Specification
Max. pressing force:
32KN
Stroke:
40mm
Pressing range:
Thin-wall stainless steel pipe: 12-54mm
Pex pipe, XPAP, Copper pipe: 12-108mm
Hydraulic oil:
Shell Tellus T15# S2V HV15
Oil capacity:
115ml
Ambient temperature:
-10-40℃
Voltage/capacity:
18V/4.0Ah
Time/crimp:
3-6s( depend on the dia of pipe)
Time/charger:
Approx. 350 times (DN20)
Charging voltage:
AC 100V~240V ;50~60Hz
Charging time:
Approx.80mins
Size of tool:
395x318x86mm
Accessories:
Battery:
2 pcs
Charger:
1 pc
Sealing ring of cylinder:
1 set
Sealing ring of safety valve:
1 set

2. Description of components:
Parts No.
Description
Function
1
Jaw
For pressing , interchangeable jaw
2
Serial NO.
For record
3
Security icon
For warning
4
Pin
For locking/removing the jaw
5
Sheath
For preventing clamping hand
6
Limited bolt
For preventing head from dropping or
popping
7
White LED
For lighting
8
Red LED
For indicating the operating condition and
battery discharging situation.
9
Retract button
For manual retracting the piston in case of
an incorrect operation.
10
Label
For sticking company logo
11
Start button
For starting operation
12
OLED display
Show pressing time, electricity errors info
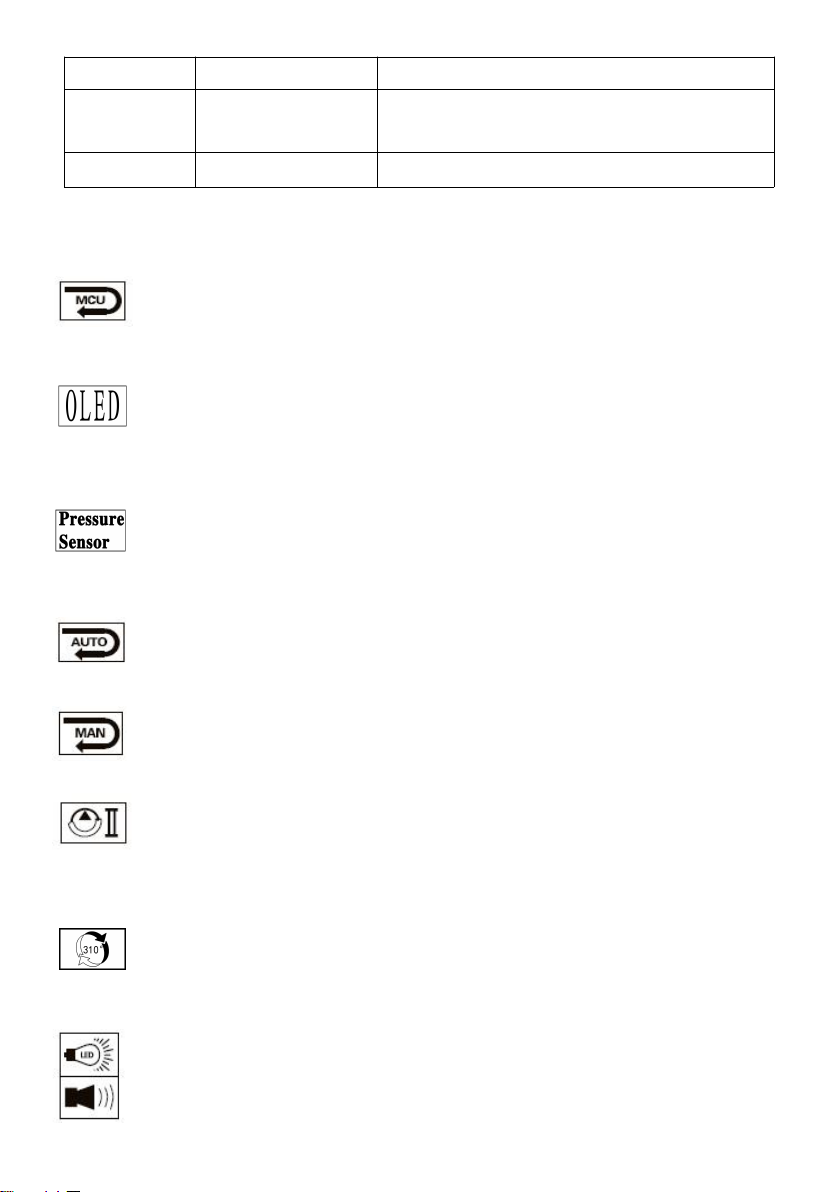
13
Battery lock
For locking/unlocking the battery.
14
battery
For supplying power, rechargeable Li-ion
(18V)
15
Strap buckle
For mounting strap
3. Function description
Micro computer control system-automatically detects the pressure when
in pressing with double safety protect.
OLED display - Dot matrix OLED display, which shows pressing times,
battery power, working pressure (if equipped with pressure sensor),
maintenance reminding and fault code.
Pressure monitoring and control technology -The pressure of the tool
system is monitored by a pressure sensor and the tool is pressure
controlled. (if configured)
Auto reset- Release the pressure automatically, retract the piston to the
starting position when reached the max output.
Manual reset —Can retract the piston to the starting positioning in case
of an incorrect operation.
The unit is equipped with a double piston pump which is characterized
by a rapid approach of the jaw towards the idler wheel and a slow
working motion.
The head can be smoothly turned by 310°around the longitudinal axis in
order to gain better access to tight corners and other difficult working
areas.
If a deviation from the set operation pressure or low battery charges is
identified, an acoustic signal sounds and a red display flashes.

The overall structure of the tool is compact.It is ergonomically designed
with a non-slip rubber grip and an optimized center of gravity for easier
operation.
A temperature sensor makes the tool stop working automatically when
the temperature over 60℃under long time working, the fault signal
sounds, it means the tool can’t continue working until the temperature
reduce to the normal.
Table 1 Signal Instruction and Meaning:
Serie
s No
Instruction
LED
(red)
LED
(white)
OLED
screen
What it
means
1
Self-checkin
g
¤¤
(2Hz)
Self-checking to
assure
everything is ok
2
Light
Delay
20s off
Timeout 5
minutes off
Enter the
working state,
the battery is
full
3
Charging
reminding
¤¤¤
(2Hz)
Lacking power
and need
charging.
¤
(5s)
◎◎◎◎◎
(2Hz)
Lacking power
and need
charging.
¤
(100ms)
No power and
need charging
immediately
4
Motor
overload
¤¤¤
(2Hz)
◎◎◎
(2Hz)
Motor get stuck,
battery
reloading,
recovery work
interface
5
Hydraulic
system
Malfunction
¤
(5s)
◎
(5s)
Tool doesn’t
release
pressure
automatically
when working
over 2mins,
reload battery
Table of contents
Other VEVOR Tools manuals


