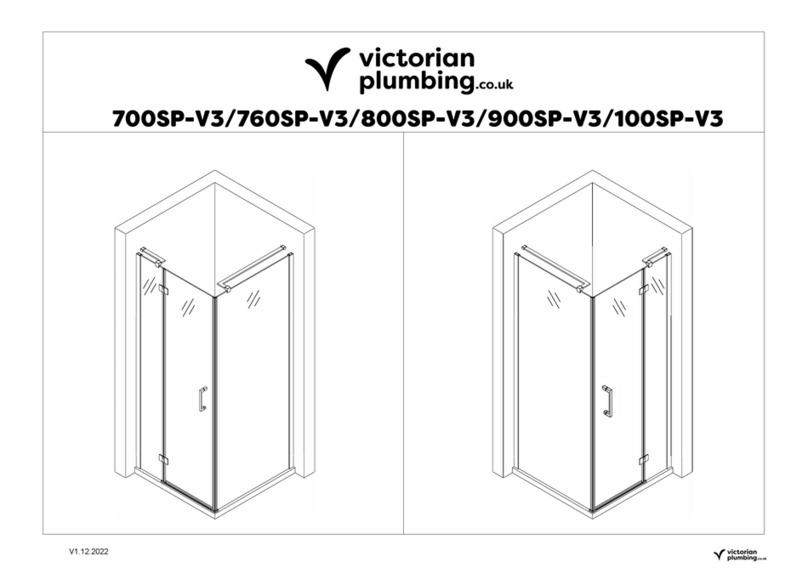
SHOWER TRAY FLAT TO FLOOR INSTALLATION
Please fully read these installaon procedures and familiarise yourself with the components
Please inspect the product immediately and fully upon receipt and prior toinstallaon for transit
damage, or any defects. Damage ordefects reported later cannot be accepted.
Your tray comes with a protecve film. Peel back toinspect then replace.
Donot discard the packaging as some of it is ulised throughout the installaon procedures.
Note! Weights may vary due to the manufacturing process by +/- 10% of the stated weight.
An amount of deviation can be expected on this type of product especially on the larger trays.
Shower Tray installation onto a timber oor.
It is recommended that all flat top shower trays are installed before ling toensure that the top
radius of the tray is behind or at least below the le face. This will help tocreate a water ght seal.
Having selected where the tray is tobe fied, check tomake sure the area is reasonably level. (Fig 1)
Carefully lower the tray intothe chosen posion, and mark the floorfor the waste opening. (Fig 2)
Check below the floor level toensure that there is adequate access for the waste and pipe work.
If an obstrucon is found, drill a hole and make provision in the floor of a sufficient diameter to
allow the enre waste coupling tofall below the floor level.
Make sure the floorboards are securely fixed. If this is not possible, use 18/20mm thick green grade
chipboard, cut tothe size of the tray and fix in place.
Caution!! Before attempting to secure any loose oorboards or the chipboard to the oorboards,
check that there are no pipes or electrical connections beneath the oor level.
Seal the installaon area with a suitable clear waterproofing agent.
Fit the waste and trap tothe tray following the manufacturers instrucon.
It is recommended that you use a suitable silicone sealant around the waste tocreate a waterght seal.
Ensure that the enre base of the tray is fully supported as the base of the tray may not be enrely level.
This is duetothe manufacturing process
So that the tray is bedded completely level the tray area has tobe FULLY COVERED with a 8mm minimum
thickness of weak cement mix (Fig 3)
The minimum thickness of mortar at the lowest point should be 5mm aer the tray has been levelled.
Check that the top of the tray is level. (Fig 4)
(Note the base of the tray has a built-in fall toallow fordrainage).
How To Mix Up A Standard Mortar
Mix 1 part ordinary cement to5 parts so sand. Mix the twotogether on a smooth hard surface.
Measure the sand and then add the cement on top. Turn them together unl they make a uniform
colour. Make a crater and add water gradually. Turn the mix intothe water toa flexible consistency.
In the case of a flat top shower tray, it is advised that all the tray towall joints are now sealed with a
bead of silicone sealant, once this has been done the walls can be led. Ensure that you apply an addional
bead of silicone sealant between the tray and the les, prior tofing the wall channels. (Fig 5)
Installation Onto A Solid Or Restricted Access Floor.
Where it is difficult torun a waste assembly under the floor, we recommend that you ulise our
Universal Leg Set & Panel Kit. This is designed and specified for such installaons to
support the tray & give access tothe waste behind removable panels.
Note! For all trays tted with 'easy plumb' leg kits, we recommend that you baton
the wall to add addtional support.
For trays 1400mm and above, additional support must be given by a cut 11mm (Min)
thick board (Not Supplied) to suit the size of tray and allow enough space for the plinth
clips to be tted. Fix panel to the underside using a compound adhesive or similar.
