manuals.online logo
Brands
  1. Home
  2. •
  3. Brands
  4. •
  5. ViewZ
  6. •
  7. TV Mount
  8. •
  9. ViewZ VZ-CMKiT-01 User manual

ViewZ VZ-CMKiT-01 User manual

INSTALLATION MANUAL
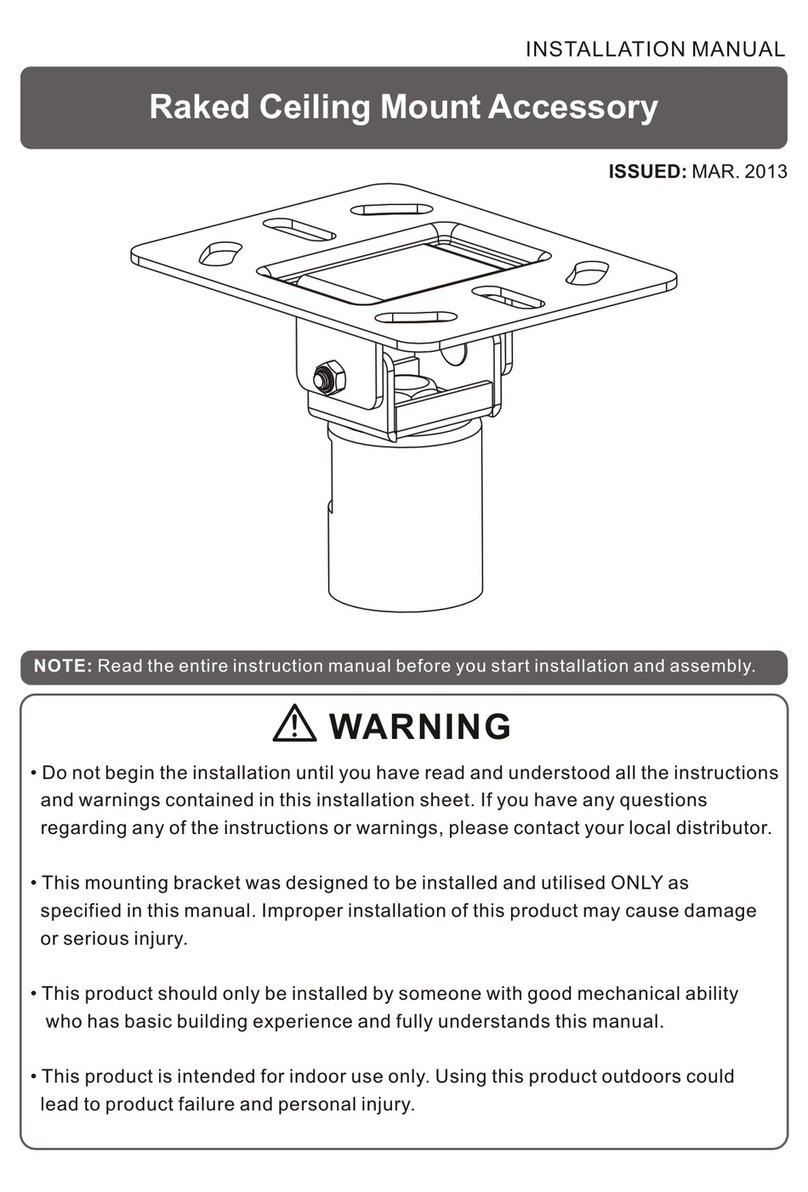
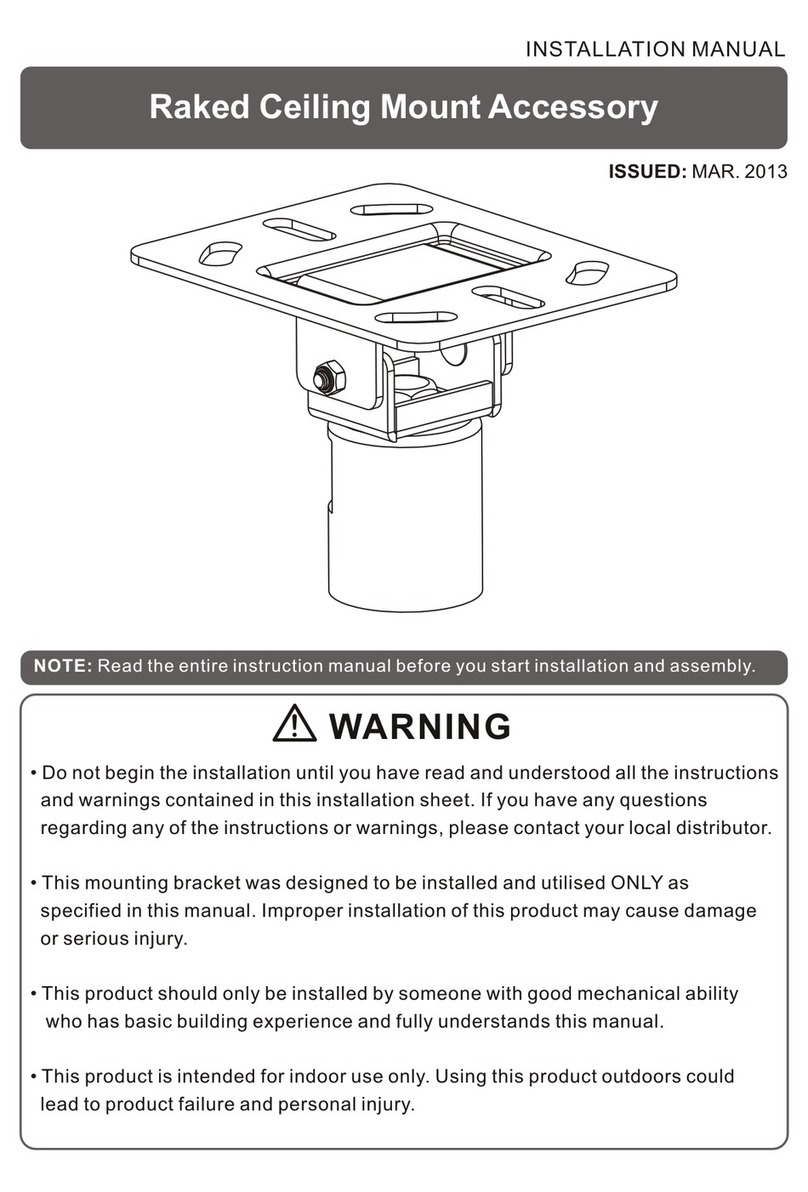
Raked Ceiling Mount Accessory
ISSUED: MAR. 2013
NOTE: Read the entire instruction manual before you start installation and assembly.
WARNING
• Do not begin the installation until you have read and understood all the instructions
and warnings contained in this installation sheet. If you have any questions
regarding any of the instructions or warnings, please contact your local distributor.
• This mounting bracket was designed to be installed and utilised ONLY as
specified in this manual. Improper installation of this product may cause damage
or serious injury.
• This product should only be installed by someone with good mechanical ability
who has basic building experience and fully understands this manual.
• This product is intended for indoor use only. Using this product outdoors could
lead to product failure and personal injury.
Component Checklist
IMPORTANT: Ensure that you have received all parts according to the component checklist prior to installation.
If any parts are missing or faulty, telephone your local distributor for a replacement.
ceiling plate (x1)
A
1.For Solid Brick and Concrete Mounting (fit flat roof or pitched roof)
Drill six pilot
holes
2
60mm
(2.4")
60mm
2.4"( )
45mm
(1.8")
ø 12mm
(ø 1/2") Screw ceiling
plate on the
ceiling
1
Mark the exact
location of
mounting holes
Installers must verify that the supporting surface will safely support the combined weight of the
equipment and all attached hardware and components.
WARNING
M8 (x6)x70 iron expansion bolt
W-A
Package W
W-A
1-1/2" internal diameter
or
W-A
2.Installing the Pole
set screw(x1)
B
Allen key (x1)
C
Thread and tighten the pole
(not included) onto the ceiling
plate.
Insert and tighten one set
screw to secure it.
B
C
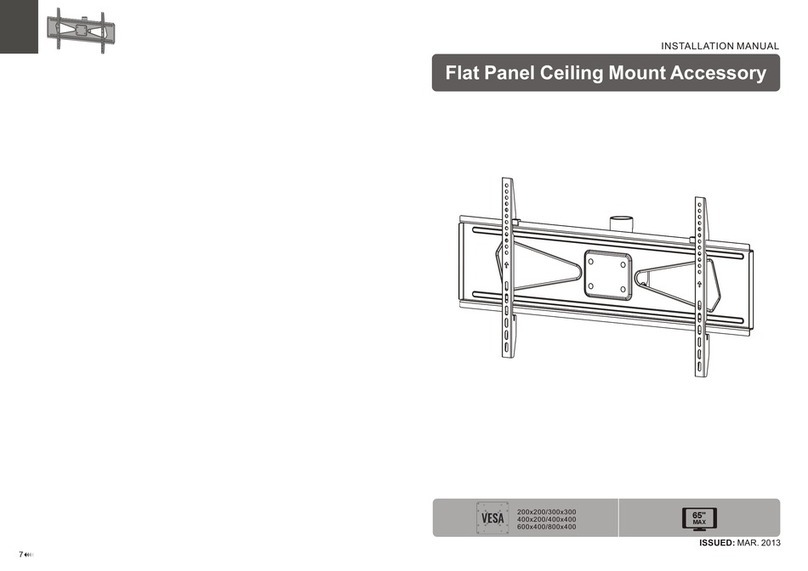
INSTALLATION MANUAL
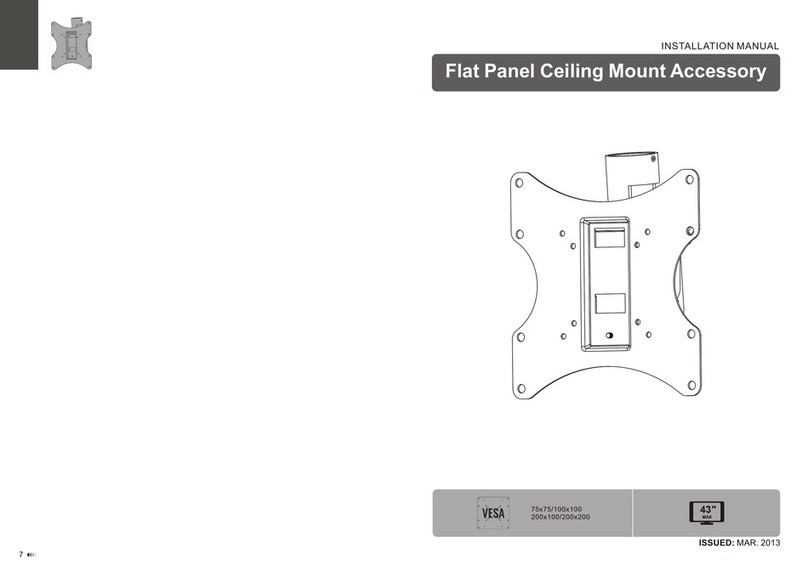
Flat Panel Ceiling Mount Accessory
ISSUED: MAR. 2013
7
43"
MAX
75x75/100x100
200x100/200x200
21
Package M
NOTE: Read the entire instruction manual before you start installation and assembly. Component Checklist
WARNING
• Do not begin the installation until you have read and understood all the instructions
and warnings contained in this installation sheet. If you have any questions
regarding any of the instructions or warnings, please contact your local distributor.
• This mounting bracket was designed to be installed and utilised ONLY as
specified in this manual. Improper installation of this product may cause damage
or serious injury.
• Always use an assistant or mechanical lifting equipment to safely lift and position
the equipment.
• Tighten screws firmly, but do not over tighten. Over tightening can cause damage
to the items, This greatly reduces their holding power.
• This product is intended for indoor use only. Using this product outdoors could
lead to product failure and personal injury.
IMPORTANT: Ensure that you have received all parts according to the component checklist prior to installation.
If any parts are missing or faulty, telephone your local distributor for a replacement.
D8 washer (x4)
M-F
D5 washer (x4)
M-E
small spacer (x8)
M-G
M5x14 (x4)
M-B
M6x14 (x4)
M-C
M8x20 (x4)
M-D
M4x14 (x4)
M-A
set screw(x1)
B
Allen key (x1)
C
ceiling plate (x1)
A
4
3
1. Separating the VESA Plate
Tighten all screws but do not over tighten.
Note: Choose the appropriate screws, washers and spacers (if necessary) according to the type of screen.
Screw the VESA plate onto the display.
3.Installing the VESA Plate
M-A
M-B
M-C
M-D
M-E
M-F
or
M-G
M-F
M-D
M-G
M-G
M-F
M-D
2. Attaching the VESA Plate to the Pipe
1-1/2" internal diameter
Thread and tighten the VESA plate
onto the pipe(not included).
or
Top of the display
Use a proper screwdriver to loosen
the screw to separate the VESA plate
from the ceiling mount accessory.
BC
Top of the display
65
1b. Solid Brick and Concrete Block Mounting: 4. Hanging the Display onto the Ceiling Mount Head 5. Adjustment
Maintenance
• Check that the bracket is secure and safe to use at regular intervals(at least every three months).
• Please contact your dealer if you have any questions.
+5°
-12°
1-1/2" internal diameter
Hook the VESA plate (attached the display) onto the ceiling mount head and tighten the screw to secure it.
adjustment handle
Loosen the adjustment handle to adjust the display to obtain the desired angle then tighten it.

Other ViewZ TV Mount manuals

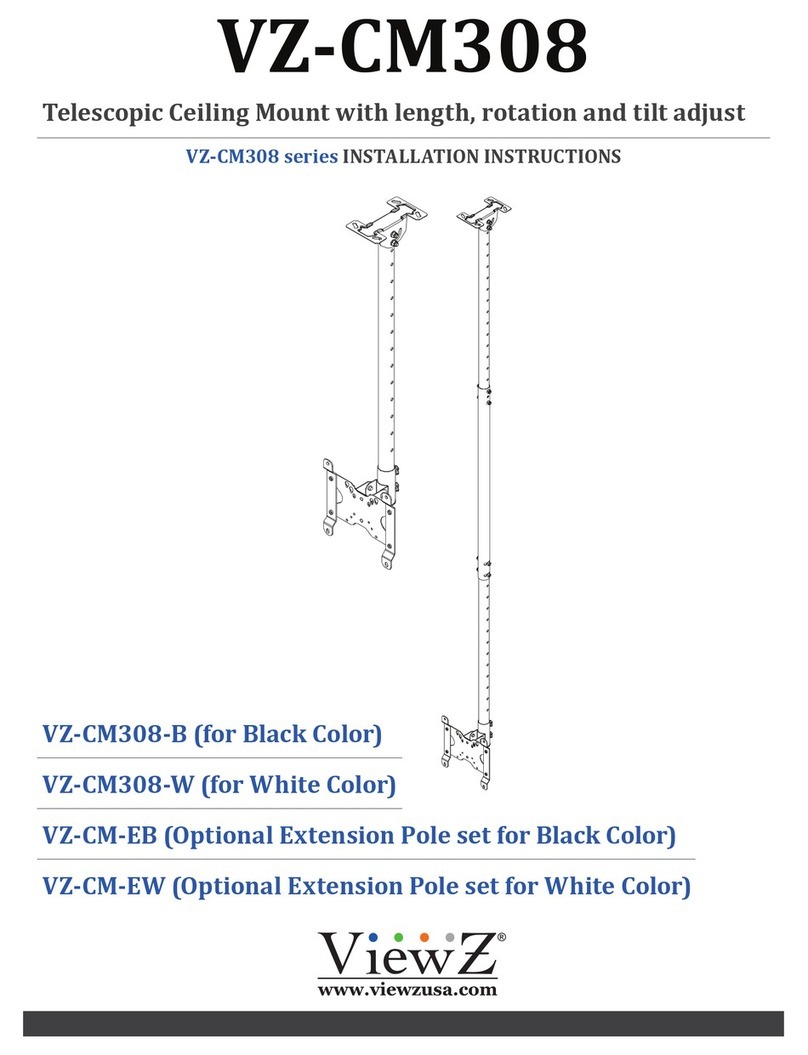
ViewZ VZ-CM308-B User manual

ViewZ

ViewZ VZ-CM308-B User manual

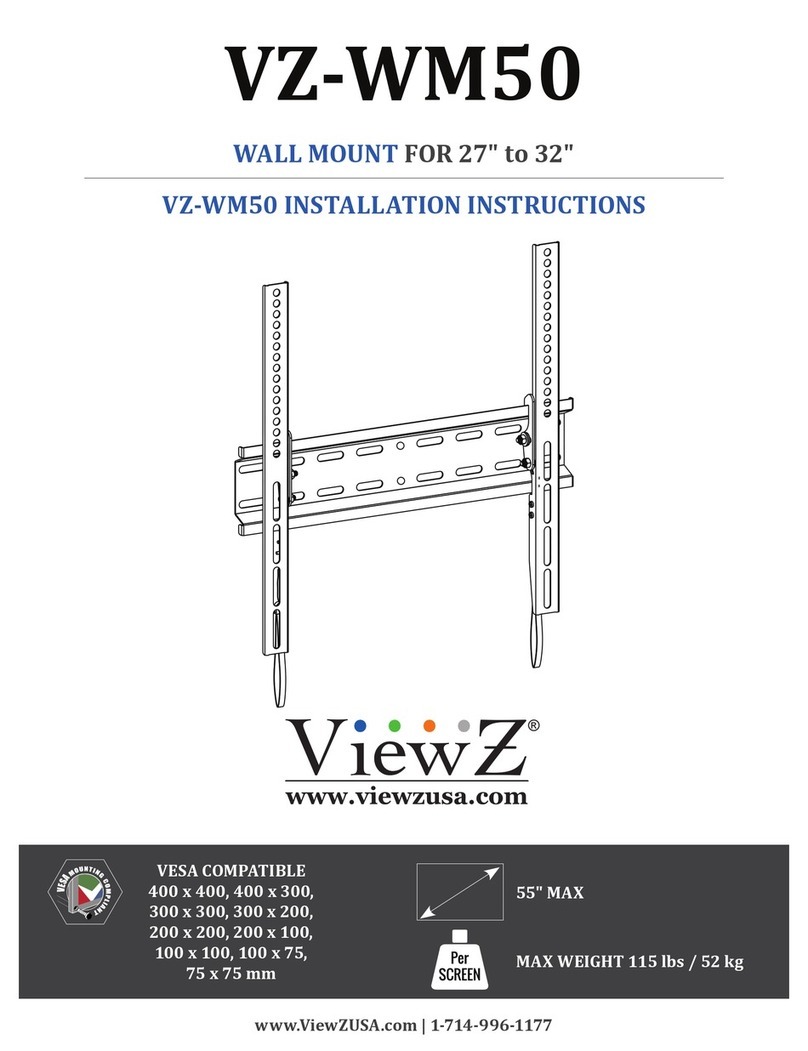
ViewZ VZ-WM50 User manual

ViewZ

ViewZ VZ-WM50 User manual

ViewZ VZ-CMKiT-04 User manual

ViewZ

ViewZ VZ-CMKiT-04 User manual

ViewZ VZ-CMKiT-02 User manual

ViewZ

ViewZ VZ-CMKiT-02 User manual

ViewZ VZ-CM-V3 User manual

ViewZ

ViewZ VZ-CM-V3 User manual

ViewZ VZ-CM-V1 User manual

ViewZ

ViewZ VZ-CM-V1 User manual

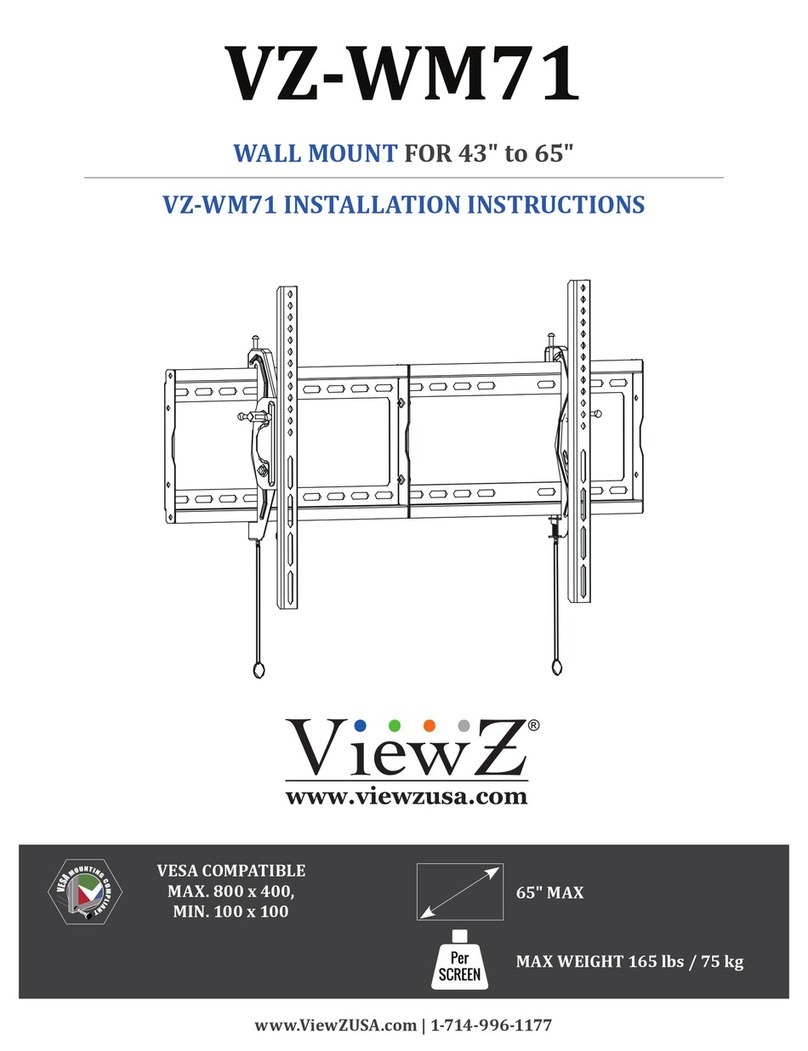
ViewZ VZ-WM71 User manual

ViewZ

ViewZ VZ-WM71 User manual

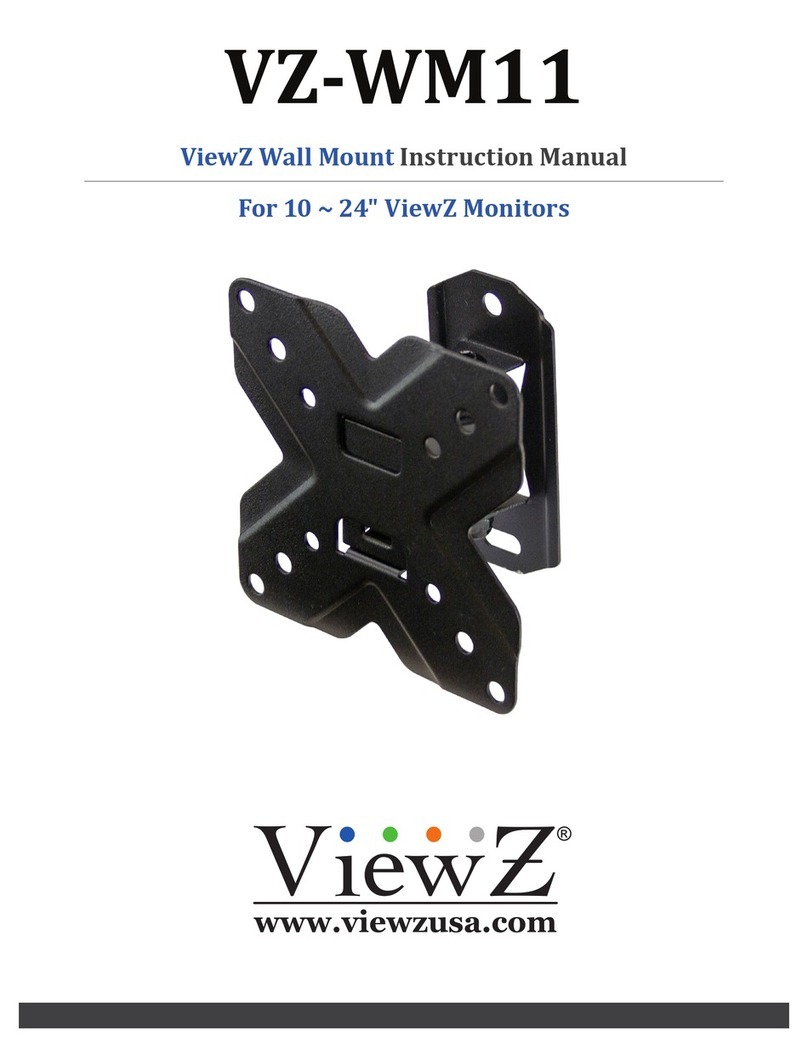
ViewZ VZ-WM11 User manual

ViewZ

ViewZ VZ-WM11 User manual

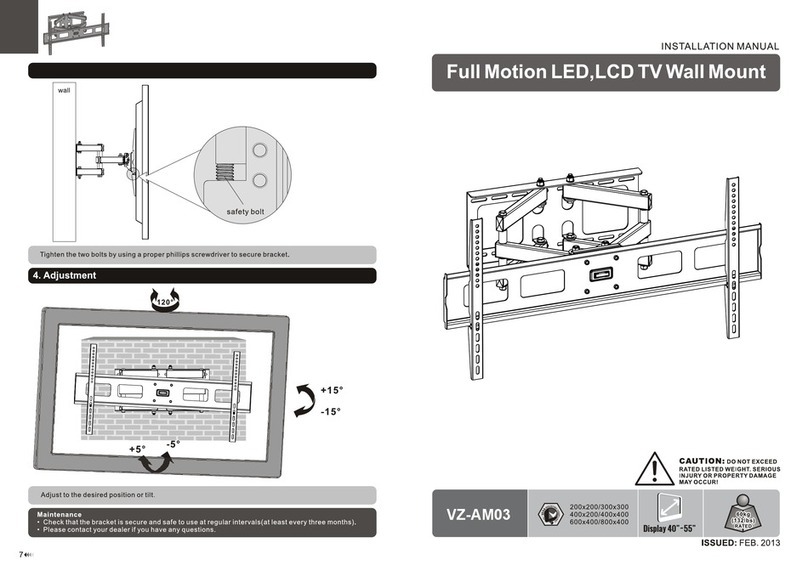
ViewZ VZ-AM03 User manual

ViewZ

ViewZ VZ-AM03 User manual

ViewZ VZ-WM60 User manual

ViewZ

ViewZ VZ-WM60 User manual

Popular TV Mount manuals by other brands

Spirit Commercial CT900 TV BRACKET installation guide

Spirit Commercial

Spirit Commercial CT900 TV BRACKET installation guide

Mounting Dream MD2380 installation instructions

Mounting Dream

Mounting Dream MD2380 installation instructions

CHIEF Video Wall Mount WM-46UN Chief instructions

CHIEF

CHIEF Video Wall Mount WM-46UN Chief instructions

Atak AXF2650 installation guide

Atak

Atak AXF2650 installation guide

VAULT PRO-EDBT Assembly instructions

VAULT

VAULT PRO-EDBT Assembly instructions

AVARRO NX-FML4390 manual

AVARRO

AVARRO NX-FML4390 manual

Panasonic TY-WK42PR1 Specifications

Panasonic

Panasonic TY-WK42PR1 Specifications

Sanus VisionMount SF203 instruction manual

Sanus VisionMount

Sanus VisionMount SF203 instruction manual

Lucasey CKLC100CRT71 installation instructions

Lucasey

Lucasey CKLC100CRT71 installation instructions

Anglepoise Type Range manual

Anglepoise

Anglepoise Type Range manual

Vivo STAND-E-TV100 instruction manual

Vivo

Vivo STAND-E-TV100 instruction manual

Digital Watchdog DWC-V7CMW quick start guide

Digital Watchdog

Digital Watchdog DWC-V7CMW quick start guide

GEM GEM 10001ST series Specifications

GEM

GEM GEM 10001ST series Specifications

peerless-AV Tru Vue TRP740 installation instructions

peerless-AV

peerless-AV Tru Vue TRP740 installation instructions

Idis DA-MA2000 installation manual

Idis

Idis DA-MA2000 installation manual

aspenhome I240-487-RIV Assembly instructions

aspenhome

aspenhome I240-487-RIV Assembly instructions

LEGRAND SANUS LLT2 instruction manual

LEGRAND

LEGRAND SANUS LLT2 instruction manual

Seura TW-5 installation guide

Seura

Seura TW-5 installation guide

manuals.online logo
manuals.online logoBrands
  • About & Mission
  • Contact us
  • Privacy Policy
  • Terms and Conditions

Copyright 2025 Manuals.Online. All Rights Reserved.