manuals.online logo
Brands
  1. Home
  2. •
  3. Brands
  4. •
  5. ViewZ
  6. •
  7. TV Mount
  8. •
  9. ViewZ VZ-CMKiT-04 User manual

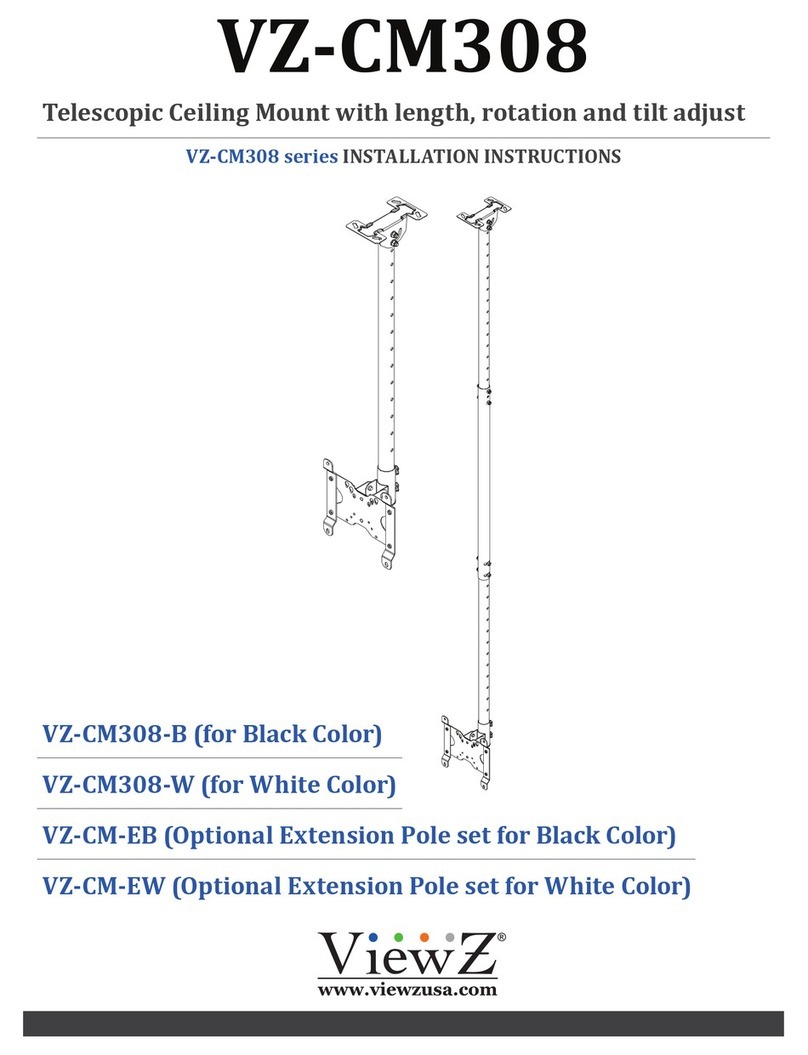
ViewZ VZ-CMKiT-04 User manual

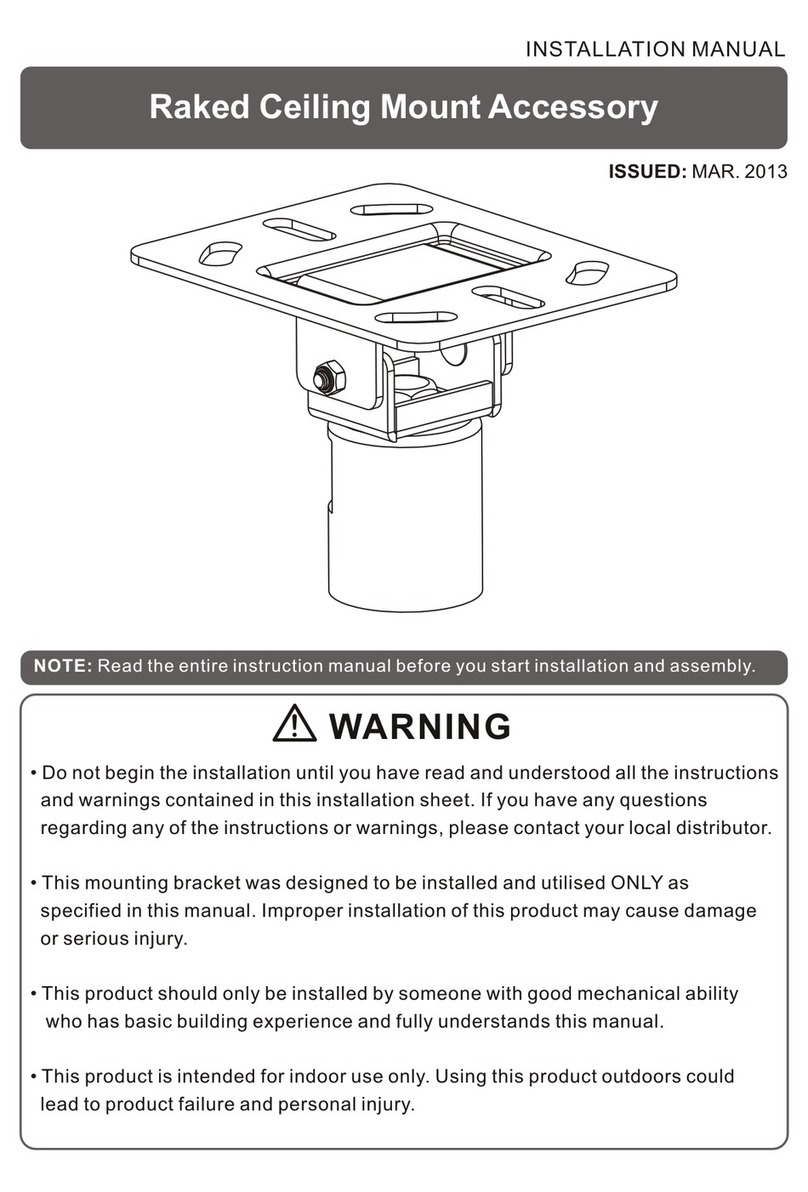
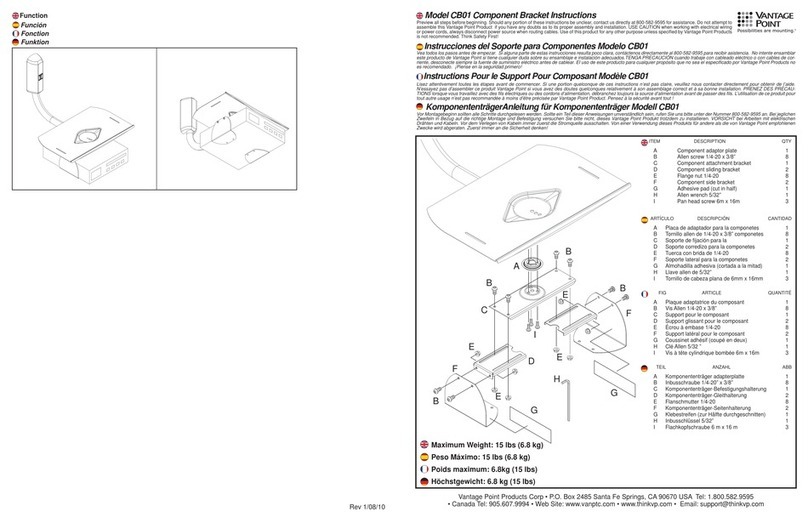
INSTALLATION MANUAL
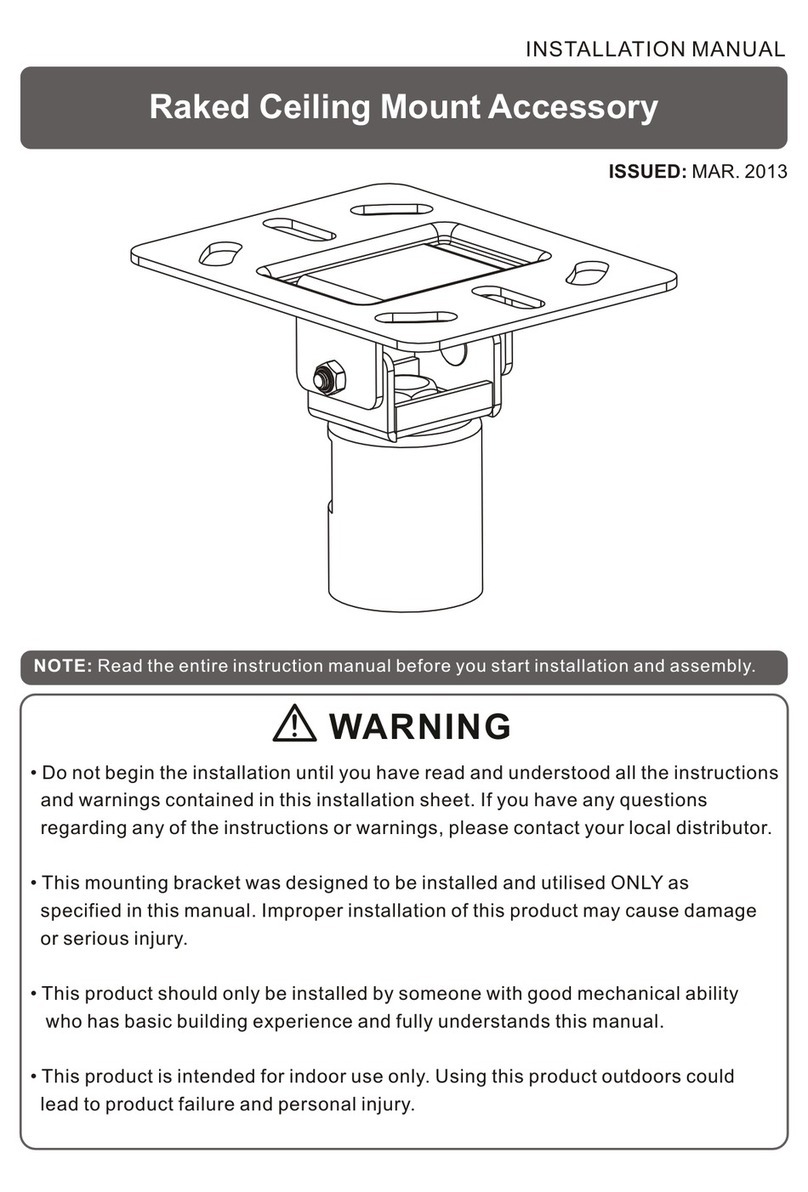
Raked Ceiling Mount Accessory
ISSUED: MAR. 2013
NOTE: Read the entire instruction manual before you start installation and assembly.
WARNING
• Do not begin the installation until you have read and understood all the instructions
and warnings contained in this installation sheet. If you have any questions
regarding any of the instructions or warnings, please contact your local distributor.
• This mounting bracket was designed to be installed and utilised ONLY as
specified in this manual. Improper installation of this product may cause damage
or serious injury.
• This product should only be installed by someone with good mechanical ability
who has basic building experience and fully understands this manual.
• This product is intended for indoor use only. Using this product outdoors could
lead to product failure and personal injury.
Component Checklist
IMPORTANT: Ensure that you have received all parts according to the component checklist prior to installation.
If any parts are missing or faulty, telephone your local distributor for a replacement.
ceiling plate (x1)
A
1.For Solid Brick and Concrete Mounting (fit flat roof or pitched roof)
Drill six pilot
holes
2
60mm
(2.4")
60mm
2.4"( )
45mm
(1.8")
ø 12mm
(ø 1/2") Screw ceiling
plate on the
ceiling
1
Mark the exact
location of
mounting holes
Installers must verify that the supporting surface will safely support the combined weight of the
equipment and all attached hardware and components.
WARNING
M8 (x6)x70 iron expansion bolt
W-A
Package W
W-A
1-1/2" internal diameter
or
W-A
2.Installing the Pole
set screw(x1)
B
Allen key (x1)
C
Thread and tighten the pole
(not included) onto the ceiling
plate.
Insert and tighten one set
screw to secure it.
B
C
INSTALLATION MANUAL
Extension Column Connector
ISSUED: MAR. 2013
NOTE: Read the entire instruction manual before you start installation and assembly.
WARNING
• Do not begin the installation until you have read and understood all the instructions
and warnings contained in this installation sheet. If you have any questions
regarding any of the instructions or warnings, please contact your local distributor.
• Improper installation of this product may cause damage or serious injury.
Component Checklist
IMPORTANT: Ensure that you have received all parts according to the component checklist prior to installation.
If any parts are missing or faulty, telephone your local distributor for a replacement.
pole (x1)
A
1-1/2" internal diameter
Installing the Pole
tighten
tighten
INSTALLATION MANUAL
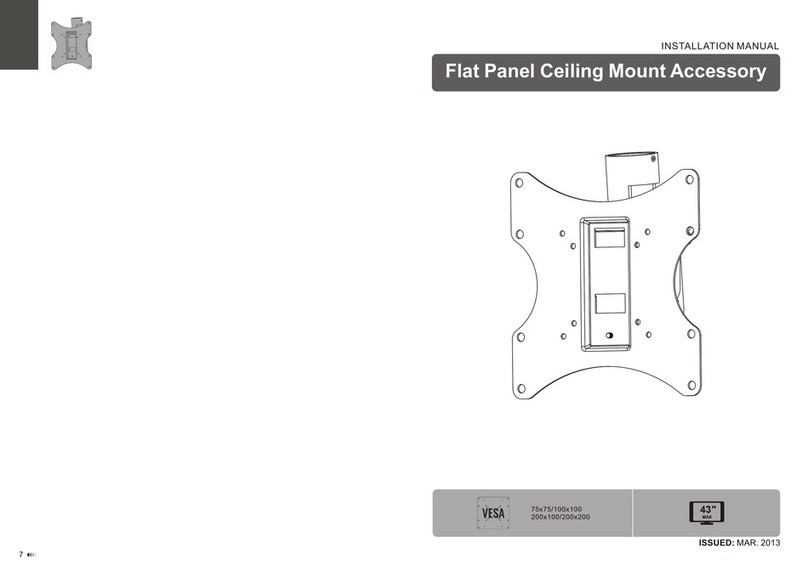
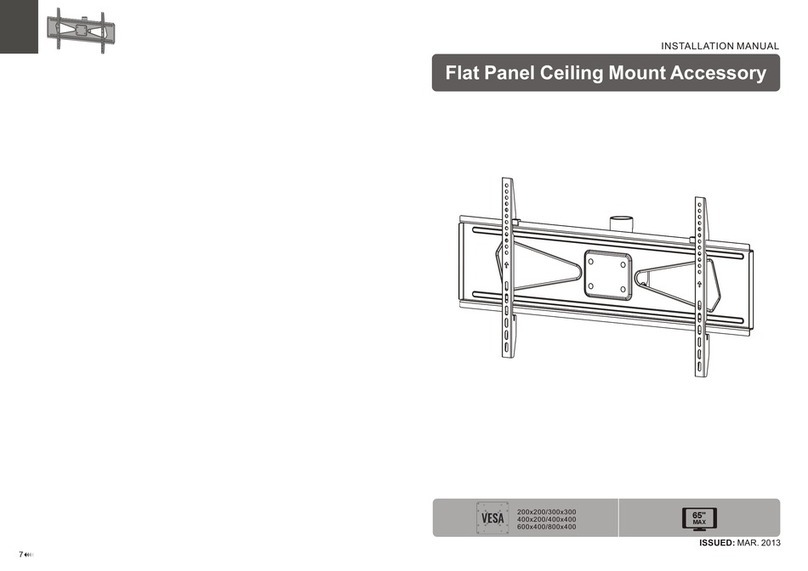
Flat Panel Ceiling Mount Accessory
ISSUED: MAR. 2013
7
200x200/300x300
400x200/400x400
600x400/800x400
65"
MAX
21
NOTE: Read the entire instruction manual before you start installation and assembly. Component Checklist
WARNING
• Do not begin the installation until you have read and understood all the instructions
and warnings contained in this installation sheet. If you have any questions
regarding any of the instructions or warnings, please contact your local distributor.
• This mounting bracket was designed to be installed and utilised ONLY as
specified in this manual. Improper installation of this product may cause damage
or serious injury.
• Always use an assistant or mechanical lifting equipment to safely lift and position
the equipment.
• Tighten screws firmly, but do not over tighten. Over tightening can cause damage
to the items, This greatly reduces their holding power.
• This product is intended for indoor use only. Using this product outdoors could
lead to product failure and personal injury.
IMPORTANT: Ensure that you have received all parts according to the component checklist prior to installation.
If any parts are missing or faulty, telephone your local distributor for a replacement.
Package M
universal plate (x1)
A
adapter bracket (x2)
B
M5x14 (x4)
M-A
M6x14 (x4)
M-B
washer
M-F
(x4)
M8x20 (x4)
M-C
big spacer (x4)
M-H
M6x30 (x4)
M-D
M8x30 (x4)
M-E
small spacer (x8)
M-G
antiskid block (x2)
C
set screw(x1)
D
Allen key (x1)
E
43
TV
TV
TV
1. Installing the Adapter Brackets
2. Attaching the Universal Plate to the Pipe
1-2 For Recessed Back Screens or to Access A/V Inputs
TV
TV
TV
Tighten all screws but do not over tighten.
· Position the adapter brackets as close as possible to the center of the display.
· Screw the adapter brackets onto the display.
Note: Choose the appropriate screws, washers and spacers (if necessary) according to the type of screen.
1-1 For Flat Back Screens
1-1/2" internal diameter
Thread and tighten the universal plate
onto the pipe(not included).
Insert and tighten one set screw to
secure it.
DE
M-A
M-B
M-C
M-F
M-D
M-E
M-F
M-H
M-G
M-D
M-E
M-F
M-H
M-C
M-D
M-E
M-F
M-G
M-G
M-C
M-F
M-G
Top of the Display
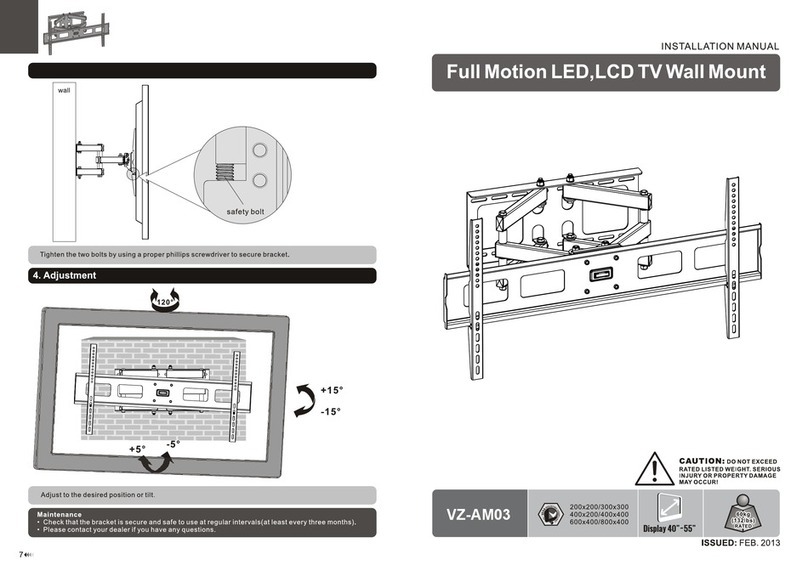
4. Adjustment
Maintenance
• Check that the bracket is secure and safe to use at regular intervals(at least every three months).
• Please contact your distributor if you have any questions.
+5°
-12°
3. Hooking the Display onto the Wall Mount
6
5
Install both antiskid blocks as close to the adapter brackets as possible.
C
C
Tighten all screws on the antiskid blocks using a proper screwdriver to prevent the display from moving.
+5° -5°
Tighten the bottom bolts to secure the adapter brackets to the universal plate.
Adjust the display to the desired angle.

Other ViewZ TV Mount manuals

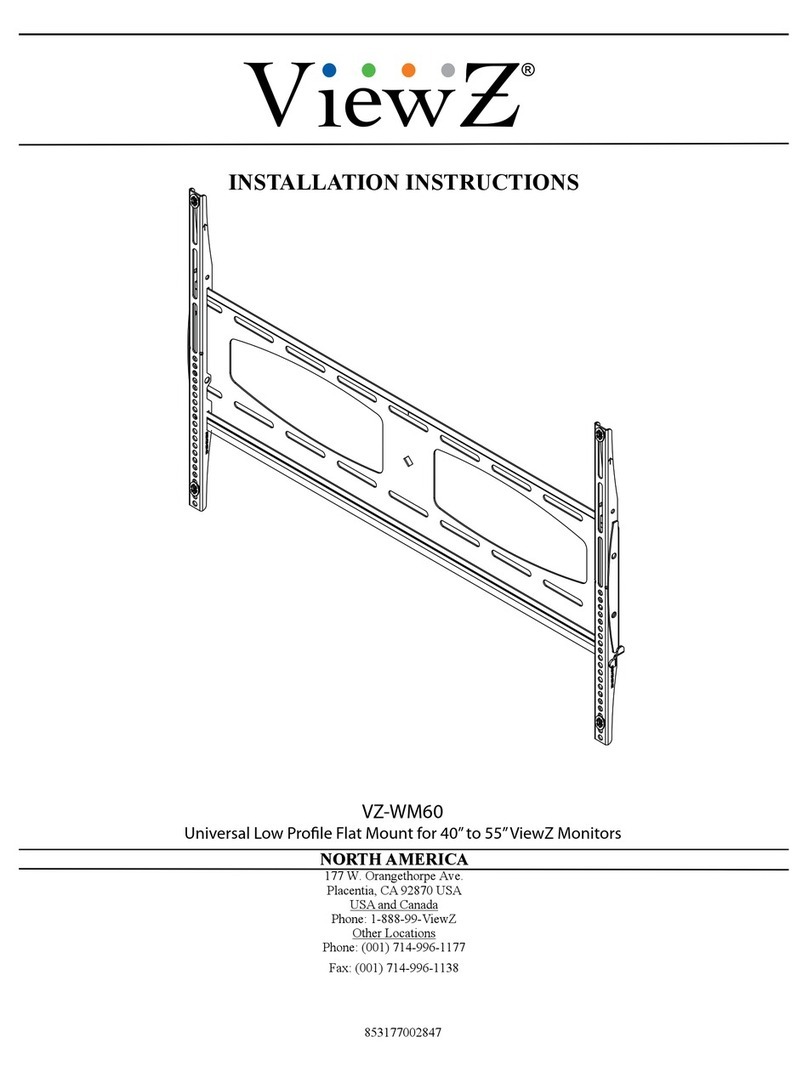
ViewZ VZ-WM60 User manual

ViewZ

ViewZ VZ-WM60 User manual

ViewZ VZ-CMKiT-02 User manual

ViewZ

ViewZ VZ-CMKiT-02 User manual

ViewZ VZ-CM-V3 User manual

ViewZ

ViewZ VZ-CM-V3 User manual

ViewZ VZ-CM-V1 User manual

ViewZ

ViewZ VZ-CM-V1 User manual

ViewZ VZ-CMKiT-01 User manual

ViewZ

ViewZ VZ-CMKiT-01 User manual

ViewZ VZ-WM50 User manual

ViewZ

ViewZ VZ-WM50 User manual

ViewZ VZ-WM11 User manual

ViewZ

ViewZ VZ-WM11 User manual

ViewZ VZ-AM03 User manual

ViewZ

ViewZ VZ-AM03 User manual

ViewZ VZ-WM71 User manual

ViewZ

ViewZ VZ-WM71 User manual

ViewZ VZ-CM308-B User manual

ViewZ

ViewZ VZ-CM308-B User manual

Popular TV Mount manuals by other brands

ricoo S2644 installation instructions

ricoo

ricoo S2644 installation instructions

Sanus Systems MF209 manual

Sanus Systems

Sanus Systems MF209 manual

CONEN mounts JOLLI Assembly instruction

CONEN mounts

CONEN mounts JOLLI Assembly instruction

e+p Elektrik Handels DHS 12 Quick installation guide

e+p Elektrik Handels

e+p Elektrik Handels DHS 12 Quick installation guide

ACME MT102S installation guide

ACME

ACME MT102S installation guide

Technimount System PRO 121-GR1 Series user guide

Technimount System

Technimount System PRO 121-GR1 Series user guide

PEERLESS LWS410/BK Installation and assembly

PEERLESS

PEERLESS LWS410/BK Installation and assembly

Paradigm DCOR2SC instructions

Paradigm

Paradigm DCOR2SC instructions

ACME MTXF71 manual

ACME

ACME MTXF71 manual

MORryde TV1-084H installation instructions

MORryde

MORryde TV1-084H installation instructions

Sanus Systems VisionMount VLMF109 instruction manual

Sanus Systems

Sanus Systems VisionMount VLMF109 instruction manual

Pyle PSW448F installation guide

Pyle

Pyle PSW448F installation guide

Premier Mounts AM300-B installation guide

Premier Mounts

Premier Mounts AM300-B installation guide

E.N.Z. Engineering Ricoo N1964 Assembly instructions

E.N.Z. Engineering

E.N.Z. Engineering Ricoo N1964 Assembly instructions

Vaisala HUMICAP HMM100 Quick reference guide

Vaisala

Vaisala HUMICAP HMM100 Quick reference guide

CRH Leviat HALFEN HTA-ES Assembly instructions

CRH

CRH Leviat HALFEN HTA-ES Assembly instructions

Philips SQM5322/27 user manual

Philips

Philips SQM5322/27 user manual

Haven HL1-MS-001 installation instructions

Haven

Haven HL1-MS-001 installation instructions

manuals.online logo
manuals.online logoBrands
  • About & Mission
  • Contact us
  • Privacy Policy
  • Terms and Conditions

Copyright 2025 Manuals.Online. All Rights Reserved.