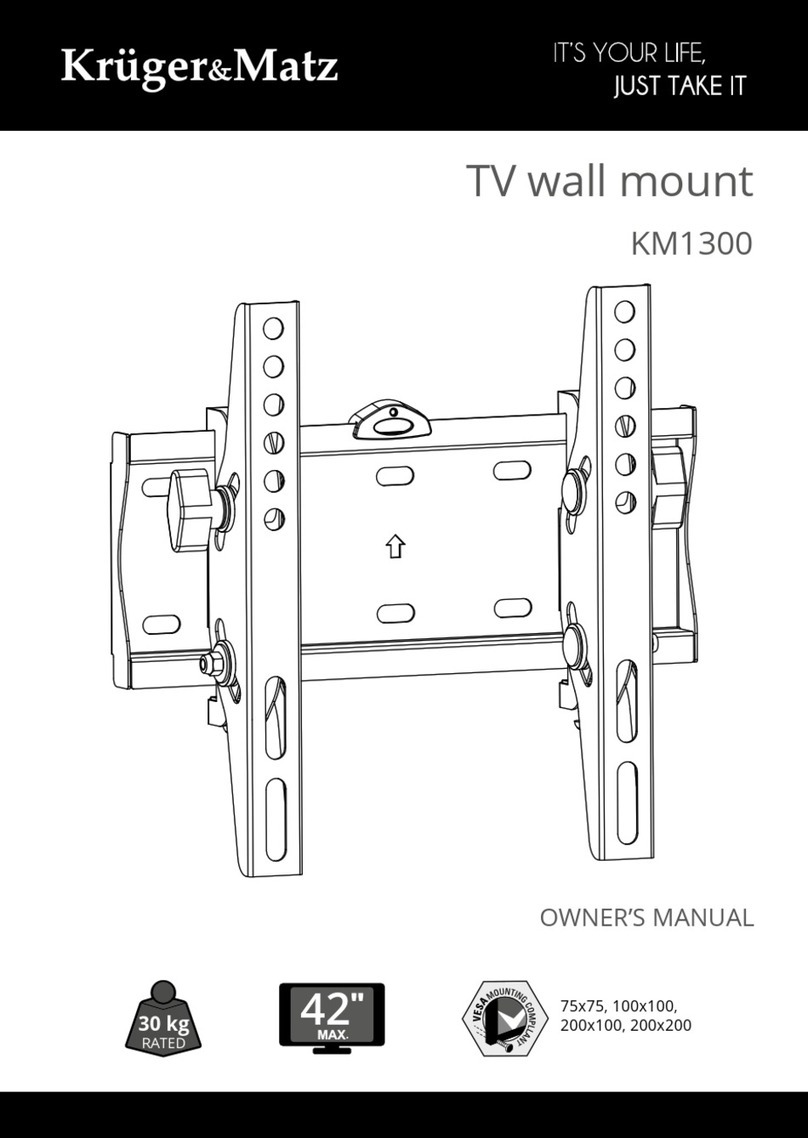
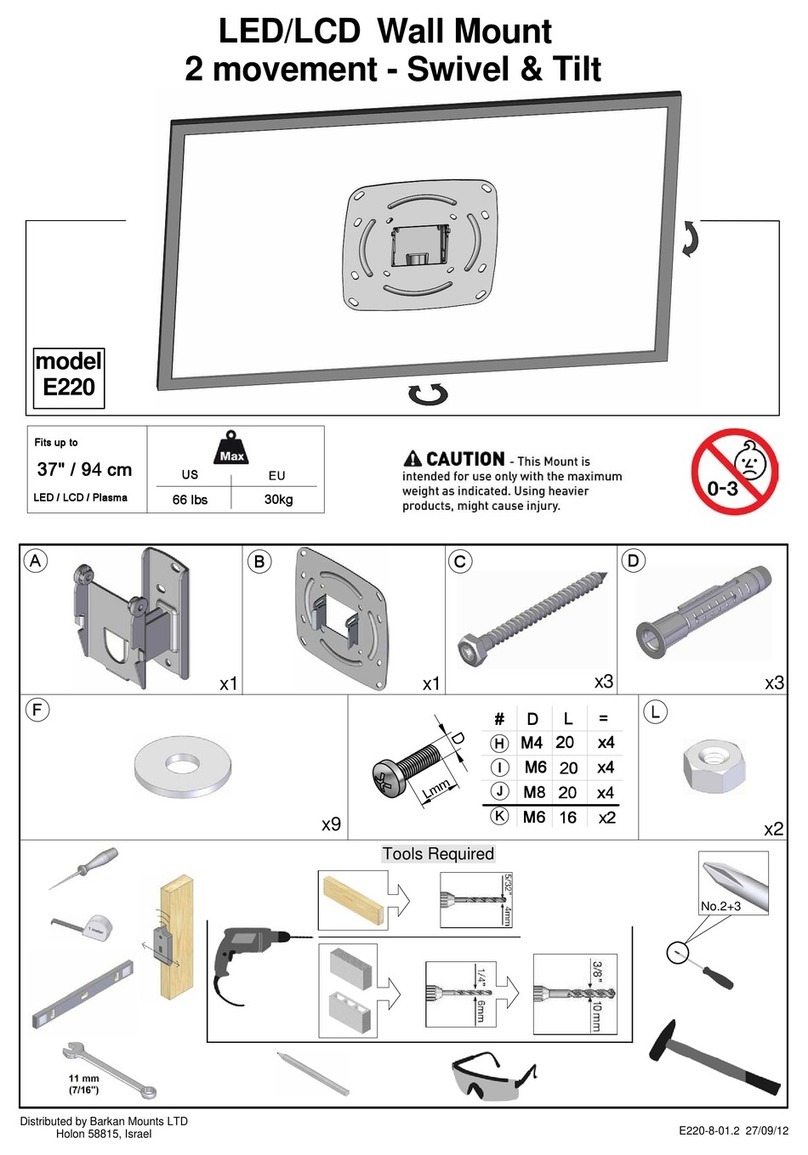
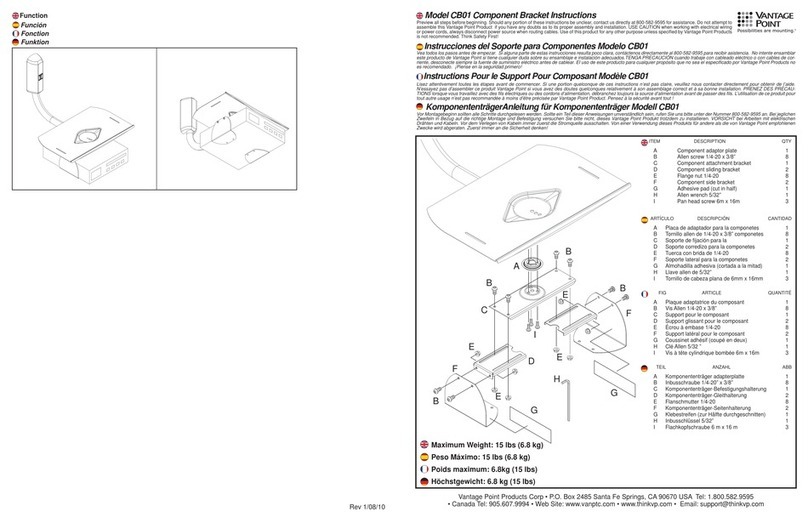
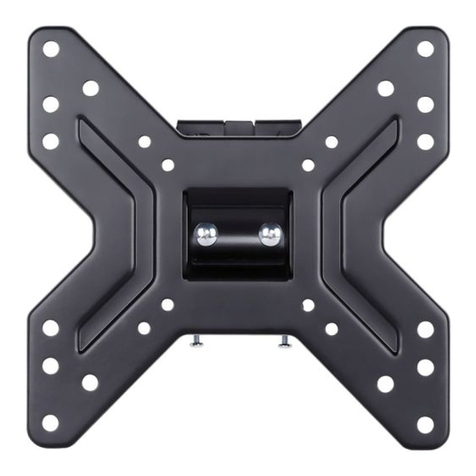
ViewZ VZ-WM50 User manual

WALL MOUNT FOR 27" to 32"
www.ViewZUSA.com | 1-714-996-1177
VESA COMPATIBLE
400 x 400, 400 x 300,
300 x 300, 300 x 200,
200 x 200, 200 x 100,
100 x 100, 100 x 75,
75 x 75 mm
55" MAX
MAX WEIGHT 115 lbs / 52 kg
VZ-WM50 INSTALLATION INSTRUCTIONS
VZ-WM50

2Installation InstructionsVisit the ViewZ USA website at http://www.viewzusa.com
WM series
Maximum Flat-panel Weight: 115 lbs THE WALL STRUCTURE MUST BE CAPABLE OF
SUPPORTING AT LEAST FIVE TIMES THE
WEIGHT OF THE FLAT-PANEL. IF NOT, THE WALL
STRUCTURE MUST BE REINFORCED.
Your ViewZ mount product is shipped with all proper installaon hardware and components. If there are parts
missing and/or damaged, please stop the installaon and contact ViewZ USA at (888)-998-4399.
M6 x 15 mm
Bracket Right
M6 x 30 mm
M8 x 45 mm
3 Hole Spacer
Spacer L5 mm
Wall Anchor
M4 x 30 mm
Bracket Le
Wall Plate
M8 x 15 mm
Lag Bolt ST 8 x 65 mm
Spacer L10 mm
Washer Ø 8 mm
Weight Limit
Parts
1
B
D
G
J
x 1
x 4
x 4
x 4
x 4
x 1
x 4
x 4
x 4
x 4
x 1
x 4
x 4
x 8
2
A
E
H
O
3
C
F
I

3Installation Instructions Visit the ViewZ USA website at http://www.viewzusa.com
WM series
Safety
Mounng Safety
Two people are recommended to install the mount.
Parts
This product includes small items that could cause a chocking hazard if
swallowed. Before starng assembly, verify all parts are included and
undamaged. If any part is missing or damaged, please contact: rma@viewzusa.
com or 714-996-1177.
Note - Not all parts and hardware (included) will be used.
WARNING ! SEVERE PERSONAL INJURY AND PROPERTY DAMAGE CAN
BE RESULTED FROM IMPROPER INSTALLATION OR ASSEMBLY. READ THE
FOLLOWING WARNINGS BEFORE INSTALLATION.
If you do not understand the instrucon or have any concern or queson, please
contact to the qualied installer or seller. Do not install or assemble if the product
or hardware is damaged or missing. Not all parts and hardware included must be
used. If you require replacement parts, please contact customer service at rma@
viewzusa.com or 714-996-1177.
This product has been designed for using a vercal wall - constructed of wood
studs. Wood studs dened as a wall consisng of a minimum of 2x4 studs with a
maximum 16 stud spacing with a maximum 1/2 of wall covering - drywall, lath or
plaster. For custom installaon, please contact or consult with a qualied installer.
This product may contain moving parts and please use with cauon.
Please check viewzusa.com for more products and company informaon.
Cleaning and Maintenance
Cleaning
• To clean, wipe with a so & slightly moist cloth
• Never use corrosive detergents, wire brush, abrasive scourer, metal or sharp
utensil to clean the product surface.
Maintenance
• Check the components regularly to make sure all screws and bolts are
ghtened.
• Store in a cool and dry place away from children and pets. Ideal in original
packaging.
• Avoid any vibraon and shock.
4Installation InstructionsVisit the ViewZ USA website at http://www.viewzusa.com
WM series
Step 1
Step 2
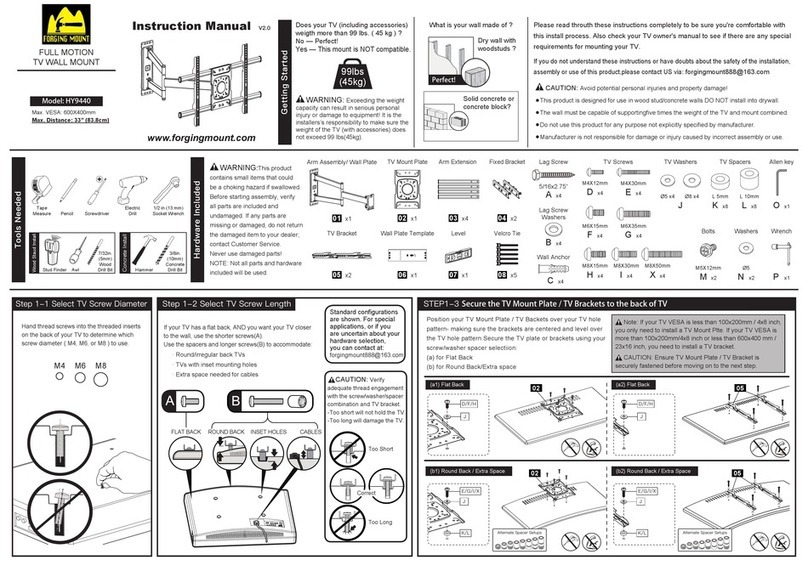
M4 M6 M8
Thread screws by hand into the threaded holes on the back of your monitor to select which
screw diameter t into your monitor.
When aaching brackets to the at screen, be careful about over-ghtening screws and be sure
about breaking boom out of the mounng holes.
Installation Tools
Electronic Stud Finder
Level
Protecve Eye-wear
Phillips Head Screwdriver Tape Measure Hammer
Pencil
½˝ Socket
Portable Drill
1.2 in (12.7 mm)
Socket Wrench
7/32 inch(5.5 mm)
Wood Drill Bit
3/8 inch (10 mm)
Concrete Drill Bit
Installation - Select Monitor Screw Diameter & Length

5Installation Instructions Visit the ViewZ USA website at http://www.viewzusa.com
WM series
Installation - Attach the Monitor Bracket
B. Round Back / Extra Space
A. Flat Back
Mounng Safety
Two people are recommended to install the mount. Ensure monitor bracket is securely
fastened before moving onto the next step.
Posion your monitor monitor bracket conguraon (A or B) over your monitor hole paern -
making sure the bracket is centered over the TV hole paern and level. Secure the bracket and
use screw/washer (A-Flat Back) or space/screw/washer (B-Round Back / Extra Space) selecon.
Step 3

6Installation InstructionsVisit the ViewZ USA website at http://www.viewzusa.com
WM series
Installation - Wall Plate Installation (Concrete or Brick Wall)
2A-2
2A-1
Drill pilot holes.
Cauon
To avoid potenal personal injury or property damage;
• All lag bolts (F) must be rmly ghtened to prevent unwanted movement of the wall
palte (1).
• Ensure the wall plate is securely fastened to the wall before connuing to the next step.
2.75” 70mm
Step 4

7Installation Instructions Visit the ViewZ USA website at http://www.viewzusa.com
WM series
Installation - Wall Plate Installation (Concrete or Brick Wall)
2A-3
Install wall plate (1) using lag bolts (F) and washer (J) and anchor (O). Tighten the lag bolts (F)
unl they are pulled rmly against the wall palte (1).
Wall anchor is
necessary
Cauon
To avoid potenal personal injury or property damage;
• All lag bolts (F) must be rmly ghtened to prevent unwanted movement of the wall
palte (1).
• Ensure the wall plate is securely fastened to the wall before connuing to the next step.
Step 4

8Installation InstructionsVisit the ViewZ USA website at http://www.viewzusa.com
WM series
Installation - Wall Plate Installation (Wood stud)
2B-1
2B-2
Posion the stud. Verify & mark the center of
stud by nding the stud edges using an awl,
thin-nail or edge-to-edge stud nder.
• Posion the wall plate at your desired
height and line-up the holes with your stud
center line.
• Level the wall plate and mark the holes
Cauon
To avoid potenal personal injury or property damage;
• Drywall covering the wall must not exceded 5/8 inch (16 mm).
• Minimum wood stud should have common 2 x 4 inch (51 x 102 mm)
over minimum1-1/2 x 3-1/2 inch (38 x 89 mm)
Step 4

9Installation Instructions Visit the ViewZ USA website at http://www.viewzusa.com
WM series
Installation - Wall Plate Installation (Wood stud)
2B-3
2B-4
Drill pilot holes using a 7/32
inch (5.5 mm) diameter drill
bit
Important !
Pilot holes must be drilled to a depth of 2-3/4 inch (70 mm).
Be sure to drill into the center of the stud.
Cauon
To avoid potenal personal injury or property damage;
• Drywall covering the wall must not exceded 5/8 inch (16 mm).
• Minimum wood stud should have common 2 x 4 inch (51 x 102 mm)
over minimum1-1/2 x 3-1/2 inch (38 x 89 mm)
2.75” 70mm
• Install the wall plate assembly using
lag bolts (F) and washer (J).
• Tighten the lag bolts (F) only unl it
against the wall plate.
Step 4

10 Installation InstructionsVisit the ViewZ USA website at http://www.viewzusa.com
WM series
Installation - Tighten
Please adjust the lng angle with the Allen wrench for both (2) and (3) as the pictures
show before hanging monitor.
Step 5

11Installation Instructions Visit the ViewZ USA website at http://www.viewzusa.com
WM series
Installation - Hang & Secure the Monitor
• Pull the strap down and push the monitor to secure the monitor brackets (2) and (3) to the
wall plate (1).
• If cannot lt the monitor, please take the monitor o and then adjust the lt as STEP 5
shows.
03
Step 6
Step 7

ViewZ USA intends to make this manual accurate and complete. However, ViewZ USA makes no claim that the informaon contained
herein covers all details, condions or variaons, nor does it provide for every possible conngency in connecon with the
installaon or use of this product. The informaon contained in this document is subject to change without noce or obligaon of
any kind. ViewZ USA makes no representaon of warranty, expressed or implied, regarding the informaon contained herein. ViewZ
USA assumes no responsibility for accuracy, completeness or suciency of the informaon contained in this document.
NORTH AMERICA
177 W. Orangethorpe Ave.
Placena, CA 92870
USA and Canada
Phone: 1-888-998-4399
Fax: 1-714-996-1138
Other Locaons
Phone: (001) 888-998-4399
Fax: (001) 714-996-1138
© ViewZ USA
Disclaimer
Contact Us
Table of contents
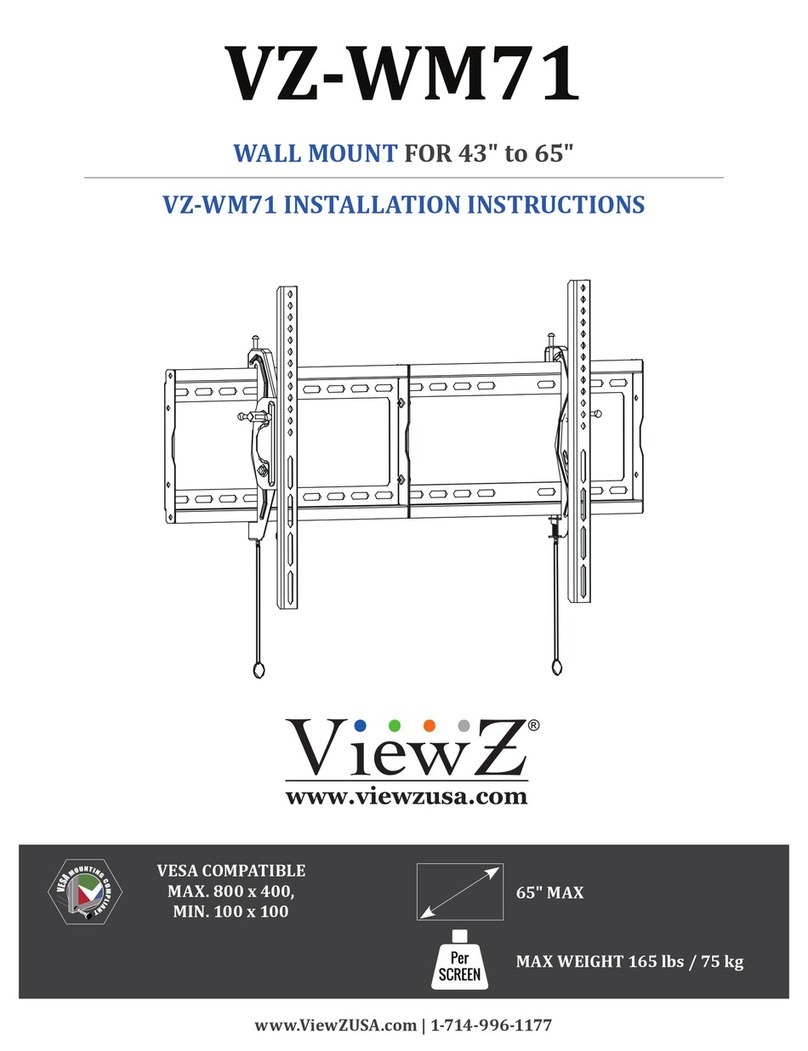
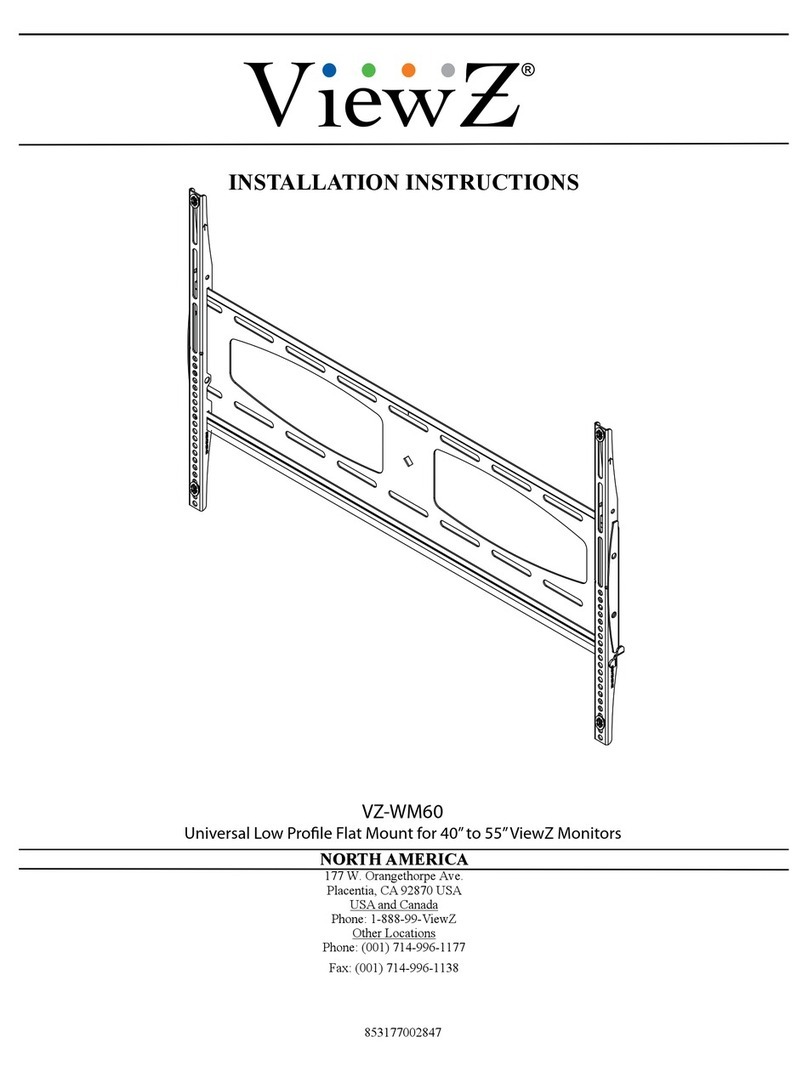
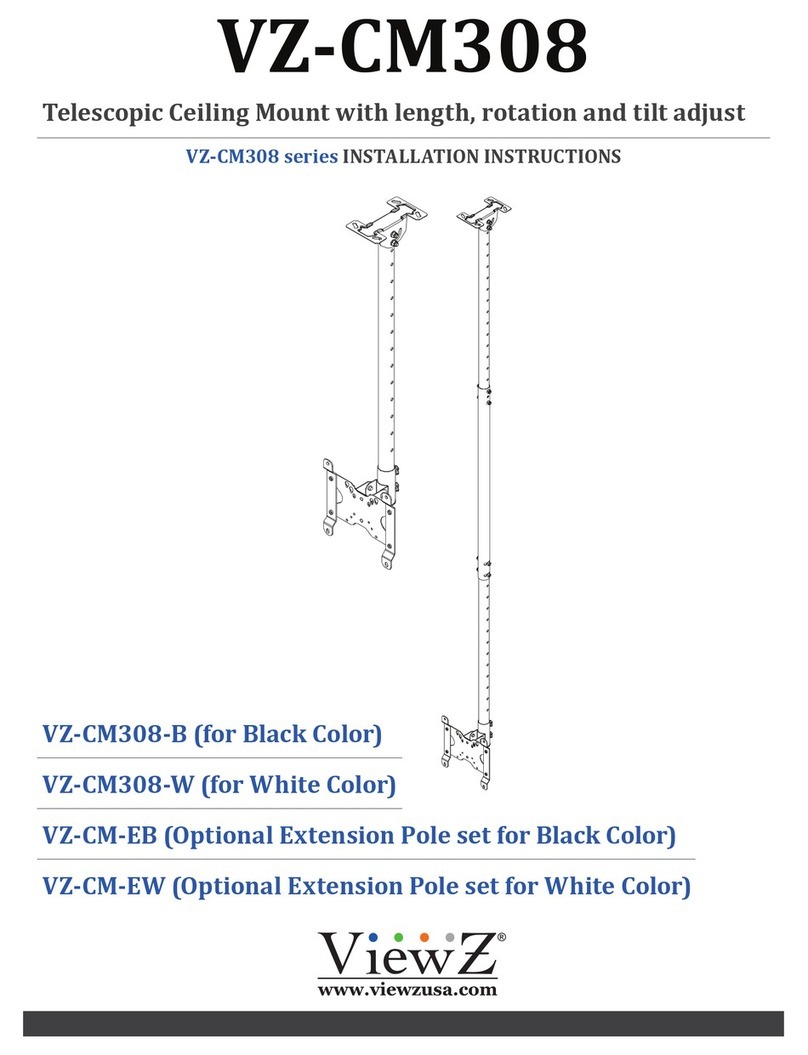
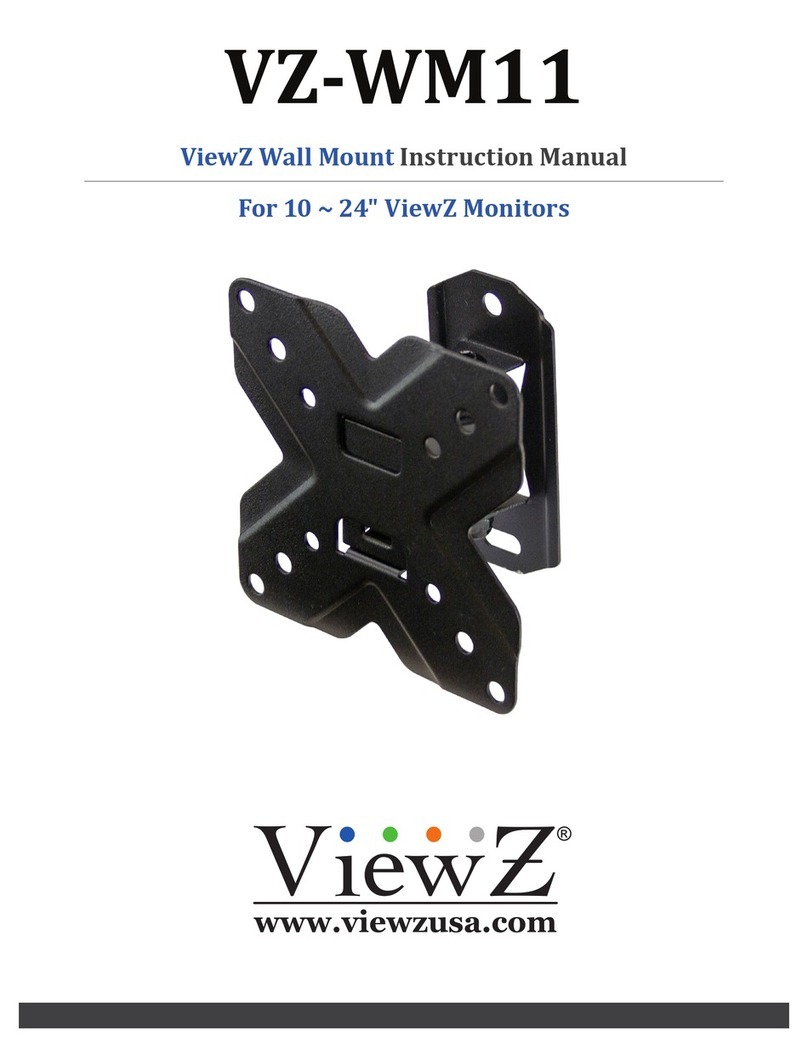
Other ViewZ TV Mount manuals

ViewZ
ViewZ VZ-CM-V3 User manual

ViewZ
ViewZ VZ-WM60 User manual

ViewZ
ViewZ VZ-WM11 User manual

ViewZ
ViewZ VZ-CMKiT-04 User manual

ViewZ
ViewZ VZ-CMKiT-01 User manual

ViewZ
ViewZ VZ-AM03 User manual

ViewZ
ViewZ VZ-CM-V1 User manual

ViewZ
ViewZ VZ-CM308-B User manual

ViewZ
ViewZ VZ-WM71 User manual

ViewZ
ViewZ VZ-CMKiT-02 User manual