manuals.online logo
Brands
  1. Home
  2. •
  3. Brands
  4. •
  5. Vimar
  6. •
  7. Switch
  8. •
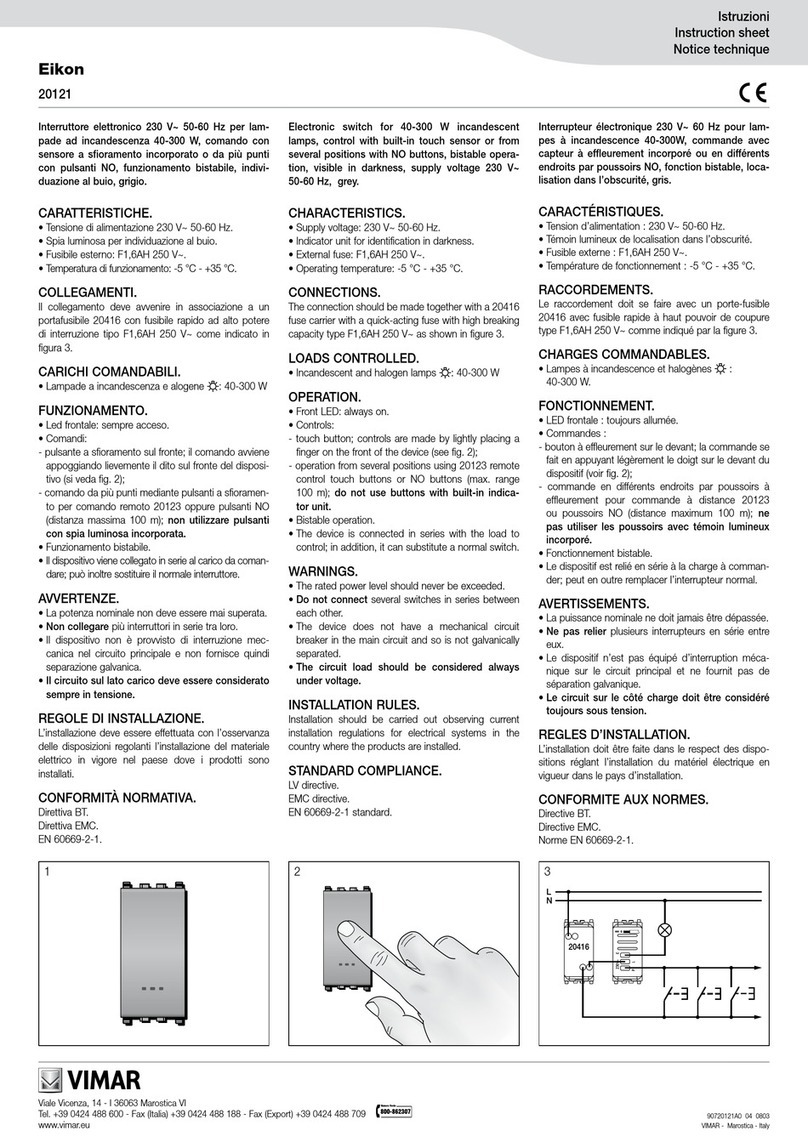
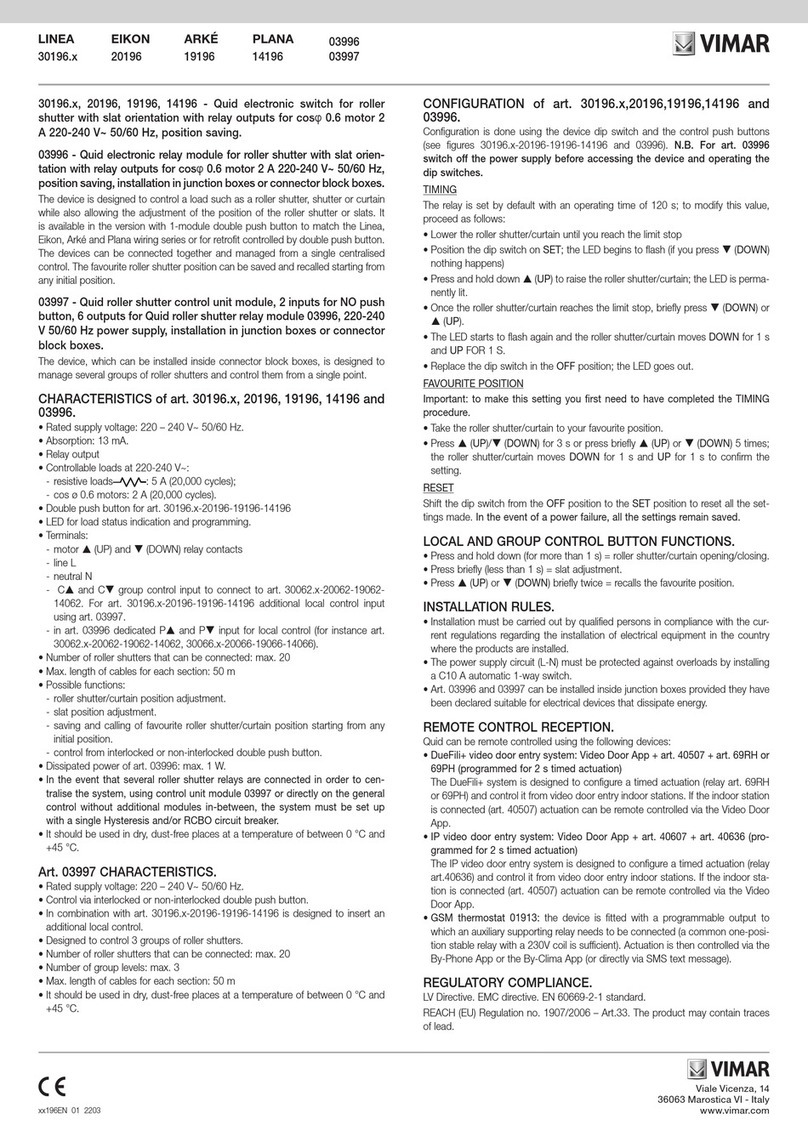
  9. Vimar Eikon 20196 User manual

Vimar Eikon 20196 User manual

Viale Vicenza 14
36063 Marostica VI - Italy
www.vimar.com
20196-03996-03997EN 04 2012
03996
03997
Eikon
20196
Arké
19196
Plana
14196
20196, 19196, 14196 - Quid electronic switch for roller shutter with
slat orientation with relay outputs for cosφ0.6 motor 2 A 220-240 V~
50/60 Hz, position saving.
03996 - Quid electronic relay module for roller shutter with slat orien-
tation with relay outputs for cosφ0.6 motor 2 A 220-240 V~ 50/60 Hz,
position saving, installation in junction boxes or connector block boxes.
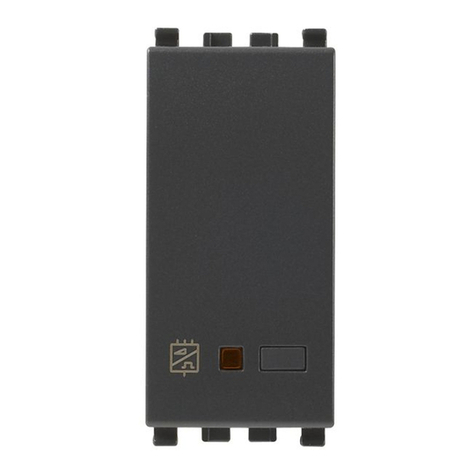
The device is designed to control a load such as a roller shutter, shutter or curtain
while also allowing the adjustment of the position of the roller shutter or slats. It
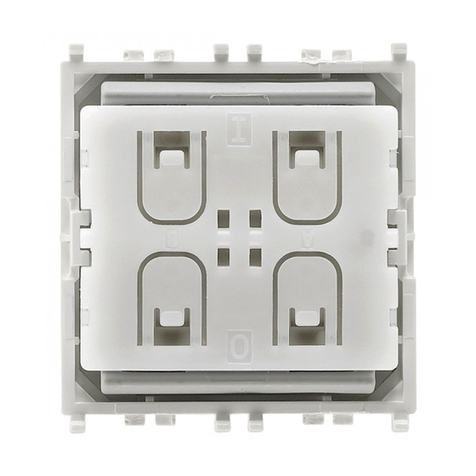
is available in the version with 1-module double push button to match the Eikon,
Arké and Plana wiring series or for retrofit controlled by double push button. The
devices can be connected together and managed from a single centralised control.
The favourite roller shutter position can be saved and recalled starting from any
initial position.
03997 - Quid roller shutter control unit module, 2 inputs for NO push
button, 6 outputs for Quid roller shutter relay module 03996, 220-240
V 50/60 Hz power supply, installation in junction boxes or connector
block boxes.
The device, which can be installed inside connector block boxes, is designed to
manage several groups of roller shutters and control them from a single point.
CHARACTERISTICS of art. 20196, 19196, 14196 and 03996.
•Rated supply voltage: 220 – 240 V~ 50/60 Hz.
•Absorption: 13 mA.
• Relay output
• Controllable loads at 220-240 V~:
- resistive loads
: 5 A (20,000 cycles);
- cos ø 0.6 motors: 2 A (20,000 cycles).
• Double push button for art. 20196-19196-14196
• LED for load status indication and programming.
• Terminals:
- motor (UP) and (DOWN) relay contacts
- line L
- neutral N
- Cand Cgroup control input to connect to art. 20062-19062-14062. For
art. 20196-19196-14196 additional local control input using art. 03997.
- in art. 03996 dedicated Pand Pinput for local control (for instance art.
20062-19062-14062, 20066-19066-14066).
• Number of roller shutters that can be connected: max. 20
• Max. length of cables for each section: 50 m
• Possible functions:
- roller shutter/curtain position adjustment.
- slat position adjustment.
- saving and calling of favourite roller shutter/curtain position starting from any
initial position.
- control from interlocked or non-interlocked double push button.
•Dissipated power of art. 03996: max. 1 W.
•In the event that several roller shutter relays are connected using control unit
module 03997, the system must be set up with a single Hysteresis and/or
RCBO circuit breaker.
• It should be used in dry, dust-free places at a temperature of between 0 °C and
+45 °C.
Art. 03997 CHARACTERISTICS.
• Rated supply voltage: 220 – 240 V~ 50/60 Hz.
• Control via interlocked or non-interlocked double push button.
• In combination with art. 20196-19196-14196 is designed to insert an additional
local control.
• Designed to control 3 groups of roller shutters.
• Number of roller shutters that can be connected: max. 20
• Number of group levels: max. 3
• Max. length of cables for each section: 50 m
• It should be used in dry, dust-free places at a temperature of between 0 °C and
+45 °C.
CONFIGURATION of art. 20196,19196,14196 and 03996.
Configuration is done using the device dip switch and the control push buttons
(see figures 20196-19196-14196 and 03996). N.B. For art. 03996 switch off the
power supply before accessing the device and operating the dip switches.
TIMING
The relay is set by default with an operating time of 120 s; to modify this value,
proceed as follows:
• Lower the roller shutter/curtain until you reach the limit stop
• Position the dip switch on SET; the LED begins to flash (if you press (DOWN)
nothing happens)
• Press and hold down (UP) to raise the roller shutter/curtain; the LED is perma-
nently lit.
• Once the roller shutter/curtain reaches the limit stop, briefly press (DOWN) or
(UP).
• The LED starts to flash again and the roller shutter/curtain moves DOWN for 1 s
and UP FOR 1 S.
• Replace the dip switch in the OFF position; the LED goes out.
FAVOURITE POSITION
Important: to make this setting you first need to have completed the TIMING
procedure.
• Take the roller shutter/curtain to your favourite position.
• Press (UP)/(DOWN) for 3 s or press briefly (UP) or (DOWN) 5 times;
the roller shutter/curtain moves DOWN for 1 s and UP for 1 s to confirm the
setting.
RESET
Shift the dip switch from the OFF position to the SET position to reset all the set-
tings made. In the event of a power failure, all the settings remain saved.
LOCAL AND GROUP CONTROL BUTTON FUNCTIONS.
•Press and hold down (for more than 1 s) = roller shutter/curtain opening/closing.
• Press briefly (less than 1 s) = slat adjustment.
• Press (UP) or (DOWN) briefly twice = recalls the favourite position.
INSTALLATION RULES.
• Installation must be carried out by qualified persons in compliance with the cur-
rent regulations regarding the installation of electrical equipment in the country
where the products are installed.
•The power supply circuit (L-N) must be protected against overloads by installing
a C10 A automatic 1-way switch.
•Art. 03996 and 03997 can be installed inside junction boxes provided they have
been declared suitable for electrical devices that dissipate energy.
REMOTE CONTROL RECEPTION.
Quid can be remote controlled using the following devices:
• DueFili+ video door entry system: Video Door App + art. 40507 + art. 69RH or
69PH (programmed for 2 s timed actuation)
The DueFili+ system is designed to configure a timed actuation (relay art. 69RH
or 69PH) and control it from video door entry indoor stations. If the indoor station
is connected (art. 40507) actuation can be remote controlled via the Video Door
App.
• IP video door entry system: Video Door App + art. 40607 + art. 40636 (pro-
grammed for 2 s timed actuation)
The IP video door entry system is designed to configure a timed actuation (relay
art.40636) and control it from video door entry indoor stations. If the indoor sta-
tion is connected (art. 40507) actuation can be remote controlled via the Video
Door App.
• GSM thermostat 01913: the device is fitted with a programmable output to
which an auxiliary supporting relay needs to be connected (a common one-posi-
tion stable relay with a 230V coil is sufficient). Actuation is then controlled via the
By-Phone App or the By-Clima App (or directly via SMS text message).
REGULATORY COMPLIANCE.
LV Directive. EMC directive. EN 60669-2-1 standard.
REACH (EU) Regulation no. 1907/2006 – Art.33. The product may contain traces
of lead.
Viale Vicenza 14
36063 Marostica VI - Italy
www.vimar.com
20196-03996-03997EN 04 2012
03997
Dip switch
LED
OFF
SET
20196-19196-14196
C
µ
C N L
6 mm
= Motor DOWN
= Motor UP
L = Phase
N = Neutral
C= DOWN local and group control input
C= UP local and group control input
1 = DOWN group 1 input 2= DOWN group 2 input
1 = UP group 1 input 2= UP group 2 input
C = DOWN control input 3= DOWN group 3 input
C = UP control input 3= UP group 3 input
03996
= Motor DOWN
= Motor UP
L = Phase
N = Neutral
P= DOWN control input
P= UP control input
C= DOWN group control input
C= UP group control input
Dip switch
LED
SET OFF
6 mm
220-240V~ 50/60Hz
2A μ
M
03996
P P C CL N
WEEE - User information
The crossed bin symbol on the appliance or on its packaging indicates that the product at the end of its life must be collected separately from other waste. The user must therefore hand the equipment at the end of its life cycle over to the ap-
propriate municipal centres for the differentiated collection of electrical and electronic waste. As an alternative to independent management, you can deliver the equipment you want to dispose of free of charge to the distributor when purchasing
a new appliance of an equivalent type. You can also deliver electronic products to be disposed of that are smaller than 25 cm for free, with no obligation to purchase, to electronics distributors with a sales area of at least 400 m2. Proper sorted
waste collection for subsequent recycling, processing and environmentally conscious disposal of the old equipment helps to prevent any possible negative impact on the environment and human health while promoting the practice of reusing
and/or recycling materials used in manufacture.
Viale Vicenza 14
36063 Marostica VI - Italy
www.vimar.com
20196-03996-03997EN 04 2012
20196-19196-14196 CONNECTION FOR LOCAL ROLLER SHUTTER CONTROL FROM ONE OR MORE POINTS
ROLLER SHUTTER CENTRALISED MANAGEMENT CONNECTION WITH 20196-19196-14196 and 03996
2
L1
1
L2
C
µ
C N L
6 mm
20196
20062
2
L1
1
L2
20062
L
N
M
LOCAL
CONTROL
LOCAL
CONTROL
C
µ
C N L
6 mm
2
L1
1
L2
C
µ
C N L
6 mm
20196
20062
2
L1
1
L2
20062
L
N
M
M
2
L1
1
L2
20062
M
20196
03996
GROUP
CONTROL
LOCAL
CONTROL
LOCAL
CONTROL
Viale Vicenza 14
36063 Marostica VI - Italy
www.vimar.com
20196-03996-03997EN 04 2012
CONNECTIONS 03996
2
L1
1
L2
2
L1
1
L2
2
L1
1
L2
2
L1
1
L2
2
L1
1
L2
L
N
M
20062
M
20062
M
20062
M
20062
20062
03996 03996 03996 03996
LOCAL
CONTROL
LOCAL
CONTROL
LOCAL
CONTROL
LOCAL
CONTROL
GROUP
CONTROL
Viale Vicenza 14
36063 Marostica VI - Italy
www.vimar.com
20196-03996-03997EN 04 2012
CONNECTION WITH 03997 FOR INSERTION OF ADDITIONAL LOCAL CONTROL 20196-19196-14196
C
µ
C N L
6 mm
C
µ
C N L
6 mm
2
L1
1
L2
2
L1
1
L2
20062
20196
20062
20196
L
N
M M
03997
C
µ
C N L
6 mm
20196
M
C
µ
C N L
6 mm
20196
M
C
µ
C N L
6 mm
20196
M
C
µ
C N L
6 mm
20196
M
6 ROLLER SHUTTER
GROUP CONTROL
LOCAL
CONTROL
Viale Vicenza 14
36063 Marostica VI - Italy
www.vimar.com
20196-03996-03997EN 04 2012
20196-19196-14196 and 03997 MULTI-AREA CONNECTIONS
Home on 2 floors divided into 3 areas per floor, group control for each area, group
control per floor and group control for the whole house.
Installation restrictions
•max. 20 roller shutters
•max. cable length 50 m per section
•3 group levels
C
µ
C N L
6 mm
2
L1
1
L2
2
L1
1
L2
2
L1
1
L2
2
L1
1
L2
20196
L
N
M
L
L
03997
03997
03997
20062
20062
20062
L
20062
C
µ
C N L
6 mm
20196
M
2
L1
1
L2
20062
C
µ
C N L
6 mm
20196
M
2
L1
1
L2
20062
03997
C
µ
C N L
6 mm
2
L1
1
L2
20196
L
N
M
C
µ
C N L
6 mm
20196
M
2
L1
1
L2
20062
C
µ
C N L
6 mm
20196
M
2
L1
1
L2
20062
03997
LIVING AREA SLEEPING AREA
RELAXATION AREA
LIVING AREA GROUP
CONTROL (LEVEL 1)
SLEEPING AREA GROUP
CONTROL (LEVEL 1)
50 m
50 m
50 m
50 m
50 m
50 m total up
to 03997 50 m total up to 03997
GROUND FLOOR GROUP
CONTROL (LEVEL 2)
50 m 50 m
50 m
50 m total up
to 03997
50 m total up
to 03997
FIRST FLOOR GROUP
CONTROL
GROUP CONTROL FOR THE
WHOLE HOUSE (LEVEL 3)

This manual suits for next models

4

Other Vimar Switch manuals

Vimar ELVOX EZP07.GA User manual

Vimar

Vimar ELVOX EZP07.GA User manual

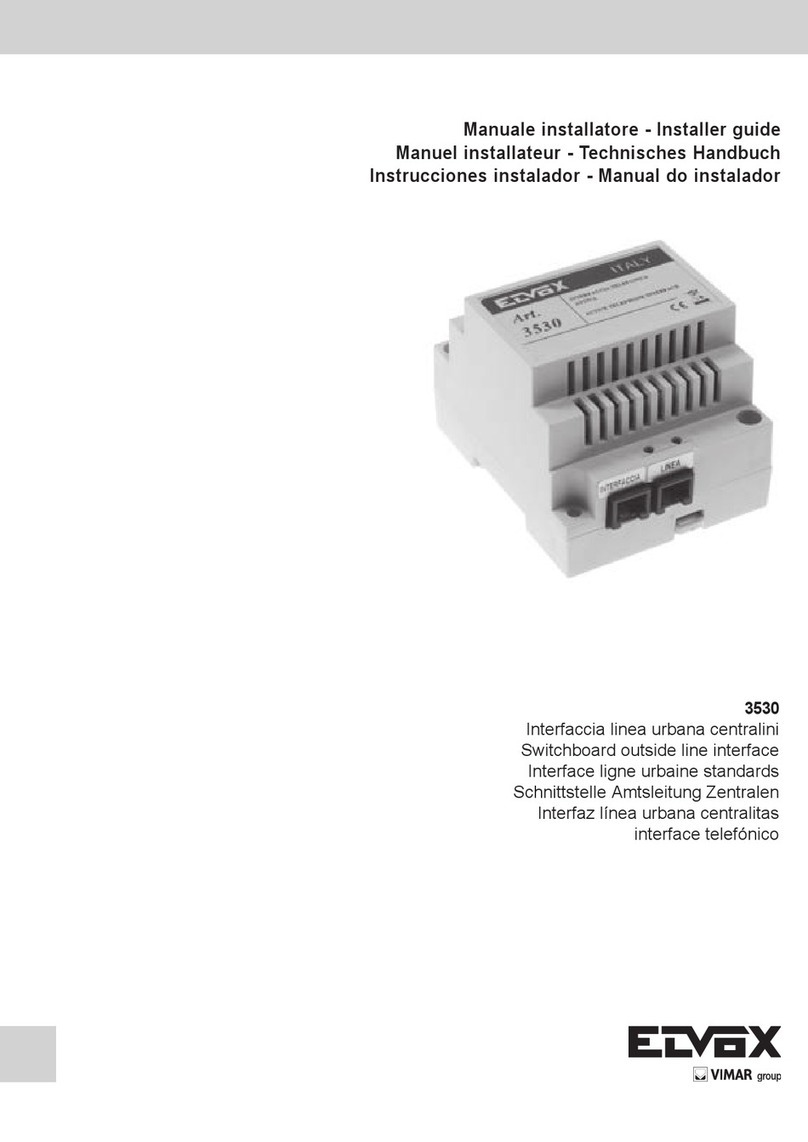
Vimar Elvox 3530 Assembly instructions

Vimar

Vimar Elvox 3530 Assembly instructions

Vimar 46260.5P.01 User manual

Vimar

Vimar 46260.5P.01 User manual

Vimar ELVOX 6591 Assembly instructions

Vimar

Vimar ELVOX 6591 Assembly instructions

Vimar 03905 User manual

Vimar

Vimar 03905 User manual

Vimar EIKON 20181 User manual

Vimar

Vimar EIKON 20181 User manual

Vimar 0K03925 Series User manual

Vimar

Vimar 0K03925 Series User manual

Vimar NEVE UP 09592.2 User manual

Vimar

Vimar NEVE UP 09592.2 User manual

Vimar Arke Series Instruction manual

Vimar

Vimar Arke Series Instruction manual

Vimar Eikon TACTIL 21119 User manual

Vimar

Vimar Eikon TACTIL 21119 User manual

Vimar LINEA 30504 User manual

Vimar

Vimar LINEA 30504 User manual

Vimar 01796.2 User manual

Vimar

Vimar 01796.2 User manual

Vimar by-me Eikon User manual

Vimar

Vimar by-me Eikon User manual

Vimar Eikon TACTIL 21174 User manual

Vimar

Vimar Eikon TACTIL 21174 User manual

Vimar Eikon User manual

Vimar

Vimar Eikon User manual

Vimar Eikon 20592.0 User manual

Vimar

Vimar Eikon 20592.0 User manual

Vimar Elvox 69AM/T User manual

Vimar

Vimar Elvox 69AM/T User manual

Vimar Eikon User manual

Vimar

Vimar Eikon User manual

Vimar 03925 User manual

Vimar

Vimar 03925 User manual

Vimar LINEA 30502 User manual

Vimar

Vimar LINEA 30502 User manual

Vimar NEVE UP 09592 User manual

Vimar

Vimar NEVE UP 09592 User manual

Vimar Eikon User manual

Vimar

Vimar Eikon User manual

Vimar 01796.2 User manual

Vimar

Vimar 01796.2 User manual

Vimar Eikon 20121 User manual

Vimar

Vimar Eikon 20121 User manual

Popular Switch manuals by other brands

Edimax EK-UA2C user manual

Edimax

Edimax EK-UA2C user manual

Vivotek AW-IHT-1271 Quick installation guide

Vivotek

Vivotek AW-IHT-1271 Quick installation guide

SALZ 2016GT Quick installation guide

SALZ

SALZ 2016GT Quick installation guide

Belden HIRSCHMANN IT MAMMUTHUS MTS2948X-6Q-A user manual

Belden

Belden HIRSCHMANN IT MAMMUTHUS MTS2948X-6Q-A user manual

Intel Express 410T Quick start and user guide

Intel

Intel Express 410T Quick start and user guide

ORiNG IES-2050 user manual

ORiNG

ORiNG IES-2050 user manual

Olicom CrossFire 8600 Guide to operations

Olicom

Olicom CrossFire 8600 Guide to operations

Feniex C-1020 manual

Feniex

Feniex C-1020 manual

StarTech.com HB30A3A1CST quick start guide

StarTech.com

StarTech.com HB30A3A1CST quick start guide

Vertiv AVOCENT SV Series Quick installation guide

Vertiv

Vertiv AVOCENT SV Series Quick installation guide

Emos P5723T manual

Emos

Emos P5723T manual

ZyXEL Communications VES-1616 Support notes

ZyXEL Communications

ZyXEL Communications VES-1616 Support notes

Elko Inels RFJA-12B manual

Elko

Elko Inels RFJA-12B manual

Kramer PSE-2 user manual

Kramer

Kramer PSE-2 user manual

LevelOne GSW-1676 user manual

LevelOne

LevelOne GSW-1676 user manual

SMC Networks SMC8516T user guide

SMC Networks

SMC Networks SMC8516T user guide

Hytera CHU-P1BA00 owner's manual

Hytera

Hytera CHU-P1BA00 owner's manual

Sun Oracle ES1-24 Safety and compliance guide

Sun Oracle

Sun Oracle ES1-24 Safety and compliance guide

manuals.online logo
manuals.online logoBrands
  • About & Mission
  • Contact us
  • Privacy Policy
  • Terms and Conditions

Copyright 2025 Manuals.Online. All Rights Reserved.