ViSAGE VIS514 User manual

1 of 11 pages
VIS514 LED Profile 12-25’ COB
Operation Manual
150W RGBAL PROFILE can make very bright colorful and dynamic light scenery effects. The front operation plant has four
digital tube display. You can operate it through the four buttons---MODE,SET UP,UP,DOWN. It can stock running mode when it
is off. You can find last running mode when it is on next time. This product has temperature protect function. When in operation
the unit will automatically switch off when the temperature is beyond 85’C.

2 of 11 pages
A , Specification:
1. Weight: 9.5kgs
2. Size: 68.5×16.1×10cm
3. Power input: AC100V-240V/50Hz-60Hz
4. Wattage:148W
5. LEDS: 1PC 150W RGBAL COB LED
6. Beam angle of LEDs: 12-25 degree
7. PowerCon in and out socket
8. 3PIN male and female XLR socket
9. LCD display
10. IR remote control available
11. Manual framing shutters
12. Manual Zoom and Focus
13. Hanging Bracket
14. With USB socket to work with wireless DMX module
15. Glass or Metal Gobo size:74.5mm outside,63mm max image,2mm max thickness
16. Power cord daisy chain:4 fixtures max
B, The function description of the LED light:
It has 9 kinds of operation mode,they are as follows:
Manual dimmer color mode, Master dimmer mode, Color dreaming mode, Other program select mode, Slave mode, DMX mode
Here above 9 kinds running mode are selected by MODE button.

3 of 11 pages
MODE manual SET UP manual UP/DOWN manual Instruction
DMX MODE Address DMX MODE ADDR:001~512 Sets the DMX starting address
Channels DMX MODE
CHAN:05/06/08/09
Set the unit DMX channels
SLAVE MODE Slave mode SLAVE MODE Set the unit into slave mode
STATIC COLOR
SELECT MODE
Color and running
program select
CLR MACS COLOR:00~25
CLR MACS MACRO:26~44
Select the 25 static colors and the 19 running programs
Flash CLR MACS STROB:00~99 Adjust the static colors flash speed.00 is flash off,01 is slowest,99 is fastest
SPEED CLR MACS SPEED:00~99 Adjust the speed of the 19 running programs mode,00 is stop running,01 is slowest, 99is
fastest
DIM CURVE
MODE
Dim curve set DIMCURVE LINEAR Brightness increases linearly
DIMCURVE SQUARE Brightness settings are exponential
DIMCURVE I-SQUARE Brightness settings are inversely exponential
DIMCURVE S-CURVE Brightness increases slowly in lower values and strongly in higher values
DIM MODE Dim mode set DIMMODE LED Set the unit to fast reacting dimming
DIMMODE HALOGEN Set the unit to slow reacting dimming
DMX FAIL MODE DMX fail set DMX FAIL STATIC When DMX signal is lost or interrupted, the unit will default to STATIC option. It will back
to static color
DMX FAIL BLACKOUT When DMX signal is lost or interrupted, the unit will default to BLACKOUT option. It will
switch all LED’s off
DMX FAIL HOLD When DMX signal is lost or interrupted, the unit will default to HOLD option. It will hold the
last state before signal was lost.
DIMMER MODE Red dimmer MANUAL RED:000~255 Adjust the intensity of the red color
Green dimmer MANUAL GREN:000~255 Adjust the intensity of the green color
Blue dimmer MANUAL BLUE:000~255 Adjust the intensity of the blue color
Amber dimmer MANUAL AMBE:000~255 Adjust the intensity of the amber color
Lime green dimmer MANUAL LIME:000~255 Adjust the intensity of the lime green color
CCT mode MANUAL CCT:00~08 Select the color temperature

4 of 11 pages
Strobe MANUAL STROB:00~99 Adjust the flash speed,00 is flash off,01 is slowest,15 is fastest
AUTO RUN
MODE
Auto run mode set AUTO RUN FAD+SNAP Set the unit into auto run mode
SPEED AUTO RUN SPEED:00~99 Adjust the speed of the auto run mode,00 is stop running,01 is slowest, 99 is fastest
OTHER
MODE
LCD backlight
on/off
OPTION BLGT:ON LCD backlight always on
OPTION BLGT:OFF LCD backlight will be off after 20 seconds
IR remote function
on/off
OPTION IR:ON IR remote function on
OPTION IR:OFF IR remote function off
WIFI on/off OPTION WIFI:ON WIFI function on
OPTION WIFI:OFF WIFI function off
Initialization mode OPTION SYSRESET Initialize the unit at the extra factory setting
1. Static color select mode
Press "MODE" button, select the static color select mode. There are three modes in the static color select mode. You can select them by pressing the
"SET UP" button.
1) Static color select
Press "SET UP" button until the LCD displays "CLR MACS COLOR:00~25"or "CLR MACS MACRO:26~44",then press "UP" or "DOWN" to select
the 25 static colors and the 19 programs running mode under this mode.
2) Flash speed select
Press "SET UP" button until the LCD displays "CLR MACS STROB:00~99" ,then press "UP" or "DOWN" button to select the flash speed 00-99,00 is
flash off,01 is the slowest flash speed,99 is the fastest flash speed.
1) Program speed set mode
Press "SET UP" button until the LCD displays "CLR MACS SPEED:00~99" when the LED is in the 19 programs running mode, then press "UP" or
"DOWN" button to select the program running speed time 00-99,00 is stop running,01 is the slowest ,99 is the fastest.
2. Manual dimmer color mode
1) Manual dimmer color select
Press "MODE" button, select the manual dimmer color select mode. At this time, the LCD displays red "MANUAL RED:000~255",press the "SET
UP" to choose different colors green "MANUAL GREN:000~255", blue "MANUAL BLUE:000~255",amber"MANUAL AMBE:000~255"and lime
green "MANUAL LIME:000~255"then press "UP" or "DOWN" button to set the dimming rate 0-255.

5 of 11 pages
2) Color temperature select
Press "MODE" button, select the color temperature select mode. At this time ,the LCD displays red "MANUAL CCT:00~08",then press "UP" or
"DOWN" button to set different color temperature from 2700K to 5600K.
2) Flash speed select
Press "SET UP" to choose the flash speed select mode. At this time the LCD displays "MANUAL STROB:00~99". Press "UP" or "DOWN" button to
select the flash speed 00-99,00 is flash off,01 is the slowest flash speed,99 is the fastest flash speed.
3. Auto-run program mode
Press "MODE" button select the auto-run program mode. There are two modes in the auto-run program mode. You can select them by pressing the
"SET UP" button.
1) Auto run mode select
Press "MODE" button, select the auto run mode. At this time, the LCD displays "AUTO RUN FAD+SNAP", the unit is in the auto run mode now, the
color jumping program and color dreaming program run alternatively. Press UP or DOWN is no use under this mode.
2) Auto run speed select
Press "SET UP" button until the LCD displays "AUTO RUN SPEED:00~99".Press"UP"or "DOWN" button to select the auto run speed 01-99,00 is
stop running,01 is the slowest speed,99 is the fastest speed.
4. DIM curve mode
Press "MODE" button, select the dim curve mode. The LCD displays "DIMCURVE", press SET UP button, then press "UP" or "DOWN" to select the
4 modes. When the LCD display "DIMCURVE LINEAR", it means the brightness increases linearly. When the LCD display "DIMCURVE SQUARE",
it means the brightness settings are exponential. When the LCD display "DIMCURVE I-SQUARE" ,it means the brightness settings are inversely
exponential. When the LCD display "DIMCURVE S-CURVE" ,it means the brightness increases slowly in lower values and strongly in higher values.
5. DIM mode
Press "MODE" button, select the dim mode. The LCD displays "DIMMODE", press SET UP button, then press "UP" or "DOWN" to select the 2
modes. When the LCD display "DIMMODE LED", it means set the unit to fast reacting dimming. When the LCD display "DIMMODE
HALOGEN" ,it means set the unit to slow reacting dimming
6. DMX fail mode
Press "MODE" button, select the DMX fail mode. The LCD displays "DMX FAIL" ,press SET UP button, then press "UP" or "DOWN" to select the 3
modes. When the LCD display "DMX FAIL STATIC" ,it means when DMX signal is lost or interrupted the unit will default to STATIC option, it will
back to static color. When the LCD display "DMX FAIL BLACKOUT", it means when DMX signal is lost or interrupted, the unit will default to
BLACKOUT option, it will switch all LED’s off.. When the LCD display "DMX FAIL HOLD" ,it means when DMX signal is lost or interrupted, the
6 of 11 pages
unit will default to HOLD option, it will hold the last state before signal was lost.
7.Slave mode
Press "MODE" button, select slave mode. At this time, the LCD displays "SLAVE MODE". The unit will be controlled by the master unit now.
8. Other program select mode
1) Display on/off select mode
Press "MODE" button, select LCD backlight on/off mode. Press UP or DOWN to select the LCD backlight on/off. When the LCD displays "OPTION
BLGT:ON" means that the LCD backlight will on in any situation, when the LCD displays "OPTION BLGT:OFF" means that the LCD backlight will
be automatically off after 20 seconds if there is no operation.
2) IR remote function on/off select mode
Press “SET UP” button, select IR remote function on/off mode. Press UP or DOWN to select IR remote function on/off. When the LCD displays
"OPTION IR:ON" means that IR remote function is on, when the LCD displays "OPTION IR:OFF" means that IR remote function is off.
3) WIFI on/off select mode
Press “SET UP” button, select WIFI function on/off mode. Press UP or DOWN to select WIFI function on/off. When the LCD displays "OPTION
WIFI:ON" means that WIFI function is on, when the LCD displays "OPTION WIFI:OFF" means that WIFI function is off.
4) Initialization select mode
Press “SET UP” button until the LCD displays "OPTION SYSRESET", and the LCD backlight is flicker. Now press UP button and DOWN button at
the same time, you can initialize it at extra factory setting.
9. DMX mode
You can control the devices individually via your DMX-controller.
1) DMX address select mode
The control Board allows you to assign the DMX address which is defined as the first channel of the unit. Press "MODE" button until the display is
"DMX MODE ADDR:001~512", then press UP or DOWN to set the DMX address. The bottom line LCD display will be flicker when there is no
controller signal.
2) DMX-PROTOCOL
Press "SET UP" button until the display is "DMX MODE CHAN:05/06/08/09", then press UP or DOWN to set the desired channels (5,6,8,9). There
are total 4 DMX modes.

7 of 11 pages
CHAN:05 : 5 channel mode
CH No. DMX VALUE FUNCTION
CH1 000~255 Red(dim→bright)
CH2 000~255 Green(dim→bright)
CH3 000~255 Blue(dim→bright)
CH4 000~255 Amber(dim→bright)
CH5 000~255 Lime green(dim→bright)
CHAN:06 : 6 channel mode
CH No. DMX VALUE FUNCTION
CH1 000~255 Red(dim→bright)
CH2 000~255 Green(dim→bright)
CH3 000~255 Blue(dim→bright)
CH4 000~255 Amber(dim→bright)
CH5 000~255 Lime green(dim→bright)
CH6 000~189 General Dimmer(dim→bright)
190~250 Strobe(slow→fast)
251~255 Full on
CHAN:08 : 8 channel mode
CH No. DMX VALUE FUNCTION
CH1 000~255 Red(dim→bright)
CH2 000~255 Green(dim→bright)
CH3 000~255 Blue(dim→bright)
CH4 000~255 Amber(dim→bright)
CH5 000~255 Lime green(dim→bright)
CH6 000~004 No function
005~031 2700K

8 of 11 pages
032~063 3100K
064~095 3500K
096~127 3900K
128~159 4300K
160~191 4700K
192~223 5100K
224~255 5600K
CH7 000~255 General Dimmer(dim→bright)
CH8 000~004 NO function
005~255 Strobe(slow→fast)
CHAN:09 : 9 channel mode
CH9 CH8 CH7 CH6 CH5 CH4 CH3 CH2 CH1
No Function 000-005 Black out Strobe
(
0-4 No
function
,
5-255
Strobe
slow→fast)
General
Dimmer
(dim→
bright)
Lime green
(dim→
bright)
Amber
(dim→
bright)
Blue
(dim→
bright)
Green
(dim→
bright)
Red
(dim→
bright)
006-010 Color 1
011-015 Color 2
016-020 Color 3
021-025 Color 4
026-030 Color 5
031-035 Color 6
036-040 Color 7
041-045 Color 8
046-050 Color 9
051-055 Color 10
056-060 Color 11
061-065 Color 12
066-070 Color 13

9 of 11 pages
071-075 Color 14
076-080 Color 15
081-085 Color 16
086-090 Color 17
091-095 Color 18
096-100 Color 19
101-105 Color 20
106-110 Color 21
111-115 Color 22
116-120 Color 23
121-125 Color 24
126-155 Color 25
Speed
Slow to fast
156-160 Macro1
161-165 Macro2
166-170 Macro3
171-175 Macro4
176-180 Macro5
181-185 Macro6
186-190 Macro7
191-195 Macro8
196-200 Macro9
201-205 Macro10
206-210 Macro11
211-215 Macro12
216-220 Macro13
221-255 Macro14

10 of 11 pages
C. Operation by IR remote:
You can also operate this product by IR remote, the distance available is at most 10M.
Notice: IR remote can be used only when the unit is set to IR remote function on.
The picture of the IR remote:
Auto Run Mode
Press SL/SA button to select auto run mode. You can press FS/SP button to set the auto run speed and press “+”and “-” to adjust it.
Select program Mode
Press PROG button to select static color select mode. Then press “+” and “-” to select the 25 static colors and the 19 programs running modes in this mode.
When the LED par is in the 25 static colors, you can press FS/SP button to turn on flash and press “+”and “-” to adjust the flash speed.
When the LED par is in the 19 program running mode, you can press FS/SP button to set the program running speed and press “+”and “-” to adjust it.
M/S mode
Press SL/SA button to cycle among auto run mode and slave mode. Each press of this button will change to the next mode.
Select light program mode
Press R,G,B,A to choose R,G,B,A colors and pressing “+” and “-” buttons to adjust the intensity of the light.Press FS/SP button to turn on/off flash effect to in this situation,
pressing “+” and “-” buttons to adjust the flash speed.

11 of 11 pages
DMX MODE
There are 4 DMX modes. You must set the DMX Channel mode before you address the fixture. To select your desired DMX Channel mode press the DMX mode button,
and then press the “+” or “-” buttons to scroll through the DMX Channel modes. Once you find your desired DMX Channel mode, set your desired DMX address:
Set ADDR
Press this button to set the DMX address or initialize the program, then the red, green, blue, white and amber lights will flash 2~3 times. Please put in 3 number ,for
example, 1 2 3. After the red light is on, please put in the first number. After the first number is accessed the green light will be on, then put in the second number. When the
blue light will be on, please put in the third number. After all the three number are put in, the red, green ,blue, white and amber lights will flash 2~3 times, which indicate
that the DMX address is right and it go in to the DMX MODE automatically. If the address is wrong the red light will be on. New DMX address should be put in.
If the 951 are put in, red and green lights will be on.Put “0” to initialize the program. If the wrong address is put in, the red light will be on, indicating new address should
be put in. Then the system will run in the auto run mode.
Black Out mode
Press “BLACK OUT” to set the LED lights power on or power off by pressing this button.
Table of contents
Other ViSAGE Lighting Equipment manuals

ViSAGE
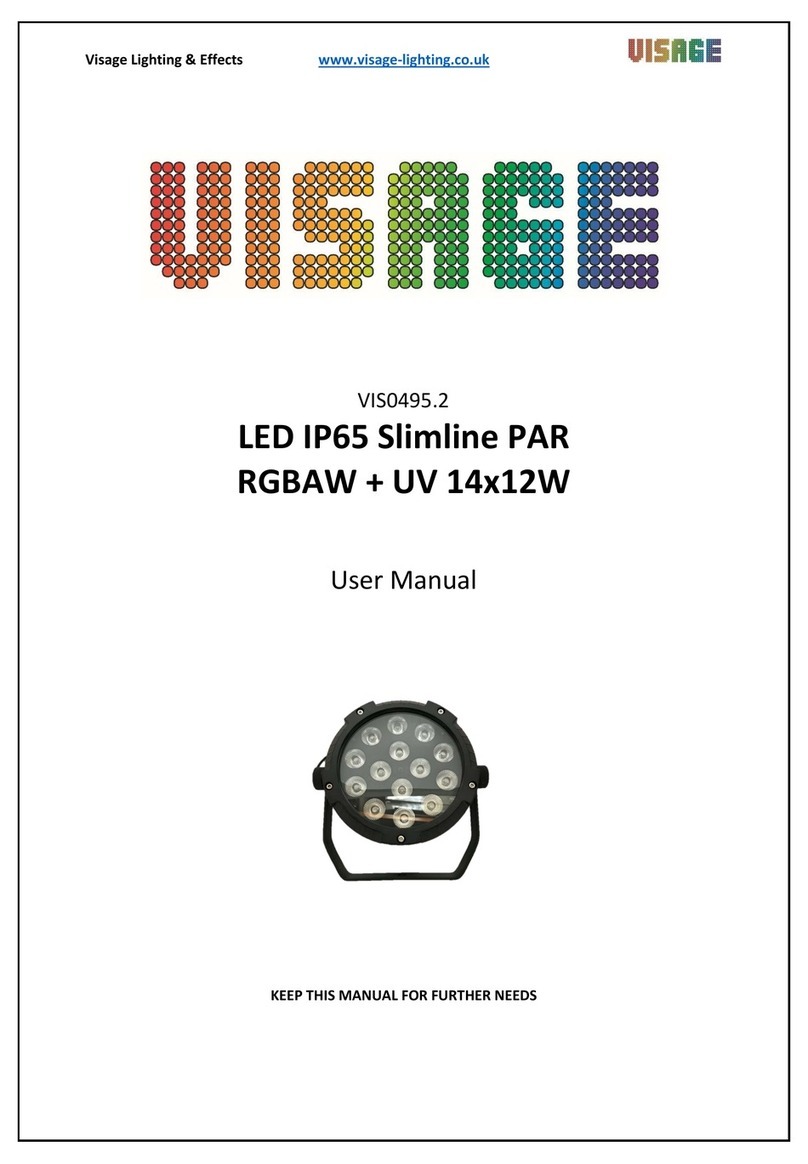
ViSAGE VIS0495.2 User manual

ViSAGE
ViSAGE VIS245 STAGE DESK 48 User manual

ViSAGE
ViSAGE VIS0495.4 User manual

ViSAGE
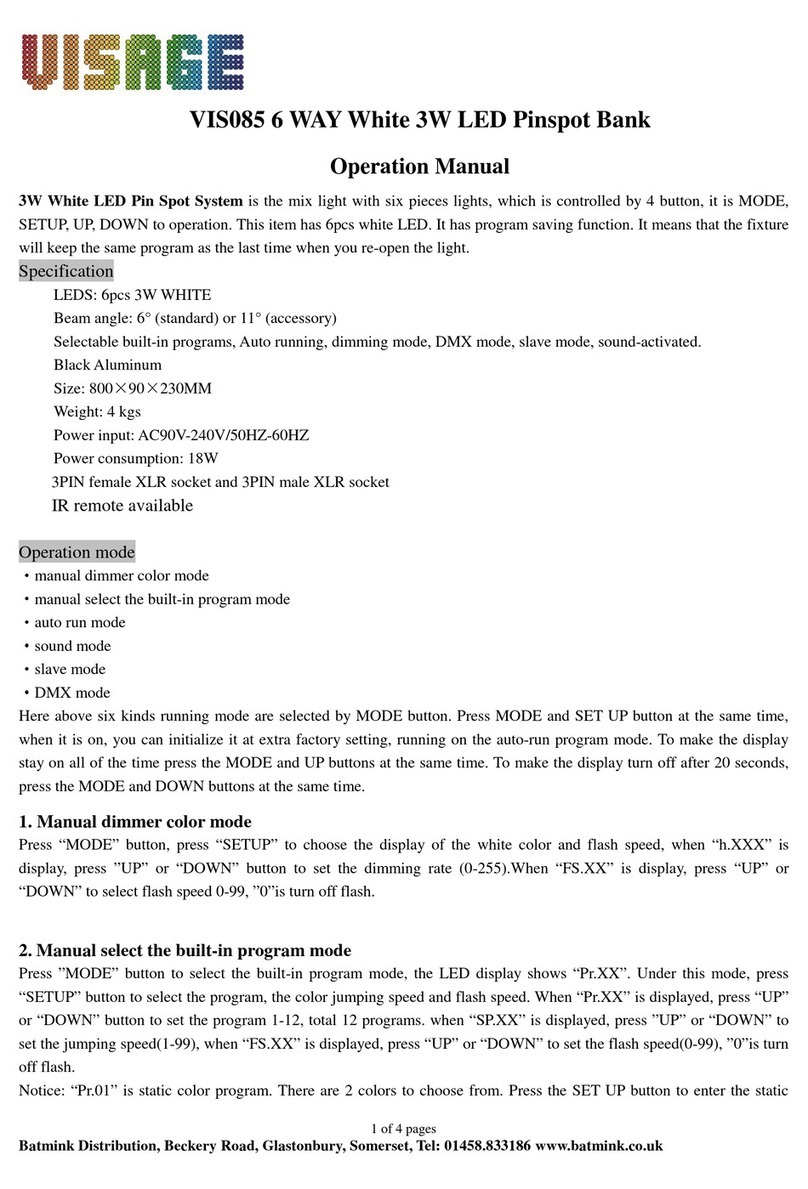
ViSAGE VIS085 User manual

ViSAGE
ViSAGE VIS055 User manual

ViSAGE
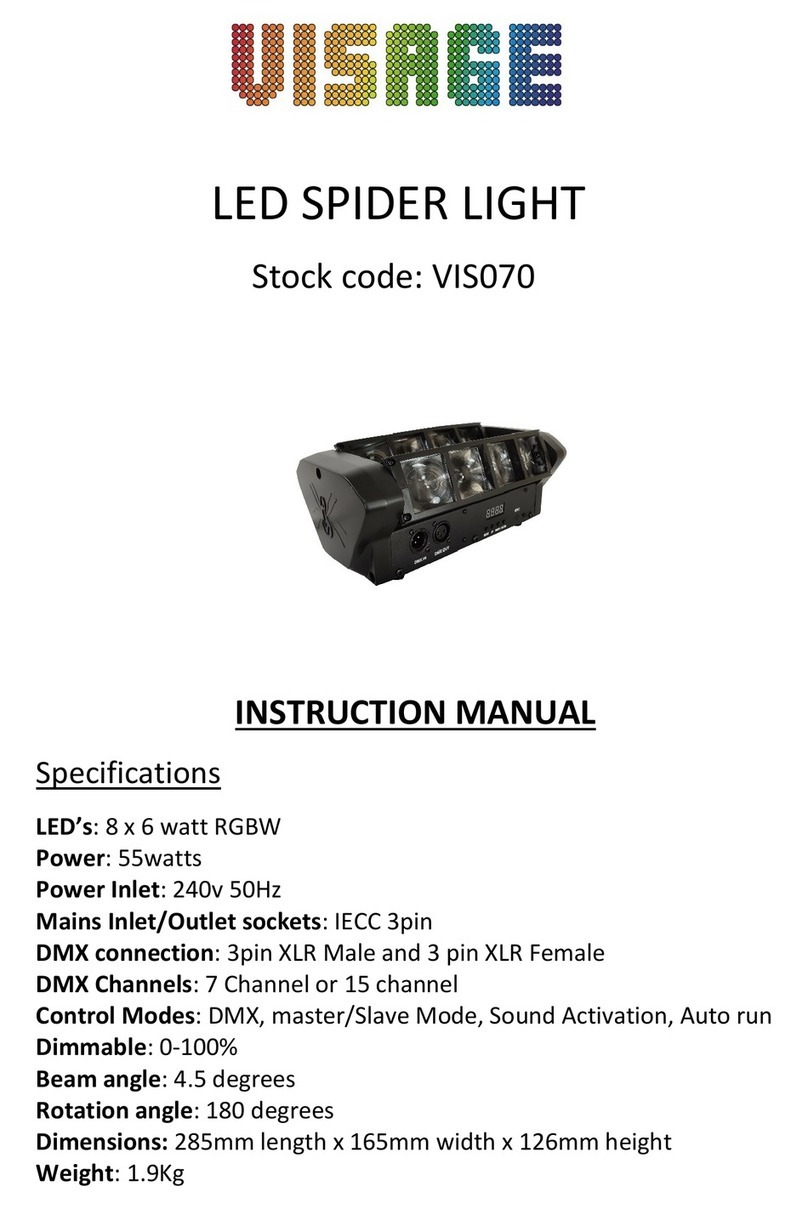
ViSAGE VIS070 User manual

ViSAGE
ViSAGE VIS220 User manual

ViSAGE
ViSAGE VIS086 User manual

ViSAGE
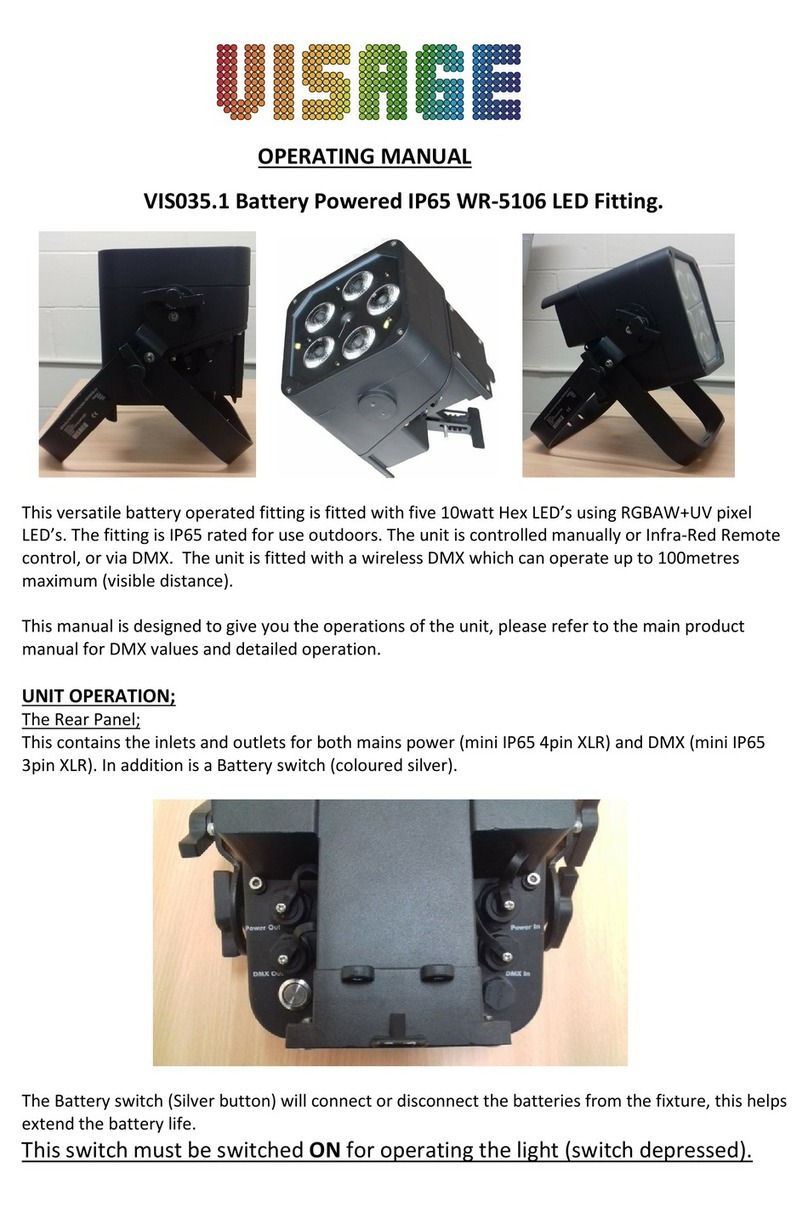
ViSAGE WR-5106 User manual

ViSAGE
ViSAGE VIS130 Hypermove User manual