Contact us at
Email: help@vivo-us.com
Live chat: www.vivo-us.com
Call: 1-800-371- 6 4
For more VIVO products, check out our
website at
www.vivo-us.com.
If any parts are received damaged or defective, please contact
us. We are happy to replace parts to ensure you have a fully
functioning product.
Last Updated: 0 /29/2018 2
If you do not understand these directions, or if you have any
doubts about the safety of the installation, please call a
qualified technician. Check carefully to make sure there are no
missing or defective parts. Improper installation may cause
damage or serious injury. Do not use this product for any
purpose that is not explicitly specified in this manual. We
cannot be liable for damage or injury caused by improper
mounting, incorrect assembly, or inappropriate use.
Safet# Warning
Screen Ajustment
Installation Steps
The screen must be installed over 2. m off the ground to
allow for full extension.
Pull own
Release ac up
Cleaning
If the screen becomes dirty, wipe gently with a soft cloth.
Do not use solvents to clean the screen surface.
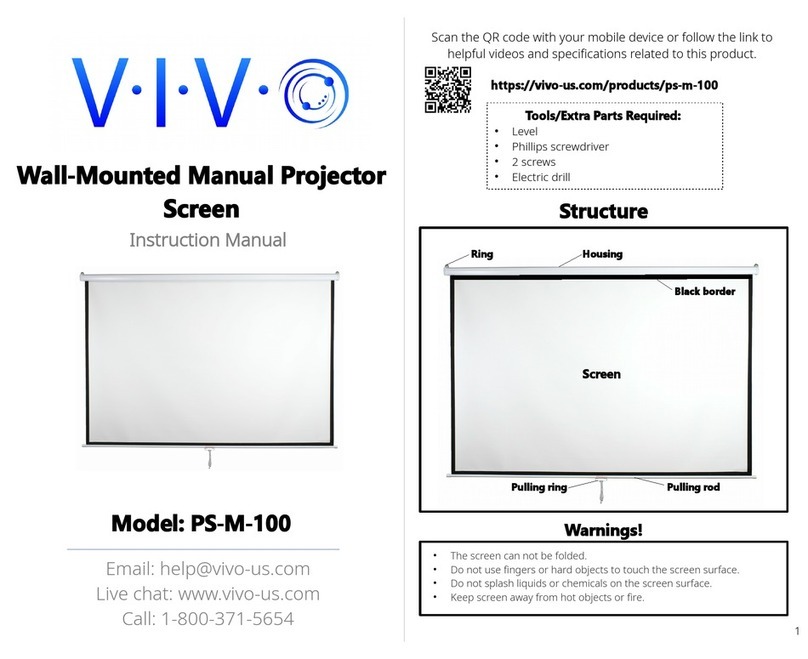
Step 1 Choose a suita le location to mount
Measure distance between two rings on the housing. Mark
locations on wall to place screws and ensure locations are
level and equal in height. Insert screws into wall.
Step 2 Insert mounting screws (not inclue)
To extend the screen, use steady pressure to pull down. The
screen will lock automatically when you stop pulling.
To release screen, give a gentle tug which will release
automatic lock. Hold pulling ring to prevent screen from
moving too quickly.
Carefully hang housing onto screws, using attached rings.
Step 3 Mount the screen


