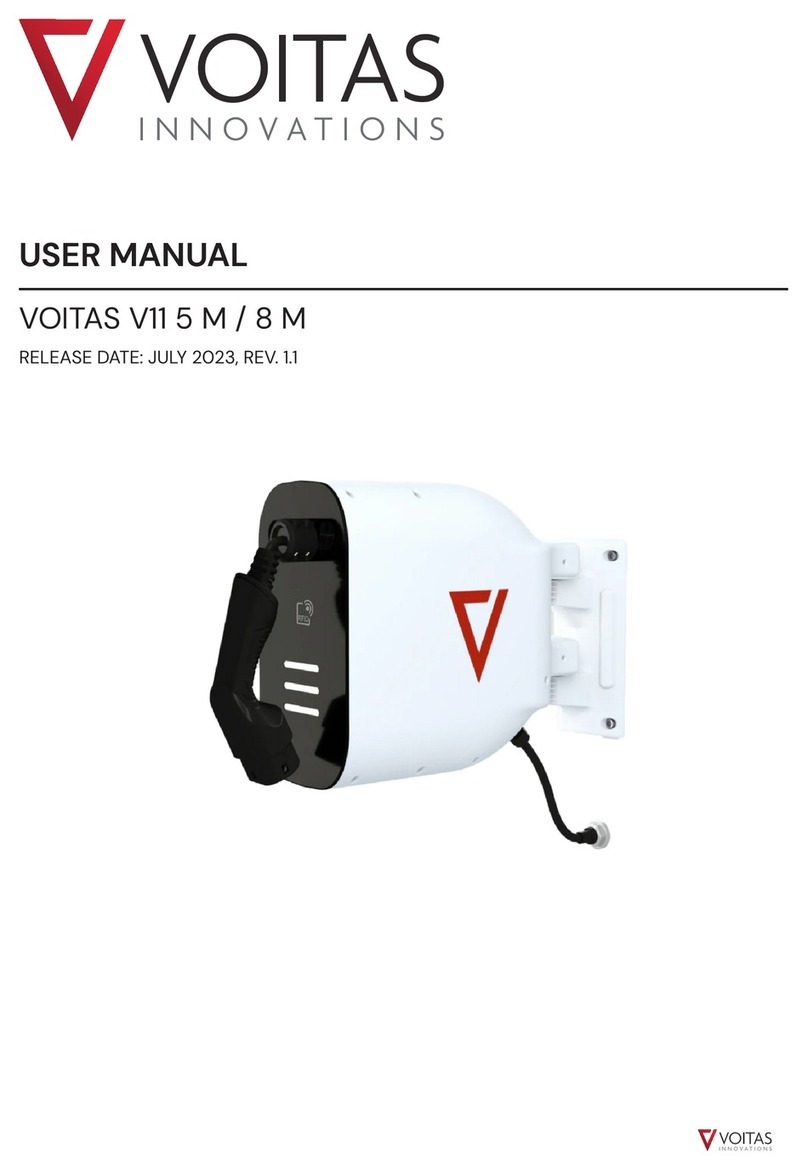
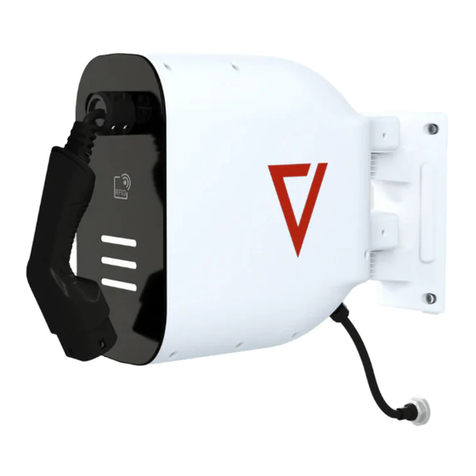
VOITAS X11 6,5 M User manual

#
USER MANUAL
VOITAS X11 6,5 M / 8 M
RELEASE DATE: MAY 2023, REV. 1.0

User Manual
Table of Contents
Electrical Safety Instructions
1
Introduction
2
Drawings & Dimensions
3
Installation
4
Installation Guide
5
First Use & Charging Process
9
Datasheet
10

User Manual
Table of Contents
Electrical Safety Instructions
1
Introduction
2
Drawings & Dimensions
3
Installation
4
Installation Guide
5
First Use & Charging Process
9
Datasheet
10

12
Electrical Safety Instructions
WARNING!
Please keep a copy of this Manual throughout the
life of the product. This document contains the
information necessary for the safe installation and
use of the VOITAS X11 electric vehicle charger.
Before using it for the first time, read the entire
contents of the manual, especially the Electrical
Safety Instructions.
VOITAS X11
VOITAS Innovations GmbH is not responsible for the
material damage caused by failure to follow
installation and operating instructions, use of
unauthorized spare parts or accessories. The use of
the VOITAS X11 is permitted only if the installation
has been carried out according to the instructions in
this User Manual. Safety-threatening malfunctions
must be corrected only by qualified personnel. You
can contact the VOITAS Innovations technical
support through our website https://voitas-
innovations.com/pages/kontakt.
• We recommend installing the VOITAS X11
indoors or under the roof, without direct
sunlight to prevent overheating.
• Do not install the VOITAS X11 in an area prone to
flooding or direct water spray.
• Make sure that the power supply is turned off
before you start cleaning your VOITAS X11. Do
not clean your charger with spray or direct
stream of water. We recommend the use of a
slightly damp cloth soaked in a mild solvent-
free and non-scouring cleaning agent.
• The VOITAS X11 is essentially maintenance free
but the owner should regularly check the
sockets, charging connectors and the cable as
well as the housing for visible damage. It is
recommended to make sure that the interior of
the connector is clean and free from any dirt
(e.g. sand, pieces of twigs or leaves) before each
charge.
• The minimum unwinding of the cable is marked
with a yellow label, and the maximum unwinding
value with a red label.
•The attached water protection cap should seal
the type 2 plug if as well as the type 2 socket
not in use to prevent damage from dust or
water.
•The VOITAS X11 is equipped with thermal
protection inside the cable reel. If the
temperature exceeds 70°C degrees, the power
supply is disconnected automatically.
Our product complies with the following norms:
EU Directive 2014/35/EU, the Electrical Equipment
(Safety) Regulations 2016, RoHS, PN-EN IEC 61851-
1:2019-10Eand PN-EN IEC 61316:2022-04.
Important note on the correct disposal of the
product based on Directive 2012/19/EU. The product
must not be disposed of with household waste. It
must be recycled at a special collection point for
used electrical appliances.
Always unwind the cable at least up to the yellow
label when charging to avoid overheating of the
device.
The VOITAS X11 connected to a Tesla car together
with a Tesla branded charger does not work.
Introduction
Thank you for choosing our product!
The VOITAS X11 is a great option for people who have
already installed a wallbox or a charging station from
a different manufacturer. The VOITAS X11 serves as a
practical cable extension for the existing wallbox.
The integrated cable reel system provides tidiness
and saves space. The charging cable can be rolled
up and thanks to it is not exposed to wear and tear.
For more information on our charging system or
other products, please visit: www.voitas-
innovations.com.
VOITAS X11 nameplate
The nameplate is located at the back of the device
between the fixing points. If you want to read the
entire nameplate, move the VOITAS X11
approximately 90 degrees to the wall.
S/N placed on the nameplate indicates the serial
number of the VOITAS X11.
X11 nameplate

34
Drawings & Dimensions
Isometric view
Front view Top view
182 124
Service plate
Side view
469
397
352
263
124
NOTE: All dimensions are in milimeters.
Installation
To ensure the safe use of the VOITAS X11, the user has
to install the device according to the instructions in
this manual.
It is necessary to protect the VOITAS X11 against all
weather conditions. Our warranty will not cover
the damage caused by adverse weather
conditions. Direct sunlight may overheat the
VOITAS X11, causing a reduction in charging power.
This can turn off the charging cycle.
The device must be located where it is protected
against the danger of explosion or flooding.
Installation in rooms with high humidity is not
recommended.

56
Installation Guide
MOUNTING THE BRACKET
NOTE:
All the screw wall plugs and screws needed to mount
the bracket are included with the X11.
The surface for mounting the bracket must be flat,
solid and resistant to mechanical pressure.
1. Place the template on the flat surface for
installation and align it vertically using a level.
2. Mark the four mounting openings on the wall
surface using a template.
3. Drill the openings in the wall to a depth of at least
65 mm.
4. Hammer in the screw wall plugs.
5. Place the bracket on the wall and drive the M5x80
screws into the screw wall plugs.
6. Make sure the screws are tightened firmly.
7. Hang the X11 on the bracket.
8. Secure the X11 against slipping out of the bracket
using an M4 screw.
Punch in the expansion plugs
Mark four drilling
openings using a template
Align the bracket vertically
Isometric view
Side view
Hang the VOITAS X11
Secure with an M4 screw
Installation Guide
MOUNTING THE SOCKET BOX
NOTE:
All the screws and screw wall plugs needed to mount
the socket box are included with the X11.
The surface for mounting the socket box must be
flat, solid and resistant to mechanical pressure.
1. Place the socket box on the flat surface for
installation and align it vertically using a level.
2. Mark the four mounting openings.
3. Drill the openings in the wall to a depth of at least
65 mm.
4. Hammer in the screw wall plugs.
5. Place the socket box on the wall and drive the
M5x80 screws into the screw wall plugs.
6. Make sure the screws are tightened firmly.
7. Insert the connector of your existing charger into
the socket and start charging.

78
Installation Guide
MOUNTING THE POST
NOTE:
All the screws, anchors and washers needed to
mount the post (for concrete or drill respectively)
are included in the VOITAS Base kit.
STEP 1:
1. Place the threaded flat bar inside the post and
position it in place of the holes drilled in the post.
2. Position the mounting plate in place of the holes
drilled in the post.
3. Screw the mounting plate, the post and the flat
bartogether using M8 screws.
STEP 2:
1. Insert the threaded flat bar into the inside of the
post with the smaller cross section and attach it
withtwo M8 screws.
STEP 3:
1. Slide the post with the larger cross-section over
the post with the smaller cross-section.
2. Screw the two posts together using two M8
screws.
STEP 1
STEP 2
STEP 3
Installation Guide
MOUNTING THE BASE OF THE POST TO THE
GROUND
WITH DRILL VERSION:
Attach the base of the post to the ground using four
M12 concrete anchors.
NOTE:
To seal the holes in the base of the post, use the four
M12 washers for the anchors included in the kit. The
use of washers is required to ensure the stability of
the anchor installation.
WITH CONCRETE VERSION:
Concrete the lower part of the post in the ground up
to the minimum height of 390 mm. The part of the
post above the ground should be about 1,3 metres
high.
MOUNTING THE BRACKET TO THE POST
1. Attach the Wallbox bracket to the post with M6
screws. Make sure the screws are tightened firmly.
2. Place the X11 in the bracket.
3. Secure the X11 against slipping out of the bracket
using an M4 screw
The post base
- a concrete version
390 mm
The post base
- a drill version

910
First Use & Charging Process
The VOITAS X11 is compatible with all other
wallboxes and charging stations on the market.
The charging process is as follows:
1. Plug your existing wallbox into the socket.
2. Pull the VOITAS X11 roll-up cable, plug it into your
car and enjoy charging.
3. If you want to stop charging, disconnect the cable
from the vehicle, pull it to unlock the mechanism
and safely rewind the cable into the VOITAS X11.
NOTE:
The cable reel integrated into the VOITAS X11 has a
locking mechanism - it locks itself with each
rotation and locks the cable. The VOITAS X11 is
equipped with a mechanism preventing the
automatic cable winding, locking the wire in the
desired position. To unlock the mechanism slightly
pull the cable for it to automatically rewind.
The VOITAS X11 8 M requires at least 5 meters of
a cable to be unrolled, and the VOITAS X11 6,5 M
requires at least 3,5 meters of a cable to be
unrolled. The cable has a spot marked with a
yellow label, which you will see when unwinding
the cable. If this label is not visible, do not
connect the cable.
Do not let go of the cable until it is rolled up
again.
First Use & Charging Process Datasheet
Nominal load current / voltage / v. frequency
16A/400V/50Hz
Charging current range
It depends on the charger installed (max. 11 kW)
Charging power
It depends on the charger installed (max. 11 kW)
Charging mode
IEC 61851-1, mode 3
Connection to the vehicle
Type 2 plug
Dimensions
395x350x182 [mm]
Weight
6,4 kg for the 8 M version
6 kg for the 6,5 M version
Ingress protection
IP 54
Working ambient temperature range
From -25 °C to 40 °C
Mounting
Dedicated mounting bracket, mounted on an indoor
wall or under a roof
Cable
6,5 M and s8 M version , integrated cable reel
POWER / CHARGING
MECHANICAL DATA
Compliance with norms, directives and certificates
EU Directive 2014/35/EU, the Electrical Equipment
(Safety) Regulations 2016, RoHS, PN-EN IEC 61851-
1:2019-10Eand PN-EN IEC 61316:2022-04
ADDITIONAL INFO

11 12
12
www.voitas-innovations.com
USER MANUAL (ENG)

11 12
12
www.voitas-innovations.com
USER MANUAL (ENG)
This manual suits for next models
1
Table of contents
Other VOITAS Batteries Charger manuals