Page 6
1. Turn on the TV and satellite receiver.
2. Your FLEX controller should be on from the configuration process on pages 4-5. If not, press
POWER and wait for the COAX CONNECTION light to stop flashing and remain on.
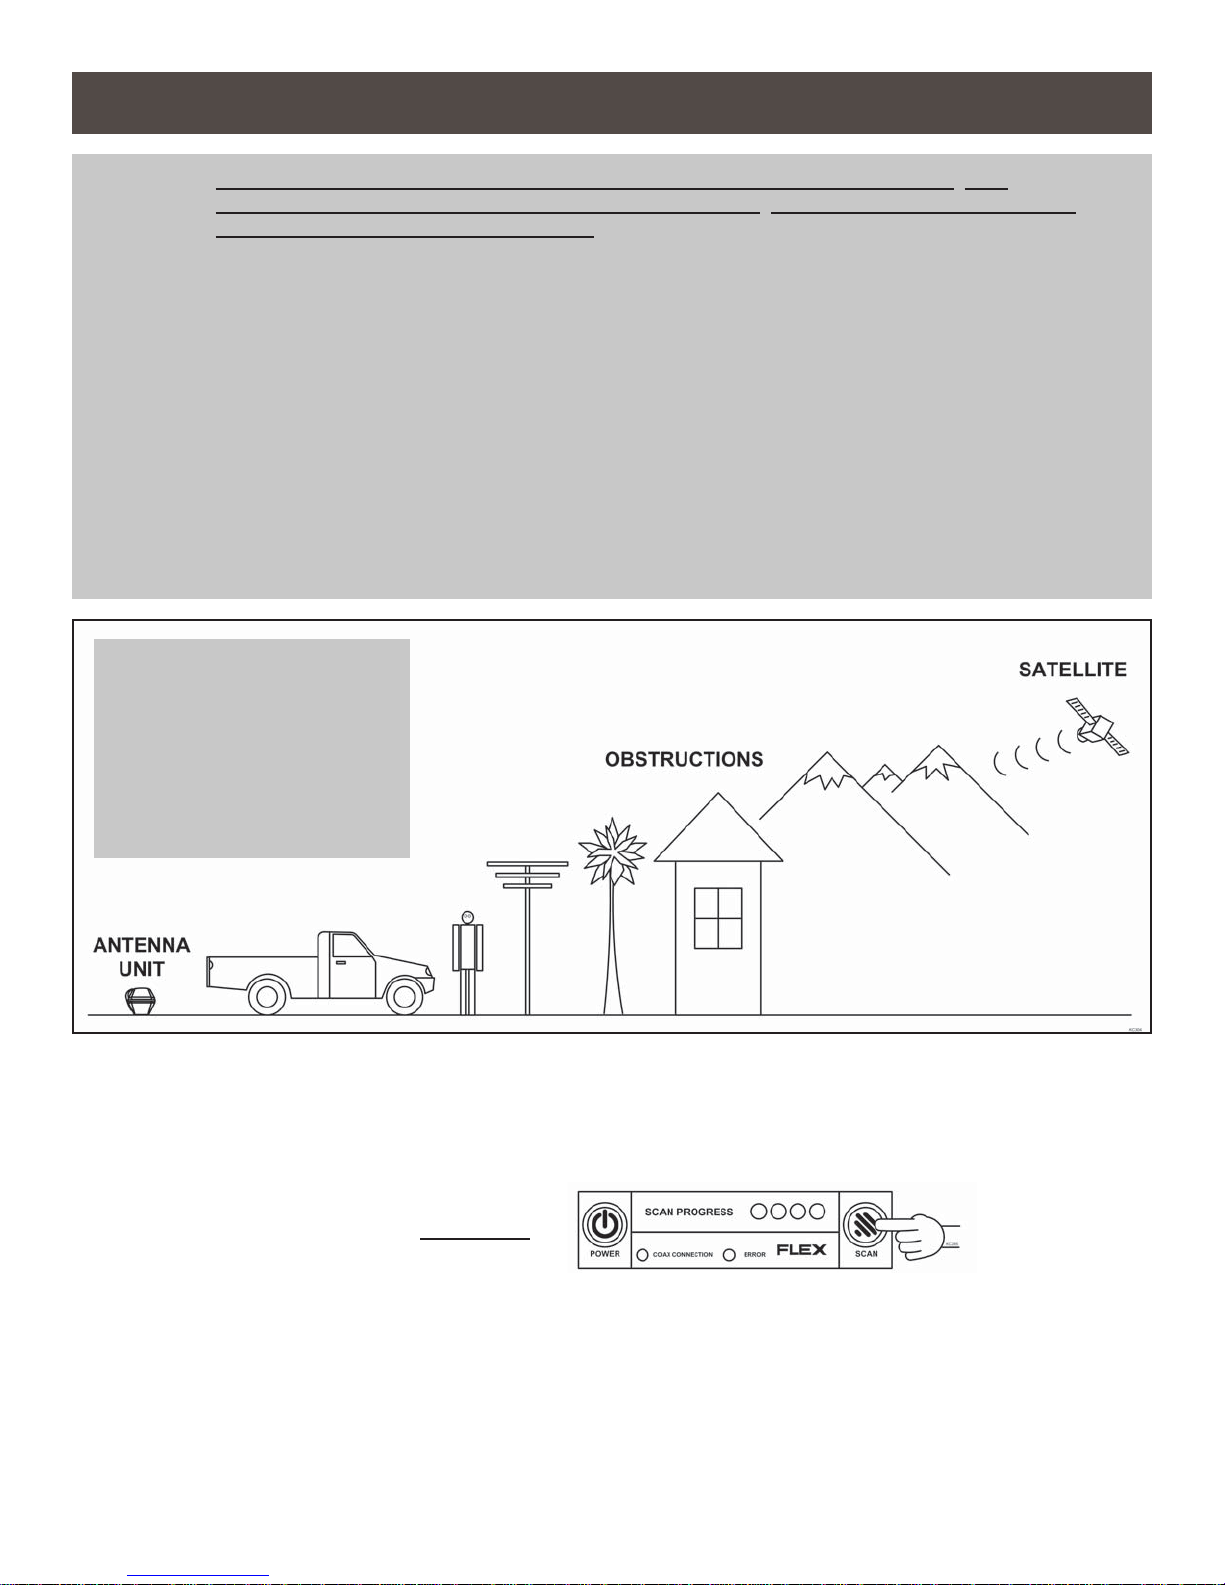
Press and hold SCAN for 3 seconds.
The antenna will locate all of the appropriate satellites before completing the search process.
After the antenna acquisition process is complete, specific SCAN PROGRESS lights will
turn on to indicate which satellites have been found (see chart on page 11).
If you configured the antenna for DISH SD and HD and the antenna cannot acquire the
110, 119, and 129 satellites, you may need to configure the antenna for DISH SD and
HD Alternate (pages 4-5).
IMPORTANT! YOU MUST HAVE COMPLETED THE ANTENNA CONFIGURATION (PAGES 4-5), AND
PERFORMED A SUCCESSFUL SEARCH (STEP 2 BELOW), BEFORE RUNNING THE CHECK
SWITCH TEST (STEP 3 ON NEXT PAGE).
NOTE: For automatic satellite switching, King Controls recommends using a DISH model 311 receiver for DISH SD.
If you do not have a clear view of the satellites, the switch will not load correctly.
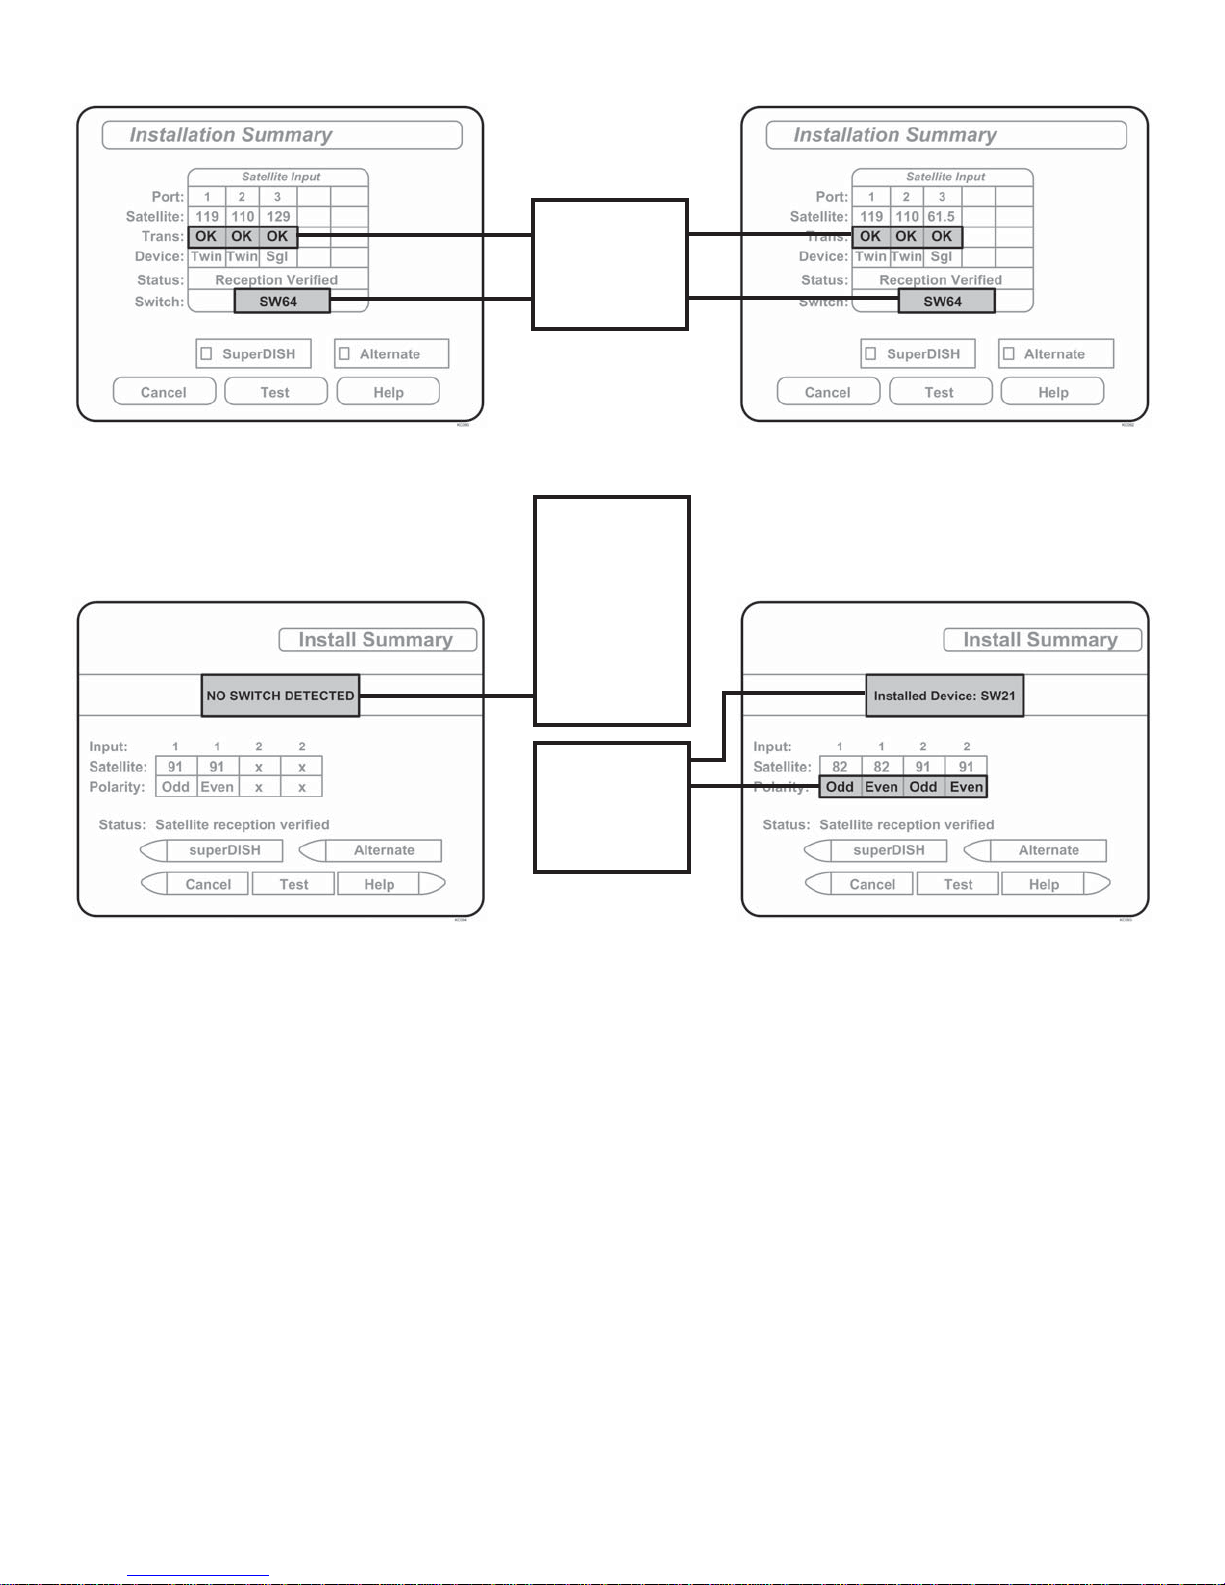
The SW21 and SW64 switches are a receiver software configuration that is loaded into the receiver after
successfully running a check switch test with the dish locked on and configured for the appropriate service.
This one time procedure will not need to be repeated after successful installation, unless:
a) check switch test is run again while the receiver is connected to a home dish system.
b) check switch test is run when the receiver is not connected.
c) you travel outside the coverage area of either DISH SD and HD or DISH SD and HD Alternate and switch
to the other.
d) you are parked in an area where the selected satellites are blocked, but are able to select alternate
satellites and get signal.
Section 3 RECEIVER CONFIGURATION - DISH AND BELL TV
IMPORTANT!
The antenna unit requires a
“direct line of sight” to the
satellites for signal reception.
Any tall objects can block the
signal from reaching the dish.