VWR VE2 User manual
Other VWR Laboratory Equipment manuals

VWR
VWR Mini Shaker User manual

VWR
VWR ShiroGel 700-0250 User manual

VWR
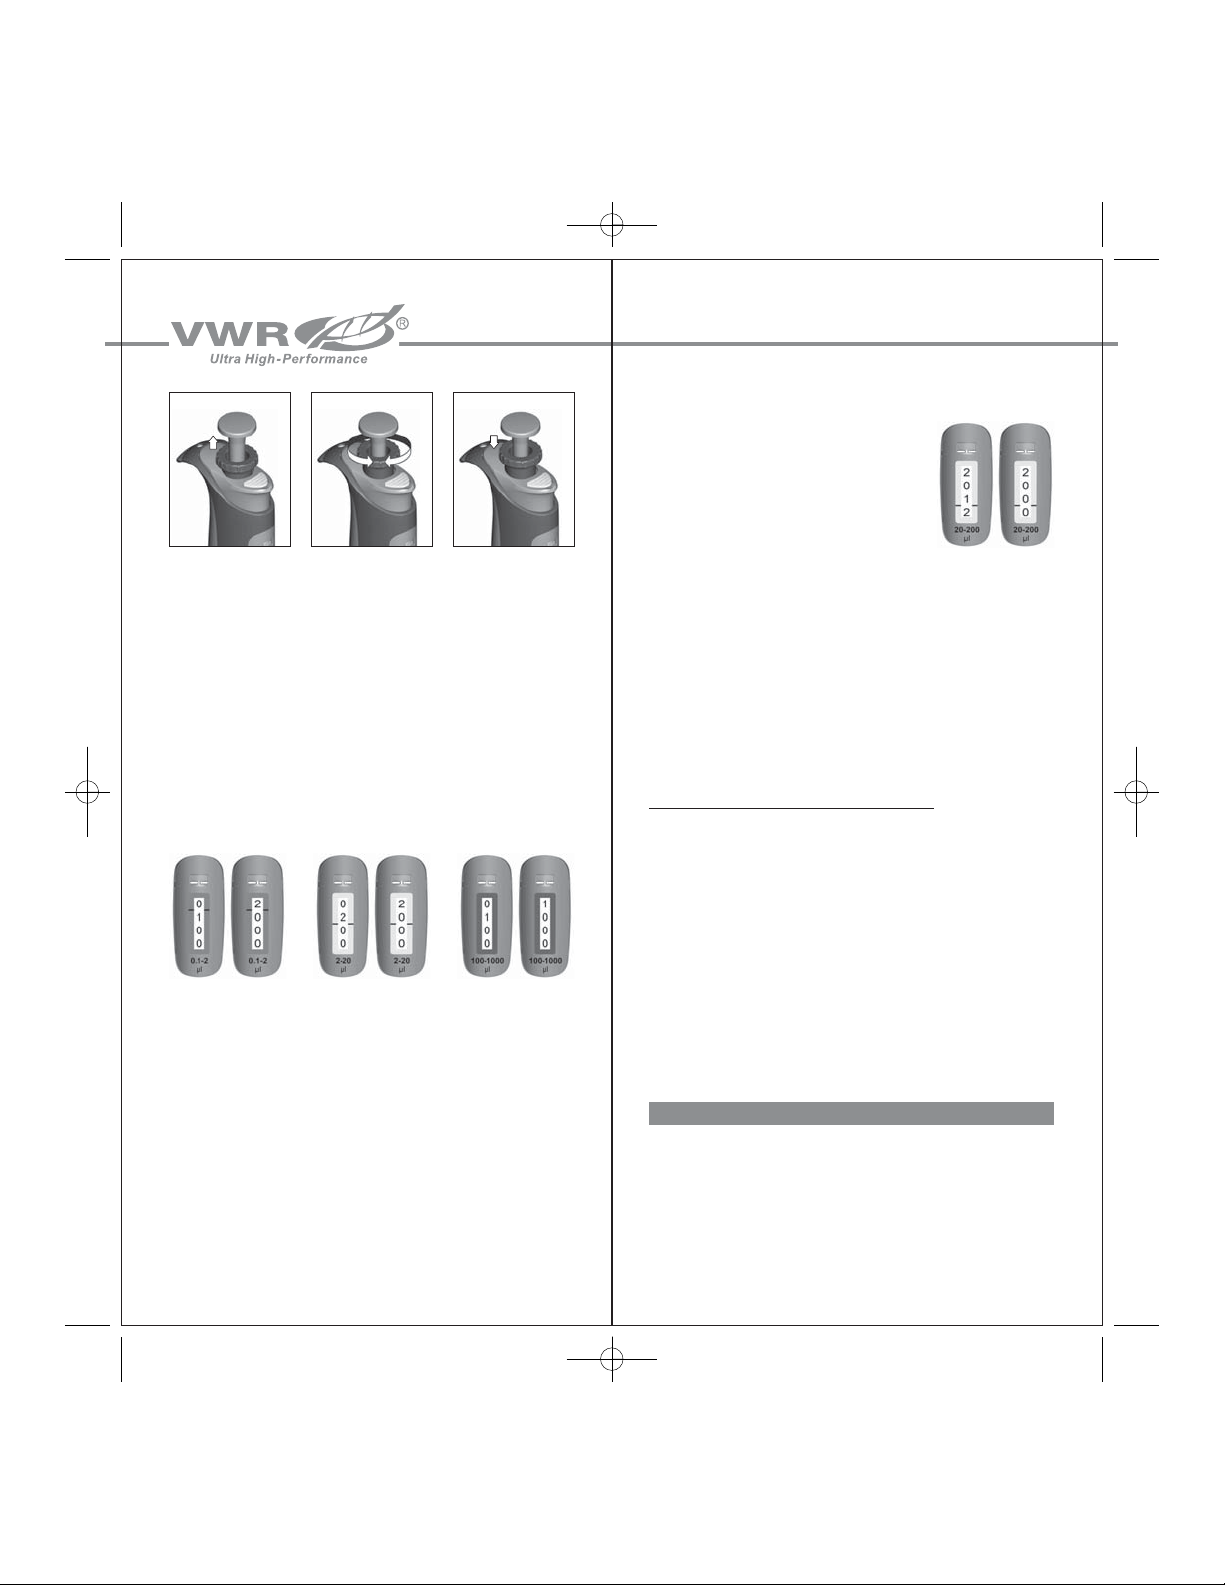
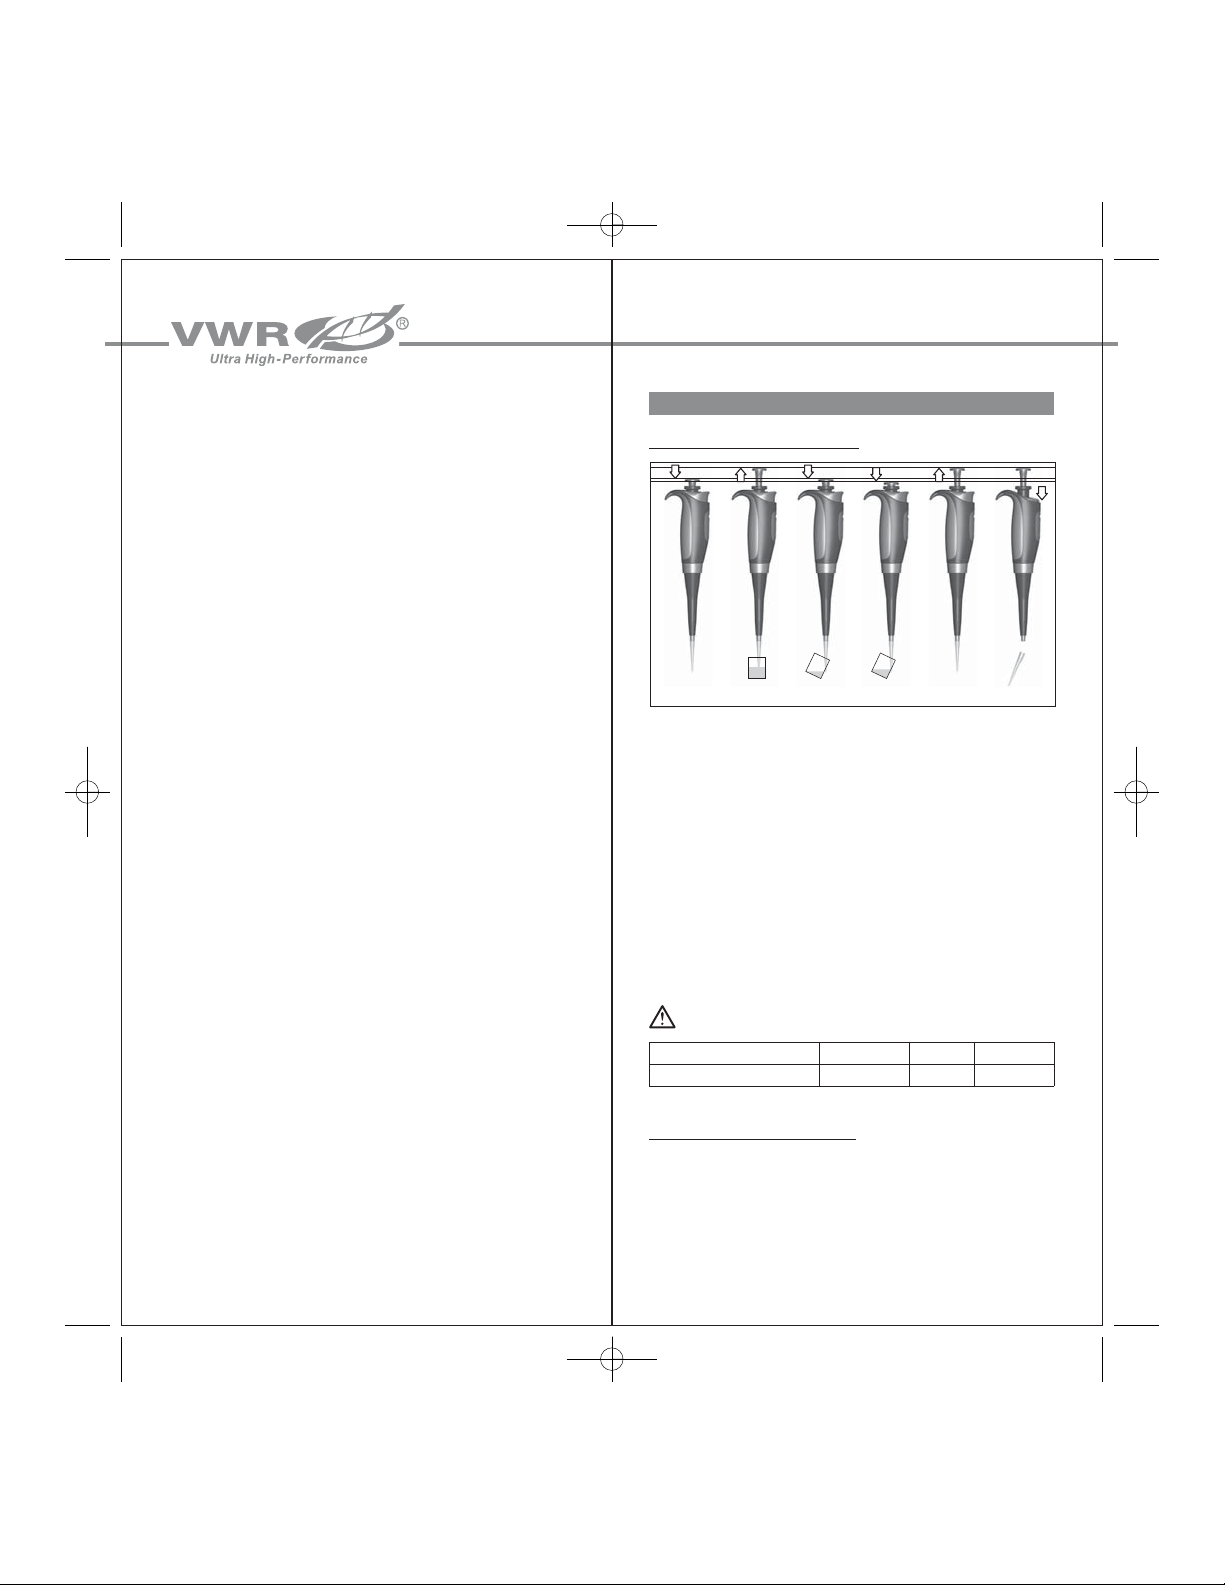
VWR avantor UHP User manual

VWR
VWR Micro 1207 User manual

VWR
VWR 76533-876 User manual

VWR
VWR Signature ME50 User manual

VWR
VWR Bead Mill MAX User manual

VWR
VWR VWR Mega Star 600R User manual

VWR
VWR INCU-Line IL 56 User manual

VWR
VWR Signature VE2/V2 User manual

VWR
VWR Standard Series User manual

VWR
VWR Analog Vortex Mixer User manual

VWR
VWR avantor Chemi Premium User manual

VWR
VWR Advanced Mini Block Heaters User manual

VWR
VWR avantor User manual

VWR
VWR Peqlab PerfectBlue Mini S User manual

VWR
VWR 432-0367 User manual

VWR
VWR 5600 Series Operating instructions

VWR
VWR VWR INCU-Line IL 10 User manual

VWR
VWR Mini Shaker User manual


Popular Laboratory Equipment manuals by other brands


Agilent Technologies
Agilent Technologies 5800 ICP-OES user guide

Endress+Hauser
Endress+Hauser Cleanfit CPA875 operating instructions

NI
NI PXI-5422 CALIBRATION PROCEDURE

Collomix
Collomix Aqix operating instructions

SPEX SamplePrep
SPEX SamplePrep 6875 Freezer/Mill Series operating manual

Ocean Insight
Ocean Insight FLAME-NIR+ Installation and operation manual

Parker
Parker ALIGN-MG-NA Installation, operation and maintenance manual

BD
BD 644787 user guide

DENTAURUM
DENTAURUM Compact Megaplus Instructions for use

Biuged Laboratory Instruments
Biuged Laboratory Instruments BGD 626 instruction manual

illumina
illumina MiSeqDx reference guide

Yamato
Yamato BM510 instruction manual