6 7
Add Job
1. From the Tools menu, select Add
Job.
2. Enter the name or number using
the touchpad.
3. Select OK to store the information
into memory for easy retrieval.
1. Firmly insert the Bluetooth®Read-
er into a Smart Sensor.
2. Hold the Bluetooth®Reader in
place for approximately 3 seconds,
or until the reading acquired screen
(shown below) appears, then re-
move the Bluetooth®Reader.
-
®
® -
IF Bluetooth®icon is already present in title bar, a successful read-
ing will usually occur within 2 seconds of Reader insertion. If you
do not get a successful reading, reinsert the Bluetooth®Reader.
After 3-4 seconds of displaying this screen, and if this is the very
screen where you assign this sensor to the appropriate Job from
the Job list.
Once you choose the Job, you will be
taken to the Sensor Data screen where
you will be able to view stored data for
Next, you will enter other Sensor In-
formation, when the DataMaster™
sensor.
Taking Readings
To enter sensor information:
1. From the Sensor Data screen,
touch the “Information” button (“i” in
a circle) on the bottom right corner
of the screen.
2. On the “Sensor Info” screen (shown
below), enter the sensor’s location
(Loc:) on that particular slab and
the Hole Depth, which are manda-
tory for correct reporting according
to the ASTM F2170 reporting pro-
tocol. Floor, Slab and Slab thick-
ness are optional, but may be used
to provide additional information if
desired.
3. Once the Sensor information has been entered, press the
“back arrow” to return to the Sensor Data screen, or press the
Home icon to return to the Main screen.
readings from that sensor will automatically be stored under the
assigned Job. Sensors are non-transferrable between Jobs once
assigned.
Job site data can be viewed by selecting individual sensors from
the sensor list for a Job. Sensor data can also be graphically
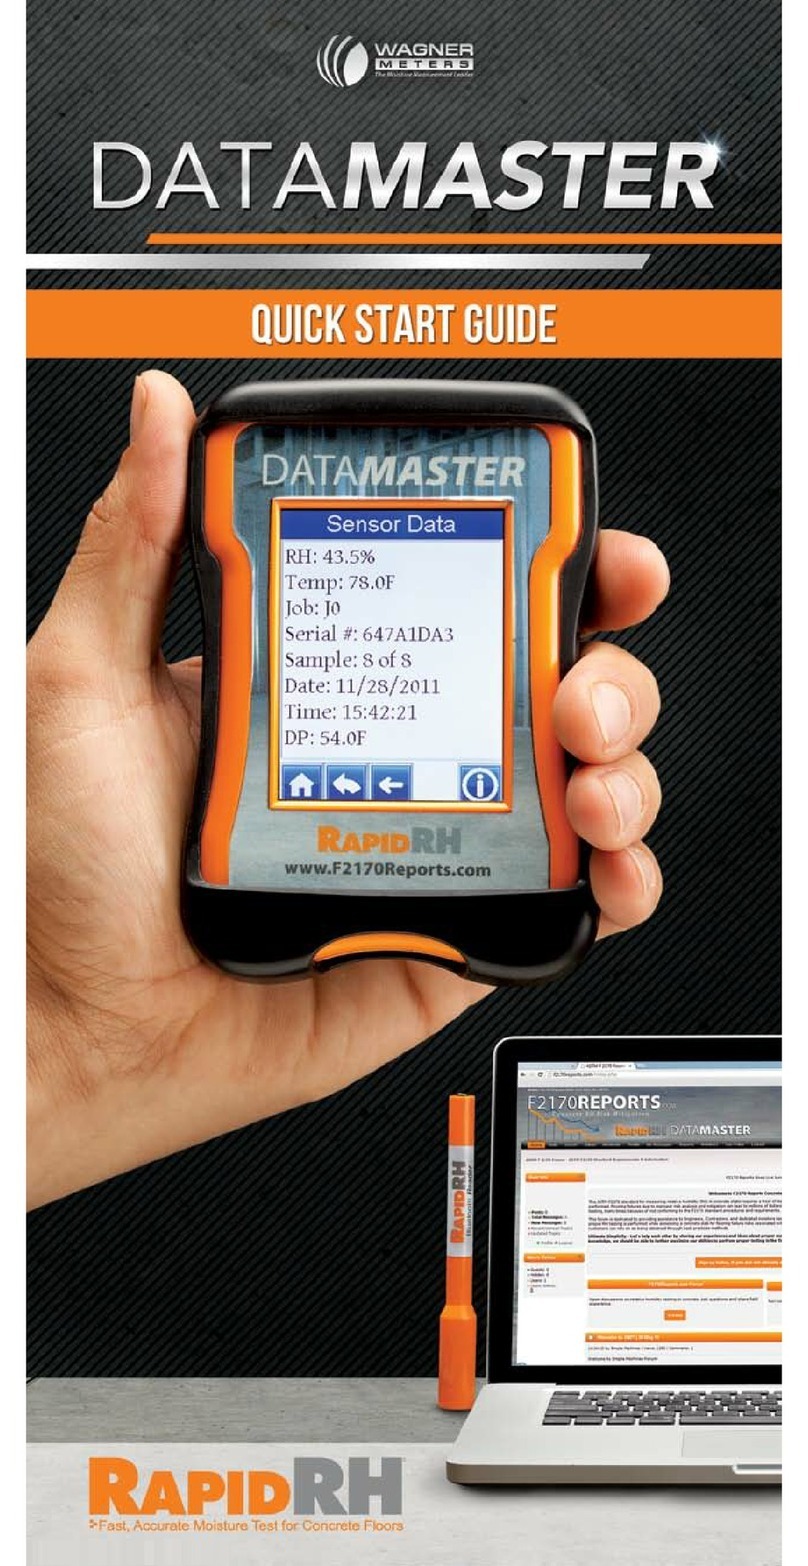
Each reading for a sensor will record the current slab internal RH
and temperature, sensor serial number, sample number (i.e. 2 of
3), date, time, dew point (DP) and ambient RH and temperature.
Delete Job
When data from a particular Job is no
longer needed or has been uploaded
from the DataMaster™, the Job name
and records can be deleted from the
unit.
1. From the Tools menu, select Delete
Job.
2. Select the name or number of the
Job you wish to delete.
3. Select OK to permanently delete
the Job from memory.
