manuals.online logo
Brands
  1. Home
  2. •
  3. Brands
  4. •
  5. McCrometer
  6. •
  7. Measuring Instrument
  8. •
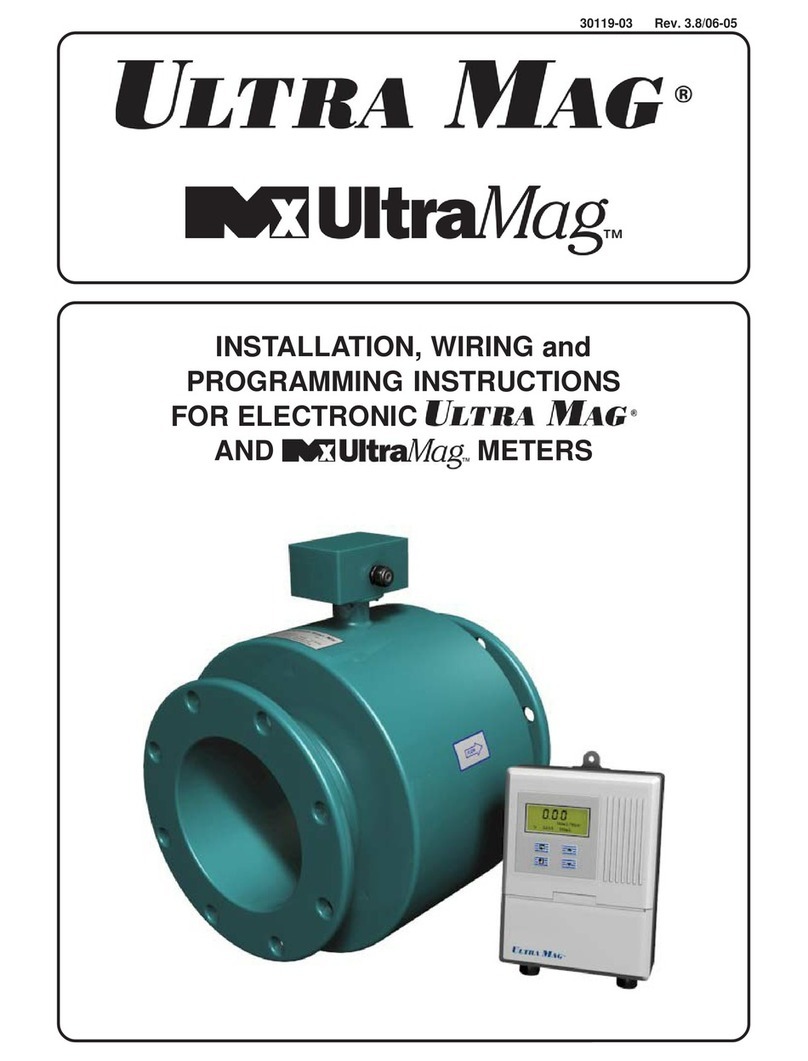
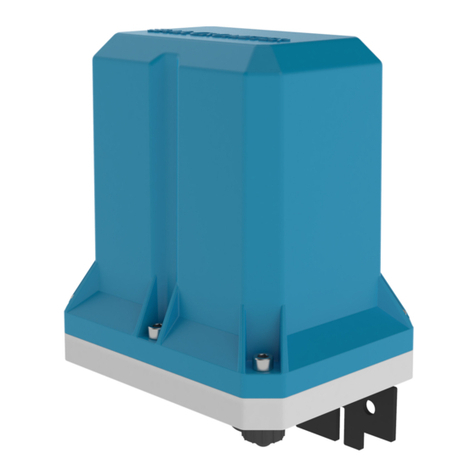
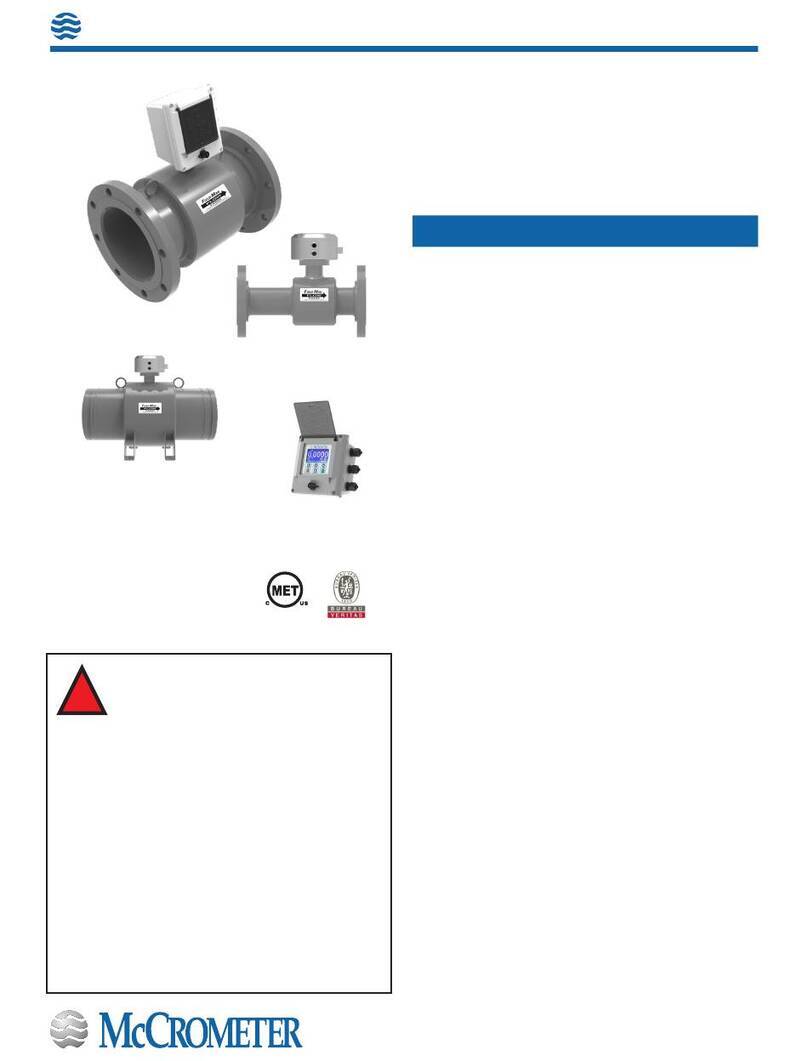
  9. McCrometer Mc Mag3000 Use and care manual

McCrometer Mc Mag3000 Use and care manual

Battery Installation and
Replacement
ag
3000TM
™
DURA MAG
30122-18 Rev. 1.2 | 13AUG2019
3255 WEST STETSON AVENUE • HEMET, CALIFORNIA 92545 USA
TEL: 951-652-6811 • 800-220-2279 • FAX: 951-652-3078
www.mccrometer.com
Copyright © 2001-2019 McCrometer, Inc. All printed material should not be changed or altered without permission of McCrometer. Any published pricing,
technical data, and instructions are subject to change without notice. Contact your McCrometer representative for current pricing, technical data, and instructions.
Page
1
2. Cut o the tamper proof seal and remove the wire
from the security screws.
NOTE: This step not required for battery installation in
new meters.
3. Remove screws holding
the lid to the housing.
Lift the lid up and remove
the screws and lock
washers. Set them aside
and place the lid upside.
1. Remove the warranty stickers from the left and right
sides of the cover rim.
NOTE: This step not required for battery installation in
new meters.
I. Removing the cover
If you are replacing batteries
with fresh batteries,
continue to step 4.If you are installing batteries
in a new meter that does
not have batteries already
installed, go to step 11.
Materials Provided
BEFORE YOU BEGIN:
Check supplies to ensure all parts are present.
Right side
(sticker removed)
Cut wire
Security screwSecurity screw
Tamper proof
stickers
Dry pack Zip tie
Tamper proof
wire seal
Replacement
screws
One triple D
battery pack
One double A
battery pack
Replacement
cover gasket
Molykote
lubricant
Battery Installation and
Replacement
ag
3000TM
™
DURA MAG
30122-18 Rev. 1.2 | 13AUG2019
4. Watch the STATUS LED to make sure it is blinking at a
fast pace.
5. Wait for the unit to go to sleep.
6. Watch for the STATUS LED to blink at a very slow pace
(about every 15 seconds).
7. IMPORTANT! After the STATUS LED blinks one time,
use a small at head screw driver to turn o DIP
switch number 2 (B1) FIRST. Then switch o DIP switch
number 1 (B2).
STATUS LED
II. Shutting o the system
III. Removing the batteries
IMPORTANT! You must follow the next steps in this specic order to insure the unit does not reset the internal time clock.
If you have the Data Logger Software and communication cable, disregard these next steps. The clock may be set with
software once the unit is re-assembled.
Note: Leaving the unit powered down for an extended amount of time will cause a delay of the clock.
8. Remove the screws opposite of the hinge of the LCD
display / battery cover and ip open the battery cover.
9. Unplug the batteries. 10. Remove the batteries. The older style has two large packs in
the tray, while the newer style has one large pack in the tray
and one small pack attached to the chassis with Velcro.
Depending on the age of your meter and converter box,
your batteries will be one of the two types shown below.
Velcro
Battery
packs
Hinge
Hinge
screws
Battery Installation and
Replacement
ag
3000TM
™
DURA MAG
30122-18 Rev. 1.2 | 13AUG2019
16. Replace the two screws that hold the LCD/battery
cover.
14. Using a small at head screwdriver, move DIP switch 2,
labeled B1, to the ON position. Then move DIP switch 1,
labeled B2 to the ON position.
IMPORTANT! Make sure to move DIP switch 2, labeled B1 FIRST.
An incorrect boot-up will occur if B1 is not powered rst.
15. Set the hinged LCD/internal battery cover back in
place to see the display. The unit will start to power up.
You will see the start screen as it goes through a boot
up mode. Ensure that the unit is powered normally
and there are no alarms.
12. Set the batteries in place, making sure
the wires extend toward the battery
connectors.
13. Plug the batteries into the circuit board.
• The single battery pack goes to connector B1.
• The double battery pack goes to connector B2.
IV. Installing the batteries and restoring the power
B1B2
11. If there is no strip of Velcro on the side of the chassis, remove the
clear adhesive protective strip from the small battery pack and press
the entire battery pack in place as shown in the picture at right.
Battery Installation and
Replacement
ag
3000TM
™
DURA MAG
30122-18 Rev. 1.2 | 13AUG2019
20. Remove the screw
holding the dry pack and
zip tie on the converter
lid.
21. Wrap the new zip tie around the new dry pack. Cut the
excess of the zip tie.
22. Install the new
zip tie with dry
pack onto the
converter lid.
23. Place the converter lid
onto the housing. Insert
the screws, washers and
lockwashers as shown at
right and tighten them
rmly.
24. Guide the tamper proof
seal through the holes in
the screws as shown.
25. Connect the tamper proof wire as follows: 26. Apply new warranty stickers.
VI. Replacing the cover
V. Replacing the gasket
The dry pack must be set in place when new batteries are installed and replaced when batteries are replaced.
If you installed replacement batteries, we recommend that you replace the gasket.
If you installed new batteries, you must set the gasket in place before replacing the cover and closing up the unit.
A
B
(A) Run the
wire up the
back channel
and down
front channel
of the plastic
connector.
(B) Snap the
plastic connector
lid into place.
Be sure the security screws (smaller screws
with holes) are installed towards the back.
17. If your unit has a gasket,
remove it.
18. Apply a light coating of Molykote to the
replacement gasket.
19. Place the gasket in the
groove and press it in.

Other manuals for Mc Mag3000

2

Other McCrometer Measuring Instrument manuals
McCrometer McMag2000 User manual

McCrometer

McCrometer McMag2000 User manual

McCrometer Ultra Mag User manual

McCrometer

McCrometer Ultra Mag User manual
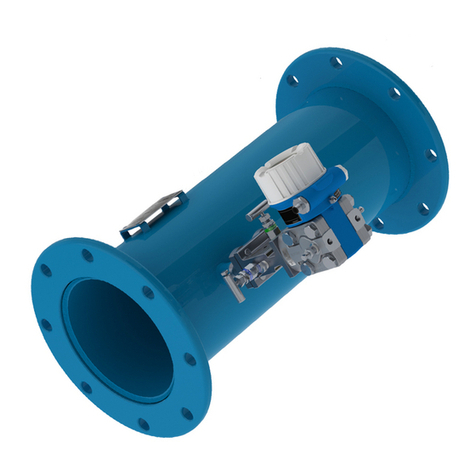
McCrometer McMag2000 User manual

McCrometer

McCrometer McMag2000 User manual

McCrometer FPI Mag 394L User manual

McCrometer

McCrometer FPI Mag 394L User manual

McCrometer Propeller Meter FlowCom Register FC100 User manual

McCrometer

McCrometer Propeller Meter FlowCom Register FC100 User manual

McCrometer SPI Mag 282L User manual

McCrometer

McCrometer SPI Mag 282L User manual

McCrometer Mc Mag3000 User manual

McCrometer

McCrometer Mc Mag3000 User manual

McCrometer McMag 2000 Instruction Manual

McCrometer

McCrometer McMag 2000 Instruction Manual

McCrometer V-Cone User manual

McCrometer

McCrometer V-Cone User manual

McCrometer Dura Mag User manual

McCrometer

McCrometer Dura Mag User manual

McCrometer Ultra Mag User manual

McCrometer

McCrometer Ultra Mag User manual
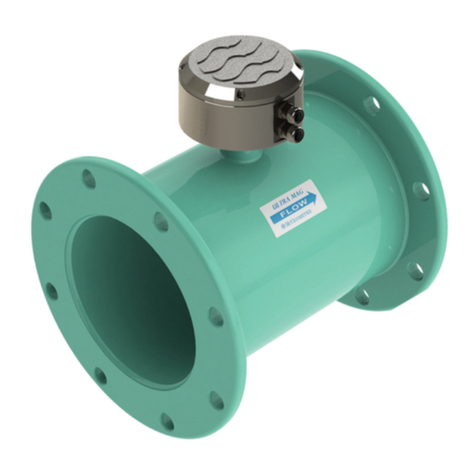
McCrometer McMAG 2000 Instruction Manual

McCrometer

McCrometer McMAG 2000 Instruction Manual

McCrometer Mc Propeller User manual

McCrometer

McCrometer Mc Propeller User manual

McCrometer FPI Mag 394L User manual

McCrometer

McCrometer FPI Mag 394L User manual

McCrometer Water Specialties ML04D User manual

McCrometer

McCrometer Water Specialties ML04D User manual

McCrometer ULTRA MAG 4 User manual

McCrometer

McCrometer ULTRA MAG 4 User manual

McCrometer Field Mag 5000 Instruction Manual

McCrometer

McCrometer Field Mag 5000 Instruction Manual

McCrometer FlowConnect FC500 User manual

McCrometer

McCrometer FlowConnect FC500 User manual

McCrometer V-Cone Owner's manual

McCrometer

McCrometer V-Cone Owner's manual

McCrometer ULTRA MAG UM06 User manual

McCrometer

McCrometer ULTRA MAG UM06 User manual

McCrometer Dura Mag Instruction Manual

McCrometer

McCrometer Dura Mag Instruction Manual

McCrometer FPI Mag 394 User manual

McCrometer

McCrometer FPI Mag 394 User manual
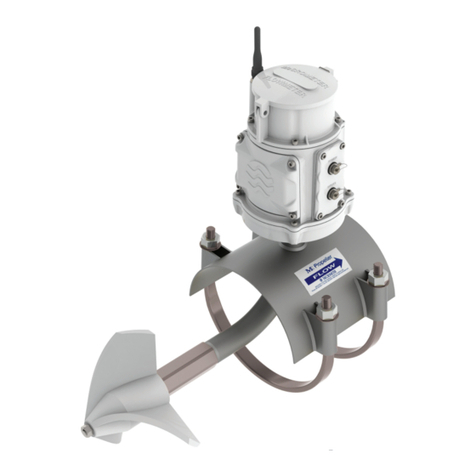
McCrometer FlowConnect User manual

McCrometer

McCrometer FlowConnect User manual

McCrometer McMag3000 Instruction Manual

McCrometer

McCrometer McMag3000 Instruction Manual

Popular Measuring Instrument manuals by other brands

Yamaha 6Y8-2819V-00 owner's manual

Yamaha

Yamaha 6Y8-2819V-00 owner's manual

VeEX TX50e E-manual

VeEX

VeEX TX50e E-manual

Tietzsch ZAP 350L User instructions

Tietzsch

Tietzsch ZAP 350L User instructions

Xsens Awinda Station Step-by-step manual

Xsens

Xsens Awinda Station Step-by-step manual

Kolida K3 IMU user guide

Kolida

Kolida K3 IMU user guide

Oval Ultra Oval LW76E manual

Oval

Oval Ultra Oval LW76E manual

sauter TN-US instruction manual

sauter

sauter TN-US instruction manual

Tektronix P6021A instruction manual

Tektronix

Tektronix P6021A instruction manual

Güralp CMG-EDU Technical manual

Güralp

Güralp CMG-EDU Technical manual

TOHO TRM-00J Operation manual

TOHO

TOHO TRM-00J Operation manual

Acon Mission user manual

Acon

Acon Mission user manual

Aeroflex 3901 Operation manual

Aeroflex

Aeroflex 3901 Operation manual

teko ASTRA-863 user guide

teko

teko ASTRA-863 user guide

Neopost ij25 user guide

Neopost

Neopost ij25 user guide

Sensorsoft ETHERPAK-4A quick start guide

Sensorsoft

Sensorsoft ETHERPAK-4A quick start guide

Mark-10 7i user guide

Mark-10

Mark-10 7i user guide

Valeport va500 operating manual

Valeport

Valeport va500 operating manual

geo-FENNEL S-Digit multi+ user manual

geo-FENNEL

geo-FENNEL S-Digit multi+ user manual

manuals.online logo
manuals.online logoBrands
  • About & Mission
  • Contact us
  • Privacy Policy
  • Terms and Conditions

Copyright 2025 Manuals.Online. All Rights Reserved.