manuals.online logo
Brands
  1. Home
  2. •
  3. Brands
  4. •
  5. Wampat
  6. •
  7. Indoor Furnishing
  8. •
  9. Wampat W11F4040W User manual

Wampat W11F4040W User manual

W11F4040W
Assembly Instructions
Please read this manual carefully before beginning assembly of this product.Keep this manual for future reference.
1-1
1
2
3
5
4
8
69
12
13
10
11
14
1
7
15
16
x 2
2
ABCE
I
GJ
H
F
D
KL
MNOPQR
STUVWX
e
abcd
Y
Ø8x30mm Ø6x30mm
Handle bolt
M4x12mm
Cam lock
Ø15x12mm
Screw
Ø3x14mm
Shelf support
Glue Wooden dowel Wooden dowel
Ø7x34mm
Cam bolt Cam lock
Ø14x11mm
Ø6x29mm
Cam bolt Handle Handle bolt
M4x20mm Magnet
Screw
Ø4x30mm
Screw
Ø4x40mm Footpads Plastic wedge Screw
Ø3x16mm
Door pivot Door pivot
Screw
Ø3x12mm Sticker USB lnterface Screw
Ø3.5x12mm
Philips screwdriverr
Tools Required
(Not included)
Tipping restraint hardware kit
(inside plastic bag)
x 2 x 20 x 4 x 20
x 2
x 4 x 4
x 6
x 4
x 20
x 2 x 4
x 8 x 8 x 8 x 8 x 16 x 16
x 2 x 2 x 8 x 16 x 1 x 2
x 2
3
1
● The provided glue (A) is to secure wood
dowels (B) in place.When first inserting
dowels,locate the appropriate hole for the
dowel,place a small amount of glue in the
hole and insert the dowel.Wipe away
excess glue immediately.
● In future assembly steps when dowels are
necessary to attach assembly parts together,
place a small amount of glue on the end of
the dowel before attaching parts together.
Wipe away excess glue immediately.
Philips head screwdriver
required for assembly
(not included)
B
3
2
5
EAL K
B
L
K
E
x 2
1 2
1 2
x 20 x 4x 1 x 4 x 2
· Insert dowels (B) into panels (2,3,5).
· Screw cam bolts (E) into panels (2,3).
· Attach part (K) to panel (5) using screws (L).
4
2
· Screw cam bolts (E) into panels (1,4,15).
14
E
E
15
x 2
x 16
5
3
· Attach panels (5) to panels (2,3).
· Insert and secure cam locks (D) to panels (2,3) to lock it.
5
3
2
D
D
x 2
1 2 3
x 4
6
4
N
48
8
P
P
VV
NVP
x 2
x 8 x 8 x 8
· Attach legs (8) to panel (4) using screws (N).
· Stick the skid pad (P) on the bottom of the legs (8).
· Stick the Stickers (V) on the screws (N).
7
5
4
2
3
D
D
VV
V
x 2
x 8
1 2 3
x 8
· Attach panel (4) to panels (2,3),
· Insert and secure cam locks (D) to panes (2,3) to lock it.
· Stick stickers (V) on cam locks (D).
8
6
· Carefully slide panel (7,16) into place along the back of the assembly.
7
2323
16
9
7
1
26
3
DO
D
O
26
3
D
15
x 8 x 8
1 2 3
· Attach panels (1,15) to panels (2,3),
· Insert and secure cam locks (D) to panels (2,3) to lock it.
· Attach panel (6) to panels (2,3) using parts (O).
10
8
1
2
3
4
R
Q
QR
X
W
15
3
2
4
WXx 16 x 16 x 1 x 2
· Secure parts (Q) to panels (1,2,3,4,15) using screws (R).
· Attach parts (W) to panel (15) using screws (X).
11
9
· Attach parts (H) to panel (9) using bolts (J).
· Attach parts (S) to panel (9) using screws (U).
9U
S
H
J
HJSU
x 2
x 4 x 4 x 2 x 4
12
10
9
4
5
TU
TU
9
4
5
x 2 x 4
· Insert part (T) into the corresponding holes of part (4).
· Insert part (9) into the corresponding holes of parts (4,5).
· Secure parts (T) into panel (9) with screws (U).
13
11
12
13
10
G
C
CG
A
x 2
x 4 x 4x1
· Insert dowels (C) into panels (12,13).
· Screw cam bolts (G) into panel (10).
14
12
13
12
11
M
M
14
13
12
x 2
x 8
· Attach panel (11) to panels (12,13) using screws (M).
· Carefully slide panel (10) into place along the bottom of the assembly.
15
13
10
H
I
F
FIH
13 12
x 2
x 4 x 2 x 2
· Attach part (H) to panel (10) using bolts (I).
· Attach panel (10) to panels (12,13).
· Insert and secure cam locks (F) to panels (12,13) to lock it.
16
14
1
10 10
15 Slider arm
Slider bracket
· Assembled the drawers as per diagram
Note :
If the drawer does not go in smoothly.
Press or lift the plastic release lever.
Pull out the slider bracket from
the slider arm.
Loosen the screws on slider brackets,
You can adjust up or down by a few mm.
Then tighten back up.
Finally re-assembled the drawer until
they were going in smoothly well.
Slider bracket
17
15
Connector
Serious or fatal injuries can occur from furniture tipping over.
To prevent the furniture from tipping over we recommend that
it is permanently fixed to the wall. Wall anchor and hardware
are included with this product. Please make sure hardware is
suitable for your walls before installing, as different wall
materials may require different types of anchors.
1
e
b
c
a
d
d
e
e
Y
Y
1
15
WARNING
1 2 3
x 2

Other Wampat Indoor Furnishing manuals
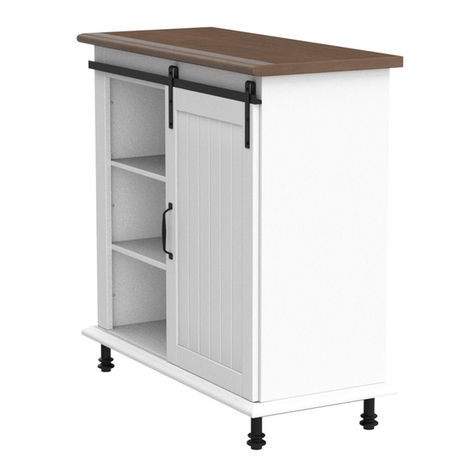
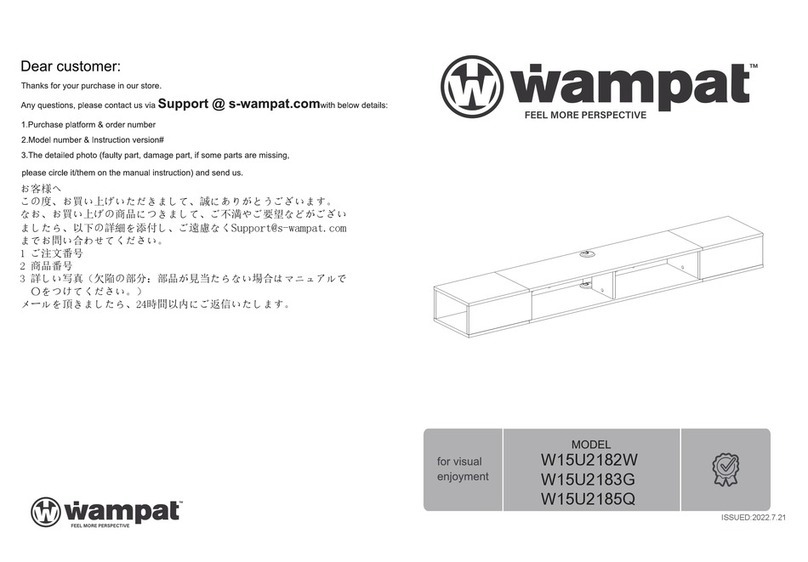
Wampat W18N4064W User manual

Wampat

Wampat W18N4064W User manual

Wampat J0001B User manual

Wampat

Wampat J0001B User manual

Wampat W06F3052W User manual

Wampat

Wampat W06F3052W User manual

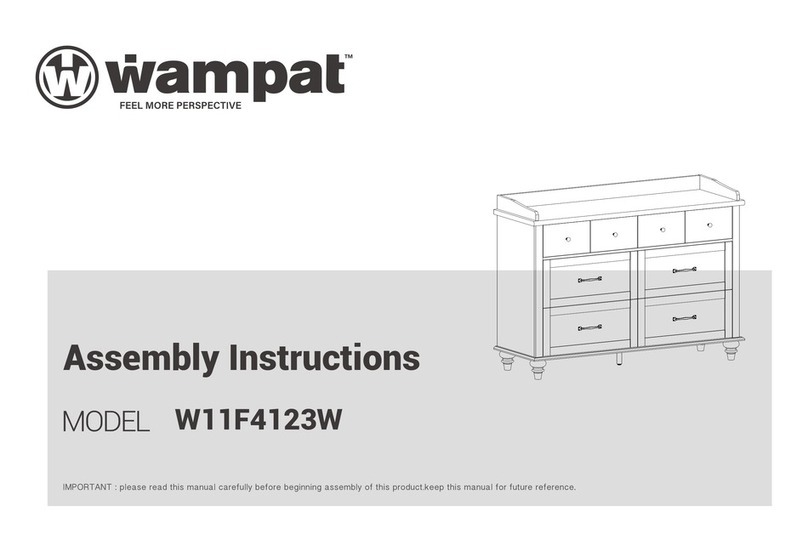
Wampat W11F4123W User manual

Wampat

Wampat W11F4123W User manual

Wampat W09B3101B User manual

Wampat

Wampat W09B3101B User manual

Wampat W02D2081L User manual

Wampat

Wampat W02D2081L User manual

Wampat W11F4122W User manual

Wampat

Wampat W11F4122W User manual

Wampat W06F4051W User manual

Wampat

Wampat W06F4051W User manual

Wampat W01D3187G User manual

Wampat

Wampat W01D3187G User manual

Wampat MTS31501 User manual

Wampat

Wampat MTS31501 User manual

Wampat W06L3051N User manual

Wampat

Wampat W06L3051N User manual

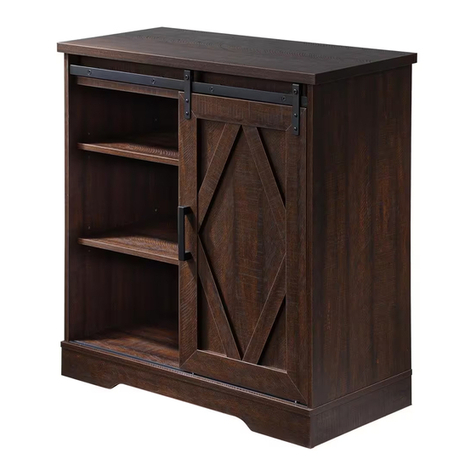
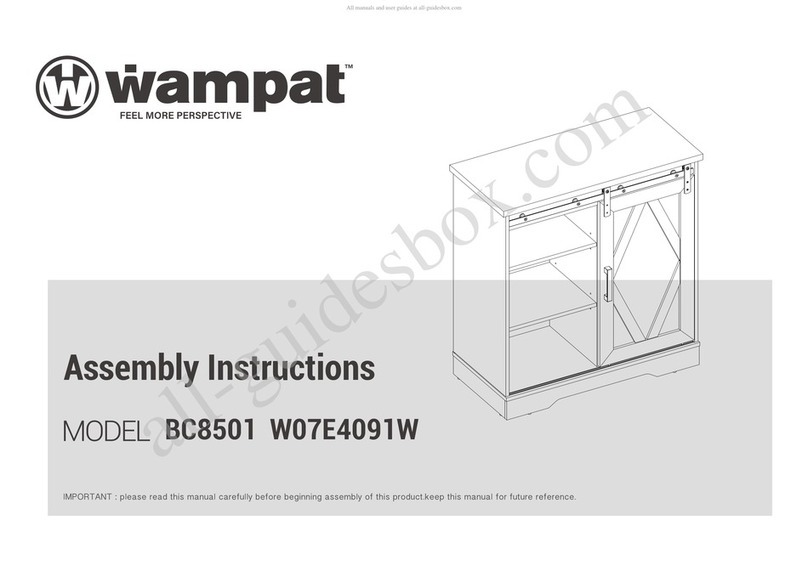
Wampat BC8501 User manual

Wampat

Wampat BC8501 User manual

Wampat W22S3070Q User manual

Wampat

Wampat W22S3070Q User manual

Wampat A-SCT0891W User manual

Wampat

Wampat A-SCT0891W User manual

Wampat W04H4121G User manual

Wampat

Wampat W04H4121G User manual

Wampat W02L3107N User manual

Wampat

Wampat W02L3107N User manual

Wampat W02E2111R User manual

Wampat

Wampat W02E2111R User manual

Wampat W11F4090W User manual

Wampat

Wampat W11F4090W User manual

Wampat W15U2182W User manual

Wampat

Wampat W15U2182W User manual

Wampat W05D3091L User manual

Wampat

Wampat W05D3091L User manual

Wampat W06F3071W User manual

Wampat

Wampat W06F3071W User manual

Wampat A-SCT0891W User manual

Wampat

Wampat A-SCT0891W User manual
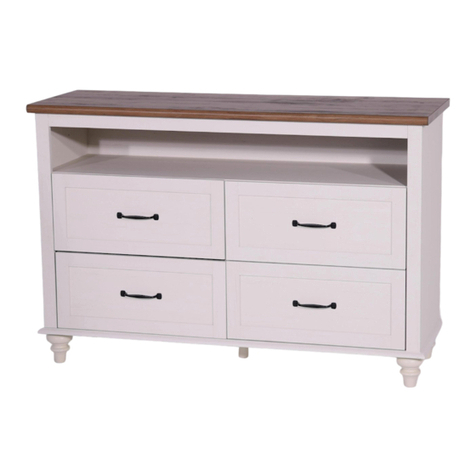
Wampat W01A3151B User manual

Wampat

Wampat W01A3151B User manual

Wampat W01B3181W User manual

Wampat

Wampat W01B3181W User manual

Popular Indoor Furnishing manuals by other brands

HOMCOM 831-408 Assembly instruction

HOMCOM

HOMCOM 831-408 Assembly instruction

Accentrics Home Hudson Accent 315-D481-700 Assembly instructions

Accentrics Home

Accentrics Home Hudson Accent 315-D481-700 Assembly instructions

nolte AVN1 DIRECTIONS FOR ASSEMBLY

nolte

nolte AVN1 DIRECTIONS FOR ASSEMBLY

KI Likha Casegoods Assembly instructions

KI

KI Likha Casegoods Assembly instructions

Techni Mobili RTA-80X5 Assembly instructions

Techni Mobili

Techni Mobili RTA-80X5 Assembly instructions

Mocka Zander Dining Table Assembly instructions

Mocka

Mocka Zander Dining Table Assembly instructions

modway EEI-3306 manual

modway

modway EEI-3306 manual

ORANGEBOX Eva User instructions

ORANGEBOX

ORANGEBOX Eva User instructions

HILO HIL Smart Mirror manual

HILO

HILO HIL Smart Mirror manual

BUT EDISON 4894223212717 Assembly instructions

BUT

BUT EDISON 4894223212717 Assembly instructions

BYYU ANDA 185983 manual

BYYU

BYYU ANDA 185983 manual

GALA MEBLE PRESS S1K8 Assembly manual

GALA MEBLE

GALA MEBLE PRESS S1K8 Assembly manual

RTA Techni Mobili RTA-3806 Assembly instruction

RTA

RTA Techni Mobili RTA-3806 Assembly instruction

Songmics VASAGLE TRUHLA VINTAGE LSB060 Assembly instructions

Songmics

Songmics VASAGLE TRUHLA VINTAGE LSB060 Assembly instructions

Teknik Canyon Lane 5425302 Assembly

Teknik

Teknik Canyon Lane 5425302 Assembly

FMD CHAT 229-001 Assembly guide

FMD

FMD CHAT 229-001 Assembly guide

Habitat Macadam 904536 manual

Habitat

Habitat Macadam 904536 manual

il Tutto bambino FELIX ITI-FEL-BUTTER Assembly instructions

il Tutto bambino

il Tutto bambino FELIX ITI-FEL-BUTTER Assembly instructions

manuals.online logo
manuals.online logoBrands
  • About & Mission
  • Contact us
  • Privacy Policy
  • Terms and Conditions

Copyright 2025 Manuals.Online. All Rights Reserved.