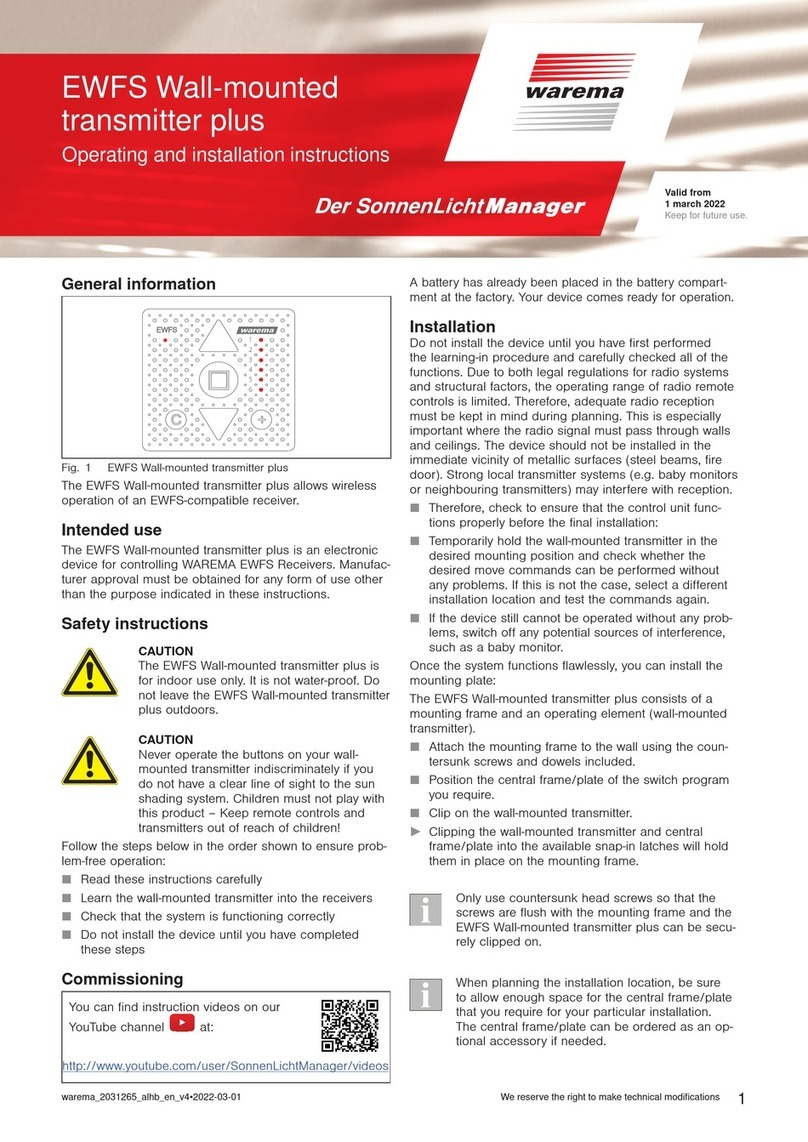
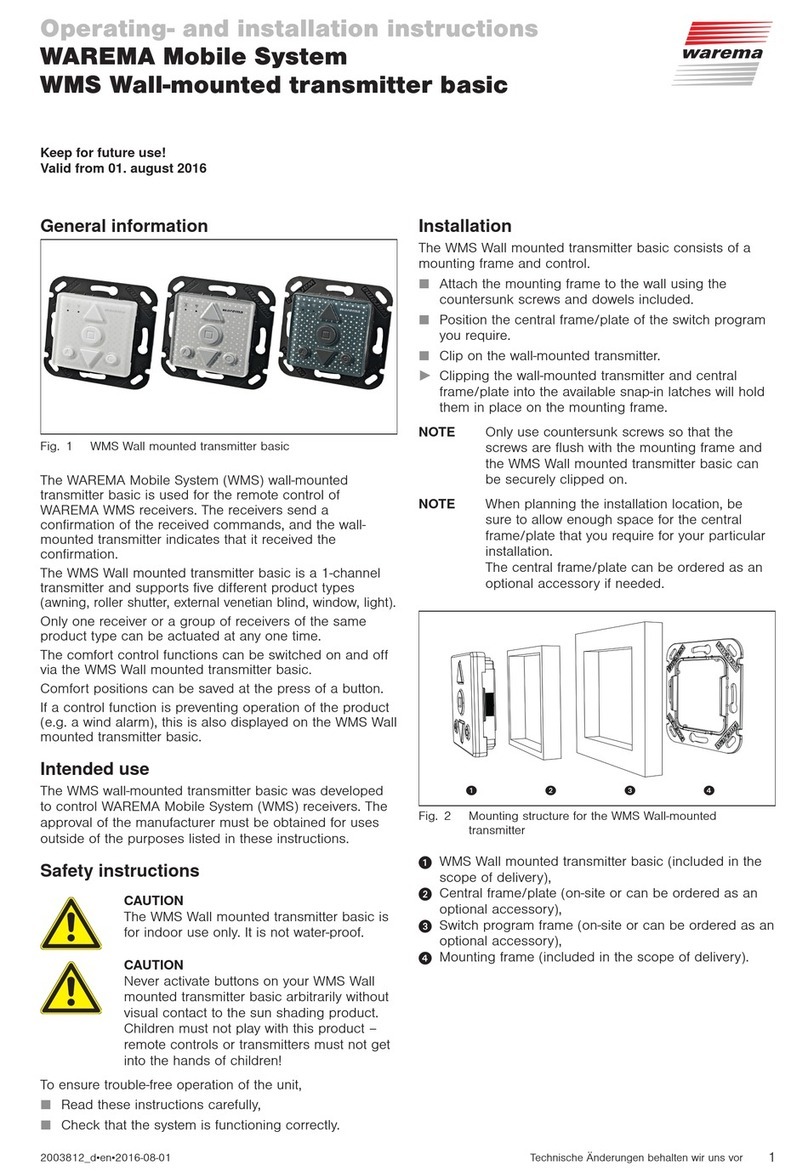
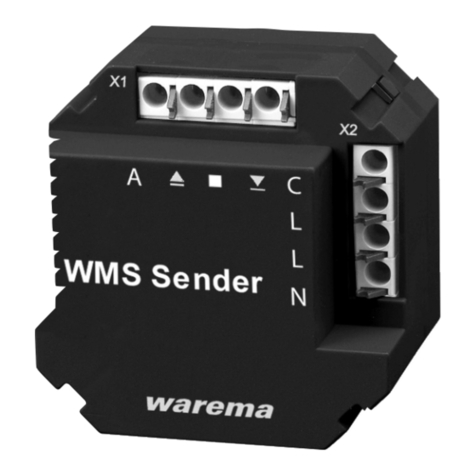
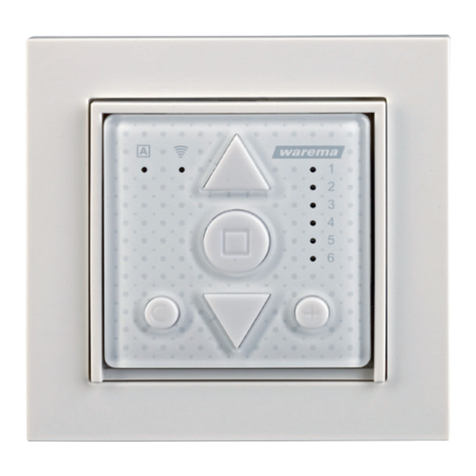
WAREMA WMS User manual

Operating and installation instructions
WAREMA Mobile System
WMS Hand-held transmitter
Keep for future use
Valid from 01 September 2014
890374_b•en•01.09.2014
We reserve the right to carry out improvements
1
Safety instructions
AUTIONC
The hand-held transmitter is for indoor use
only. It is not water-proof. Do not leave the
transmitter outdoors.
AUTIONC
Never activate buttons on your transmitter
arbitrarily without visual contact to the sun
shading product. Children may not play with
this product - remote controls or transmitters
may not get into the hands of children!
Carry out the following steps in the sequence given to
ensure problem-free operation:
Please read these instructions carefully
Insert the batteries
Learn the hand-held transmitter into the receivers
Check that the system is functioning correctly
Commissioning
Films on commissioning can be found at:
http://www.warema.de/inbetriebnahme-
funksysteme
We recommend commissioning using the
WMS studio PC software.
Insert the supplied batteries into the battery compart-
ment as described in the "Maintenance" section. The
device is now ready to operate.
Learn the hand-held transmitter into the receivers. See
the "Commissioning functions" section
(When the receiver is delivered, it does not "know" any
transmitter initially and first needs to learn to which
transmitters it should respond. We refer to this process
as "learning".)
Always follow the operating and installation instructions
of the receivers.
OTENIn addition, you can obtain the "WMS applica-
tion brochure" with numerous practical exam-
ples of learning, making settings and WMS
networks; the brochure is available free of
charge from your specialist dealer. Alternatively,
the brochure can be downloaded at: http://
www.warema.de → Products → Controls →
WAREMA Mobile System. The WAREMA Mobile
System also enables a wide range of special
functions.
General information
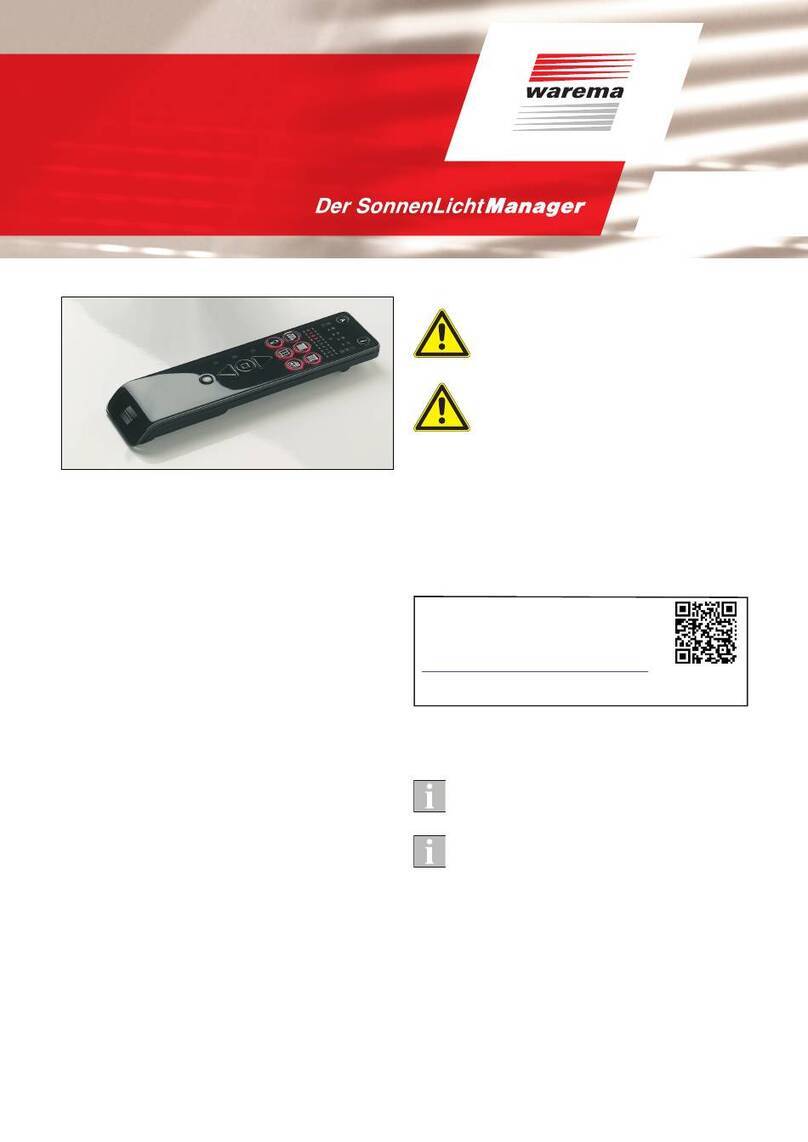
Fig. 1 WMS Hand-held transmitter
The WAREMA Mobile System (WMS) Hand-held transmit-
ter is used for the remote control of WAREMA WMS receiv-
ers. The receivers send a confirmation of the received
commands, and the hand-held transmitter indicates that it
received the confirmation.
The WMS Hand-held transmitter supports 5 different prod-
uct types. Ten channels are available per product type and
up to 10 receivers can be learned in each channel.
To operate different products simultaneously and to recall
self-defined states, up to 10 different scenes can be de-
fined. A scene can be used to operate up to 200 receivers
with a single command.
The comfort control functions can be switched on and off
via the WMS Hand-held transmitter. The parameters of the
control functions that are stored in the receiver can be
displayed and changed.
When the WMS Hand-held transmitter operates a product,
it indicates whether the previous operation of the product
was by a control function. If a control function prevents
operation of the product (e.g. a wind alarm), this is also
displayed on the WMS Hand-held transmitter.
Intended use
This device was developed to control WAREMA Mobile
System (WMS) receivers. The approval of the manufacturer
must be obtained for uses outside of the purposes listed
in these instructions.

890374_b•en•01.09.2014
We reserve the right to carry out improvements
2
Operating elements and displays
Fig. 2 Operating panel of the WMS Hand-held transmitter
Pos. Fig. Function
AControl on/off button
Switch on and off the control functions of the
receivers that were learned.
B
Product buttons
Select the product type or switch between product
channels.
(All product buttons that can be pressed light up.
The currently selected product type flashes.)
Awning Roller shutter
External venetian blind Light Window
CInfo button
Information displays on the currently selected
product channel.
Multiple display modes can be called up one by
one. Every press on changes to the next mode:
1. Assignment of channel and receivers
(display only)
2. Sun control
3. Dawn/dusk control
4. Precipitation control
5. Wind monitoring
6. Leave the info mode
Move commands cannot be sent while the info
mode is active ( lights up).
In the info mode, the hand-held transmitter switch-
es off one minutes after the last press of a button.
D
Control function display
Display of the control functions for sun, dawn/
dusk, precipitation and wind.
If a control function was the reason for the last
movement, the corresponding symbol lights up for
2s when you operate the product the next time.
The LEDs below the symbols indicate the
current state of the control functions.
Pos. Fig. Function
DDisplay of special functions
These fields are active if the corresponding func-
tion was activated by the press of a button.
Control mode
The learn mode is active
Info mode: Channels, parameters or control
function information is displayed
ETransmission LED
GREEN: The hand-held transmitter is transmit-
ting.
RED: The hand-held transmitter did not
receive a response from the receiver
YELLOW: Change the batteries
FNumbers display
The numbers display block indicates a variety of
information, depending on the state of the hand-
held transmitter.
Upper row of LEDs:
Scanned receivers, parameter
values
Numbers: Channel numbers, parameter
levels
Lower row of LEDs:
Active channel
GScene button
Select stored scenes or store new scenes
HUP/STOP/DOWN or +/Save/- buttons
Send move or switch commands to the selected
receiver.
If the hand-held transmitter is in the info or learn
mode, the buttons can be used to change or store
settings ( + + light up).
IComfort button
Save and recall comfort positions and scenes
Operating elements on the back
Fig. 3 Back of the WMS Hand-held transmitter
Pos. Fig. Function
KBatteries
The hand-held transmitter requires two batteries of
type AAA (IEC LR03, "Micro")
LLearn button
Activates or ends the learn mode of the hand-held
transmitter (symbol lights up in green)

3
890374_b•en•01.09.2014
We reserve the right to carry out improvements
Operation
Waking up
The hand-held transmitter is normally in the energy saving
mode. The energy saving mode is activated 5 seconds
after the last press of a button. All buttons on the front
except for or wake up the transmitter as follows.
Button/
display
Action/result
Product or scene button: The first press of
the button does not yet cause a function to
be performed. The channel of this product
type that was selected last is active again
even after waking up.
UP/STOP/DOWN buttons: A move com-
mand is immediately sent to the product
channel selected last.
Comfort button: The products in the chan-
nel selected last are moved to the comfort
position. If a scene was selected last, it is
recalled immediately.
OTENThe hand-held transmitter remains switched on
for several minutes, depending on the function
or mode.
Operating the products
Button/
display Action/result
Select the product type that you would like
to operate.
Only those product buttons light up for
which products have been learned in.
E.g.
...
The selected product button flashes.
In the number field, the channels on which
products have been learned in light up (in
the example on the left, 0 and 2). The LED
below the currently selected channel lights
up (in the example, channel 0).
Press the flashing product button repeat-
edly until the LED below the desired chan-
nel lights up.
E.g.
...
The LED below the selected channel lights
up (in the example, channel 2).
Operate the selected product with the UP/
STOP/DOWN buttons.
The operating instructions of the respective
receiver describe which operating options are
available to you for the selected product (e.g.
UP=ON, DOWN=OFF, STOP=switch).
Button/
display Action/result
The transmission LED indicates the trans-
mission process:
Flashes GREEN: The hand-held transmitter
is transmitting
2s GREEN: The receiver confirms the
command
2s RED: The command was not con-
firmed (e.g. the receiver is
outside of the transmission
range)
2s GREEN + control symbol is red:
The receiver confirms the com-
mand, but does not execute
it because of the displayed
control function (e.g. the awn-
ing is not extended because
the wind alarm is active).
OTENThe WMS Hand-held transmitter remembers the
product channel selected last. You can operate
this product again directly using the UP/STOP/
DOWN buttons or the comfort button without
having to reselect it.
If the reason for the last movement was a sun,
dawn/dusk, precipitation or wind alarm, the
symbol lights up for 2s when the product is
operated the next time.
Displaying/setting the control functions
If you retrofit your products with suitable WMS sensors in
a WMS network, they can be extended and retracted auto-
matically as a function of sunlight, dawn/dusk or precipita-
tion. Detailed information can be found in the instructions
of the WMS sensors.
The parameters of the comfort control functions can be
displayed and changed on the hand-held transmitter.
OTENOnly those parameters are displayed that
belong to the selected product type (e.g. there
is no precipitation control for the "light" product
type). The parameters of the wind safety func-
tion can be displayed but not changed.
Button/
display Action/result
Select the product type and channel that
you wish to set.
E.g. The LED below the channel number lights
up
Press the info button briefly
+
E.g.
lights up
The upper row of LEDs shows how many
receivers belong to the selected chan-
nel. One LED lights up in green for each
receiver (one receiver in the example).
Press the info button repeatedly until the
desired control function lights up.
E.g.
The LED below the control symbol shows
the state of the control system.
GREEN: Active
RED: Inactive

890374_b•en•01.09.2014
We reserve the right to carry out improvements
4
Button/
display Action/result
E.g.
...
The parameter value of the current control
function is displayed in the upper row of
LEDs (here, limit value 2 of the previously
selected sun control).
RED:
Value 0; the control function is off
GREEN: Values 1 to 9
FLASHES:
Multiple receivers with different
values in the channel. The value
of the first receiver is displayed.
You can now change this parameter value or switch to
the next info mode using the button:
Use the arrow keys ( + light up) to
change the parameter value.
E.g. The upper row of LEDs shows how the
value changes (new value = 1)
Press the button
The transmission LED lights up for 2
seconds
GREEN: The parameter value was stored
in all receivers of the channel
RED: Not all receivers could be
reached; press the button
again.
Leave the info mode using the info button
( is no longer lit)
OTENMove commands cannot be sent while the info
mode is active ( lights up). In the info mode,
the hand-held transmitter switches off one
minute after the last press of a button.
If multiple receivers belong to a single channel,
the set parameter value is written to all receiv-
ers of that channel.
Switching on/off the comfort control functions
Button/
display Action/result
Wake up the hand-held transmitter with
any product button
Press the control button.
+
The and the control symbols light up.
The LEDs below the symbols indicate the
type of switch command:
GREEN: Switch on the control functions
RED: Switch off the control functions
The transmission LED lights up for 2
seconds
GREEN: The control functions were
switched in all receivers
RED:
Not all receivers could be
reached; switch the control func-
tions OFF and ON again (or ON
and OFF).
OTEN
The hand-held transmitter always remembers the
command last sent. When the control button is
pressed again, the hand-held transmitter sends
the opposite command (ON - OFF - ON -...).
Learning/recalling the comfort positions
A comfort position can be stored for every receiver in the
network (e.g. awning half extended). The awning can be
automatically moved to this comfort position at the press
of a button.
Button/
display Action/result
Move any product to the position that is
to be stored as the comfort position (see
Operating the products).
Hold down the comfort button for 5 sec-
onds until the transmission LED lights up.
The transmission LED indicates the trans-
mission process:
2s GREEN: The comfort position is
stored
2s RED: The command was not con-
firmed (e.g. the receiver is
outside of the transmission
range); repeat the procedure
To recall a comfort position:
Select any product channel.
E.g.
...
The selected product button flashes.
The LED below the currently selected
channel lights up (in the example, channel
0).
Briefly press the comfort button.
The transmission LED lights up
The comfort position for the selected prod-
uct is restored automatically.
OTENIf a product is already in the comfort position or
if a comfort position has not been stored, the
selected product does not respond to pressing
of the comfort button.
Advanced functions
Forming groups
In the following example, channel1 and then channel2
are assigned to the new channel3. Channel3 can then
be used to jointly operate the products in channel1 and
channel2.
Button/
display Action/result
Select the product type and the channel
that is to belong to the group
E.g. The LED below the channel number lights
up
Press the learn button briefly
+ lights up in green and the previously
selected channel number flashes.

5
890374_b•en•01.09.2014
We reserve the right to carry out improvements
Button/
display Action/result
Using the flashing product button, select
the channel into which the previously se-
lected product should be grouped.
If you press the product button for more
than 1s, the unused channels are acti-
vated as well, making it possible for you to
select a new channel.
E.g. The channel number that you selected at
the beginning continues to flash. The LED
below the target channel lights up.
Press the learn button briefly
E.g.
indicates whether the procedure was
successful:
RED: The channel assignment failed
GREEN: The channel was assigned
The product is now assigned to the new
channel and can be operated via this
channel.
You can now add additional products to this channel in
the same manner:
Using the product button, select an ad-
ditional channel of the same product type
that is to belong to the group
E.g. The LED below the channel number lights
up
Press the learn button briefly
+ lights up in green and the previously
selected channel number flashes.
Select the same target channel as before
using the flashing product button.
E.g.
The channel number that you selected at
the beginning continues to flash. The LED
below the target channel lights up.
Press the learn button briefly
E.g.
indicates whether the procedure was
successful:
RED: The channel assignment failed
GREEN: The channel was assigned
Both products can now be operated jointly
via the new channel.
OTENOnly channels that belong to the same product
type can be grouped. Different product types
can be jointly operated using scenes.
If a receiver is assigned to a channel or group
a second time, it is deleted from the group
again (learned in the first time, learn out the
second time, etc.).
A channel cannot be assigned to itself. In this
case, the learning procedure is aborted without
an outcome; lights up red for 2s. (You can
use this method to abort a learning procedure
if you accidentally selected the wrong channel)
Deleting products from a channel
If a receiver is assigned to a channel or group a second
time, it is deleted from the group again (learned in the first
time, learn out the second time, etc.).
In the following example, a receiver is learned into chan-
nel1 and channel3. The receiver in channel1 is then
deleted from channel3.
Button/
display Action/result
Select the product type or channel that
you would like to delete from another
channel or another group.
E.g. The LED below the channel number lights
up
Press the learn button briefly
+ lights up in green and the previously
selected channel number flashes.
Using the flashing product button, select
the channel from which the previously
selected product should be deleted.
E.g. The channel number that you selected at
the beginning continues to flash. The LED
below the target channel lights up.
Press the learn button briefly
E.g.
E.g.
The product has been deleted from the
channel.
If it was the only product stored in chan-
nel3, channel3 is now empty and is no
longer displayed.
If additional products are contained in
channel3, these can continue to be oper-
ated. Channel3 is not cleared.
OTENThe same procedure can be applied to entire
product groups. If the channel selected first
contains products that do not exist in the target
channel, all products in the first channel are
copied into the target channel and none are
deleted.
Forming scenes
Scenes can be used to jointly operate a large number of
different products at the press of a button. The position or
activation state of the products involved is stored and is
then brought about again when the scene is recalled.
A hand-held transmitter makes 10 scene channels avail-
able. Each scene channel can be assigned up to 200
receivers.
OTENWhen forming a scene, the product channels
are added to the scene one by one. A product
channel can also contain a group of products.
In this case, the entire group is added to the
scene.
In the following example, a new scene (e.g. scene1) is
created and two different products are assigned.
Button/
display Action/result
First, move all receivers that belong to the scene to the
desired position (e.g. light on, external venetian blinds
closed).
Then proceed as follows:
890374_b•en•01.09.2014
We reserve the right to carry out improvements
6
Button/
display Action/result
Select the first product type and channel
that should belong to the scene
E.g. The LED below the channel number lights
up
Press the learn button briefly
+ lights up in green and the previously
selected channel number flashes.
Using the scene button, select the scene
channel into which the previously selected
product channel is to be integrated.
If you press the scene button for more
than 1s, the unused channels are acti-
vated as well, making it possible for you to
select a new channel.
E.g. The LED below the scene channel lights
up.
Press the learn button briefly
E.g. The product channel is now assigned to
the scene and can be operated via the
scene.
You can now add additional products to this scene chan-
nel in the same manner:
Using a product button, select an addition-
al channel that is to belong to the scene
E.g. The LED below the channel number lights
up
Press the learn button briefly
+ lights up in green and the previously
selected channel number flashes.
Using the scene button, select the same
scene channel as before.
E.g. The LED below the scene channel lights
up.
Press the learn button briefly
After you have added all channels to the scene, you can
learn in the current positions of the receivers involved
into the scene.
Press the scene button to select the scene
just defined.
E.g. The LED below the scene channel lights
up.
Press the comfort button for approx.
5seconds.
The transmission LED lights up for 2
seconds
GREEN: The position of all receivers is
stored
RED: Not all receivers could be
reached; press the comfort but-
ton again.
OTENThe positions in the individual scenes are
stored directly in the receivers. In this way,
other transmitters that belong to the network
can recall the same scene positions.
Calling up scenes
Button/
display Action/result
Press the scene button.
The button only lights up if at least one
scene was stored.
E.g.
...
The scene button flashes.
In the number field, the channels on which
a scene was stored light up (in the exam-
ple on the left, 1 and 2). The LED below
the currently selected channel lights up (in
the example, channel 1).
Press the scene button repeatedly until the
LED below the desired channel lights up.
E.g.
...
The LED below the selected channel lights
up (in the example, channel 2).
Briefly press the comfort button to recall
the selected scene.
The transmission LED indicates the trans-
mission process:
Flashes GREEN: The hand-held
transmitter is transmitting
2s GREEN: The receiver con-
firms the command
2s RED: The command was not con-
firmed (e.g. the receiver is
outside of the transmission
range)
2s GREEN + LED below control symbol is
red:
The receiver confirms the
command, but does not ex-
ecute it because of the dis-
played control function (e.g.
the awning is not extended
because the wind alarm is
active).
OTENFor scenes, the transmission process may take
several seconds, depending on the number of
receivers involved.
Redefining scenes
If you are no longer satisfied with the position of individual
products in a scene, you can redefine the scene at the
press of a few buttons.
OTENWhen a scene is redefined, the states of all
involved receivers are stored again. Recall
the scene again before making changes to
individual products. In this way, the states of the
other products in the scene remain unchanged.
In the following example, the positions of products within
the scene are changed and the scene is stored again.
Button/
display Action/result
Select the desired scene channel.
E.g. The LED below the scene channel lights
up.
Briefly press the comfort button to recall
the currently stored state of the selected
scene.
Wait until all products involved in the
scene reach their position.

7
890374_b•en•01.09.2014
We reserve the right to carry out improvements
Button/
display Action/result
Select the desired product and change
its position using the UP/STOP/DOWN
buttons.
Using the scene button, select the scene
channel again.
E.g. The LED below the scene channel lights
up.
Press the comfort button for approx.
5seconds.
The transmission LED lights up for 2
seconds
GREEN: The position of all receivers is
stored
RED: Not all receivers could be
reached; press the comfort but-
ton again.
Deleting scenes
In the following example, a scene (e.g. scene2) is de-
leted.
Button/
display Action/result
Select the scene channel that you would
like to delete.
E.g.
...
The LED below the selected channel lights
up (in the example, channel2).
Press the scene button for at least 10sec-
onds.
The display changes to the normal product
display.
The scene is deleted.
OTENAfter the last scene has been deleted, the
scene button no longer lights up.
Commissioning functions
Learning in (scanning)
Before WMS receivers can be operated via a hand-held
transmitter, they must be included as a component in the
respective radio network. A hand-held transmitter can
detect WMS receivers and sensors and add them to its
network.
AUTIONC
When learning in, it is important that you
select the product type of the connected
product. Selection of the wrong product type
can lead to malfunctions and may result in
damage to the connected product.
Button/
display Action/result
Wake up the hand-held transmitter with
any product button
Press the learn button for approx. 5 sec-
onds
+ lights up in green; the transmission
LED flashes. For several seconds, the
hand-held transmitter scans the range for
receivers.
Button/
display Action/result
E.g. When the scanning procedure is complet-
ed, the located receivers are displayed in
the upper row of LEDs (here, for example,
2 receivers).
RED: New receiver
GREEN: The receiver already belongs to
the network
Receivers that already belong to a differ-
ent network are not located during scan-
ning.
Using the arrow keys, select the desired
receiver.
(You can use the button to check
which receiver is currently selected. The
product waves.)
E.g. The LED of the selected receiver flashes.
For new receivers, all product buttons to
which the receiver can be assigned flash.
Select the product type and channel into
which the receiver is to be learned
E.g. The LED of the selected receiver flashes in
red. The selected product button flashes,
and the current channel is displayed in the
lower row of LEDs.
Press the button
E.g. The LED of the selected receiver flashes in
green. The receiver has been learned into
the hand-held transmitter.
You can now add additional scanned products in the
same manner:
Briefly press the learn button to leave the
learn mode.
OTENIf the hand-held transmitter is still in its deliv-
ered state (no products have been learned in
yet), lights up in red for 1 minute after the
transmitter wakes up.
Once the product type has been selected, it
can no longer be changed directly. To program
a WMS plug receiver for another product type,
the receiver must be deleted out of the network
entirely and learned in again.
Deleting products from the network
You can completely delete a product from the network if
you decide to remove the product or assign it to a different
network.
In the following example, the second detected receiver is
deleted from the network.
Button/
display Action/result
Wake up the hand-held transmitter with
any product button
Press the learn button for approx. 5 sec-
onds
+ lights up in green; the transmission
LED flashes. For several seconds, the
hand-held transmitter scans the range for
receivers.

890374_b•en•01.09.2014
We reserve the right to carry out improvements
8
Button/
display Action/result
E.g. When the scanning procedure is complet-
ed, the located receivers are displayed in
the upper row of LEDs (here, for example,
2 receivers).
RED: New receiver
GREEN: The receiver belongs to the
network
Using the arrow keys, select the desired
receiver.
(You can use the button to check
which receiver is currently selected. The
product waves.)
E.g. The LED of the selected receiver flashes
in green.
+ Press the and buttons simultane-
ously.
E.g. The LED of the selected receiver flashes in
red. A running light runs through the lower
row of LEDS.
The selected receiver waves.
Press the learn button briefly
E.g. The LED of the selected receiver flashes
in red. All product buttons to which the
deleted receiver could be reassigned light
up.
The receiver was deleted from the net-
work.
You can now delete additional scanned products in the
same manner:
Briefly press the learn button to leave the
learn mode.
OTENWhen you delete a receiver from the network,
it can no longer be operated via other transmit-
ters. It must be relearned into a network.
Maintenance and cleaning
Replacing the batteries
Replace the batteries if the transmission LED lights up
yellow after the transmitter is activated. If the batteries are
fully depleted, the hand-held transmitter can no longer be
activated.
In order to replace the batteries (type AAA, IEC LR03,
"Micro"), open the battery compartment (Fig. 3) and in-
sert the new batteries. Ensure the correct polarity: The
plus (+) and minus (-) poles of the batteries must agree
with the marks in the battery compartment.
Only use new batteries of the same type and always
replace both batteries. Use high quality batteries -
inexpensive batteries can leak and damage the device.
If the device is not used for a longer period, please re-
move the batteries. Do not use rechargeable batteries.
Cleaning
Clean the housing with a microfibre cloth or a soft damp
cloth. Do not use detergents or cleaners, abrasive sub-
stances or steam cleaners.
Liability
Failure to comply with the product information in these
instructions and use of the unit in a manner that contra-
venes its intended use and purpose may result in the
manufacture refusing to honour warranty claims for prod-
uct damage. In this case, liability for consequential harm
to persons or damage to property will also be excluded.
Follow the instructions in the operating instructions of your
sun shading system. Liability is also excluded for damage
to the sun shading system resulting from operation under
icy conditions.
Disposal
After use, the device and the batteries must be disposed
of according to legal regulations or brought to your local
recycling centre.
Technical data
WAREMA Mobile System
WMS Hand-held transmitter Min. Typ. Max. Unit
Supply
Battery type 2 x AAA (IEC LR03, "Micro")
Supply voltage 2.4 3.0 3.2 V DC
RF transceiver
Transmission frequency 2.40 2.48 GHz
Transmission power 0 dBm
Reception sensitivity -95 dBm
Range
(environment without interfer-
ence)
30 m
Enclosure
Dimensions (L×W×H in mm) 200 × 50 × 20
Degree of protection IP30
Safety class III
Miscellaneous
Test standards
DIN EN 60950-1:2003-03
DIN EN 61000-6-2:2006-03
DIN EN 61000-6-3:2005-06
(Corr.2005-11)
DIN EN 300328 V1.7.1.(2006-10)
Automatic operation Type 1
Software class A
Location of use Clean ambient conditions
Conformity Viewable under www.
warema.de
Ambient conditions
Operating temperature -20 20 50 °C
Storage temperature -25 70 °C
Rel. humidity
(non-condensing)
10 40 85 %RH
Article numbers
WMS Hand-held transmitter 1002 767
WMS Plug receiver and WMS
Hand-held transmitter
(not learned into each other)
1002 771
Wall holder/table stand
for WMS Hand-held transmitter
1002 768
WAREMA Renkhoff SE
Hans-Wilhelm-Renkhoff-Straße 2
D-97828 Marktheidenfeld
Other manuals for WMS
6
Table of contents
Other WAREMA Transmitter manuals

WAREMA
WAREMA WMS Wall-mounted transmitter plus User manual

WAREMA
WAREMA WMS User manual

WAREMA
WAREMA WMS plus User manual

WAREMA
WAREMA EWFS User manual

WAREMA
WAREMA WMS User manual

WAREMA
WAREMA WMS User manual

WAREMA
WAREMA EWFS User manual

WAREMA
WAREMA EWFS Wall-mounted transmitter plus User manual

WAREMA
WAREMA WMS Hand-held transmitter comfort User manual

WAREMA
WAREMA WMS User manual