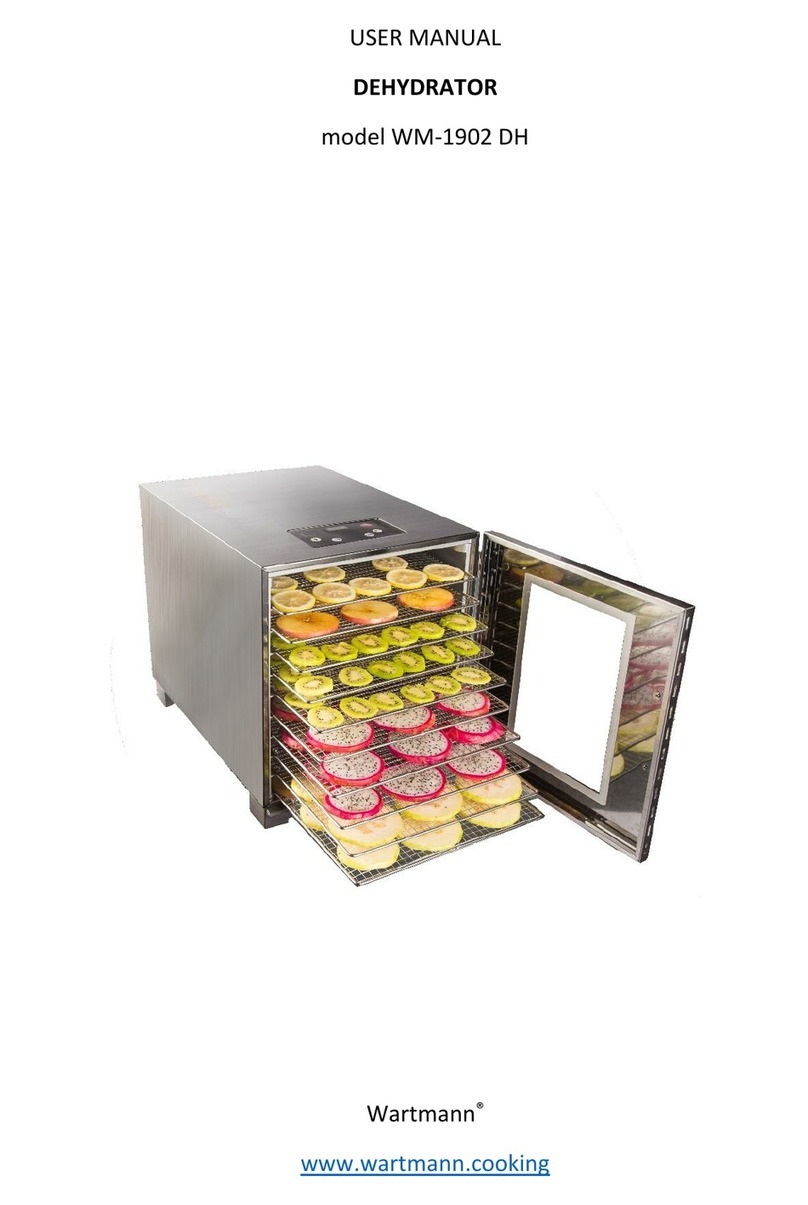
Wartmann WM-1912 DH User manual

ii
CONTENTS
WELCOME .................................................................................................................................................................................. 3
Congratulations on your purchase ........................................................................................................................................ 3
An excellent choice................................................................................................................................................................ 3
IMPORTANT................................................................................................................................................................................ 4
Only suitable for domestic use.............................................................................................................................................. 4
Check electrical connections ................................................................................................................................................. 4
Avoid contact with water ...................................................................................................................................................... 4
Contains heating elements.................................................................................................................................................... 4
Use original accessories......................................................................................................................................................... 4
FOOD TREATMENT ..................................................................................................................................................................... 5
Hygienic precautions for plant products ............................................................................................................................... 5
Hygienic precautions for animal products............................................................................................................................. 5
Food preparation................................................................................................................................................................... 5
Optimal drying temperature and duration............................................................................................................................ 5
Food Storage ......................................................................................................................................................................... 6
THE CONTROL PANEL ................................................................................................................................................................. 6
PREPARING FOR FIRST USE......................................................................................................................................................... 7
Unpack the dehydrator ......................................................................................................................................................... 7
Place the trays ....................................................................................................................................................................... 7
Connect the power cable ...................................................................................................................................................... 7
Switch the dehydrator on...................................................................................................................................................... 7
USING THE DEHYDRATOR........................................................................................................................................................... 8
Fill the trays........................................................................................................................................................................... 8
Start the dehydrator.............................................................................................................................................................. 8
Set the temperature.............................................................................................................................................................. 8
Set the time........................................................................................................................................................................... 8
Take out your food ................................................................................................................................................................ 8
Interrupt a dehydration......................................................................................................................................................... 8
AFTER USE .................................................................................................................................................................................. 9
Power Off .............................................................................................................................................................................. 9
Cleaning................................................................................................................................................................................. 9
Storing ................................................................................................................................................................................... 9
Maintenance ......................................................................................................................................................................... 9
RECYCLING THE DEHYDRATOR ................................................................................................................................................. 10
APPENDIX: TROUBLESHOOTING ................................................................................................................................................ 11
3
WELCOME
Congratulations on your purchase
Wartmann™hopes you will enjoy your new dehydrator. With the Wartmann™dehydrator
you’ll be able to dry your own fruit and vegetables or make warm dishes. The dehydrator
comes with twelve stainless steel trays and a stainless steel drip tray.
An excellent choice
The Wartmann™dehydrator has a stainless steel housing, a built-in fan and a 1000 watt
heater. A glass window provides for a clear view on the inner side when dehydrating, without
having to open the door. The solid materials used make the Wartmann™dehydrator sturdy
and sustainable.
Please follow this instruction manual and maintain your Wartmann™dehydrator as described
and your dehydrator will provide you with years of pleasure.

4
IMPORTANT
This manual contains information about the use and upkeep of the Wartmann™dehydrator.
Read this manual carefully before you start using the Wartmann™dehydrator and keep this
manual for possible future use.
Only suitable for domestic use
The Wartmann™dehydrator is exclusively intended for normal household use. In case of
professional or improper use, which is not in accordance with the instructions in the manual
and in the event of self-performed repair, the warranty will expire and Wartmann will refuse
any responsibility for the resulting damage.
Check electrical connections
Check if the voltage indicated on the Wartmann™dehydrator corresponds with the local
mains voltage before connecting the Wartmann™dehydrator. Connect the Wartmann™
dehydrator only to earthed sockets. In case the plug, power cord or the Wartmann™
dehydrator itself is damaged, first have it repaired or replaced by a certified service centre.
Avoid contact with water
The Wartmann™dehydrator contains electrical parts. Make sure that water can never end up
on the power cord inlet, the back or the control panel to prevent electric shock and/or damage
to the Wartmann™dehydrator.
Contains heating elements
Do not touch the heating element inside, it could be hot. Do not position the Wartmann™
dehydrator near flammable gasses or cleaning agents (such as methylated spirit).
Use original accessories
Always use the original Wartmann™accessories for this dehydrator. Accessories of other
suppliers are not supported.

5
FOOD TREATMENT
Hygienic precautions for plant products
Always work hygienic and use only fresh products that are properly cooled and stored until
preparation. Check if food is spoiled, before using it. Food that is spoiled may contaminate
your entire batch. We recommend to only use fresh and if possible seasonal food. Never use
food that is marinated in alcohol to avoid the risk of a fire or explosion.
Hygienic precautions for animal products
Dehydrating at medium range temperatures does not kill pathogens. It is therefore important
that any meat or fish that is being dehydrated has been properly heated first, as to illuminate
the risk of a pathogen contamination.
Meat should be heated to a temperature above 68 °C for a longer period prior to dehydrating.
A piece with a thickness of 5 centimetre should be heated for at least 14 minutes at this
temperature. Thicker pieces require a longer time. Fish should be heated until 93 °C until flaky.
Fat should be removed from meat as much as possible. Too much fat may cause unwanted
dripping.
Food preparation
Food should be sliced to a thickness of 6 to 20 mm. Meats slices should ideally not be thicker
than 5 mm. Fruit can best be soaked in a citric liquid, such as lemon juice, for a few minutes
to avoid the loss of colour.
Vegetables may require blanching. This will inhibit the enzymatic activity which causes loss of
flavour and colour fading. Cook the vegetables or place them in the microwave until they are
done, but still a bit crispy. Subsequently you immerse the vegetables in cold water, stopping
the cooking process. Next, dry the vegetables with, for instance, a clean towel.
All the food should be dry before placing it in the dehydrator. It should be placed on
dehydration trays without overlapping.
Optimal drying temperature and duration
Nutrients such as enzymes and vitamins are maximally preserved at a drying temperature
below 42 °C. The drying time depends on various factors such as the moisture content, the
maturity, the average thickness, the set drying temperature and the total filling of the dryer.
The drying time must be set so that the food dries completely. As a rule of thumb you can do
the following test: When you take a few slices or pieces between two fingers you can
immediately feel whether they are still damp. If the surface no longer sticks to the fingers, or
the surfaces of either slices or pieces can’t slide against each other, the drying is sufficient.
You can choose to shorten the drying time by increasing the temperature.

6
Food Storage
Protect dried food from moist and insects by storing it in vacuum containers, airtight pots or
vacuum sealed bags. You can enjoy your self-dried food for a long time by storing it in a cool
and dark place. Wartmann™supplies various types of vacuum devices, vacuum bags and
(vacuum) storage boxes.
THE CONTROL PANEL
ON/OFF button. Use this button to start and stop the dehydrating program.
TIMER. Touch this button to set the required dehydrating time.
TEMP. Touch this button to set the required dehydrating temperature.
Decrease time/temperature. Hold this button to decrease the required time or temperature.
Increase time/temperature. Hold this button to increase the required time or temperature.

7
PREPARING FOR FIRST USE
Unpack the dehydrator
Take the Wartmann™dehydrator out of the box and remove all packaging materials. Position
the Wartmann™dehydrator near an electricity connection, on a stable horizontal surface.
Make sure there is sufficient room for fresh air circulation at the back and the emission of
warm, moist, air from the front.
Place the trays
The Wartmann™dehydrator comes with 12 stainless steel trays and a stainless steel dripping
tray. Open the door and place the 12 trays by sliding them in the guide rails on both sides.
Place the dripping tray at the bottom. Make sure that the end of the trays are clear and that
nothing is between the tray and the ventilator mesh at the back.
Connect the power cable
The Wartmann™dehydrator comes with a detachable power cord. Plug the connector of the
power cord in the socket on the back of the Wartmann™dehydrator. Now plug the power
plug in the wall socket. Always use an earthed power socket.
Switch the dehydrator on
The Wartmann™dehydrator has a main power switch at the back. Press the power switch to
switch the dehydrator on. You may hear a short beep and the ON/OFF button will start
flashing.
The Wartmann™dehydrator is now ready for use.

8
USING THE DEHYDRATOR
Fill the trays
Open the door, slide out the trays and fill them with the required food. Do not overfill the
trays and make sure nothing sticks out at the back that can block the ventilator. Slide the trays
back in and close the door.
Start the dehydrator
Press the ON/OFF button to start the dehydration programme. All buttons will lit up
and the display alternating shows the last set time and duration. The fan and the
heating element start working. Now the drying temperature and the duration may also be
changed, if required. Press the button one more time will halt the programme.
Set the temperature
Press the TEMP button, the display flashes with the set temperature. Hold the + or -
buttons until the temperature is set to the desired value. The temperature can be set
between 25˚C to 90˚C.
Set the time
Press the TIMER button, the display flashes with the set duration. Hold the + or -
buttons until the duration is set to the desired value. The duration can be set from
30 minutes up to 72 hours.
Take out your food
Once the set duration has been reached the dehydrator will automatically stop. Open the door
and take out your trays. Be careful, the trays may still be hot. If necessary, use some oven
wants or utensils to take the trays or food out of the dehydrator.
Interrupt a dehydration
At any time you can stop a dehydration by pressing the ON/OFF button. The display
will dim and only the ON/OFF button will flash. After approximately 3 minutes, when
the heater has cooled of sufficiently, the fan will stop running.

9
AFTER USE
Power Off
Press the switch at the back of the Wartmann™dehydrator to power off the Wartmann™
dehydrator. The ON/OFF button should not flash when the Wartmann™ dehydrator is fully
powered off.
Cleaning
It is advised to remove the power plug before cleaning the dehydrator.
The stainless steel trays can be simply cleaned with warm water, dish washing liquid and a
brush after use. It is recommended to not put stainless steel in a dishwasher to avoid
premature corrosion. The inside of the Wartmann™dehydrator can be cleaned with a
detergent that is safe to use in ovens, such as an oven cleaner. The outside of the Wartmann™
dehydrator may be cleaned with a microfiber cloth and a soft detergent, or a cleaner that is
suited for stainless steel. Always be careful around the power cord inlet and power switch.
Make sure no water can get inside the switch or on the power cord. To clean the power cord
it must first be removed from the wall socket.
Storing
We advise to clean the stainless steel trays, the dripping tray and the inside of the Wartmann™
dehydrator straight after use to avoid undesired bacteria growth. Do not leave wet stainless
steel trays in the Wartmann™dehydrator when it is not being used.
Maintenance
Your Wartmann™dehydrator does not require any special maintenance.

10
RECYCLING THE DEHYDRATOR
When the Wartmann™dehydrator has reached the end of its service life, you are required to
take it to a collection point for the recycling of electrical and electronic equipment. The
Wartmann™dehydrator can’t be disposed of together with the normal household waste.

11
APPENDIX: TROUBLESHOOTING
In general the Wartmann™dehydrator performs adequately. Should however a malfunction occur,
then please first try the troubleshooting recommendations mentioned below.
SYMPTOM
POSSIBLE CAUSE
SOLUTION
The dehydrator does not work.
The ON/OFF button is not
flashing.
The switch at the back is in the
OFF position.
Press the switch at the back to the
ON position.
The power cord is damaged or not
properly fitted in the wall and/or
dehydrator socket.
Check if the power cord is
undamaged and then insert one
side into the dehydrator socket,
then the other side into the wall
socket.
There is no voltage on the socket.
Check with another electrical
device that the socket has power;
if so try the dehydrator again.
The dehydrator is broken.
Send the dehydrator in for repair.
The display shows time and
temperature, but the fan is not
running.
Something is blocking the fan
from running.
Press the ON/OFF button to stop
the programme, open the door
and remove the item blocking the
fan.
The remaining time is zero.
Set the time to 30 minutes or
more and try again.
The fan is broken.
Send the dehydrator in for repair
The display shows time and
temperature, but the dehydrator
does not get warm
The temperature is set equal or
below room temperature
Increase the temperature to
above the room temperature
The heating element is broken
Send the dehydrator in for repair
There is a rattling noise coming
out of the dehydrator
Something is blocking the fan
from running.
Press the ON/OFF button to stop
te programme, open the door and
remove the item blocking the fan.
There is smoke coming out of the
dehydrator
Something is in contact with the
heating element.
Press the ON/OFF button to stop
the programme, let it cool down
and then remove the item that is
in contact with the heating
element.
The dehydrator is broken.
Stop using the dehydrator and
send the dehydrator in for repair
Water or oil is dripping out of the
the dehydrator
The dripping tray has not been
placed.
Place the dripping tray at the
bottom of the dehydrator.
The food is too wet or oily.
Dry the food and clean the
dripping tray. Then try again.
The dehydrator no longer works
(properly).
There is a technical failure
malfunction.
Remove the plug from the socket,
wait 10 seconds and reconnect
the dehydrator.
Send the dehydrator in for repair.

12
Model
WM-1912 DH
Voltage
220-240 volt / 50 Hz
Power
1000 Watt
Mass
23.1 Kg
Dimensions
47 x 58 x 57 mm (L x W x H)
Table of contents
Other Wartmann Kitchen Appliance manuals

Wartmann
Wartmann WM-1507 SV User manual

Wartmann
Wartmann WM-1508 SV User manual

Wartmann
Wartmann WM-2110 DH User manual

Wartmann
Wartmann WM-2007 EL User manual

Wartmann
Wartmann WM-2006 DH Installation and operation manual

Wartmann
Wartmann WM-2002 OP User manual

Wartmann
Wartmann WM-1509 VAC User manual

Wartmann
Wartmann WM-1902 DH User manual

Wartmann
Wartmann WM-1902 DH User manual
Popular Kitchen Appliance manuals by other brands

AGOSTANI
AGOSTANI Cappuccinatore Instructions for use

Wisco Industries
Wisco Industries 412-3PC quick start guide

CASO DESIGN
CASO DESIGN 11312 instruction manual

Brock
Brock SPM 2005 RD operating instructions

CASO DESIGN
CASO DESIGN Fomini Jet Original operating manual

Danby
Danby DWC123BLSDD Owner's use and care guide