Wartmann WM-2110 DH User manual

1
WWW.WARTMANN.COOKING
DEHYDRATOR
DROOGAPPARAAT
model WM-2110 DH
USER MANUAL / GEBRUIKERSHANDLEIDING

2
User manuals
User manual English 3-15
Gebruikshandleiding Nederlands 19-35

3
CONTENTS
WELCOME 4
Congratulations on your purchase 4
An excellent choice 4
IMPORTANT 5
Only suitable for domestic use 5
Check electrical connections 5
Avoid contact with water 5
Contains heating elements 5
Use original accessories 5
FOOD TREATMENT 6
Hygienic precautions for plant products 6
Hygienic precautions for animal products 6
Food preparation 6
Optimal drying temperature and duration 7
Food Storage 7
PREPARING FOR FIRST USE 8
Unpack the dehydrator 8
Place the trays 8
Connect the power cable 8
Switch the dehydrator on 8
USING THE DEHYDRATOR 10
Fill the trays 10
The display / control panel 10
Built-in lighting 10
Start the dehydrator 10
Set the temperature 11
Set the time 11
Take out your food 12
Interrupt a dehydration 12
AFTER USE 13
Power Off 13
Cleaning 13
Storing 13
Maintenance 13
RECYCLING THE DEHYDRATOR 14
APPENDIX: TROUBLESHOOTING 16
ENGLISH

4
WELCOME
Congratulations on your purchase!
Wartmann hopes you will enjoy your new
dehydrator. With the Wartmann dehydrator you’ll
be able to dry your own fruit and vegetables or
make warm dishes. The dehydrator comes with ten
stainless steel trays and a drip tray.
An excellent choice
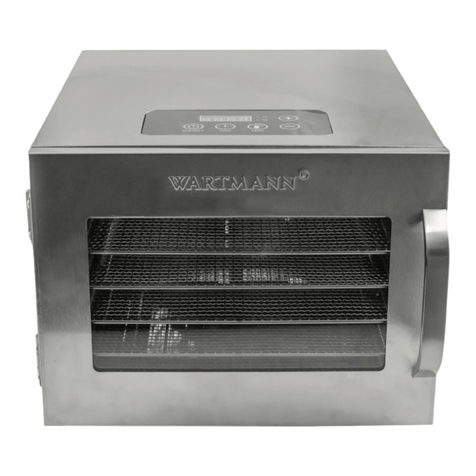
The Wartmann dehydrator has a stainless steel
housing, a built-in fan and an 800 watt heater. A
glass door provides for a clear view on the inner
side when dehydrating, without having to open the
door. The Wartmann dehydrator also has a bright
built-in lighting so that you can always control the
drying process.
The temperature can be set from 25°C to 90°C.
The maximum drying time is 72 hours. The solid
materials used make the Wartmann dehydrator
sturdy and sustainable.
Please follow this instruction manual and maintain
your Wartmann dehydrator as described and your
dehydrator will provide you with years of pleasure.

5
IMPORTANT
This manual contains information about the use and
upkeep of the Wartmann dehydrator. Read this
manual carefully before you start using the Wartmann
dehydrator and keep this manual for possible future
use.
Only suitable for domestic use
The Wartmann dehydrator is exclusively intended
for normal household use. In case of professional
or improper use, which is not in accordance with
the instructions in the manual and in the event of
selfperformed repair, the warranty will expire and
Wartmann will refuse any responsibility for the
resulting damage.
Check electrical connections
Check if the voltage indicated on the Wartmann
dehydrator corresponds with the local mains voltage
before connecting the Wartmann dehydrator.
Connect the Wartmann dehydrator only to earthed
sockets. In case the plug, power cord or the
Wartmann dehydrator itself is damaged, first have
it repaired or replaced by a certified service centre.
Avoid contact with water
The Wartmann dehydrator contains electrical parts.
Make sure that water can never end up on the power
cord inlet, the back side or the control panel to
prevent electric shock and/or damage to the
Wartmann dehydrator.
Contains heating elements
Do not touch the heating element inside, it could be
hot. Do not position the Wartmann dehydrator near
flammable gasses or cleaning agents (such as
methylated spirit).
Use original accessories
Always use the original Wartmann accessories for
this dehydrator. Accessories of other suppliers are
not supported.
ENGLISH

6
FOOD TREATMENT
Hygienic precautions for plant products
Always work hygienic and use only fresh products
that are properly cooled and stored until preparation.
Check if food is spoiled, before using it. Food that
is spoiled may contaminate your entire batch. We
recommend to only use fresh and if possible seaso-
nal food. Never use food that is marinated in alcohol
toavoid the risk of a fire or explosion.
Hygienic precautions for animal products
Dehydrating at medium range temperatures does not
kill pathogens. It is therefore important that any meat
or fish that is being dehydrated has been properly
heated first, as to illuminate the risk of a pathogen
contamination.
Meat should be heated to a temperature above
68 degrees Celsius for a longer period prior to
dehydrating.
A piece with a thickness of 5 centimetre should be
heated for at least 14 minutes at this temperature.
Thicker pieces require a longer time. Fish should
be heated until 90 degrees Celsius until flaky. Fat
should be removed from meat as much as possible.
Too much fat may cause unwanted dripping.
Food preparation
Food should be sliced to a thickness of 6 to 20 mm.
Meats slices should ideally not be thicker than 5 mm.
Fruit can best be soaked in a citric liquid, such as
lemon juice, for a few minutes to avoid the loss of
colour.
Vegetables may require blanching. This will inhibit
the enzymatic activity which causes loss of flavour
and colour fading. Cook the vegetables or place
them in the microwave until they are done, but still
a bit crispy.
Subsequently you immerse the vegetables in cold
water, stopping the cooking process. Next, dry the
vegetables with, for instance, a clean towel.
7
All the food should be dry before placing it in the
dehydrator. It should be placed on dehydration
trayswithout overlapping.
Optimal drying temperature and duration
Nutrients such as enzymes and vitamins are
maximally preserved at a drying temperature be-
low 42 ° C. The drying time depends on various
factors such as the moisture content, the maturity, the
average thickness, the set drying temperature and
the total filling of the dryer. The drying time must
be set so that the food dries completely. As a rule
of thumb you can do the following test: When you
take a few slices or pieces between two fingers you
can immediately feel whether they are still damp. If
the surface no longer sticks to the fingers, or the
surfaces of either slices or pieces can’t slide
against each other, the drying is sufficient. You can
choose to shorten the drying time by increasing the
temperature.
Food Storage
Protect dried food from moist and insects by storing it
in vacuum containers, airtight pots or vacuum sealed
bags. You can enjoy your self-dried food for a
long time by storing it in a cool and dark place.
Wartmann supplies various types of vacuum devices,
vacuum bags and (vacuum) storage boxes.
ENGLISH

8
PREPARING FOR FIRST USE
Unpack the dehydrator
Take the Wartmann dehydrator out of the box and
remove all packaging materials. The power cord
and the door handle (with 2 screws) are packed
separately. The steel trays and the dripping tray are
located in the oven. They are tied together with ty
raps. Remove the ty raps before using the Wartmann
dehydrator. Position the Wartmann dehydrator
near an electric connection, on a stable horizontal
surface, in a place where the Wartmann dehydrator
can’t fall or be knocked over.
Place the trays
The Wartmann dehydrator comes with 10 stainless
steel trays and a dripping tray. Open the door and
place the 10 trays by sliding them in the guide rails
on both sides. Place the dripping tray at the bottom.
Make sure that the end of the trays are clear and that
nothing is between the tray and the ventilator mesh
at the back.
Connect the power cable
The Wartmann dehydrator comes with a detachable
power cord. Plug the connector of the power cord
in the socket on the backside of the Wartmann
dehydrator. Now plug the power plug in the wall
socket. Always use an earthed power socket.
Switch the dehydrator on
The Wartmann dehydrator has a main power switch
at the back. Press the power switch (‘1’) to switch the
dehydrator on. You will hear a short beep and the
start/stop button on the display at the front, starts
flashing. The Wartmann dehydrator is now ready for
use.

9
ENGLISH

10
USING THE DEHYDRATOR
Fill the trays
Open the door, slide out the trays and fill them with the required food. Do not overfill the trays and make
sure nothing sticks out at the back that can block the ventilator. Slide the trays back in and close the door.
The display / control panel
With the control panel you can easily operate the Wartmann dehydrator.
Built-in lighting
With the lighting button you can switch on and off the built in lighting.
Start the dehydrator
Press the Start/Stop button to start the dehydration programme. You will hear a short beep. The fan
and the heating element start working. Now the drying temperature and the duration can also be
set. Press the button one more time will halt the programme.

11
Set the temperature
Press the temperature button. You will hear a short beep and the display shows the set temperature.
Use the + and - buttons to set the temperature to the desired value. Press shortly the + and - buttons
to change the temperature with small steps. To quickly change the required temperature, hold down
the + or – buttons. The temperature range for the Wartmann dehydrator can be set between 25˚C to
90˚C. If the desired temperature is set, wait a few seconds. The temperature display stops flashing
and will light up. The set temperature is now confirmed. The digital display will alter between the set
temperature and the remaining time.
Set the time
Press the time button, the display shows the remaining time. Use the + and - buttons to set the
remaining time to the desired value. Press shortly the + and - buttons to change the time with small
steps. To quickly change the remaining time, hold down the + or – buttons. If the desired time is set,
wait a few seconds. The time display stops flashing and will light up. The set time is now confirmed.
The digital display will alter between the set temperature and the remaining time. The duration for
the Wartmann dehydrator can be set from 30 minutes up to 72 hours.
ENGLISH

12
Interrupt a dehydration
At any time you can stop a dehydration by pressing the Start/Stop button. The display will return
to “OFF”. After a few minutes, when the heater has cooled of sufficiently, the fan will stop running.
Take out your food
Once the set time has been reached the dehydrator will automatically stop. Open the door and take out your
trays. Be careful, the trays may still be hot. If necessary, use some oven wants or utensils to take the trays or
food out of the dehydrator.

13
Power Off
Press the switch at the back of the Wartmann
dehydrator to power off (‘0’) the Wartmann
dehydrator. It is recommended to always power off
the unit and take out the power cord off the socket
before cleaning.
Cleaning
The stainless steel trays can be simply cleaned with
warm water, dish washing liquid and a brush af-
ter use. The inside of the Wartmann dehydrator can
be cleaned with a detergent that is safe to use in
ovens, such as an oven cleaner. The outside of the
Wartmann dehydrator may be cleaned with a
microfiber cloth and a soft detergent, or a cleaner
that is suited for stainless steel. Always be careful
around the power cord inlet and power switch.
Make sure no water can get inside the switch or on
the power cord. To clean the power cord it must first
be removed from the wall socket.
Storing
We advise to clean the stainless steel trays, the
dripping tray and the inside of the Wartmann
dehydrator straight after use to avoid undesired
bacteria growth. Do not leave wet stainless steel
trays in the Wartmann dehydrator when it is not
being used.
Maintenance
Your Wartmann dehydrator does not require any
special maintenance.
AFTER USE

14
When the Wartmann dehydrator has reached
the end of its service life, you are required to
take it to a collection point for the recycling of
electrical and electronic equipment. The Wartmann
dehydrator can’t be disposed of together with the
normal household waste.
RECYCLING THE DEHYDRATOR

15
ENGLISH

16
APPENDIX: TROUBLESHOOTING
In general the Wartmann dehydrator performs adequately. Should however a malfunction occur, then please
first try the troubleshooting recommendations mentioned below.
SYMPTOM POSSIBLE CAUSE SOLUTION
The dehydrator does not work.
The display does not light up.
The switch at the back is in the OFF (‘0’)
position.
Press the switch at the back to the
ON (‘1’) position.
The power cord is damaged or not properly
fitted in the wall and/or dehydrator socket.
Check if the power cord is undamaged and
then insert one side into the dehydrator socket,
then the other side into the wall socket.
There is no voltage on the socket. Check with another electrical device that the
socket has power; if so try the dehydrator
again.
The dehydrator is broken. Send the dehydrator in for repair.
The display shows online, but the fan is not
running.
Something is blocking the fan from running. Press Start/Stop to set the dehydrator offline,
open the door and remove the item blocking
the fan.
The remaining time is zero. Set the time to 30 minutes or more and try
again.
The fan is broken. Send the dehydrator in for repair.
The display shows online, but the dehydrator
does not get warm.
The time is set equal or below room
temperature.
Increase the temperature to above the room
temperature.
The heating element is broken. Send the dehydrator in for repair.

17
ENGLISH NEDERLANDSENGLISH
There is a rattling noise coming out of the
dehydrator.
Something is blocking the fan from running. Press Start/Stop to set the dehydrator offline,
open the door and remove the item blocking
the fan.
There is smoke coming out of the dehydrator. Something is in contact with the heating
element.
Press Start/Stop to set the dehydrator offline,
let it cool down and then remove the items that
is in contact with the heating element.
The dehydrator is broken. Stop using the dehydrator and send the
dehydrator in for repair.
Water or oil is dripping out of the the
dehydrator.
The dripping tray has not been placed. Place the dripping tray at the bottom of the
dehydrator.
The food is too wet or oily. Dry the food and clean the dripping tray. Then
try again.
The dehydrator no longer works (properly). There is a technical failure malfunction. Remove the plug from the socket, wait 10
seconds and reconnect the dehydrator.

18

19
NEDERLANDS
INHOUD
WELKOM 20
Gefeliciteerd met uw aankoop 20
Een prima keuze 20
BELANGRIJK 21
Alleen geschikt voor huishoudelijk gebruik 21
Controleer elektrische aansluitingen 21
Pas op met water 21
Bevat verwarmingselementen 21
Gebruik originele accessoires 22
VOEDSELBEHANDELING 24
Hygiënische voorzorgsmaatregelen
plantaardige producten 24
Hygiënische voorzorgsmaatregelen dierlijke
producten 24
Voorbereiden 24
Optimale drogingstemperatuur en droogtijd 25
Voedsel bewaren 25
VOORBEREIDEN VOOR HET
EERSTE GEBRUIK 26
Het droogapparaat uitpakken 26
De roosters plaatsen 26
Het netsnoer aansluiten 26
Het droogapparaat inschakelen 26
HET DROOGAPPARAAT GEBRUIKEN 28
De roosters vullen 28
Het display 28
De binnenverlichting 28
Het drogen starten 28
Temperatuur en tijd instellen 29
Het drogen onderbreken 30
Het gedroogd voedsel uitnemen 30
NA GEBRUIK 31
Uitschakelen 31
Reinigen, opslaan en onderhoud 31
HET DROOGAPPARAAT RECYCLEN 32
BIJLAGE: STORINGEN VERHELPEN 34

20
WELKOM
Gefeliciteerd met uw aankoop
Wartmann wenst u veel plezier met uw Wartmann
droogapparaat. Met behulp van het Wartmann
droogapparaat droogt u uw eigen fruit en groenten
en maakt u warme gerechten. Het Wartmann
droogapparaat wordt inclusief 10 roestvrijstalen
inlegroosters en een druipplaat geleverd.
Een prima keuze
Het Wartmann droogapparaat heeft een roestvrij-
stalen behuizing, een ingebouwde ventilator en een
verwarmingselement van 800 watt. De roestvrijstalen
deur heeft een glazen raam zodat u tijdens het
drogen in het Wartmann droogapparaat kunt
kijken zonder de deur te openen. Tevens heeft het
Wartmann droogapparaat een heldere ingebouwde
verlichting zodat u altijd het droogproces kan
volgen.
De temperatuur is in te stellen van 25°C tot 90°C.
De maximale droogtijd bedraagt 72 uur. Door de
gebruikte materialen is het Wartmann droogapparaat
solide en duurzaam.
Wanneer u de gebruiksaanwijzingen en onder-
houdsinstructies op volgt dan heeft u jarenlang
plezier van uw Wartmann droogapparaat.
Table of contents
Languages:
Other Wartmann Kitchen Appliance manuals

Wartmann
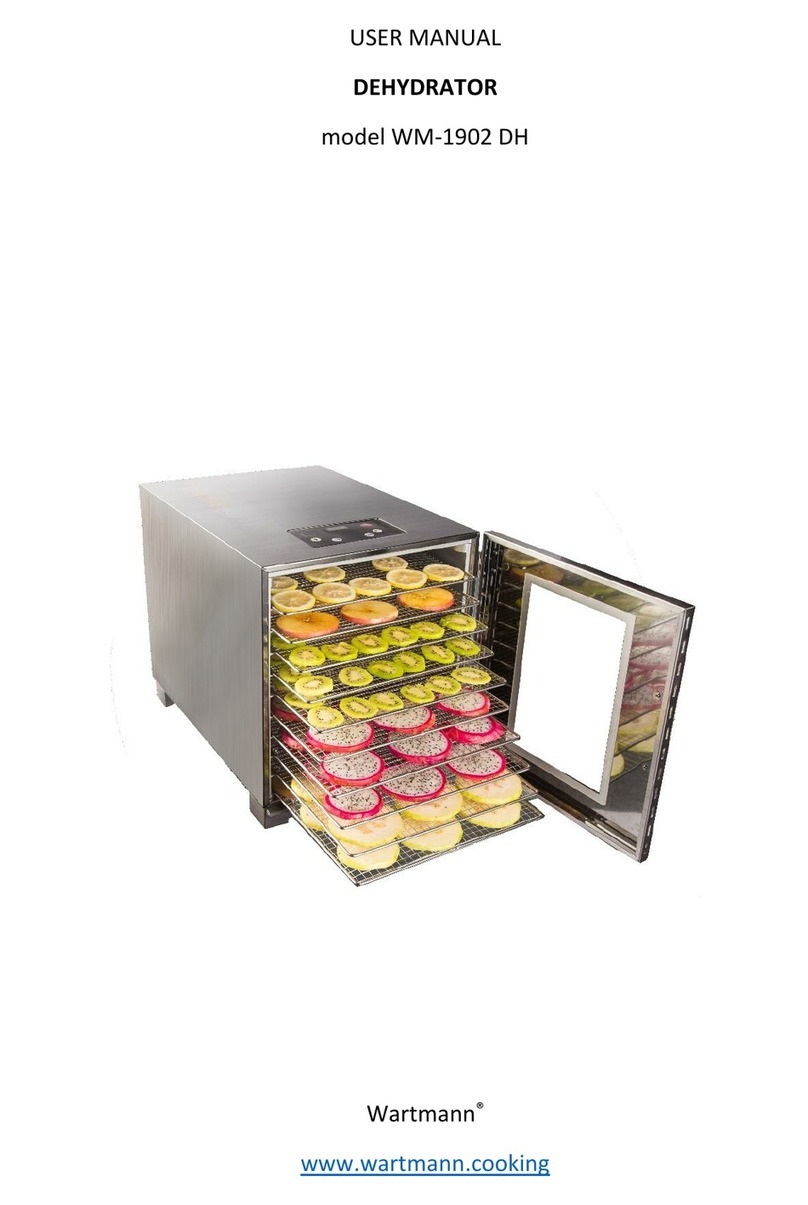
Wartmann WM-1902 DH User manual

Wartmann
Wartmann WM-2002 OP User manual

Wartmann
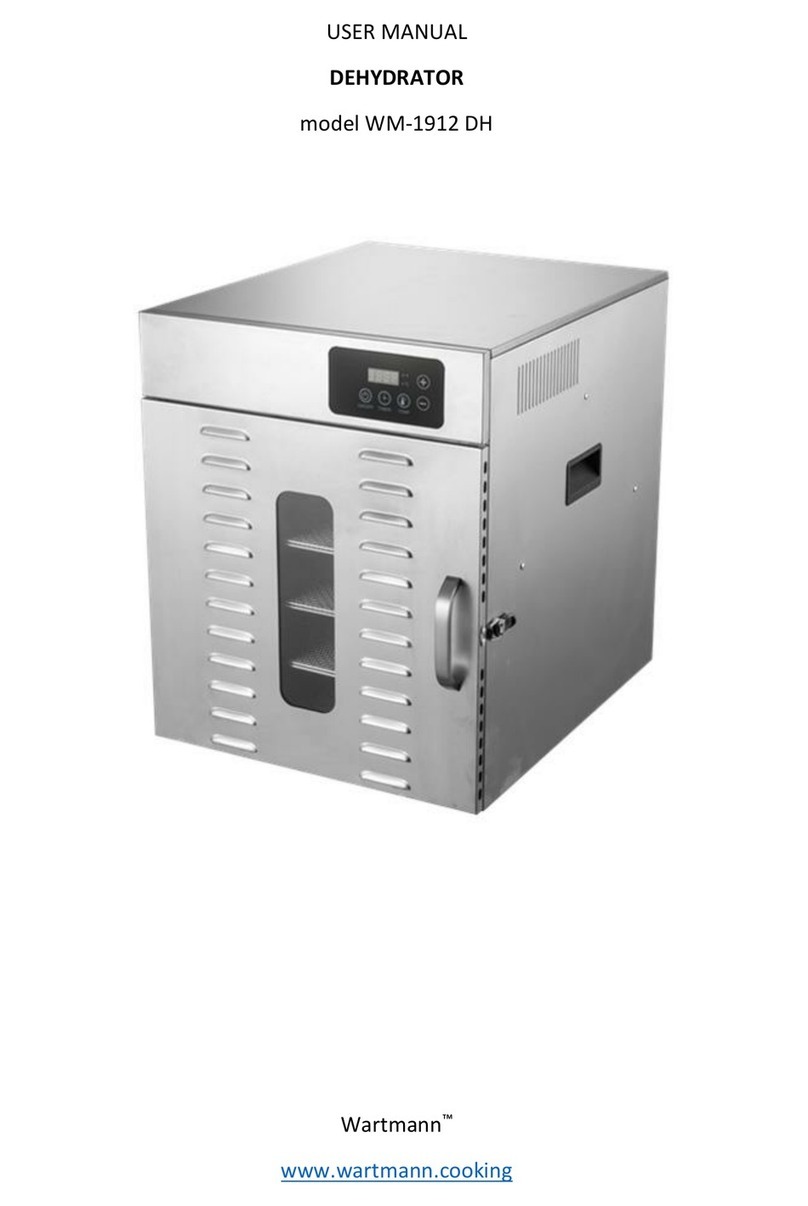
Wartmann WM-1912 DH User manual

Wartmann
Wartmann WM-2006 DH Installation and operation manual

Wartmann
Wartmann WM-1507 SV User manual

Wartmann
Wartmann WM-1902 DH User manual

Wartmann
Wartmann WM-1508 SV User manual

Wartmann
Wartmann WM-1509 VAC User manual

Wartmann
Wartmann WM-2007 EL User manual