2
- Insert the cable Ainto the gland nut and fix the
cables to the conductor support of the splice (pic. 3).
Connect phase L1 to 1, phase L2 to 2, neutral conduc-
tor (N) to 3 and the earthing to the correspondingly
marked contacts of the terminal clamp.
Cut off the wires with a diagonal cutter, flush with
the splice (pic. 4).
Luminaires with ECO STEP DIM® - BASIC are connected
to 2 of phase L2.
Compare the local voltage and frequency with date
mentioned on the label of the luminaire.
If the luminaire is controlled via two additional lines,
for example ECO STEP DIM®DYNAMIC, 1-10V or DALI,
for class II, these lines get connected to clamps 2 and
4 and for class I the lines get connected to clamps 2
and 3 of the cable connector.
- Screw the gland nut together, tightening to a torque
of 5 Nm (pic. 5).
- As a guide for setting the gland nut, numerals I, II
and III can be found on the connection (pic. 6).
In the case of thin cables, the nut can generally be
tightened further than with thicker cables. The con-
tact point is made when the nut is screwed on and
the contact point lies just in front of the numeral I.
The gland nut has to be screwed on tightly so that it
cannot be opened again by hand.
-Ashows the setting Ifor a cable diameter of
12-14 mm, Bshows the setting III for a cable diameter
of 9-10 mm.
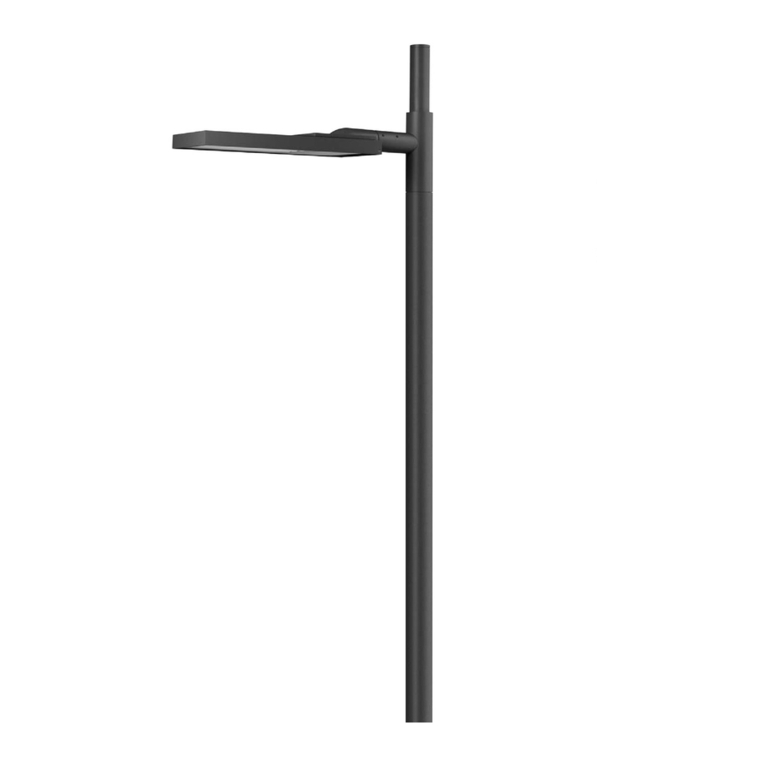
3) Pull the connecting cable through the pole. Put the
luminaire on top of the pole Dand tighten the fixing
screws E, tightening to a torque of 5 Nm.
4) Disassembly
Switch off the mains electrical supply.
In order to remove the conductor, the gland nut should
be completely unfastened and the splice gets removed
from the connector head with a commercially bladed
screwdriver (blade width 3-4 mm), (pic. 7).
- Führen Sie die Leitung Ain die Überwurfmutter ein
und fixieren Sie die Adern in der Leiteraufnahme des
Spleißbodies (Abb. 3).
Hierbei Phase L1 an 1, Phase L2 an 2, Nulleiter N an 3
und bei Schutzklasse I Schutzleiteranschluss an die
entsprechend markierten Kontakte anschließen.
Schneiden Sie die Adern mit einem Seitenschneider
bündig am Spleißbody ab (Abb. 4).
Bei Leuchten mit ECO STEP DIM® - BASIC wird die
Steuerphase L2 an 2 angeschlossen.
Wird die Leuchte über zwei zusätzliche Leitungen ge-
steuert, z.B. ECO STEP DIM®DYNAMIC, 1-10V oder
DALI, werden diese Steuerleitungen bei SKII auf die
Klemmen 2 und 4, bei SKI auf die Klemmen 2 und 3
des Leitungsverbinders geklemmt.
Vergleichen Sie die örtliche Spannung und Frequenz
mit den Daten auf dem Leistungsschild.
- Verschrauben Sie die Überwurfmutter mit einem
Anzugsdrehmoment von 5 Nm (Abb. 5).
- Als Orientierung zur Anschraubweite der Überwurf-
mutter finden Sie auf dem Anschluss die Ziffern I, II
und III (Abb. 6).
Bei dünnen Leitungen lässt sich die Mutter tenden-
ziell weiter anschrauben als bei dicken Leitungen. In
jedem Fall muss beim Anschrauben der Mutter der
Kontaktierungspunkt überwunden werden und der
liegt noch vor der Ziffer I. Die Überwurfmutter muss
auch so fest angeschraubt werden, dass sie sich von
Hand nicht wieder öffnen lässt.
-Azeigt die Anschraubweite Ibei einem
Leitungsdurchmesser von 12-14 mm,
Bzeigt die Anschraubweite III bei einem
Leitungsdurchmesser von 9-10 mm.
3) Das Anschlusskabel durch den Mast ziehen. Die
Leuchte auf den Mast Daufsetzen und die
Befestigungsschrauben Eder Leuchte mit einem
Anziehmoment von 5 Nm anziehen.
4) Demontage
Spannungsfreiheit der Anschlussleitung herstellen.

