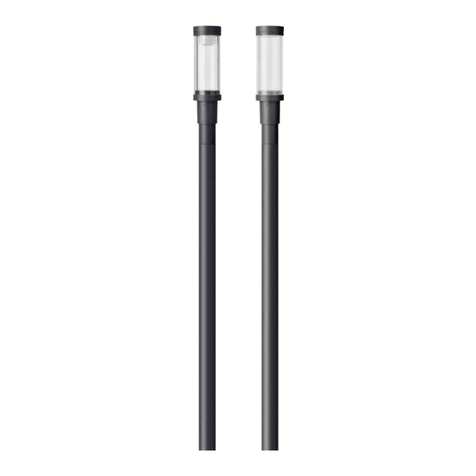
WE-EF ETC320-FS LED User manual
Other WE-EF Lantern manuals
WE-EF
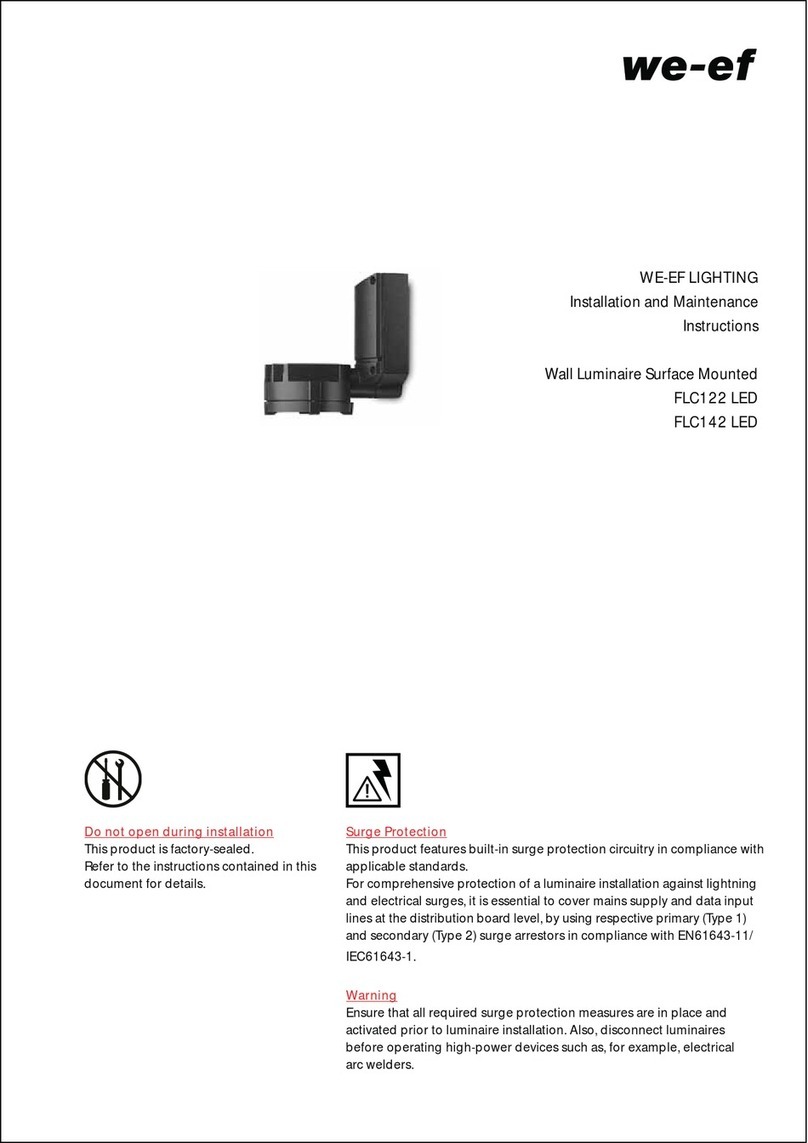
WE-EF FLC122 LED User manual

WE-EF
WE-EF CFS500 Series User manual
WE-EF
WE-EF ETC320-GBLED User manual

WE-EF
WE-EF AL530 User manual

WE-EF
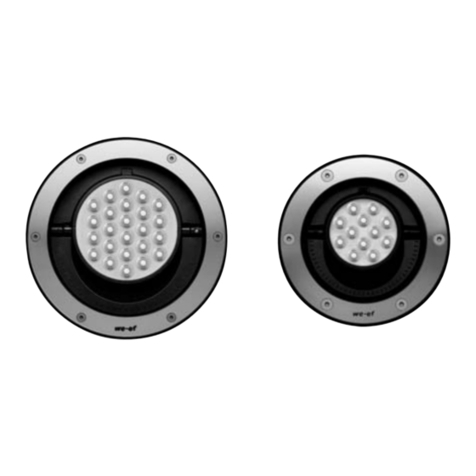
WE-EF PFL240 LED User manual
WE-EF
WE-EF ETC100-GB LED Series User manual

WE-EF
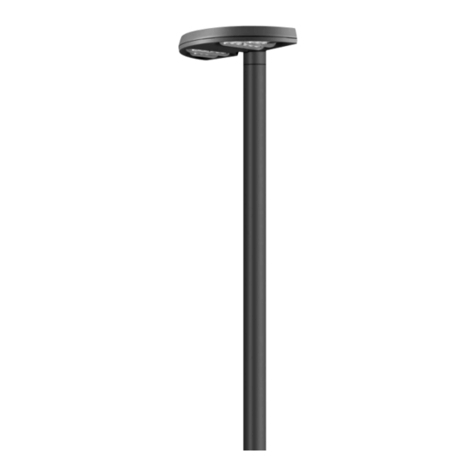
WE-EF ETC320-FS LED User manual
WE-EF
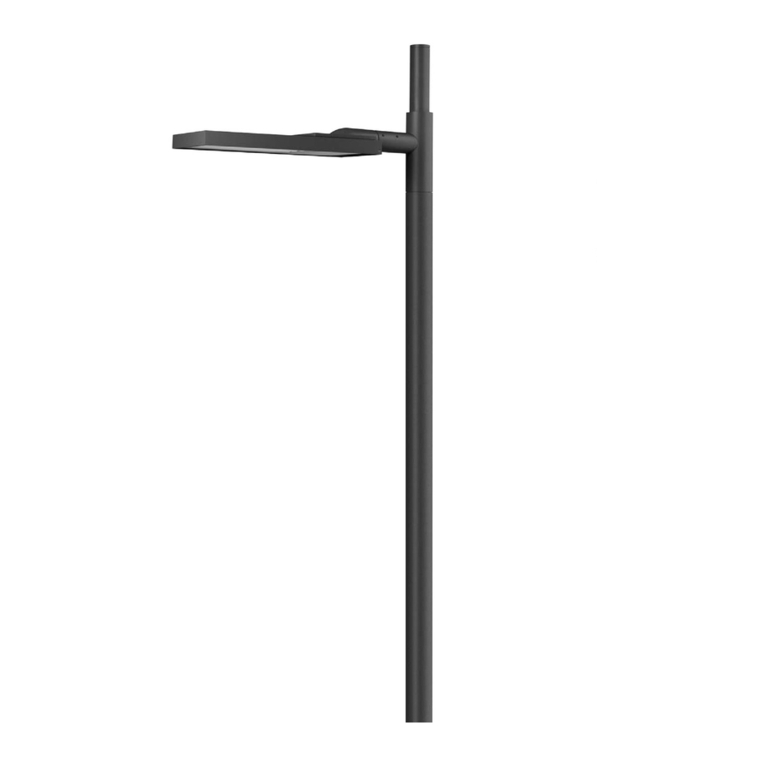
WE-EF RMC320 LED User manual
WE-EF
WE-EF VFL500 LED Series User manual

WE-EF
WE-EF VFL530-SE LED User manual

WE-EF
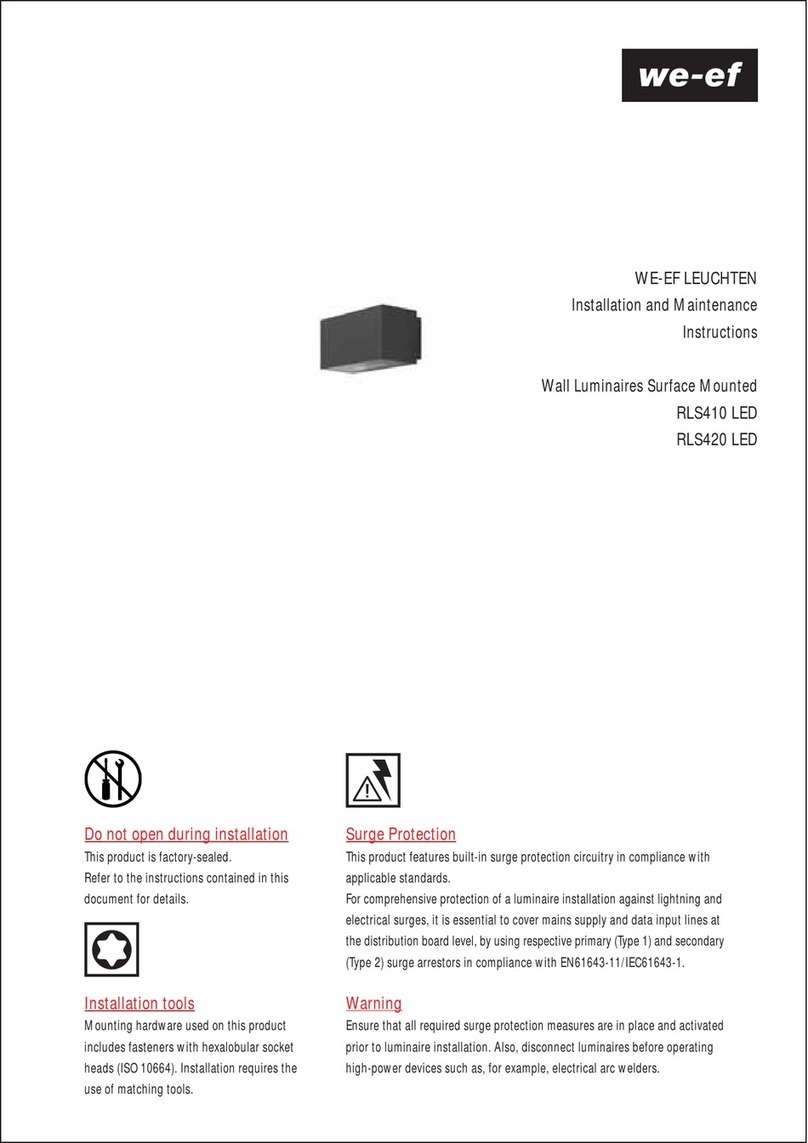
WE-EF QLS410 LED User manual
WE-EF
WE-EF RLS410 LED User manual

WE-EF
WE-EF CTY150 LED User manual

WE-EF
WE-EF VFL500 LED Series User manual

WE-EF
WE-EF ZAT40 User manual

WE-EF
WE-EF ETC330-FS User manual
WE-EF
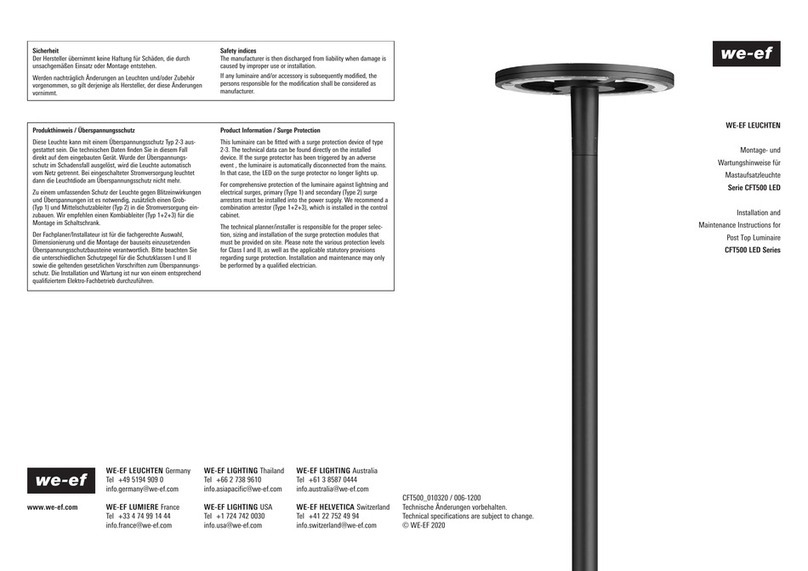
WE-EF CFT500 LED Series User manual

WE-EF
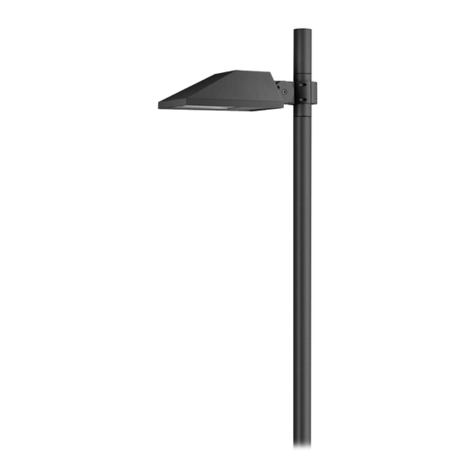
WE-EF ETC330-GB LED User manual
WE-EF
WE-EF PFL240 LED User manual

WE-EF
WE-EF ETV100 Series User manual
Popular Lantern manuals by other brands

shada
shada 1000436 instruction manual

BEGA
BEGA 84 036 Instructions for use

BEGA
BEGA 33 596 Instructions for use

Dale Tiffany
Dale Tiffany GT701162 Assembly instructions

Wagan
Wagan Brite Nite Pop-Up USB Lantern user manual

Eaton
Eaton Crouse-Hinds Pauluhn DLLA M2 Series Installation & maintenance information


