KNEADING, RISING and BAKING CYCLES(cant'd.) INSERTING AND REMOVING THE BREAD PAN
WarmingCycle: Since temperature playssuch an important role in
making good bread and dough, your Welbilt Bread Machine will
warm the ingredientsto the optimumtemperatureto ensurethe
best results.
First Mixing(Kneading):The Bread Machine will intermittently mix
the ingredientsfor a few seconds at which time it will then
begin to knead the dough to form a smooth ball.
Second Mixing(Kneading):Kneadingthe dough makesthe gluten
elastic enough to form the structure of the bread.
Add Fruit/Nuts: The Bread Machine will beep several times a few
minutes beforethe end of the second kneading.This is the best
time to add ingredients like nuts and raisins, etc.
First Rising: When dough has been well-kneaded, the gluten forms
thin elastic strandsthat make up the structure of the bread. As
the yeastdevelops and multiplies,it produces carbon dioxide
gas.The gas becomestrapped in the gluten strands forming
bubbles.As these bubbles collect, the dough expands and rises.
First Punch Down: The Bread Machine kneads the dough for a few
seconds to deflate it.
Second Rise: The yeast will once again produce carbon dioxide
gas.
Second Punch Down: The Bread Machine again kneads the dough
for a few seconds to deflate it again.
Third Rise: The gluten strands are now strong enough to support
the loaf.The yeastwill once again produce carbon dioxide gas
and the dough will rise to its maximumheight.
Baking: If you are using the NORMALor REGULARprogram,the
bread will be baked to perfection. If you are making bread that
cOf.'ltainstoo much sugar in the recipe, it may cause the bread
to overbake.Setyour machine on the lightestsetting.
Keep Warm: If you are unable to removethe baked bread immedi-
ately after baking,the Bread Machine will keep the loaf warm as
to reduce the effectsof the condensationthat will form between
the loaf and the pan.Nevertheless,always removethe bread as
quickly as possible after the baking cycle is completed.
1. Before using the Bread Machine for the first time, be certain to
wash the bread pan and dough blade with warm water and mild
dish-washing liquid. Towel dry. Never put the bread pan and
blade into the dishwasher.
2. All mixing, kneading,rising and baking (when appropriate)take
place in the bread pan. The pan is covered with a non-stick
coating which will scratch if not treated and cared for properly.
Clean and treat the pan as you would a non-stick frying pan.
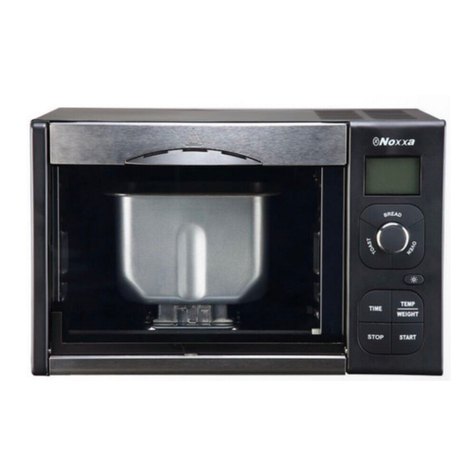
3. To reinsert the pan, place over the locking mechanism located
on the bottomof the baking compartment.Push down. To
removethe pan, pull up.
4. Rememberto insertthe kneading blade on the shaft located in
the bread pan before adding your ingredients.
5. Since the bread pan will be hot afterthe baking cycle,always
use a kitchen mitt or pot holder when removing it.
6. To removethe bread from the pan (for model #ABM4100T,
first removethe dough hook), invert upside down and gently
shake up and down until the loaf slides out. If the bread does not
come out of the pan easily, use a non-metallic kitchen utensil to
pry it out.
CLEANING INSTRUCTIONS
If taken care of properly,your Welbilt@Bread Machine will provide
you with many years of use and hundreds of loaves of delicious
bread.
1. After each use,unplug the Bread Machine. Let the unit cool
down to room temperature.Wipe out the baking compartment
and the inner lid with a clean, damp cloth or sponge.
2. Removethe kneading blade from the pan. It may be necessaryto
fill the pan with water in order to loosen the blade from the shaft.
Cleanthe pan and blade with warm water and mild dishwashing
liquid. Never use abrasive or strong household cleaners since
they will damagethe non-stick finish. Towel dry.
3. Wipe down the cabinet of the Bread Machine with a clean, damp
cloth or sponge. Towel dry.
14 15
