3
Owner’s Manual WPC-5000
14. DO NOT use the plug to start and to stop the unit. Always use the control panel to start and
to stop the unit.
15. Always turn o the unit when it is not in use and unplug the power plug from the electrical
outlet.
16. Always turn the unit o and unplug the main power plug from the electrical outlet before
cleaning, moving or performing maintenance.
17. AVOID the use of adapter plugs or extension cords. If it is necessary to use an extension cord
or an adapter plug to operate the unit, ensure that they are correctly rated for the applica-
on. Consult a local qualied lectrician and all local electrical codes to ensure proper setup.
Any extension cord used with this device must be rated for a minimum of 10A, 250V.
18. DO NOT unplug the unit by pulling on the electrical cord. Keep electrical cord away from heat
sources and always completely unroll the cord to avoid overheang. If the power cord be-
comes damaged, a qualied service agent, qualied electrician, or similarly qualied person
must replace it, in order to avoid a hazard or shock.
DO NOT operate the unit in explosive or ammable environments.
DO NOT operate a unit with a damaged power cord.
19. The lters must be used with the product at all mes. When the lters are removed for clean-
ing, always ensure that the unit has been turned o and unplugged from the electrical outlet.
20. Regularly clean the lters to maintain eciency. If the lters are not cleaned regularly, the
units output performance and eciency will decline and energy consumpon will increase.
21. DO NOT operate the unit with a damaged power cord or plug, aer it malfuncons, has been
dropped or damaged.
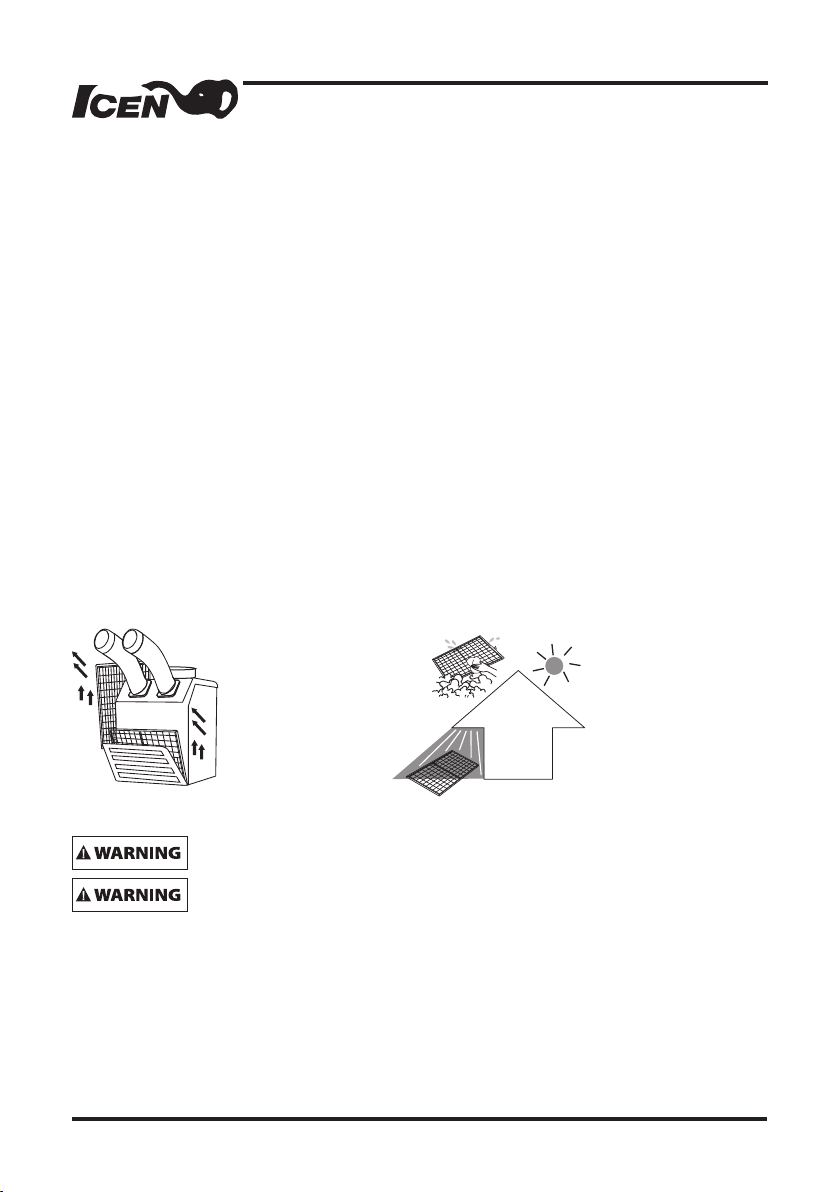
22. Only use in the upright posion on an even, at surface. Unit must be posioned at least 24
inches (60 cm) from the nearest object in any direcon.
23. Stop operaon immediately if abnormal noise or odor is noced. Contact a local service
center.
24. Appliance is not to used by children or persons with reduced physical, sensory or mental
capabilies, or lack of experience and knowledge, unless they have been given supervision or
instrucon.
25. Children being supervised not to play with appliance.
26. That the appliance shall be installed in accordance with naonal wiring regulaons.
27. If the supply cord is damaged, it must be replaced by the manufacturer, its service agent or
similarly qualied persons in order to avoid a hazard.
SAVE THESE INSTRUCTIONS


 null")