WHITEHALL MANUFACTURING • P.O. BOX 3527 • City of Industry, CA 91744-0527 U.S.A
Phone (800) 782-7706 • (626) 968-6681 • Fax (626) 855-4862 • Web: www.whitehallmfg.com
4
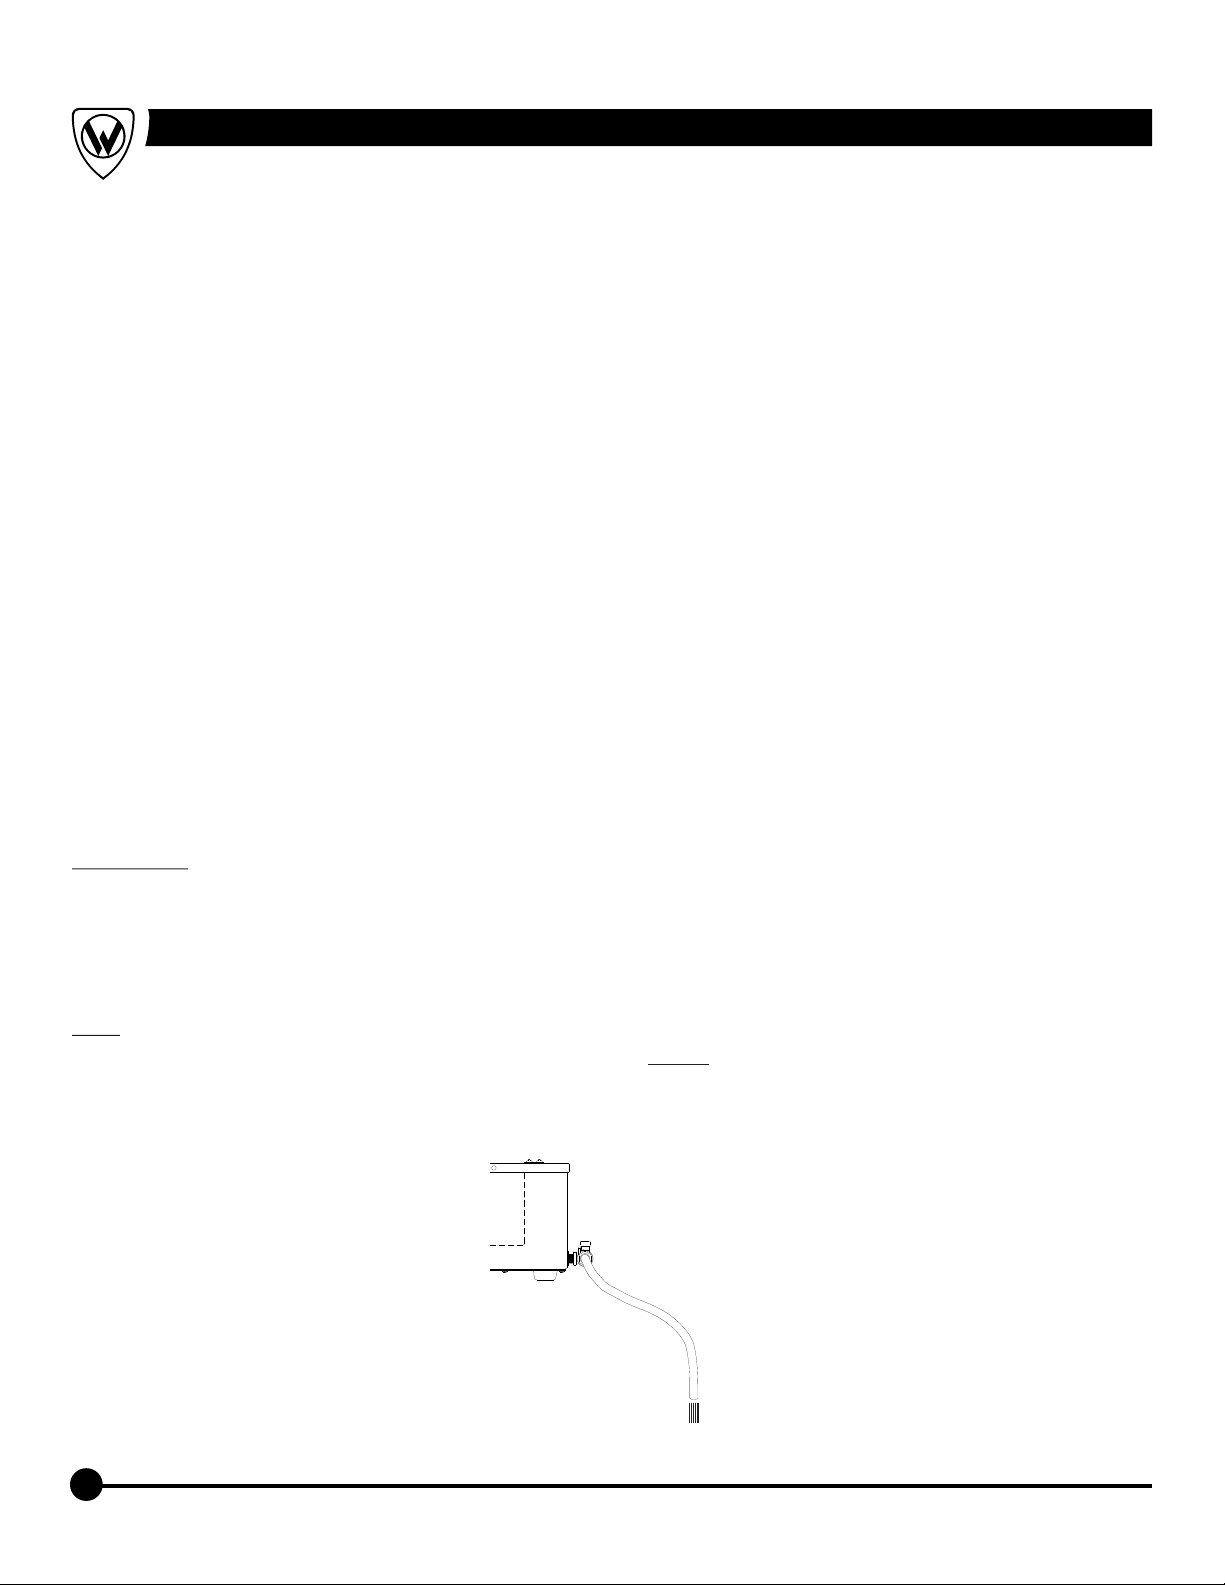
Before emptying (draining) your appliance,
be sure that the power switch is set to
"OFF". If the unit is "ON", be sure to press
the power switch "OFF". Allow the
appliance to cool down before emptying it.
Lifting the lid will accelerate this cooling. It is
recommended that the appliance be unplugged to avoid
accidentally turning unit "ON", after unit has been
emptied. For your convenience, the appliance has been
provided with a Drain Valve that has a 1/4" Barb end to
attach a hose.
Once the digital display indicates the desired
adjusted temperature, the appliance will be ready for
use. Please allow +/-5°F temperature variance.
Always refer to the correct temperature & duration as
specified by the splinting material manufacturer.
Be certain to heed all warnings as outlined in the
WARNING section (inside front cover of this manual).
Keep lid closed while water is heating up.
Carefully insert splinting material into tank and avoid
splashing HOT water. Avoid direct skin contact with HOT
water at all times. While splint material is immersed in
water, lid should remain closed to help retain heat inside
tank. Remove splint material from tank only after it has
reached the manufacturer’s specified duration. Use
caution when removing splint material from tank. Apply
splint material as specified by splint manufacturer’s
instructions.
Keep lid closed when appliance is not in use. Maintain
proper water level at all times. Immediately fill the
appliance to the water level as indicated inside tank.
Avoid allowing water to reach a "very low water" level. A
"very low water" level would be any water level 3/4" (20
mm) or less water depth as measured from the tank
bottom. Never operate appliance without water! These
precautions will prevent appliance from over-heating and
prevent potential damage to the heating element.
IMPORTANT: The Water Bath is provided with an Over-
Heating Temperature Limiting Sensor. If the appliance
reaches excessively high temperatures beyond normal
operation, Sensor will 'trip' and create an "opening" in
the electrical circuit rendering the appliance inoperable.
Please refer to FAQ’s section of the manual for more
details.
Note: If lid locks in the open position and will not close,
place index finger on the left side lid stay reset button
and work lid up and down until lid stays synchronize and
allow lid to close.
USING YOUR WATER BATH
EMPTYING
YOUR WATER BATH
Before attempting to clean the appliance, be sure to turn
power switch "OFF" and unplug the unit from the
electrical receptacle. If necessary, empty (drain) the
appliance by following instructions as outlined in the
"EMPTYING YOUR WATER BATH" section.
The appliance should be routinely cleaned to help
ensure the appearance as well as years of reliable
service. Routine cleaning helps to remove contaminants
from the stainless steel surfaces and maintains the
integrity of the stainless steel’s inherent properties. Not
routinely cleaning the appliance may lead to corrosion of
the stainless steel and the build-up of scaly hard-water
deposits, which may void the warranty.
Use a soft cloth, sponge, and/or non-abrasive cleaning
pad to clean & wipe down the appliance. DO NOT use
steel wool to clean the stainless steel surfaces since it
can cause rusting on the stainless steel surfaces.
When cleaning, rinsing, and/or drying your appliance
always rub in the direction of the stainless steel polish
(grain) lines for maximum effectiveness and to minimize
marring or scratching the surfaces.
Attempt to use the mildest cleaning product and most
effective method to clean the stainless steel surfaces.
Use mild soaps, gentle non-abrasive detergents, or mild
mixtures of ammonia to routinely clean the surfaces of
the appliance. Be sure to always rinse with clean, warm
water and wipe dry. Use stainless steel cleaners such as
®
3M Stainless Steel Cleaner/Polish, Sheila Shine ,
®
Twinkle Stainless Steel Cleaner/Polish, Penny Brite,
Cameo Stainless Steel Cleaner/Polish, and EZ Brite, on
stainless steel surfaces. Strictly follow brand name
manufacturer’s instructions on proper use of the
stainless steel cleaner.
NOTE: The use of brand names is intended only to
indicate a type of cleaner. The use of a brand name
does not constitute an endorsement nor does the
omission of any other brand name cleaner imply
inadequacy of the product.
DO NOT use bleach, chlorinated solvents, or other harsh
chemicals to clean your appliance. For scaly, hard-water
spots use a strong solution of vinegar & water and let it
stand for approximately 5 minutes. Rinse with clean,
warm water and wipe dry. Be sure to quickly wipe down
dampened areas to avoid “water marks”.
It is good practice to periodically change out
the water in the tank that may become too
c l o u d y a s a r e s u l t o f u s e o r
contamination.
CARE & CLEANING
OF YOUR WATER BATH
Instructions for Operation and Care of Water Bath SP-1600-A