CRU-WiebeTech
R T X 4 0 0 - Q R U s e r ’ s M a n u a l - 10 -
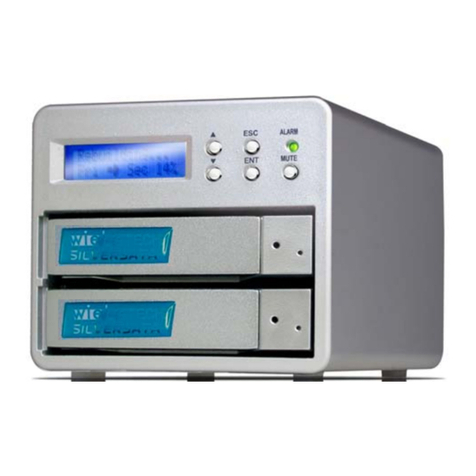
5.2 Navigating the LCD Menu
5.2.1 Active Menu
The Active Menu is the RTX400-QR starting point. If the Active Menu is not displaying then either you
are in an erroneous state, setting up a RAID or checking enclosure/drive status. A healthy RAID set will
display the Active Menu screen.
5.2.2 RAID Mode
To view the RAID mode press the “Menu” (left) button below the Active Menu once. The next screen you
will see is the RAID Mode screen. From this screen press the “Go” (right) button below the LCD and that
will display the current RAID type and how many disks are in that RAID. Pressing the “Quit” (left) button
will take you back to the Active Menu.
5.2.3 Error Statistics
This section of the Menu will give you Persistent and Recoverable Error Statistics of each drive in your
RTX400-QR. To get there from the Active Menu press “Menu” (left) twice. Then press the “Go” (right)
button to go to persistent errors. If you want to view the number of persistent errors on your hard drives
press “Go” (right). If you want to view the number of recoverable errors on your hard drives press “Next”
(left). In either case it will take you through a port by port view of errors, where Port:0 is the first
bay/drive, and Port:1 is the second bay/drive etc. To go back to the Active Menu press “Next” (left) until
“Quit” (left) appears and then press “Quit” (left).
5.2.4 SMART Status
SMART (S.M.A.R.T.), or Self-Monitoring, Analysis, and Reporting Technology, is a monitoring system for
hard drives to detect and report various types of information. Some of those include spin-up time,
temperature and hours powered on. Another SMART attribute is the ability to inform a user if the hard
drive has SMART Status, or the ability to detect and report drive information. This section of the Menu
simply informs you if the drive has SMART Status. To view the SMART Status portion of the Menu press
the “Menu” (left) button three times, then press “Go” (right). This will take you through a port by port look
at the hard drives’ SMART Status, where Port0 is the first bay/drive, and Port1 is the second bay/drive
etc. To go back to the Active menu press “Next” (left) until “Quit” (left) appears and then press “Quit”
(left).
5.2.5 Enclosure Status
Fan Speed and Enclosure Temperature (C°) can be found in this portion of the Menu. From the Active
Menu press “Menu” (left) four times, then press “Go” (right). Your first screen will show the fan’s RPM
(Revolutions Per Minute), and the second screen will give the Enclosure Temperature in Celsius degrees.
Simply press “Next” (left) to view the temperature and “Quit” (left) to go back to the Active Menu.
5.2.6 Disk Temperature
Finally, the last section of the Menu reports hard drive temperature (C°). To view this press “Menu” (left)
five times, then press “Go” (right). This will take you through a disk by disk look at the hard drives’
temperature, where Disk 0 is the first bay/drive, and Port 1 is the second bay/drive etc. To go back to the
Active menu press “Next” (left) until “Quit” (left) appears and then press “Quit” (left).
5.3 Error States
5.3.1 Halted: Bad Disk Count
Halted: Bad Disk Count is an error most likely caused by bad sectors on a hard drive that has been
inserted in the RTX. It can also be caused by a hard drive that is not getting enough power to spin up.
This can either be caused by a faulty drive or a bad connection. In any case, contact WiebeTech
Technical Support to help you troubleshoot this error.
