4. Loosen the jam nut at the base of your antenna. Remove it, along with the star washer
and the flat washer.
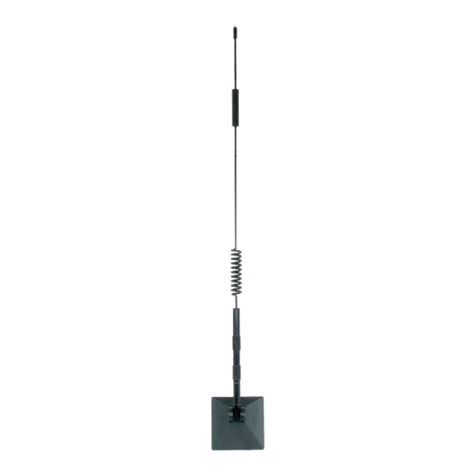
5. Thread the cable down through the hole in the flat mounting base until the antenna
is positioned vertically on
the base. Then thread the
flat washer, star washer
and jam nut (in that order)
back onto the cable and
up to the threaded base of
the antenna. Tighten the
jam nut to the underside of
the mounting base with a
wrench.
CAUTION: Do not over-
tighten.
6. Route the cable from the
antenna to the location where
you will be using your phone
or data card. Extension
cables up to 10 feet in length
are available through your
dealer.
How it Works
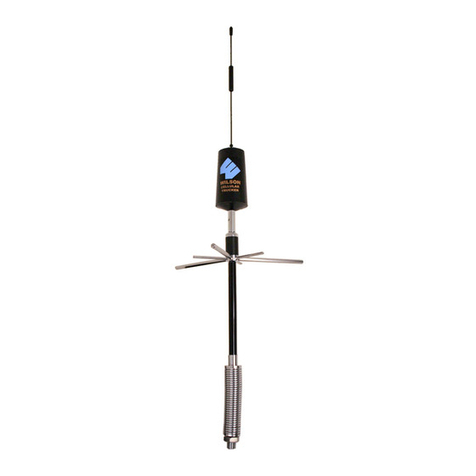
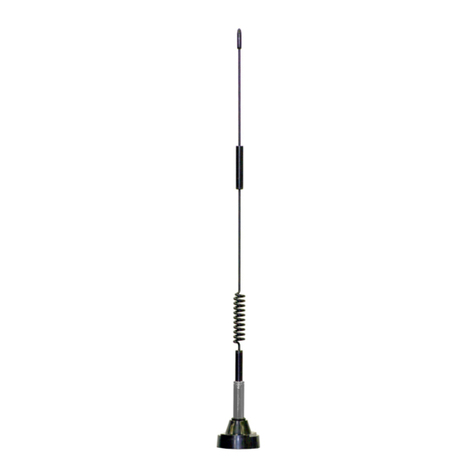
Wilson Electronics RV / Trucker Spring-Mount Cellular Antenna will collect the cell tower
signal and send it through the cable to a Signal Booster or directly to the cell phone or
laptop data card. When the cell phone or data card transmits, the signal is transferred to a
Signal Booster or directly to the antenna and transmitted back to the cell tower.
Antenna Adapter Required (Sold Separately)
A phone/data card-specific, Antenna Adapter is required when connecting the antenna
directly to a cell phone. To identify the correct adapter, see Wilson Electronics Adapter
Guide at www.WilsonElectronics.com or call Technical Support at 866-294-1660.
Package Contents
1 - RV / Trucker Antenna
6 - Radials (3 short, 3 long)
1 - Thread-locker liquid
Installing the Antenna
1. Select a suitable location to install the
antenna on your RV, as high on the vehicle
as possible and at least 12 inches away
from any other antenna. For best results,
use Wilson Electronics 3-Way Mount (Part
#901104), sold separately. This bracket will
enable you to mount the antenna on a mirror
or attach it to the side of your RV.
2. To use the 3-Way Mount, be sure to remove
the large nut and bolt assembly from the
mount. (This is intended for use with Wilson
Electronics Trucker Antenna). If you are
installing on a mirror, clamp the mount to
the mirror support and tighten the four nuts
and bolts. If you are mounting directly to
the side of your RV, remove the nuts, bolts
and the smaller half of the mount and use
the four holes in the larger half to attach it
flush to the side of the RV, using screws or
bolts, nuts and washers appropriate for your
particular installation. In both cases, be
sure the flat mounting base of the mount is
positioned up.
3. Screw the six antenna radials into the
holes under the plastic coil housing on the
antenna. The included thread-locker liquid
must be used to ensure the radials do not
vibrate loose. Tighten the radials snugly
with a wrench.
Warning: If using a Signal Booster, ensure that all antenna and adapter cables are connected
before powering up the Signal Booster.
7a. To connect directly to a cell phone or data card:
• Connect the antenna cable to the connector on the adapter (sold separately).
• Connect the adapter to your cell phone or data card.
7b. To connect to a Wilson Electronics Direct Connect Signal Booster (sold separately):
• Using the included cable wrench, connect the antenna cable to the side of the Signal
Booster labeled “Outside Antenna.”
• Connect the adapter extension cable to the side of the Signal Booster labeled
“Cellular Phone.”
• Connect the adapter extension cable to the adapter.
• Connect the adapter to your cell phone or data card.
7c. To connect to a Wilson Electronics Mobile Wireless Signal Booster (sold separately):
• Using the included cable wrench, connect the antenna cable to the side of the Signal
Booster labeled “Outside Antenna.”
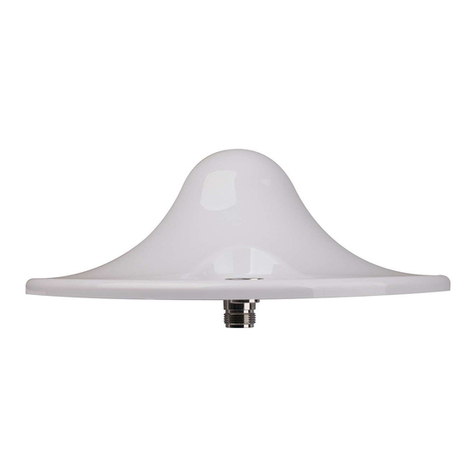
• Connect the Inside Antenna (sold separately) to the side of the Signal Booster
labeled “Inside Antenna.”
• Place the Inside Antenna in an appropriate location as specified in the Signal Booster
Installation Instructions.
Disclaimer: The information provided by Wilson Electronics, Inc. is believed
to be complete and accurate. However, no responsibility is assumed by Wilson
Electronics, Inc. for any business or personal losses arising from its use, or for
any infringements of patents or other rights of third parties that may result from
its use.
Copyright © 2011 Wilson Electronics, Inc. All rights reserved.
Install on roof
Install fl ush on side
Install Options
