8
|
English
EXTENDED OPTIONS
The extended options feature allows the user to set prefer-
ences for volume, tone, and control panel lock.
Setting Preferences:
1While the unit is off and unlocked, touch and hold for
ve seconds.
2Power level 1 on the rear element control is displayed
and “VO” appears on the timer display.
Touch or on the front element control to adjust
volume.
3Touch + on the timer control to adjust tone. Power level 2
on the rear element control is displayed and “Fr” appears
on the timer display.
Touch or on the front element control to adjust
tone.
4Touch + on the timer control to adjust the automatic con-
trol panel lock. Power level 3 on the rear element control
is displayed and “Lo” appears on the timer display.
Touch or on the front element control to turn the
automatic lock feature off or on respectively.
5Touch at any time while in extended options to con-
rm settings and return the cooktop to idle.
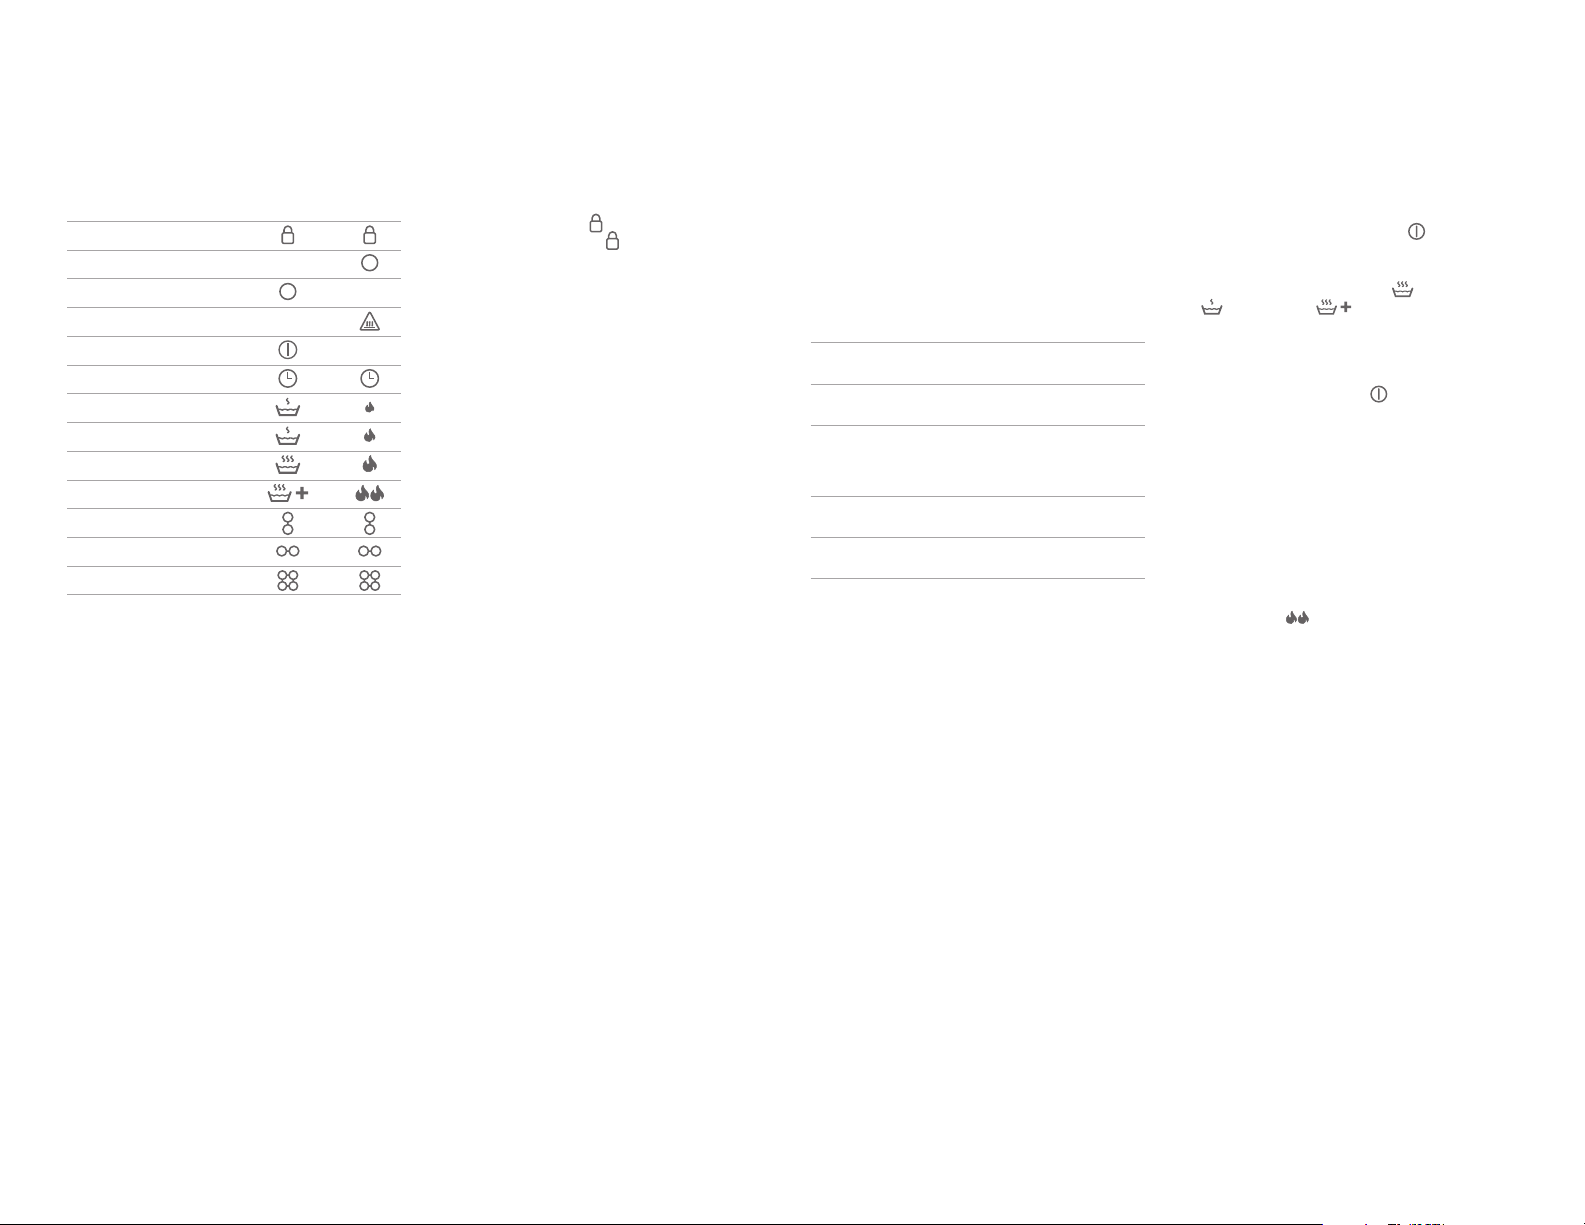
TIMER
The timer can be set in one-minute increments up to 99
minutes. Once a time is set, illuminates on the control
panel and the countdown is visible on the timer display. The
timer is independent from the cooktop.
Setting the Timer:
1Touch .
2Touch and hold + or – until the desired time is shown
in the timer display. The timer begins the countdown in
minutes.
3The timer chimes with one minute left and completes the
countdown in seconds.
4When complete, the timer chimes and continues to
chime until is touched.
HOT SURFACE INDICATOR
A hot-surface indicator will illuminate when the surface
temperature of any heating element rises above 65°C.
illuminates on the control panel and may remain illuminated
even when the cooktop is off.
ALL OFF
When one or more heating elements are on, illuminates
on the control panel. To turn off all elements at the same
time, touch .
COOKTOP OPERATION
Cooktop Operation
BRIDGE ELEMENT
Setting Controls:
1To activate bridge, select the desired power level on one
of the single elements.
2Touch between the corresponding element controls
to bridge the elements front to back, to bridge the
elements side to side, or to bridge all elements.
, , or illuminates respectively.
3To change the power level, adjust the power level on any
active bridged element.
4To turn off, touch on any active bridged element.
For 914 mm induction cooktops, should be used for
cookware larger than 305 mm in diameter. For smaller cook-
ware, use the right rear element.
GRIDDLE/TEPPAN-YAKI USE
The bridge element provides an oblong heating area for use
with a griddle/teppan-yaki, open roaster, or sh poacher.
To preheat a griddle/teppan-yaki, set the bridge element
power level to high for ve minutes, then reduce for cooking.
CAUTION
A griddle/teppan-yaki, open roaster, or sh poacher
should not be used when the bridge element is off or
with any other combination of heating elements.
Care Recommendations
CLEANING
Stainless steel Use a nonabrasive stainless steel cleaner and
apply with a soft lint-free cloth. To bring out the
natural luster, lightly wipe the surface with a
water-dampened microber cloth followed by a
dry polishing chamois. Always follow the grain of
stainless steel.
Control panel Use a spray degreaser to remove ngerprints
and food soil. Spray on a cloth before wiping the
control panel.
IMPORTANT NOTE: Do not spray cleaners
directly on the control panel.
Glass-ceramic
surface
Allow to cool. Use a spray degreaser to remove
ngerprints and a non-abrasive Ceran® cooktop
cleaner for food soil. Do not allow any item that
could melt to come in contact with the glass-
ceramic surface when hot. If this occurs, use the
razor blade scraper provided with the cooktop to
remove.