manuals.online logo
Brands
  1. Home
  2. •
  3. Brands
  4. •
  5. Woosh
  6. •
  7. Bicycle
  8. •
  9. Woosh Zephyr User manual

Woosh Zephyr User manual

Woosh Zephyr Manual
Introduction:
Congratulations on your purchase of a Woosh electric cycle.
The Woosh Zephyr folding electric bike has a high perform-
ance light-weight lithium battery, making it a sturdy yet very
light and portable bike, while also offering exceptional value.
To ensure that your bike provides you with the best experi-
ence possible, make sure you read and understand this
manual in its entirety before using the bike for the first time.
Sections:
. Unpacking
2. Preparing the Bike for Use
3. Controls and Indicators
4. Riding the Bike
5. Folding the Bike
6. Battery Care
7. Adjusting the Brakes
8. Warranty
9. Returns
0. Faulty Goods
. Spares
2. General Usage and Essential Regular Maintenance
1 – Unpacking
Keep the carton upright. Remove the shipping straps and cut
the tape seals. Keep the carton/bike in the upright position,
open the top and remove the saddle and the front wheel.
Now lift out the bike and place it on a sturdy surface.
Remove the charger, pedals and all remaining packaging
from the bike. Now rotate the handlebars up and into position
and lock into place as shown on the next page.
2– Preparing the bike for use
Rotate the handlebars up and into position and engage the
latch. Tighten as required if the latch is not tight enough.
Slide the locking collar up the stem and rotate to into position
as shown below.
2– Preparing the bike for use cont
To fit the saddle, release the clamp as shown and then slide
the saddle into position at the desired height and then close
the clamp to lock the saddle in place. It may be necessary to
tighten the thumb-screw side of the clamp to get a tight
enough fit when the clamp is closed. To do this, release the
clamp and tighten the thumb-screw a little and try again, re-
peat as necessary to ensure the clamp is tight enough.
2—Preparing the bike for use cont
To fit the front wheel, it’s easiest to do this with the bike up-
side down. Lower the wheel into position ensuring that the
braking surface sits between the pads and that the wheel is
fully seated within the forks. Tighten the thumb-screw as
necessary before closing the clamp to ensure a tight enough
fit.
If you are unable to slide the brake disc between the pads, it
may be necessary to loosen the cable slightly to allow the
disc to nestle correctly between the pads, re-tighten the ca-
ble. Once the wheel is fitted, ensure that the brakes are
working properly and adjust the tension of the cable if re-
quired.
The bike is now almost ready for use, you should now pump
up the tires to around 40-45psi and check the brakes to en-
sure they are working correctly and adjust if necessary.
The battery leaves the factory only partially charged, you
should top it up before using the bike. Ensure that the
charger is NOT switched on when plugging it into the
bike Attach the supplied charger as shown and then switch
it on. The light on the charger is initially RED, but will turn
GREEN when the battery is fully charged.
2—Preparing the bike for use cont
The pedals must be fitted to the correct side of the bike, they
are marked with L (left) or R (right) as shown below. Finger
tighten the pedals into position and then use the supplied
5mm spanner to tighten the pedals fully. You should now
tighten the crank nuts on either side of the bike as indicated.
It is extremely important that the crank nuts are tight-
ened before the bike is ridden
3—Controls and Indicators
The control module is located on the left side of the handle-
bars, this needs to be switched on using the RED button be-
fore any of the bikes electrical features will function.
Your bike has an integrated front light which is powered di-
rectly from the main battery. This can be turned on/off by
pressing the BLUE button on the control module as shown
below. This module also indicates the battery status and the
level of assistance being provided by the motor. The GREEN
button is used to vary the level of motor assistance.
The throttle control is located on the right side of the handle-
bars. The further the throttle is rotated/pulled, the more as-
sistance is provide by the motor. To enable the throttle to
function, you will need to press the RED switch indicated in
the picture below/left.
Light Battery
Assistance
On/Off
4—Riding the Bike
Before riding the bike, turn on the battery using the control
module as shown and enable the throttle control by pressing
the RED button as shown.
The first few times you ride the bike, it is sensible to pedal a
short distance before engaging the throttle control to ensure
you are balanced.
The throttle control is activated by rotating the handle to-
wards you as indicated on the previous page. The more the
throttle is pulled the greater the assistance from the motor.
The Zephyr also provides pedal-assist which basically does
what it says — when pedalling, it is made easier because the
motor assists you.
5—Folding the Bike
To fold the bike for storage purposes, lift the small black
locking latch as shown and then pull the silver clamp away
from the bike. Before folding the bike, position the pedals
horizontally and stow the kick-stand.
You should now be able to fold the front section of the bike
anti-clockwise and it should come to rest parallel/alongside
to the rear of the bike. The handlebars can also be folded if
needed.
6 – Battery Care
The Woosh Zephyr foldable electric bike comes with a mod-
ern light-weight high performance 36 volt Lithium battery.
Some care is needed to get the best possible performance
from the battery. Assuming the bike is in regular use, charge
the battery once or twice a week as needed. Do not allow the
battery to regularly run completely down, it will shorten the
lifespan of the unit.
Do not charge the battery in extremely cold conditions. Re-
member to allow the battery to warm up to room temperature
before charging.
If the battery is not in regular use, try to keep the battery
charged and keep the bike in a cool dry location. To keep the
battery in the best condition while stored, top up the battery
by charging it every month. This will slow the ageing process
of the battery. All rechargeable batteries age, but the above
steps will help the battery to last for as long as possible.
When the bike is to be put back into service, charge the bat-
tery fully to prepare it for regular use once again.
Do not attempt to access or open the outer casing of the bat-
tery.
Do not attempt to repair the battery.
Keep the battery away from children.
Do not immerse the battery in water.
Ensure the battery is not exposed to temperatures above 55
degrees Celsius or extreme humidity.
Do not use the bike in an environment where temperatures
are less than –20 or greater than +55 degrees Celsius.
Do not drop, pierce or otherwise damage the battery.
Caution:
Your Zephyr electric bike is not a motor bike. The electrics
are designed to assist you with light use on short journeys
and will not cope with extremes. Riding up slopes may re-
quire you to pedal lightly depending on your weight. Use the
throttle on full power sparingly— not all the time. If you are
too heavy you may find riding up a gentle slope slow and the
motor may stop before you reach the top of the slope. You
should then be prepared to dismount and push the bike us-
ing the throttle lightly to help you or switch off and ride with
no power.
7—Adjusting the Brakes
The Woosh Zephyr comes equipped with disc brakes at both
the front and rear.
See the support section of our website at
www.wooshbikes.co.uk for guides on how to adjust your
brakes.
If you are unsure about any of the adjustments that you may
need to make to your electric bike, take your electric bike
along to your local bike shop where they should be able to
assist you.
8—The Woosh Electric Bike Warranty
All Woosh electric bikes come with a standard one year war-
ranty. This warranty covers all items on the bike except for
those parts which are considered to be consumables.
The mechanical and electrical parts covered by our warranty
include the following: forks, frame, seat, battery, charger,
motor and controller.
Parts that are not covered and are considered to be consum-
ables includes tyres, brake pads, inner tubes, cables and
chain. These parts are not any different from those you
would find on a regular bike and can usually be purchased
from most bike shops.
The warranty is only valid where proper care of the bike has
been taken and where the bike has been used in a suitable
manner. Any modifications made to the bike will invalidate
the warranty.
9—Returns (UK Mainland)
Should you not be satisfied with your electric bike, we would
be happy to refund the purchase price or exchange the bike
provided it is in the same condition as when it shipped to
you. Any return would need to be made within 4 days of
receipt of the bike and it would need to be returned in the
original undamaged carton/packaging and be packed in the
same manner as when it arrived. If the bike is returned in-
complete or damaged, we may refuse a refund and/or deduct
an amount from the refund to cover any losses incurred.
The cost of returning the goods is payable by you. Any re-
fund offered will only cover the cost of the goods, and not the
cost of returning the bike. You assume responsibility for the
cost and the risk of returning the bike, and therefore it is
strongly recommended that you use a courier that offers a
suitable level of insurance. We can arrange collection by our
couriers but the cost of this will be passed on to you.
10—Faulty Goods
If your bike has a fault, you must notify us within 4 days of
receipt of the bike. We will either send out a replacement
part, or if necessary arrange to collect, repair and return the
bike. This service is provided free of charge.
If you discover a fault after 4 days, but still within the st
year of ownership, you would need to arrange to return the
bike to us for repair at your own risk/cost. The bike would
need to be packed properly and suitably insured. Bikes re-
paired by Woosh Bikes Ltd. within the warranty period will be
shipped back to you at no extra cost. In some instances it is
preferable to ship a replacement part which you can either fit
yourself or have your local bike shop fit for you. In some in-
stances, we may issue a refund instead of repairing or re-
placing the bike.
Faults that occur as a result of misuse will incur repair and
redelivery costs of which you will be advised before any work
is carried out.
11—Spares
We keep in stock the parts necessary to maintain your elec-
tric bike, if you need any spares such as extra batteries, mo-
tor or controller, just call to order and they will usually be
shipped out same day. Most other consumable parts such as
brake pads, tyres etc. can be purchased at your local bike
shop.
12—General Usage and Essential Regular Maintenance
The rider must be aged 4 or over.
Do not bump up/down kerbs, this will damage/buckle the
wheels.
Avoid rough terrain and uneven surfaces. The Zephyr elec-
tric bike is not suitable for off-road use.
The weight of the rider should not exceed 90kg.
Use care when attaching the charger, excessive force when
attaching or detaching the charger may damage the socket.
As with all bikes, you must regularly check and tighten as
necessary ALL fixings on the bike. If the fixings are not regu-
larly checked, this could result in damage to the bike and
also prove potentially dangerous to the rider.
The tyre pressures must be checked regularly, if the cor-
rect pressures are not observed it will have an impact on the
performance and will also cause the bike to be subjected to
more stress than normal which will have impact on the life of
the bike and it’s components.
© 2012 Woosh Bikes Limited

Other manuals for Zephyr

1

Other Woosh Bicycle manuals

Woosh Zephyr 2017 User manual

Woosh

Woosh Zephyr 2017 User manual

Woosh Aspen X User manual

Woosh

Woosh Aspen X User manual

Woosh Aspen X User manual

Woosh

Woosh Aspen X User manual

Woosh Sirocco Big Bear User manual

Woosh

Woosh Sirocco Big Bear User manual

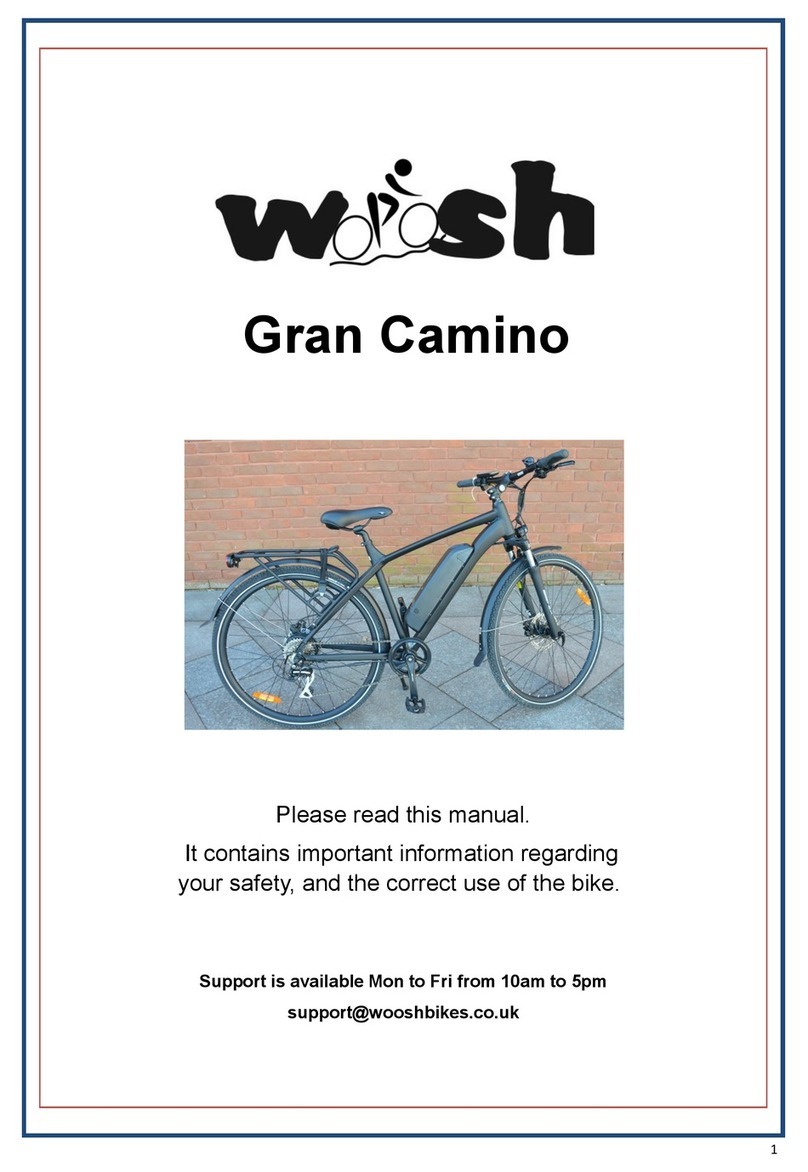
Woosh Gran Camino User manual

Woosh

Woosh Gran Camino User manual

Woosh Faro User manual

Woosh

Woosh Faro User manual

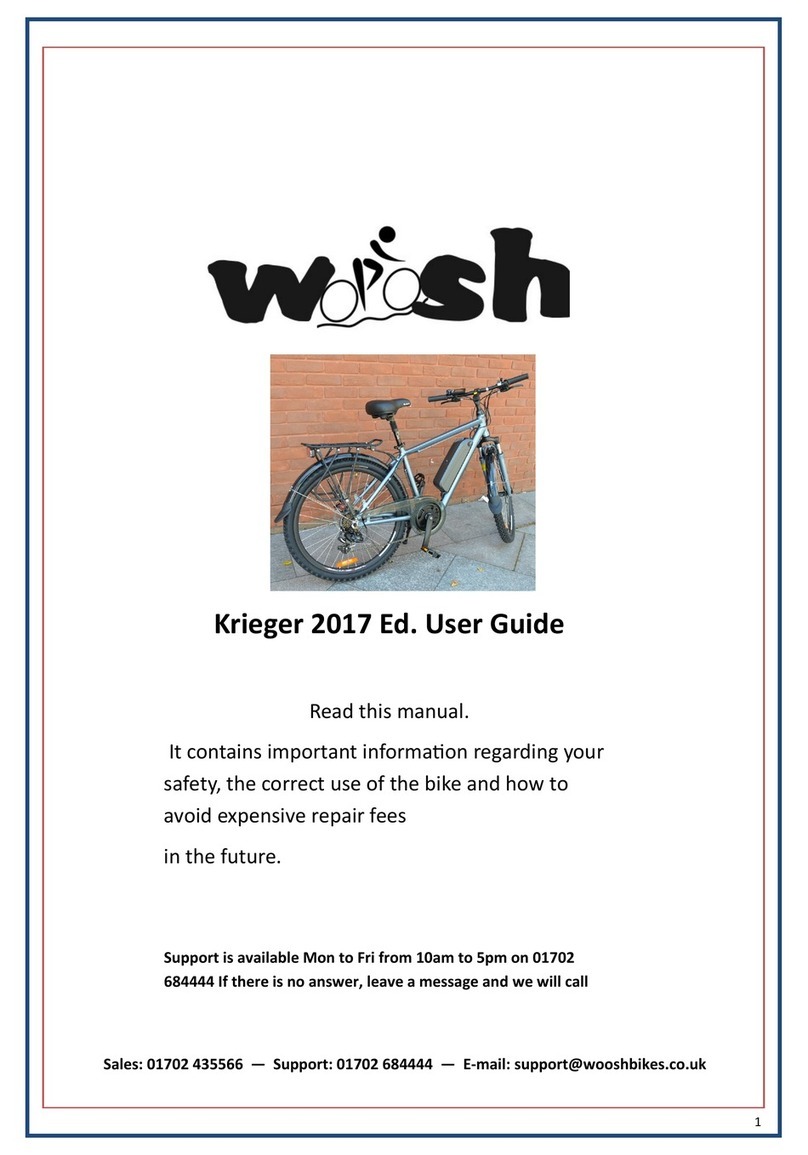
Woosh Krieger 2017 User manual

Woosh

Woosh Krieger 2017 User manual

Woosh Sirocco Sport User manual

Woosh

Woosh Sirocco Sport User manual

Woosh Sirocco 2 User manual

Woosh

Woosh Sirocco 2 User manual

Woosh Krieger User manual

Woosh

Woosh Krieger User manual

Woosh Big Bear User manual

Woosh

Woosh Big Bear User manual

Woosh Gallego User manual

Woosh

Woosh Gallego User manual

Woosh Sundowner User manual

Woosh

Woosh Sundowner User manual

Woosh Rio FB User manual

Woosh

Woosh Rio FB User manual

Woosh Zephyr User manual

Woosh

Woosh Zephyr User manual

Woosh Big Bear Assembly instructions

Woosh

Woosh Big Bear Assembly instructions

Popular Bicycle manuals by other brands

Made Bloomsbury 7 Speed City Bike Series manual

Made

Made Bloomsbury 7 Speed City Bike Series manual

CYBEX gold ZERO manual

CYBEX gold

CYBEX gold ZERO manual

SENADA MAYOR owner's manual

SENADA

SENADA MAYOR owner's manual

BIG rider manual

BIG

BIG rider manual

Rose electronics 2260601 user manual

Rose electronics

Rose electronics 2260601 user manual

Prodeco Technologies Phantom X2 2013 user guide

Prodeco Technologies

Prodeco Technologies Phantom X2 2013 user guide

MBM KAIROS PLUS user manual

MBM

MBM KAIROS PLUS user manual

YT Industries Jeffsy Primus manual

YT Industries

YT Industries Jeffsy Primus manual

Chipolino Sprinter instruction manual

Chipolino

Chipolino Sprinter instruction manual

Giant AVAIL ADVANCED 0 datasheet

Giant

Giant AVAIL ADVANCED 0 datasheet

Klever Y Gala 45 user manual

Klever

Klever Y Gala 45 user manual

Monster Moto MM-E250 owner's manual

Monster Moto

Monster Moto MM-E250 owner's manual

urban drivestyle UNI Maxi manual

urban drivestyle

urban drivestyle UNI Maxi manual

Daymak Voyager user guide

Daymak

Daymak Voyager user guide

Giant REIGN 0 datasheet

Giant

Giant REIGN 0 datasheet

Orbea BLUE PAPER AVANT H DISC 2021 Technical manual

Orbea

Orbea BLUE PAPER AVANT H DISC 2021 Technical manual

Infinity Boss.three Assembly manual

Infinity

Infinity Boss.three Assembly manual

Blaupunkt FIETE 500 user guide

Blaupunkt

Blaupunkt FIETE 500 user guide

manuals.online logo
manuals.online logoBrands
  • About & Mission
  • Contact us
  • Privacy Policy
  • Terms and Conditions

Copyright 2025 Manuals.Online. All Rights Reserved.