manuals.online logo
Brands
  1. Home
  2. •
  3. Brands
  4. •
  5. Woosh
  6. •
  7. Bicycle
  8. •
  9. Woosh Aspen X User manual

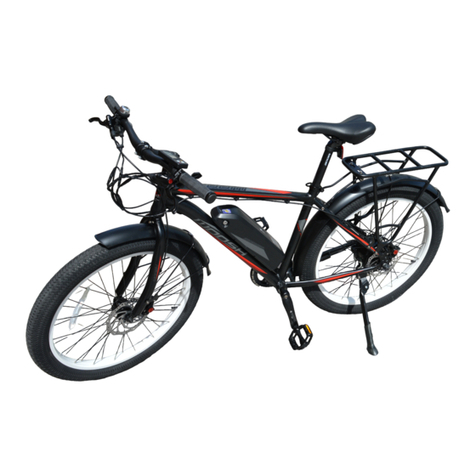
Woosh Aspen X User manual

Other manuals for Aspen X

1

Other Woosh Bicycle manuals

Woosh Zephyr 2017 User manual

Woosh

Woosh Zephyr 2017 User manual

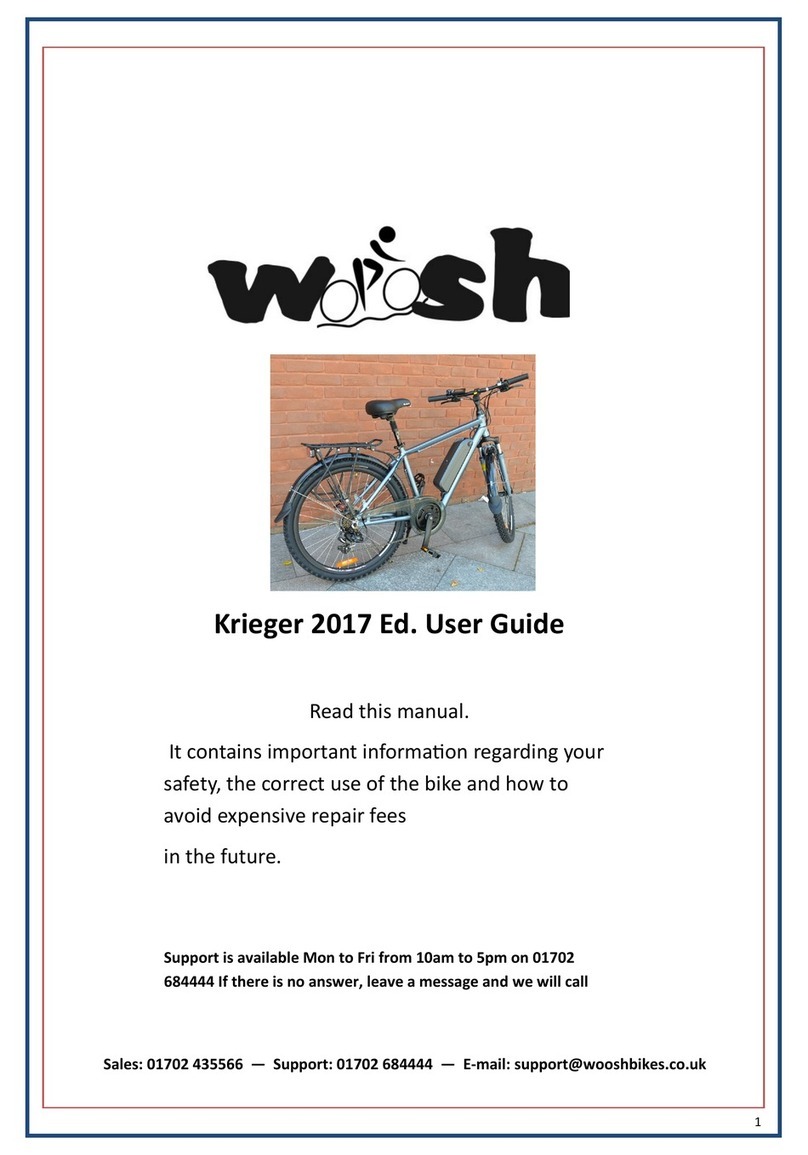
Woosh Krieger 2017 User manual

Woosh

Woosh Krieger 2017 User manual

Woosh Rio FB User manual

Woosh

Woosh Rio FB User manual

Woosh Gallego User manual

Woosh

Woosh Gallego User manual

Woosh Big Bear Assembly instructions

Woosh

Woosh Big Bear Assembly instructions

Woosh Sundowner User manual

Woosh

Woosh Sundowner User manual

Woosh Zephyr User manual

Woosh

Woosh Zephyr User manual

Woosh Aspen X User manual

Woosh

Woosh Aspen X User manual

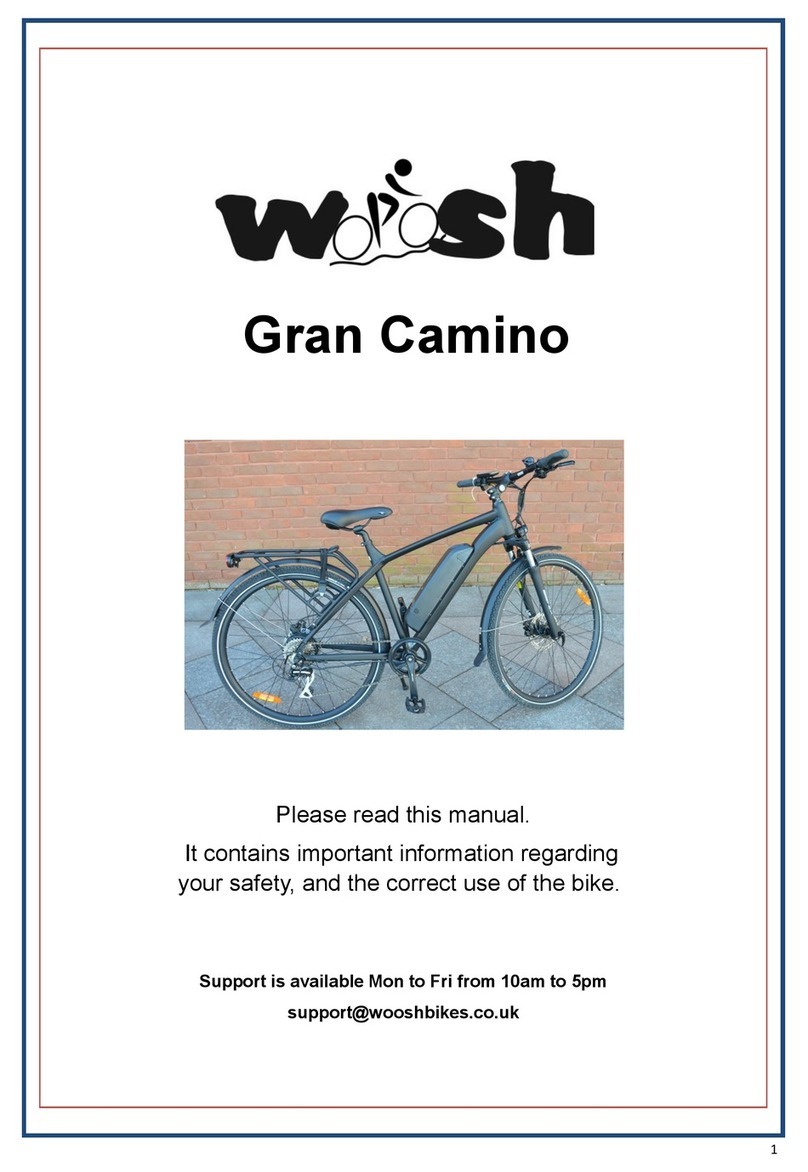
Woosh Gran Camino User manual

Woosh

Woosh Gran Camino User manual

Woosh Sirocco Big Bear User manual

Woosh

Woosh Sirocco Big Bear User manual

Woosh Zephyr User manual

Woosh

Woosh Zephyr User manual

Woosh Krieger User manual

Woosh

Woosh Krieger User manual

Woosh Sirocco Sport User manual

Woosh

Woosh Sirocco Sport User manual

Woosh Big Bear User manual

Woosh

Woosh Big Bear User manual

Woosh Sirocco 2 User manual

Woosh

Woosh Sirocco 2 User manual

Woosh Faro User manual

Woosh

Woosh Faro User manual

Popular Bicycle manuals by other brands

Grace ONE manual

Grace

Grace ONE manual

Razor FLASHRIDER 360 user manual

Razor

Razor FLASHRIDER 360 user manual

TAUBIK SOHO 2.0 user manual

TAUBIK

TAUBIK SOHO 2.0 user manual

Oxybul FREEbul 331067 manual

Oxybul

Oxybul FREEbul 331067 manual

Cycle Force Group BICYCLE BABY TRAILER & JOGGER Assembly instructions

Cycle Force Group

Cycle Force Group BICYCLE BABY TRAILER & JOGGER Assembly instructions

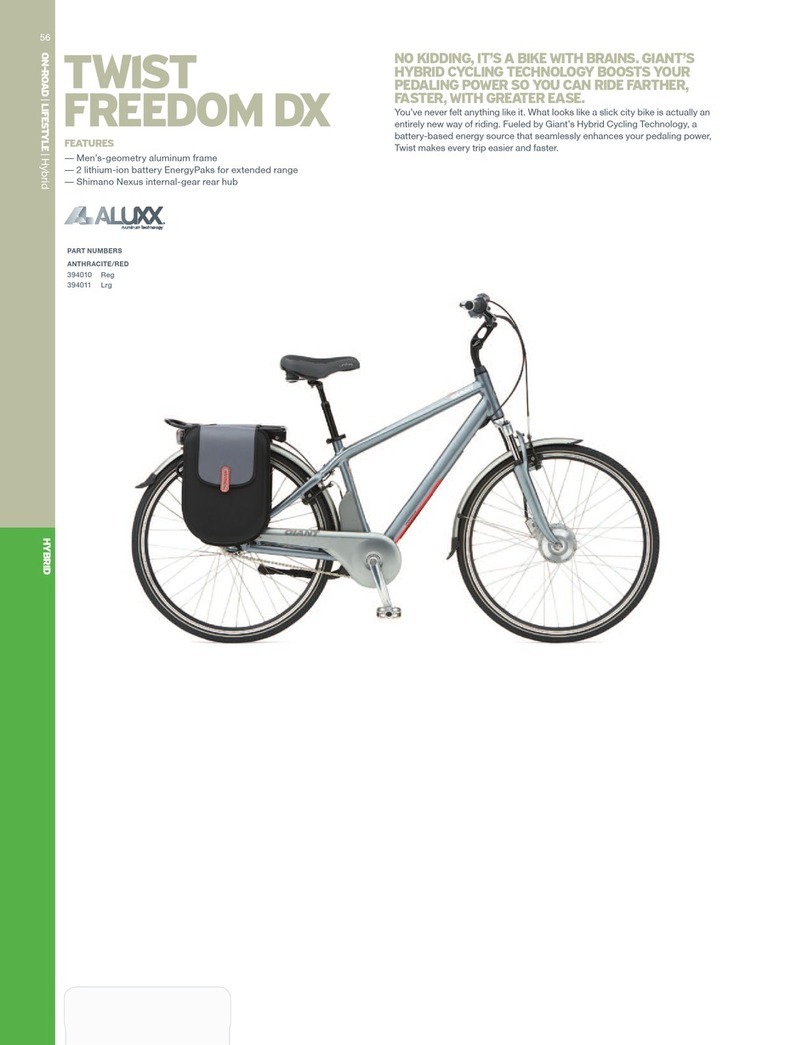
Giant TWIST FREEDOM DX datasheet

Giant

Giant TWIST FREEDOM DX datasheet

RAMBO R1000X2M-FF-BFD manual

RAMBO

RAMBO R1000X2M-FF-BFD manual

Vermeiren SAFARI Maintenance manual

Vermeiren

Vermeiren SAFARI Maintenance manual

Velec A2/36V owner's manual

Velec

Velec A2/36V owner's manual

Cervélo S3 2019 Assembly manual

Cervélo

Cervélo S3 2019 Assembly manual

Festo EGSC-BS-KF Instructions & Operating

Festo

Festo EGSC-BS-KF Instructions & Operating

Gio Electric H1 Volt owner's manual

Gio Electric

Gio Electric H1 Volt owner's manual

Huka orthros manual

Huka

Huka orthros manual

DAHON CIAO - 2009 manual

DAHON

DAHON CIAO - 2009 manual

Aprimatic ONDA 500 Installation, use and maintenance instructions

Aprimatic

Aprimatic ONDA 500 Installation, use and maintenance instructions

Greyp G6 Series user manual

Greyp

Greyp G6 Series user manual

Babboe Carve-E user manual

Babboe

Babboe Carve-E user manual

Xtracycle Stoker 2021 Assembly manual

Xtracycle

Xtracycle Stoker 2021 Assembly manual

manuals.online logo
manuals.online logoBrands
  • About & Mission
  • Contact us
  • Privacy Policy
  • Terms and Conditions

Copyright 2025 Manuals.Online. All Rights Reserved.

© 2012 Woosh Bikes Limited
Aspen X Assembly Manual
Warning:
Two people are required when lifting/moving the carton.
Introdu tion:
Congratulations on your purchase of a Woosh electric cycle.
Your Woosh electric cycle comes mostly assembled, but ob-
viously to enable the cycle to be flat-pac ed, some parts of
the cycle require a small amount of assembly to be com-
pleted before use. This manual assumes you are reasonably
competent with and have your own tool it.
Dis laimer:
You are responsible for the correct assembly and ongoing
maintenance of your cycle. Woosh Bi es Ltd. accepts no
responsibility for any incidents that may arise as a result of
bi es which have been poorly assembled/maintained by the
end user. All steps in this boo let must be completed to en-
sure trouble-free and safe operation.
Maintenan e: IMPORTANT
An ele tri bike has far more omponents than a
standard bike, and the rear wheel weighs 5 times more
than a standard bike wheel due to the weight exerted by
the battery and motor. Regular maintenan e at least
on e every two weeks and on e a week if you are a om-
muter or high mileage rider is therefore essential and
should be done thoroughly. ALL fixings, spo es, handle-
bars, saddle and pedals must be chec ed and correctly tight-
ened. Failure to do so could cause a cycle malfunction and
result in safety issues for which Woosh Bi es Ltd. will not be
held responsible. Failure to carry out this maintenance will
also void the warranty.
Essential extra steps that must be taken before riding
the bike for the first time (and also regularly thereafter):
All items on the bi e should be double chec ed to ensure
that all parts are correctly fitted and that all the nuts and bolts
are as tight as they should be. This step should be repeated
after one wee of use, and then at regular intervals and
every one to two wee s thereafter.
The tyres need to chec ed/pumped up. The pressure range
is between 40 to 65 psi depending on the weight of the user.
It is essential that the tyres are regularly chec ed - again,
every one to two wee s—to ensure that the pressures are
correct. Failure to do so will shorten the life of your bi e and
will cause additional stress to the components of the bi e.
Due to the heavy weight exerted on the rear wheel of the
bike by the battery and the motor (5 times more than on
a standard bike wheel), both wheels and all spokes
must be he ked before initial riding and regularly
thereafter . We re ommend every 2 weeks and weekly if
you are a ommuter or high mileage rider. If any spokes
are slightly loose it is essential to tighten them and true
the wheel before riding your bike.
Failure to observe this step could result in complete failure of
the rear wheel and thus possible danger to the rider. The tool
for truing/tightening the spo es can be purchased from most
bi e shops for approx. £3 or from us (please add £1 car-
riage). For details on how to true your wheels, see the sup-
port section of our website at www.wooshbi es.co.u
Alternatively, your local bi e shop will be able to do this for
you for a small charge (not refundable by us).
The bra es need to be chec ed to ensure they are operating
correctly, and if necessary adjusted to ensure optimum
performance.
If you are unsure about how to carry out any of these steps
you should contact your local bi e shop. Their fees will be
payable by you and will not be refunded by us.
Step 1 – Opening the arton.
Keep the carton upright, remove the shipping straps and cut
the tape seals. Remove the wheel from the carton, being
careful not scratch the bi e as you do this. Now lift the bi e
out of the carton and lean it against a sturdy surface/wall. Do
not destroy the carton as it will be required if the bi e needs
to be returned for any reason in the future.
Step 2 – Unpa king
Cut the cable ties and detach the pedals, handlebars and
charger etc. from the bi e, and then remove the remaining
pac aging materials.
Once the pac aging has been removed, undo the bolts that
hold the handle-bar clamp in place and remove the clamp.
Line up the handle-bars and then replace the clamp to se-
cure the handle-bars in place. There is a ribbed section on
the handle-bars, this should sit centrally within the brac et.

Step 3 – Front Wheel
Lift the front of the bi e slightly and remove the protective
plastic from the front for s. Place front of bi e gently bac
down.
Fetch the front wheel and loosen off the fixings on either side
if necessary to allow the wheel to be fitted. You may wish to
turn the bi e upside down to fit the wheel, but if you aren’t
able to, follow the steps below.
Lift the front of the bi e holding the bi e frame and then care-
fully lower the bi e onto the wheel ensuring that the wheel is
seated in the correct position.
Finger tighten the nuts/clamp on either side of the wheel so
that when the clamp is engaged, the wheel is fully secured
You can now use the ‘bi e stand’ to eep the bi e upright.
Charging the battery:
To recharge the battery, lift the handle on the battery at the
rear of the bi e, attach the charger to the soc et on the right
side of the battery as shown below. Plug the other end into
the mains. The battery does not have to be removed from
the bi e to be charged, but it can be removed and charged in
another location if you prefer.
There is a small indicator on the charger which glows red
while charging and changes to green when charging is com-
plete.
Before attempting to ride the bi e, please be sure to com-
pletely read and understand the user-manual which was in-
cluded with your bi e.
Step 7 – Front Mudguard
Remove the pac aging from the mudguard if you haven’t
already done so.
Remove the nut from the bolt just behind the front bra e as-
sembly, this also secures the light, so be careful not to let the
light fall. Offer up the mudguard tag to the rear side of the
frame and then finger tighten the nut bac into position.
Secure the silver arms to the front for s using the bolts pro-
vided, and then adjust the height if required and then tighten
the nut securing the tag. It may be necessary to angle the
silver arms to get the best clearance from the tyre, as shown
below.
Step 4 – Front Brakes
Fit the curved metal section into the receptacle on the left of
the bra e assembly. You may need to loosen the cable
clamp on the right side of the bra e assembly to do this.
Re-tighten the bra e cable clamp ensuring the correct ten-
sion and the correct position of the bra e-pads with relation
to the wheel rim. You may need to adjust the position of the
bra e pads, use the supplied Allen ey to do this. For a guide
on adjusting your bra es, see the support section of our web-
site at www.wooshbi es.co.u
Now is a good time to release the front suspension which is
loc ed for transit purposes, this is done by twisting the cap
above the right for . Failure to observe this step will result in
an uncomfortable ride and excessive rattling of the bi e.
Step 5 – Saddle
The saddle is already fitted, but to adjust the height of the
saddle, open the clamp and position the saddle at the de-
sired height and then close the clamp to loc the saddle into
position. It may be necessary to tighten the thumb screw a
little to ensure that when the clamp is closed the saddle is
properly secured.
Step 6 - Pedals
The pedals are designed to fit on a specific side of the bi e,
do NOT attempt to fit the pedals without first chec ing which
side of the bi e the pedal is meant for. To identify which
pedal goes on which side. The ‘R’ and ‘L’ indicates which
side of the bi e the pedal should be fitted to.
Fit each pedal into position and hand tighten. Once each
pedal has been tightened nearly all the way in by hand, use
the 15mm spanner to fully secure the pedals in place.
Note: turn the left pedal counter-cloc wise to tighten.