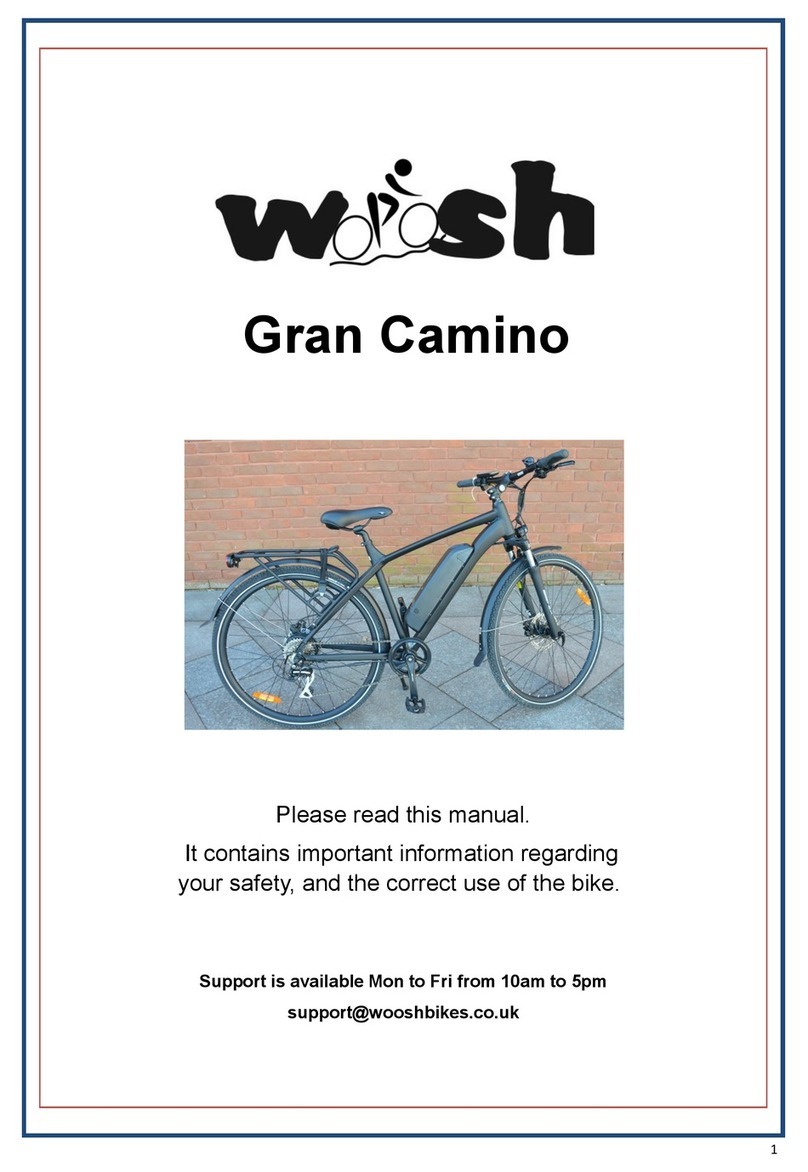
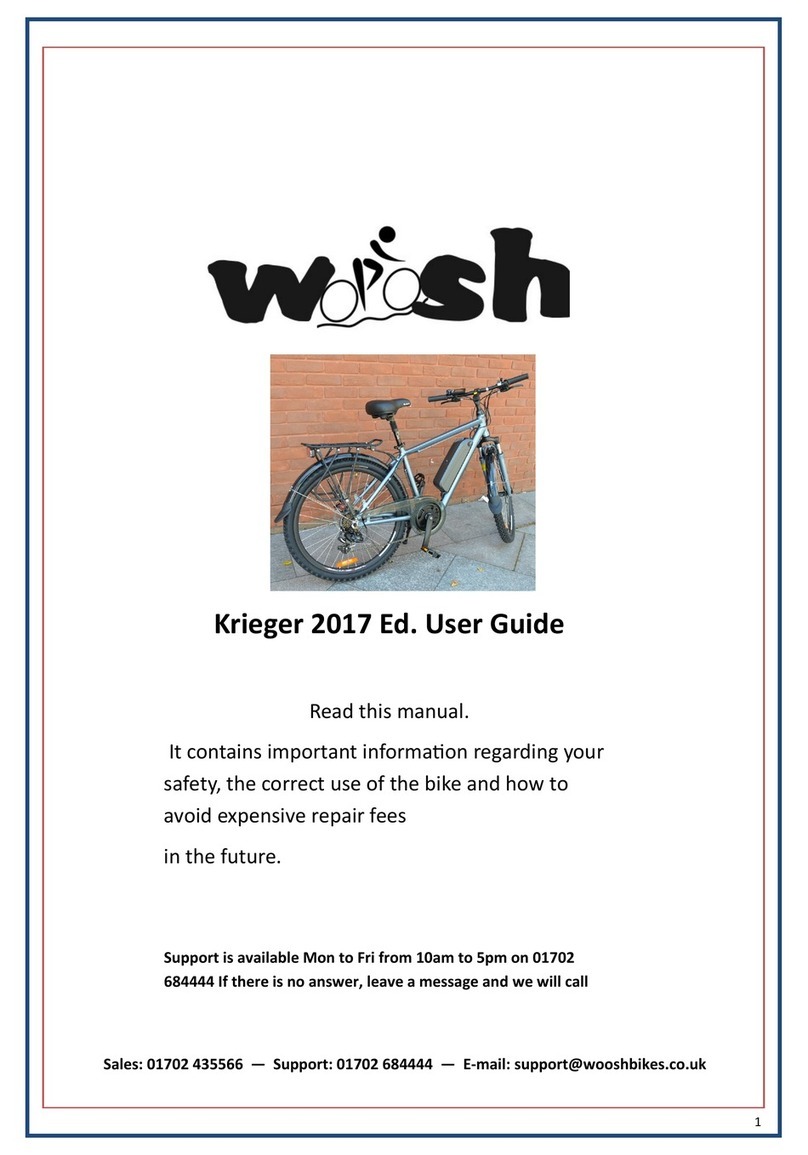
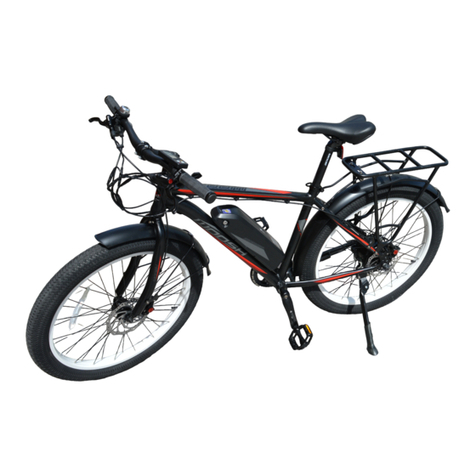
Woosh Sirocco Big Bear User manual

1
Sales: 01702 435566 — Support: 01702 684444 — E-mail: support@wooshbikes co uk
Sirocco Big Bear Manual
It is imperative that you read this manual be-
fore attempting to use your electric bike for
the first time. It contains important information
regarding your safety, the correct use of the
bike, essential maintenance and battery care.

2
Thank you for buying a Woosh Sirocco Big Bear electric bike
Our bikes are named mainly after either winds or mountains
The Sirocco Big Bear is a mountain in New England, US - just so you know!
Please read this manual completely before putting your bike
together and riding it As well as instructions on assembly and maintenance it also contains es-
sential information that may affect your consumer rights
The Woosh Ethos
Our aim is to supply decent quality electric bikes but at very affordable prices.
This inevitably means importing from China, selling direct rather than through dealers and working on
much lower profit margins than many of our competitors. It also means working hard with our suppliers to
constantly improve quality and ensure that each bike is checked before leaving us - not something all
mail order electric bike companies do.
There is however only so much we can offer within our price range.
e would for example like our bikes finished to German standards, with every nut and bolt fully tightened,
immaculate paintwork and superb quality plastic on things like handlebars and battery cases. But this alas
would also push the prices up to those of German bikes - starting at £1800 - which clearly we don’t
wish to do.
That said, we are always happy with sensible comments for future improvements, so please do email me
with feedback, good or bad.
I look forward to hearing from you.
Hatti Lee
hatti@wooshbikes.co.uk

3
Expectations: please read this before riding
Pedalling: E-bikes are designed to be primarily pedalled, with use of the throttle occasionally i.e. to rest
for a short period. Using the throttle constantly will run the battery down far more quickly.
Speed: Our bikes are designed for sensible use in accordance with UK law. The motor will power you up
to 15.5 mph and no faster, though you can still pedal harder to achieve greater speeds.
Models: Some of our bikes are more suited for recreational use rather than commuting. If you need a
bike for commuting, check with us to see which models would be suitable.
Care: Electric bikes need more regular maintenance than standard bikes. Spokes and other mechanical
fixings need tightening every 2 to 3 weeks and tyres need regular pumping. e also advise trying to ride
your bike as often as possible.
Not riding your bike for several months may cause the motor to seize up and if you do not use the bike
for several weeks and forget to charge the battery during this time you could cause damage to it.
Identical bikes: No two bikes are identical, even if they are the same model and purchased at the same
time. One may be a little quicker or one motor may be quieter than another. This is normal. Please
make allowances.
Hill climbing: If you are heavy, have steep hills or both, you may have difficulty getting uphill, and in ex-
treme cases the bike may not get you up at all. The motor is limited by law to 250 watts and there is only
so much it can propel up an incline. If you weight over 17 stone and have a steep hill you will have to
pedal very hard and may have to get off and push the bike for part of the incline.
Distance and performance The distance you can cover on a single charge will vary significantly from
person to person and bike to bike. It is affected by weight, how much effort is put in, hills, headwinds, city
traffic etc with constant starts and stops at traffic lights. The bike may cut out on steep hills and the bat-
tery will cut out when exposed to extreme cold.
Paint quality: please see overleaf
Costs: we ask you to contribute towards costs when returning the bike or a part for repair and additional
costs apply if you take your bike abroad (see later).
If you are not happy with any of the above, please do not ride your bike Call us to arrange return
and a refund

4
Returning a bike — please read before riding
If you have purchased at a store, or have tried a bike at a store and then had one sent to you, you are not
a mail order customer. e will only refund you for the bike if it has a serious fault within the first 28 days.
e will not refund you if you simply change your mind after a few days.
Mail order purchasers: A bike will be refunded if returned within 14 days if unsuitable or 28 days if faulty.
The bike MUST be packed in an identical way to that in which it arrived to avoid damage during return
transit. e will email or post you instructions on how to do this as it is not straight forward. After 28 days,
if faulty the bike will not be refunded but repaired and returned back to you.
Sending your bike back: you can send your bike back by using your own courier or you can call us and we
will collect it.
Costs: returning a bike for a refund
Return by you of a bike unridden within 14 days: refund less £30
Collection by us of a bike unridden within 14 days: refund less £45
Return of a bike unsuitable and ridden within 14 days: refund less £130
Collection of a bike unsuitable and ridden within 14 days: refund less £145
Return of a bike faulty within 28 days ridden or not: full refund*
Costs: returning a bike or part for servicing
Return of a bike or battery under warranty: no charge
Collection of a bike/ battery under warranty first 28 days: no charge
Collection of bike or battery under warranty months 2—11: £15
Collection fee, labour parts and return free of charge
Return of a bike or battery outside warranty: parts at cost, labour £30 per hour
Collection by us of a bike for servicing outside warranty: £45 collection and return fee, parts at cost, la-
bour £30 per hour
Collection by us of a battery for servicing outside warranty : £30 collection and return fee, parts at cost,
labour £30 per hour.
*Costs will be deducted from a refund for damage in return transit caused by poor or inadequate
packaging and missing items such as keys
Paint quality:
An electric bike has around 120 more parts than a standard bike and these are added after the bike has
been assembled and the frame sprayed.
It is inevitable that however well trained, factory workers have a difficult job trying to avoid scratching the
paint under these circumstances. You may see minor scratches and pin hole dents. If you are not happy
we suggest you pack the bike up and return it for a refund as we will not able to provide a perfect paint
finish. Otherwise please call us and we shall arrange to send some touch up paint if available.

5
The Woosh Electric Bike 12 month Warranty
This warranty covers:
Manufacturing defects causing electrical failure within the first year
Manufacturing defects causing major mechanical failure (frame and handlebars) within the first year
Manufacturing defects causing minor mechanical failure (pedals, spokes etc.) within the first 28 days.
Damage and cosmetic damage (deep gouges, chips, dents and scratches) caused through poor transit to
you.
This warranty does not cover:
Accidental damage caused through collision with an object or person or a s a result of dropping the bike or
the bike falling over.
Negligence: damage caused as a result of failure to carry out initial and regular safety checks, or failure to
maintain the bike or its parts in accordance with the manual, the recommended rider weight being ex-
ceeded, or allowing weights heavier than 5Kgs being placed on the rear rack, of allowing people to ride on
the rear rack, excessive or constant use of the throttle, riding under the influence of drink or drugs, riding
in dusty/sandy environments,
riding on very poorly maintained roads, off road, through deep puddles or fords, in snow, or with a trailer,
riding carelessly or stunt riding.
Consumable parts after the first 28 days: these include tyres, inner tubes, batteries for lights if applicable,
brake pads, bottom brackets, cranks, spokes and pedals.
Minor faults on arrival: loose fixings (nuts, bolts, screws,), loose spokes, loose cables deemed resolvable
with minimal intervention,
Minor cosmetic damage - hairline scratches or barely visible chips, marks or dents.
The warranty period applies to riding within the UK only, is strictly for 12 months and cannot be extended
under any circumstances, even if you have ridden the bike very little.
This warranty expressly excludes consequential loss, injury or hardship as a result of electrical or
mechanical breakdown, accident or collision or as the result of a faulty part Our liability is limited
strictly to repair or replacement of the bike or of the part
This warranty is transferable to a second hand purchaser but our Ts and Cs will apply and their weight
should not exceed the limits for the bike.


6
Warning:
Electric bikes are heavy and two people are required when lifting/moving the carton. oosh Bikes Ltd will
not be liable for personal injury caused through mishandling.
Your oosh electric cycle will come mostly assembled, but to make shipping easier, some parts of the
cycle may require a small amount of assembly to be completed before use. This manual assumes you are
reasonably competent with and have your own toolkit (though a very basic one is supplied).
Disclaimer:
You are responsible for the correct assembly and on-going maintenance of your cycle. oosh Bikes Ltd.
accepts no responsibility for any incidents that may arise as a result of bikes which have been poorly as-
sembled/maintained by the end user. All steps in this booklet must be completed to ensure trouble-free
and safe operation.
IMPORTANT MAINTENANCE:
You must check your bike regularly and ensure all fixings are correctly tightened and have not worked
loose. This is critical as failure to maintain
This includes checking and tightening spokes, saddle, wheel nuts, handlebars, cranks and pedals.
You should also regularly check brakes and brake pads
Please read the relevant sections later in this manual.
Failure to carry out essential maintenance on a regular basis could cause a cycle malfunction and result
in safety issues for which oosh Bikes Ltd. will not be held responsible.

7
Transit damage
If your bike appears to have suffered damage during transit to you—for example a chain or mudguard are
broken, a wheel is damaged or there are very deep dents or scratches to the paintwork, please call us
within one working day of receiving the bike. Failure to do so may prevent us from claiming compensation
form our insurers and thus from making good to you.
Wheel useage:
e occasionally short-road-test a bike (300—400 metres) before packing. If your tyres show useage it is
because of this. Please be assured that we never sell second hand bikes as new.
Using your Woosh electric bike abroad
Please note that whilst you are allowed to use your throttle in the UK, its use is illegal in Europe. e highly
recommend that you use the red switch to deactivate it when riding abroad.
Breakdowns abroad: for obvious reasons, we are only able to cover the costs of servicing within the UK.
Recovery of a bike within the UK, repairing it and returning it back costs us £45, some of which is borne
by customers sometimes and some by us sometimes. See the previous page for details. If your bike
breaks down abroad within the first 28 days of purchase and you wish us to retrieve it, repair it and return
it, we will cover the first £45 of our costs but no more. If you wish us to send parts to a local electric bike
shop or to you we will cover the first £45 of labour charges and the cost of sending the parts but no more.
If your bike has been purchased more than 28 days previously we will cover the first £15 and no more.
Fewer than 2% of our bikes are
actually returned for servicing under warranty so a breakdown is unlikely but you should be aware of this.
Insurance and break down cover:
hether from us or any other supplier, electric bikes get stolen and break down. If you are going to be
very highly dependant upon your bike because you are a commuter or have a health problem which would
prevent you from riding the bike without power, we warmly recommend you take out roadside rescue. This
is available from Cycleguard from £18 per year, and they also offer insurance.
Visit their website: www.cycleguard.co.uk or call them on 0844 826 2297

8
Important Safety Notice — please read
Your bike has had a full electrical check before despatch
It has also had a general mechanical check but this is by no means a full PDI (pre delivery inspec-
tion) which is required to get the bike ready for the road and safe to ride
You should therefore be prepared to do this yourself or if you are not sufficiently experienced ask
a local bike shop to do this for you for a fee (usually around £35) The aim of the PDI is to ensure
safety, and should include:
• Checking that the brakes are correctly installed, set correctly and work properly
• All nuts, bolts, major fixings, spokes and cranks etc are correctly tightened
• Both wheels are trued and spokes checked
Pedals, saddle and handlebars are correctly fitted and properly secured
These checks should be repeated after the first month and regularly thereafter to ensure your
safety
Please note that failure to carry out these checks properly could result in serious injury for which
Woosh Bikes Ltd will not be held liable
If you have any doubts about your own ability to do them, we strongly recommend you visit your
local bike shop and pay their fee If you are unable to take your bike to a local bike shop there will
almost certainly be a mobile bike technician in your area who will come to your home or office
and do this for you
Visit www cycletechuk com for a full national listing

9
Unpacking:
Two people are required to unpack the bike.
Stand the carton upright as shown.
Remove the shipping straps, cut the tape seals and then remove all of the polystyrene packaging.
Keep the carton/bike in the upright position, and then lift the bike out of the carton and then lean it against
a sturdy surface. DO NOT destroy the carton as it will be required if the bike needs to be returned for any
reason in the future.
Once you have the bike out of the box, detach the wheel and remove all of the remaining packaging.
Slide the handlebars into the frame but don’t fully tighten them yet, this step is just to ensure that the han-
dlebars are out of the way and cannot scratch the frame whilst you are fitting the front wheel.
You are now ready to fit the front wheel to the forks. This is done by simply lowering the forks onto the
spindle. As you lower the frame, ensure that the brake disc lines up correctly within the calliper's.
You must also ensure that the motor cable is pointing upwards Once in position, tighten the nuts ei-
ther side to secure the wheel in position.
See next page for how to fit the “torque arm” - an additional safety device
Plug the cable coming from the motor on the right side of the wheel into the receptacle on the bike—see
below.
Now that the front wheel has been fitted, you can use the stand to keep the bike in the upright position.

10
Front mudguard:
To fit the front mudguard, the upper mounting tag is fitted to the rear of the forks as shown. The upper
mounting tag has an elongated hole which is used to adjust the height of the mudguard. Once the mud-
guard has been secured, you can then attach the hangars (silver arms) to the forks as shown. Once at-
tached it may be necessary to adjust the height and/or flex the hangars to get a little extra clearance be-
tween the mudguard and the tyre.
Fitting the torque arm:
The torque arm is an additional safety measure which we have included with the Big Bear. If you are only
ever going to ride your bike on smooth flat roads then the torque arm is not so critical but we would still
recommend that you install it. The torque arm is a secondary measure to secure the motor wheel to the
bike. If you are ever likely to ride your bike over rough terrain, it is essential that this device is fitted.
The torque arm should be fitted to the left side of the bike as shown. Remove the wheel nut and slide the
arm into position on the axle and then refit the nut to secure it in position.
Protect the frame using the rubber piece supplied and then loosen the jubilee clip and slide it through the
hole on the torque arm and around the fork as shown. Tighten the jubilee clip ensuring that the rubber
piece stays in place.

11
Handlebars:
If you haven’t already, slide the handlebar stem into the frame at the desired height, remove the weather-
proof cap and then tighten the allen bolt indicated below to secure the stem in position whilst ensuring that
the handlebars line up correctly with the front wheel.
Warning:
It is extremely important to ensure that the handlebars are properly secured. If they were to rotate or other-
wise move unexpectedly during use, it could result in an accident and/or serious injury. If you have any
doubts regarding the correct configuration of this part (or any other part of the bike), you should take your
bike along to your nearest bike shop and have them prepare it for you at your own cost.
Once the stem has been secured, you can now fine tune the positioning of the handlebars. The handle-
bars can be adjusted in two ways. They can be rotated, and they can also be raised/lowered. You should
adjust the height first. This is done by loosening the large bolt on the underside of the handlebars (shown
below left). This bolt secures a stepped piece that locks the handlebars into position. You will need to
loosen the bolt enough so that the handlebars can be rotated, then tighten this piece back into position
when you have the handlebars at the desired height.
To adjust the rotation of the handlebars, loosen the front-most bolt on the underside of the handlebars as
shown above right. Rotate the handlebars into the desired position and then re-tighten the bolt. Check the
adjacent bolt is sufficiently tight and tighten if required.

12
Seat-post/saddle:
The seat-post simply slides into position and then the clamp is used to secure it. To adjust the height of
the saddle, simply open the clamp and position the seat-post at the desired height and then close the
clamp to lock it into position. It may be necessary to tighten the thumb screw a little to ensure that when
the clamp is closed the seat-post is properly secured. Adjust the thumb-screw as needed. There are a
couple of different seat-post options on this model, but the clamp works in the same way regardless of
which post you have.
Pedals:
Important—the pedals fit a specific side of the bike If you attempt to fit the pedals to the wrong
side, you will damage the threads of the pedals and also possibly the cranks as well Also if you
force the pedals on to the wrong side of the bike, it is very likely that they will come loose sud-
denly and unexpectedly
The pedals are marked ‘L’ (left) and ‘R’ (right) which indicates the side of the bike the pedal is for. To de-
termine which pedal is for which side, see the pictures below showing where this marking is found.
Fit each pedal into position and finger-tighten, then use the supplied 15mm spanner to fully secure the
pedals in place.

13
Charging the battery:
The battery may not leave us fully charged. You should fully charge the battery before using your
bike The battery can be charged on the bike or it can be removed and charged separately. The socket
used to charge the battery is located at the left rear of the battery as shown below. Ensure that the
charger is switched OFF before attaching the charger to the bike You should keep the battery
topped up and not let it go completely flat to ensure it lasts as long as possible.
To charge the battery, simply lift the weatherproof cover and connect the charger to the socket and then
plug the other end into a regular mains socket. On the charger is a small light which is red while charging.
hen charging is complete, this light will turn green.
The battery can be removed from the bike and charged in a convenient location such as in your home or
office. To remove the battery from your electric bike, use the supplied key to unlock the battery by turning
it anti-clockwise. Once unlocked remove the key and then slide the battery from the bike using the grip at
the rear underside of the battery.
A full charge from flat can take up to 10 hours.

14
On the rear of the battery is a meter which gives you a rough idea of the remaining battery capacity. To
activate this meter, simply press the button in the middle as shown below. The more lights that come on,
the greater the remaining capacity. For a more accurate idea of the battery status, you should look at the
battery indicator on the display module on the handlebars—this module is covered in more depth later in
the manual.
Important:
Although our bikes are checked prior to despatch, you must fully inspect your bike again yourself before
riding it, and satisfy yourself that it is correctly assembled and safe to ride. If you are not absolutely sure
about any aspects of your bike, you should take it to your nearest bike shop to have it checked before rid-
ing it. Obviously the bike shop will you charge for this service. oosh Bikes not reimburse you for these
costs.
Before riding your bike, check the tyre pressures. The tyres should be inflated to approximately 50psi.
Check that all fixings and major components are tightened sufficiently. Check that all nuts, bolts, rear car-
rier fixings, handlebars and seat-post/saddle are also sufficiently tightened.
You must also ensure that your brakes are working correctly before you set off. If you are unsure how to
adjust your brakes yourself, there are guides on our website to help you with this. If you prefer, you can
have your local bike shop adjust them for you. The brakes are the same as you would have on a regular
bike and so any bike shop should be able to adjust them for you. You would obviously have to pay them
for this service.
The support articles on our website can be accessed at www.wooshbikes.co.uk/?support

15
Battery care:
The Sirocco Big Bear comes with a modern light-weight lithium polymer battery.
Some care is needed to ensure your battery performs at its best and lasts as long as possible. All batter-
ies age over time and become less effective, so to ensure you get the most from your battery, follow the
instructions below.
Charge the battery once or twice per week as needed, it is better to keep the battery topped up than to
allow it to run completely flat as this will shorten the lifespan of the unit.
Do NOT charge the battery in extremely cold conditions. The battery can be easily removed from the bike
and charged indoors if it’s more convenient. Remember to allow the battery to warm up to room tempera-
ture before charging.
If the battery is not in regular use i.e. over the winter, you should charge the battery for around 20 minutes
ever two to three weeks. This will slow the aging process and will help the battery last as long as possible.
hen the bike is to be put back into service, fully charge the battery to prepare it regular use.
General battery care:
Do not attempt to open the outer casing of the battery.
Do not attempt to repair the battery.
Do not immerse the battery in water.
Keep the battery away from children.
Do not drop, pierce or otherwise damage the battery.
Ensure the battery is not exposed to temperatures above 55 degrees Celsius or extreme humidity.
Do not use the bike in an environment where temperatures are less than minus 5 or greater than 55 de-
grees Celcius.

16
Riding the bike
To begin using the bike, press (and hold) the ‘Mode’ button to switch on the ‘Control Module’. The bike is
now effectively on, and if you ride it in this state, the motor will provide assistance when pedalling and you
will also be able to use the throttle if you wish. To vary the amount of assistance provided from the motor,
use the up/down buttons to cycle through the 5 assistance levels.
There are several other features available on this ‘control module’ and these will be covered later in the
manual. The information provided so far is just enough to get you up and running as quickly as possible.
Important note about the maximum speed.
You may not reach the maximum speed on throttle alone.
You can increase the maximum speed on throttle by setting the assistance level to high but to achieve the
maximum speed, you need to use pedal assist mode. Your maximum speed will be then limited by your
highest cadence or by the motor.
The motor will only assist you up to 15mph. Though of course you are free to pedal as fast as you like, be-
yond 15mph if you wish, but the motor will not help you beyond the 15mph limit. This limit is in accordance
with current UK law.
The Big Bear comes with a throttle control to allow you to vary the amount of assistance from the motor.
The throttle is located on the right side of the handlebars as shown below. hen the throttle is pulled fully,
the motor will provide the most assistance. The throttle feature is enabled/disabled by the red button as
indicated below. The red button does not affect pedal-assist which is always on.

17
Riding the bike cont
Your bike features 7 speed Shimano index shifting gears which are changed using the thumb selector on
the right side of the handlebars. hen the thumb stick is fully extended, the bike is in first gear (the easi-
est to pedal). To move up through the gears press the black (+) button as shown.
To move back down the gears, simply push the thumb selector again.
Most of the time, you will likely use the bike in it’s highest gear, but to get the best performance out of your
bike on hills, you should change down to the 3rd or 4th gear before you start your ascent.
The Big Bear also come with a horn which is powered from the main battery on the bike. To activate the
horn (which is quite loud), simply press and hold the red button as shown below.

18
IMPORTANT:
LOOK AFTER SPOKES, TYRES AND KEYS!!
The vibrations on an electric bike can cause the fixings and also the spokes to become loose more quickly
than on a standard bike. You must maintain them (or have a local bike shop maintain them for you if it’s
something you cannot do yourself). If you do not regularly maintain your bike, you may damage the bike
and also there are likely to be safety issues for which oosh Bikes would not be held liable.
Please read the following:
Your spokes will have been checked before despatch, but if you have a look, you will find some less tight
than others. This variation ensures the wheel is straight (or ‘trued’). If all the spokes were equally tight, or
all very tight, the wheel would not be straight. So it is normal that some spokes are tighter than others.
In future, check your spokes regularly, every two or three weeks if you ride daily, or once every couple of
months if you only ride occasionally. e normally supply a spoke tool (small round metallic device) nor-
mally included in the same box as the battery charger.
How to check? Lightly ‘ping’ each spoke like a harp string with your index finger. If it feels very loose insert
the spoke key onto the nipple of the spoke in question, using gauge number 13. The nipple is the metal
connector at the base of the spoke where it joins the wheel rim. Give it a quarter turn or so. Don’t over-
tighten the nipple as the spoke may then be too rigid and snap during riding.
If you have not received a spoke key, one can be sent to you for £4 including postage.
You can also give your wheel a quick visual check by spinning it and making sure the brake pads are
equal distances from the wheel when it spins and that it seems to spin in a straight line. Get someone to
help hold the bike if necessary. If the wheel is not true, then the wheel rim will likely rub on the brake pads
at various points as it rotates, use the spoke key to tighten or loosen the spokes at the point where it rubs
to bring the wheel back in to line. You may want to have this done at your local bike shop if you are not
experienced.
Also check and inflate your tyres to the correct PSI regularly, the pressure range of the tyres is printed on
the side wall of the tyre. For heavier riders, you would generally inflate the tyre towards the upped range,
for lighter riders, less.
These maintenance steps aren’t always needed as often on a standard bike but they are for an electric
bike.
If you are not able to perform these checks yourself, you should have your local bike shop do them for you
at your cost.
Lastly, separate all your keys and keep them in a safe place We do not hold spares here

19
Fitting/Operating the lights:
The rear light is already fitted, to operate the rear light, simply press the button on the top of the light as
shown below.
To change the batteries in this unit, simply reach under the bottom edge and then pull the lower edge of
the light rearwards.
If your light doesn’t work initially, it is likely that the insulating material fitted at the factory to stop the bat-
tery going flat is still in place. Simply access the battery compartment and remove the small plastic insula-
tor that sits between the battery and terminal of the light.
The front light is supplied but needs to be fitted. It attaches to the handlebars as shown, but first you will
need to fit the batteries. Unscrew the base of the light and remove the battery cartridge. The batteries
should be fitted so that the negative terminal meets the spring end of the cartridge. Once the batteries
have been fitted, simply slide the cartridge back in place and re-fit the end cap.

20
To attach the light to the handlebars, undo the thumbscrew and slide the fitting over the handlebars, then
re-tighten the thumbscrew to secure the fitting in place. Once in place you can slide the light/torch into po-
sition a shown. It may be necessary to adjust the thumbscrew on the left side of the light to hold it firmly in
position. As you have probably realised by now, the light doubles up as a torch simply by sliding the light
from the mounting.
To turn the light on/off, simply depress the button at the base of the battery as shown below.
Other Woosh Bicycle manuals

Woosh
Woosh Sirocco Sport User manual

Woosh
Woosh Big Bear User manual

Woosh
Woosh Faro User manual

Woosh
Woosh Aspen X User manual

Woosh
Woosh Zephyr 2017 User manual

Woosh
Woosh Gallego User manual

Woosh
Woosh Rio FB User manual

Woosh
Woosh Zephyr User manual

Woosh
Woosh Zephyr User manual

Woosh
Woosh Krieger User manual
Popular Bicycle manuals by other brands

TRAILMATE
TRAILMATE banana peel owner's manual

Manta 5
Manta 5 HYDROFOILER XE-1 Initial Assembly Guide

VBike
VBike VBike Canada LEXO 20s owner's manual

SixThreeZero
SixThreeZero RIDE IN THE PARK Assembly guide

HP Velotechnik
HP Velotechnik Speedmachine Operating instructions and service manual

TRYBIKE
TRYBIKE High Bicycle User instructions