manuals.online logo
Brands
  1. Home
  2. •
  3. Brands
  4. •
  5. Woosh
  6. •
  7. Bicycle
  8. •
  9. Woosh Sundowner User manual

Woosh Sundowner User manual

© 2012 Woosh Bikes Limited
Sundowner Assembly Manual
Thank you for your purchase of a Woosh Sundowner electric
bike.
This model is sometimes delivered with the front wheel off,
in which case you will need to refer to these assembly
Instructions. Even if your bike has been delivered with its
wheel on, we still advise that you read this particular manual
carefully, and the section about checking the bike before use
especially.
The second manual, or ‘ ser Manual’ refers to the general
operation of the bike and should also be read thoroughly
before use.
IMPO TANT MAINTENANCE:
You must check your bike regularly to ensure all fixings are
correctly tightened and have not worked loose over time.
This includes checking and tightening wheel spokes,
particularly on the rear wheel, very frequently—once a month
if you ride occasionally, once a week if you ride daily. Wheel
spokes on electric bikes work loose much more than on stan-
dard bikes and can cause significant issues if lot dealt with
Replacement spokes are considered as consumables, and
will be charged at £2 each.
Failure to keep spokes, nuts and bolts tightened could cause
a cycle malfunction and result in safety issues for which
Woosh Bikes Ltd. will not be held responsible.
Essential extra steps that must be taken before riding
the bike (and also regularly thereafter):
All items on the bike should be double checked to ensure
that all parts are correctly fitted and that all the nuts and bolts
are as tight as they should be. This step should be repeated
after one week of use, and then at regular intervals thereaf-
ter.
The tyres need to checked/pumped up. The pressure range
is between 40 to 65 psi depending on the weight of the user.
It is essential that the tyres are regularly checked to ensure
the pressures are correct and re-inflated as necessary. Fail-
ure to do this will shorten the life of your bike and will cause
additional stress to the various components of the bike.
Due to their nature, components on an electric bike are
stressed far more than on a standard bike. For this
reason the spokes must be checked regularly (once a
week or every 200 miles) to ensure they are not loose,
and if necessary the spokes must be tightened and the
wheel trued. Failure to observe this step will result in issues
with/and potential failure of the wheel/spokes. The tool for
truing/tightening the spokes (round metal device) is supplied
with your bike. For details on how to true your wheels, see
the support section of our website at www.wooshbikes.co.uk
The brakes need to be checked to ensure they are operating
correctly, and if necessary adjusted to ensure optimum
performance.
If you are unsure about how to carry out any of the steps,
you should contact your local bike shop and arrange for them
to assist you. This should not be a problem for them as these
steps concern the mechanics of the bike and not the
electrics.
Before Using the Bike
Before attempting to ride your bike for the first time, you will
need to be sure you have read and understood the user-
manual.
You will also need to completely charge the battery as it will
have left us with only a partial charge.
Opening the carton
Stand the carton upright as shown.
Remove the shipping straps and cut the tape seals.
Keep the carton/bike in the upright position, and then lift the
bike out of the carton and engage the stand to keep the bike
upright. DO NOT destroy the carton as it will be required if
the bike needs to be returned for any reason in the future.
Unpacking
The Sundowner comes almost completely assembled
straight out of the box. Apart from charging the battery, there
is therefore little to do to get your bike ready for the first ride.
Ensure the bike is suitably stable on its stand and then re-
move the bubble-wrap/packaging from the various parts of
the bike and slide the handlebar stem into the frame.
Front Wheel/Brakes
The Sundowner comes with both wheels fitted. The brakes
have already been checked and adjusted before the bike
was shipped out to you, so no further adjustments should be
required at this stage. Obviously over the life of the bike,
these will need to be checked, adjusted and maintained in
much the same way as all the other parts of the bike as part
of a regular maintenance programme.
Handlebars—Version 1
To fit the handlebars, ensure that all tie-wraps and packag-
ing have been removed and then slot the handlebar stem
into the frame. Ensure that the brake cables etc. are not
twisted, and then adjust the handlebars to the desired
height. Slide down the silver cover and then using the allen
key, tighten the handlebars to secure them into position. En-
sure the handlebars are at the correct height and that they
line up correctly with the front wheel. Some models have a
plastic cover which you will need to remove to access the
bolt to secure the handlebars. Replace the cover once you
have finished.
Pedals
The pedals are designed to fit on a specific side of the bike.
Do NOT attempt to fit the pedals without first checking which
side of the bike the pedal is meant for. The pedals are
marked ‘R’ and ‘L’ to indicate which side of the bike the
pedal is for. Fit each pedal into position and hand tighten.
Once each pedal has been tightened nearly all the way in by
hand, use a 15mm spanner to fully secure the pedals in
place.
Handlebars—Version 2
Slide the handlebar stem into the frame at the desired height
and then tighten the allen bolt to secure the stem in position
as shown below. Ensure that the handlebars line up correctly
with the front wheel. The clamp on the top side of the assem-
bly is used to adjust the rotation of the handlebars - with the
clamp up/open, rotate the handlebars to the desired position
and then simply lock in place by closing the clamp.

Other manuals for Sundowner

1

Other Woosh Bicycle manuals

Woosh Faro User manual

Woosh

Woosh Faro User manual

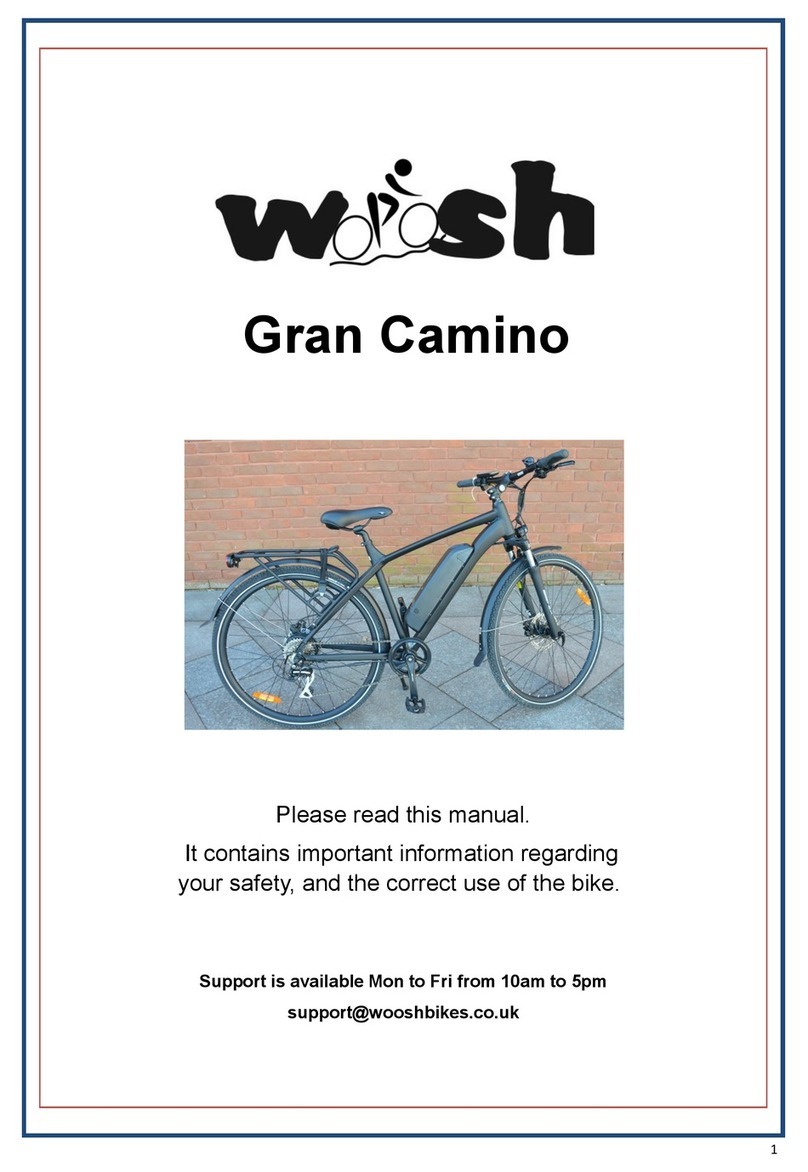
Woosh Gran Camino User manual

Woosh

Woosh Gran Camino User manual

Woosh Zephyr 2017 User manual

Woosh

Woosh Zephyr 2017 User manual

Woosh Big Bear User manual

Woosh

Woosh Big Bear User manual

Woosh Aspen X User manual

Woosh

Woosh Aspen X User manual

Woosh Rio FB User manual

Woosh

Woosh Rio FB User manual

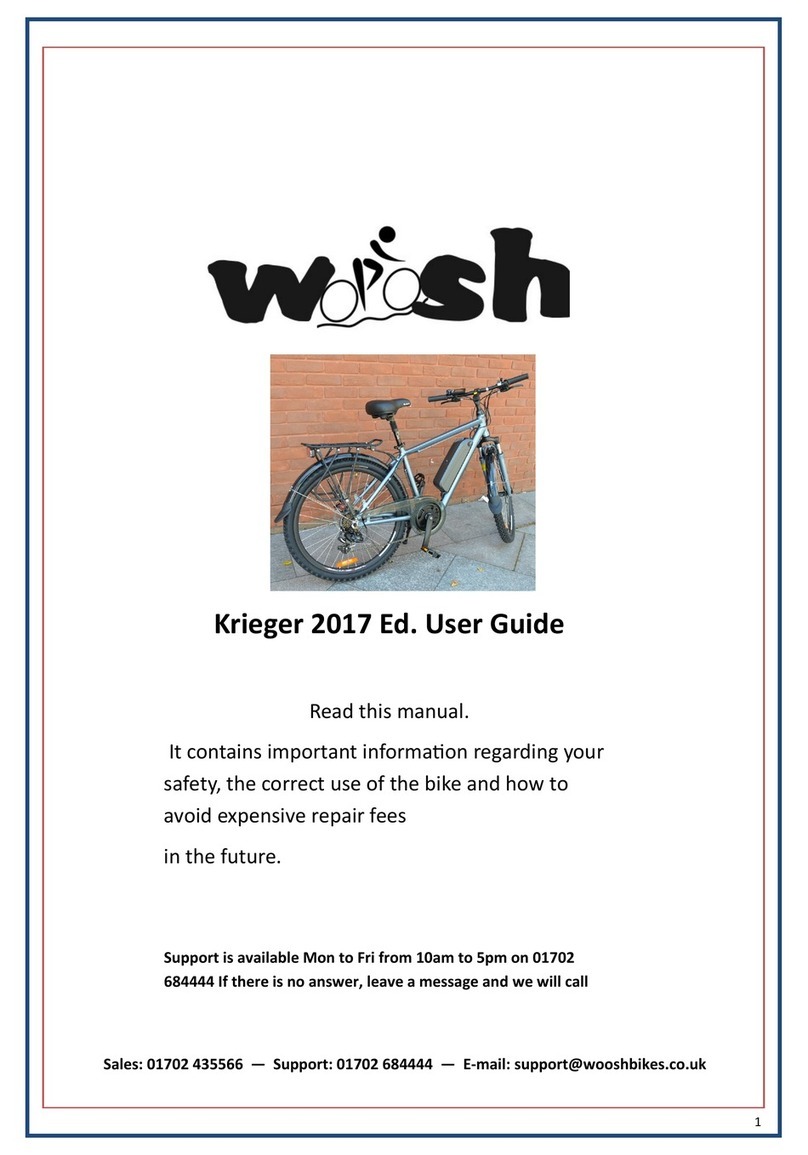
Woosh Krieger 2017 User manual

Woosh

Woosh Krieger 2017 User manual

Woosh Sirocco Big Bear User manual

Woosh

Woosh Sirocco Big Bear User manual

Woosh Sirocco Sport User manual

Woosh

Woosh Sirocco Sport User manual

Woosh Krieger User manual

Woosh

Woosh Krieger User manual

Woosh Zephyr User manual

Woosh

Woosh Zephyr User manual

Woosh Aspen X User manual

Woosh

Woosh Aspen X User manual

Woosh Big Bear Assembly instructions

Woosh

Woosh Big Bear Assembly instructions

Woosh Sirocco 2 User manual

Woosh

Woosh Sirocco 2 User manual

Woosh Gallego User manual

Woosh

Woosh Gallego User manual

Woosh Zephyr User manual

Woosh

Woosh Zephyr User manual

Popular Bicycle manuals by other brands

Retrospec SULLY Assembly instructions

Retrospec

Retrospec SULLY Assembly instructions

Cycle Force Group BICYCLE BABY TRAILER & JOGGER Assembly instructions

Cycle Force Group

Cycle Force Group BICYCLE BABY TRAILER & JOGGER Assembly instructions

RAMBO R1000X2M-FF-BFD manual

RAMBO

RAMBO R1000X2M-FF-BFD manual

Gio Electric H1 Volt owner's manual

Gio Electric

Gio Electric H1 Volt owner's manual

Skeppshult Skeppshult owner's manual

Skeppshult

Skeppshult Skeppshult owner's manual

redtoys Tourer instruction manual

redtoys

redtoys Tourer instruction manual

SMART ebike owner's manual

SMART

SMART ebike owner's manual

KMART 12 instruction manual

KMART

KMART 12 instruction manual

Kettler KLASSIC 08845-799 Assembly instructions

Kettler

Kettler KLASSIC 08845-799 Assembly instructions

ben-e-bike TWENTYFOUR-SIX E-POWER user manual

ben-e-bike

ben-e-bike TWENTYFOUR-SIX E-POWER user manual

Chipolino MAX SPORT instruction manual

Chipolino

Chipolino MAX SPORT instruction manual

Chipolino QUICK FOLD instruction manual

Chipolino

Chipolino QUICK FOLD instruction manual

Insportline IN 3578 user manual

Insportline

Insportline IN 3578 user manual

HASE Bikes TRETS REH user manual

HASE Bikes

HASE Bikes TRETS REH user manual

Ice Bear PST150-11 manual

Ice Bear

Ice Bear PST150-11 manual

e-motion City+ user manual

e-motion

e-motion City+ user manual

Cycling Sports Group Bicycle owner's manual

Cycling Sports Group

Cycling Sports Group Bicycle owner's manual

Wisper 705se owner's manual

Wisper

Wisper 705se owner's manual

manuals.online logo
manuals.online logoBrands
  • About & Mission
  • Contact us
  • Privacy Policy
  • Terms and Conditions

Copyright 2025 Manuals.Online. All Rights Reserved.