Woosh Krieger User manual

1
Sales: 01702 435566 — Support: 01702 684444 — E-mail: support@wooshbikes co uk
Krieger User Guide
Read this manual.
It contains important information regarding your
safety, the correct use of the bike and how to
avoid expensive repair fees
in the future.
Support is available Mon to Fri from 10am to 5pm on 01702
684444 If there is no answer, leave a message and we will call
you back

2

3
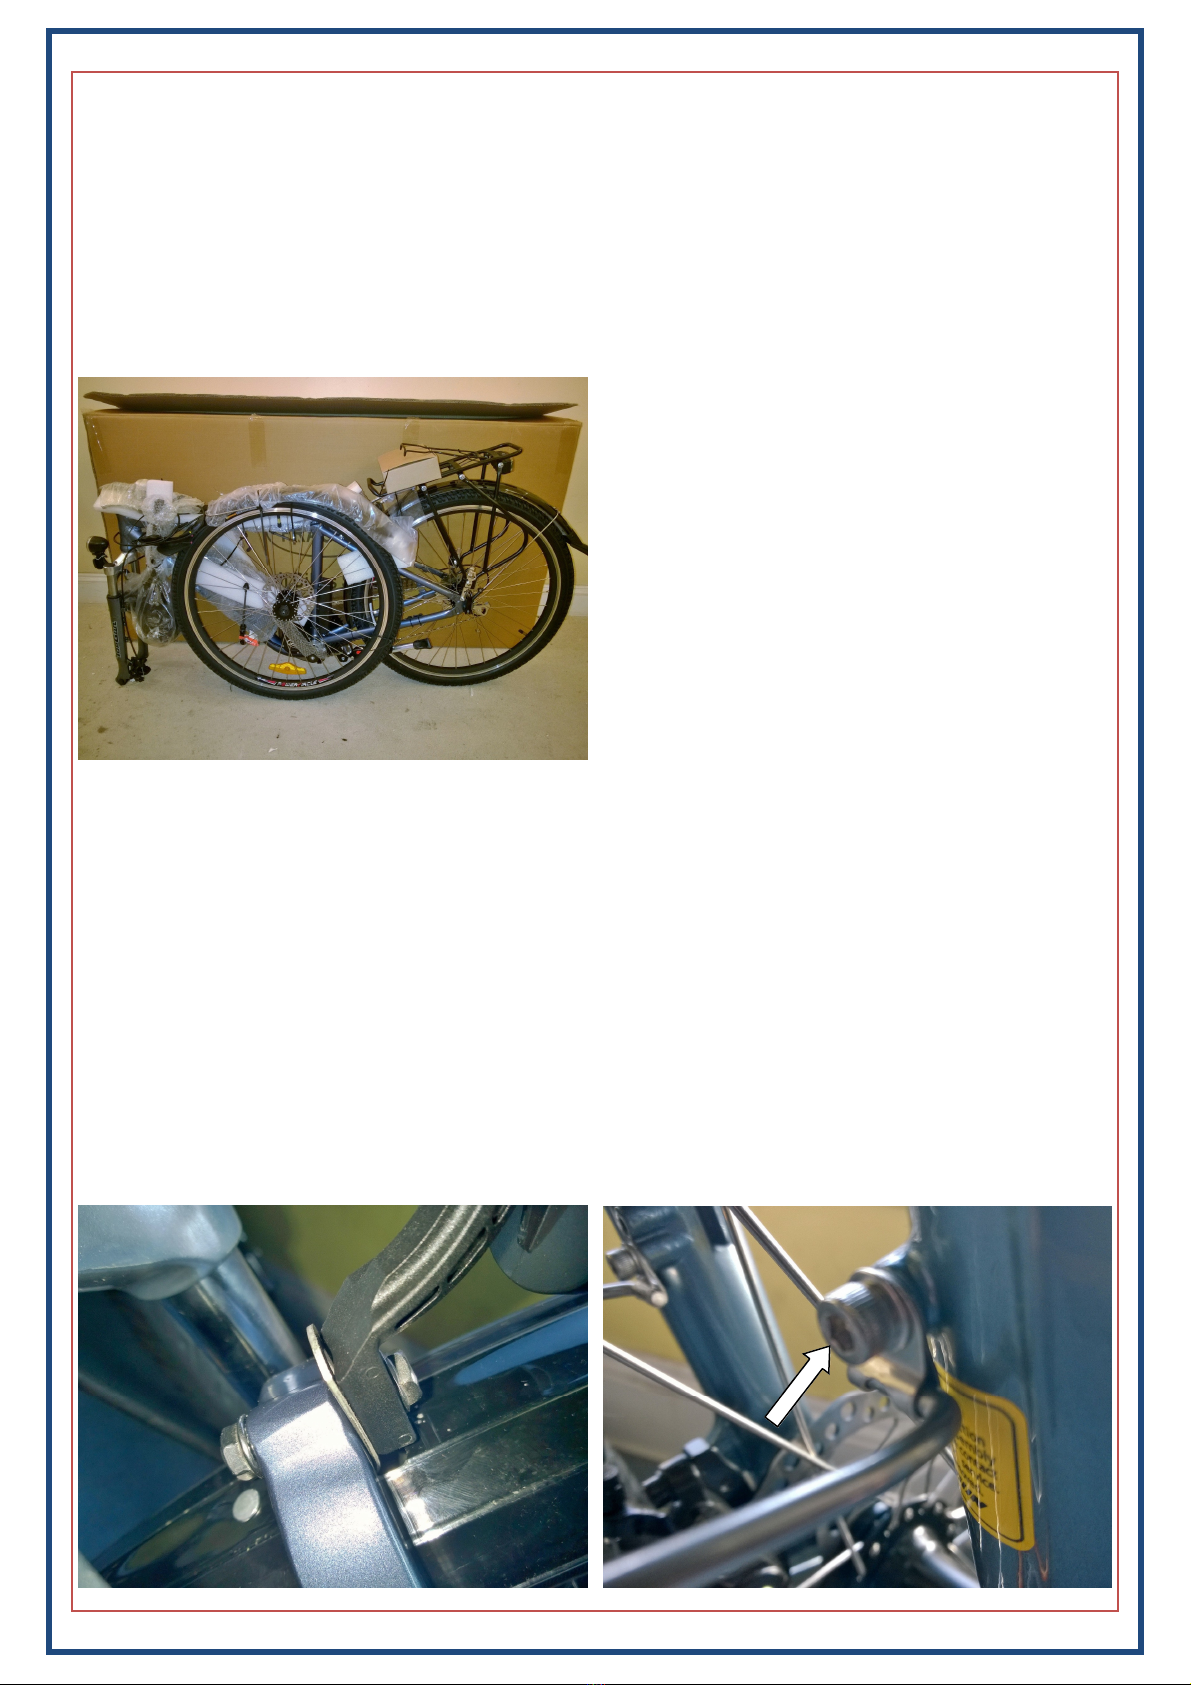
The Krieger from Woosh
he Krieger is a strong sturdy bike which can be used for commuting to and from work. It has a 15Ah bat-
tery which means that distances of up to 50-60 miles can be achieved on a single charge in ideal condi-
tions. If you rely heavily on the throttle and do not put much effort in yourself, then the battery will run
down more quickly and the distance able to be travelled on a single charge will be reduced accordingly.
he Krieger can be used on roads and cycle paths, it is not suitable for off-road use and should not be
used in competition events. It should not be used for jumping, stunting or aerobatic activities and should
not be ridden through deep puddles or fords. Incorrect use of your bike could result in injury and will void
your warranty.
You must be a minimum of 14 years of age to ride an electric cycle in the UK
he maximum weight including rider and luggage is 140kg (22 stone).
Before you ride your bike, and for your ongoing safety, familiarise yourself with the “user manual” and
the “maintenance manual”. here are many components on the Big Bear, and it is critical that they are
checked regularly and maintained where necessary. Details of how to maintain the various aspects of your
bike are included in the “maintenance manual”.
If you have any issues which are not covered by the manuals, it is likely that you would need to enlist the
help of a professional. Most people don’t have a complete set of tools for maintaining a bike, so things
like adjustments to the bottom bracket will need to be done by your local bike dealer. You should enlist
the help of your local dealer whenever something needs adjusting that you are not able to do yourself.
Your safety is paramount, so you must ensure that the bike is maintained in the correct manner, if in
doubt, consult your nearest bike dealer.

4
Important Safety Notice — please read
Your bike has had a full electrical check before despatch.
It has also had a general mechanical check, but you need to ensure yourself that when you complete the
assembly of your bike, that you also check the whole bike over before riding it.
You should be prepared to do this yourself, or if you are not sufficiently experienced, ask a local bike shop
to do this for you. A typical fee for this would be around £35
A full inspection should include (but is not limited to):
• Checking that the brakes are set correctly and work properly.
• All nuts, bolts, major fixings, spokes and cranks etc. are correctly tightened.
• Both wheels are properly trued
• Headset/stem properly adjusted
• Cranks are tight
• Bottom bracket properly adjusted
Pedals, saddle and handlebars are correctly fitted and properly secured.
See the maintenance manual for how to adjust and maintain the various components of the bike.
Please note that failure to carry out these checks properly could result in serious injury for which Woosh
Bikes Ltd will not be held liable.
If you have any doubts about your own ability to perform the necessary checks, we strongly recommend
you visit your local bike shop and pay their fee. If you are unable to take your bike to a local bike shop
there will almost certainly be a mobile bike technician in your area who will come to your home or office
and do this for you.
Visit www.cycletechuk.com for a full national listing.

5
Unpacking:
wo people are required to unpack the bike.
Stand the carton upright as shown.
Remove the shipping straps, cut the tape seals and then remove all of the polystyrene packaging.
Keep the carton/bike in the upright position, and then lift the bike out of the carton and then lean it
against a sturdy surface. DO NOT destroy the carton as it will be required if the bike needs to be returned
for any reason in the future.
Detach the wheel and remove all of the remaining packaging. Slide the handlebars into the frame and
tighten the Allen bolt enough to secure the bars in place. You can align them fully after the wheel has
been fitted. Flip the bike upside down, you can remove the battery from the bike to make it lighter and
therefore easier to flip if you wish—see the battery section later in this manual for how to do this.
o fit the mudguard, with the bike upside down, undo and remove the nut/bolt securing the light, and
then re-fit the bolt in the following order—bolt, light, mudguard mount, front face of forks, and then fi-
nally the nut on the rear to secure—see below left. he mudguard should be mounted in the highest pos-
sible position, so with the bike upside down, push the mudguard where it attaches so that it is mounted
in its position. his will save you from having to adjust the guard later.
Fit the mudguard stays into position on the forks as shown below right and then tighten the bolts either
side to secure the stays.

6
Now that the front wheel has been fitted, you can flip the bike right side up and use the kick-stand to
keep the bike in the upright position.
You are now ready to fit the front wheel to the forks. First you will need to fit the skewer to the wheel,
the skewer is the spindle which slides through the wheel. he skewer consists of the spindle (with clamp
on one side), two springs and a tension nut. Remove the tension nut and one of the springs, and then
slide the skewer through the wheel so that the clamp is on the opposite side of the wheel to the rotor
(brake disc). Fit the other spring back into position and then replace the tension nut, giving just a few
turns to secure it so that it doesn’t come off. Now lower the wheel into position ensuring that the rotor is
on the correct side and that it sits properly between the callipers. Ensure that the wheel is fully seated
and then tighten the tension nut until the clamp has significant resistance when attempting to close it,
you may need to open the clamp and make adjustments to the tension nut several times before you reach
the optimum clamping force. he clamp should be reasonably difficult to close to ensure that the wheel is
properly secured when the clamp is engaged.

7
Handlebars:
If you haven’t already, slide the handlebar stem into the frame at the desired height, remove the weath-
erproof cap and then tighten the allen bolt indicated below to secure the stem in position whilst ensuring
that the handlebars line up correctly with the front wheel.
Once the stem has been secured, you can now fine tune the positioning of the handlebars. he handle-
bars can be adjusted in two ways. hey can be rotated, and they can also be raised/lowered. You should
adjust the height first. his is done by loosening the large bolt on the underside of the handlebars (shown
below left). his bolt secures a stepped piece that locks the handlebars into position. You will need to
loosen the bolt enough so that the handlebars can be rotated, then tighten this piece back into position
when you have the handlebars at the desired height.
o adjust the rotation of the handlebars, loosen the front-most bolt on the underside of the handlebars
as shown above right. Rotate the handlebars into the desired position and then re-tighten the bolt. Check
the adjacent bolt is sufficiently tight and tighten if required.
Warning:
It is extremely important to ensure that the handlebars are properly secured. If they were to rotate or
otherwise move unexpectedly during use, it could result in an accident and/or serious injury. If you have
any doubts regarding the correct configuration of this part (or any other part of the bike), you should take
your bike along to your nearest bike dealer and have them prepare it for you (at your cost).

8
Seat-post/saddle:
he seat-post simply slides into position and then the clamp is used to secure it. o adjust the height of
the saddle, simply open the clamp and position the seat-post at the desired height and then close the
clamp to lock it into position. It may be necessary to tighten the thumb screw a little to ensure that when
the clamp is closed the seat-post is properly secured. Adjust the thumb-screw as needed. here are two
different seat-post options on this model, but the clamp works in the same way regardless of which post
you have, the standard sprung post or the NCX post. See the preparation/maintenance manual to deter-
mine the correct saddle height.
Pedals:
Important—the pedals fit a specific side of the bike If you attempt to fit the pedals to the wrong side,
you will damage the threads on the cranks and also possibly the pedals as well Also if you force the
pedals on to the wrong side of the bike, it is very likely that they will come loose suddenly and unex-
pectedly
he pedals are marked accordingly ‘Cr-L’ (Left) and ‘Cr-R’ (Right) which indicates the side of the bike the
pedal is for. o determine which pedal is for which side, see the pictures below showing where this mark-
ing is found.
Fit each pedal into position and finger-tighten, then use a 15mm spanner to secure the pedals in place,
tighten to approx. 40Nm (see torque/tightness guide in the maintenance manual).

9
Charging/locking the battery:
he battery may not leave us fully charged. You should fully charge the battery before using your bike
he battery can be charged on the bike or it can be removed and charged separately. he socket used to
charge the battery is located on the upper right side of the battery as shown below left. Ensure that the
charger is switched OFF before attaching the charger to the bike You should keep the battery topped up
and not let it go completely flat to ensure it lasts as long as possible. he on/off switch for the battery is
located on the opposite side to the charger socket shown below right.
o charge the battery, simply lift the weatherproof cover and connect the charger to the socket and then
plug the other end into a regular mains socket. On the charger is a small LED which is RED while charging.
When charging is complete, this light will turn GREEN.
he battery can be removed from the bike and charged in a convenient location such as in your home or
office. o remove the battery from your electric bike, use the supplied key to unlock the battery by turn-
ing it anti-clockwise. Once unlocked, lift the handle and slide the battery upwards towards the front of
the bike and the lift it clear.
A full charge from flat can take up to 10 hours.
he USB socket on the right side of the battery (next to the charging socket) can be used to charge a mo-
bile phone or personal music player, the output is similar to that of most standard USB phone chargers
i.e. 5 Volts, 1 Amp.
Remember to separate your keys, we are not able to supply replacements if you lose them

10
Important:
Although our bikes are checked prior to despatch, you must fully inspect your bike again yourself before
riding it, and satisfy yourself that it is correctly assembled and safe to ride. If you are not absolutely sure
about any aspects of your bike, you should take it to your nearest bike shop to have it checked before rid-
ing it. Obviously the bike shop will you charge for this service. Woosh Bikes not reimburse you for these
costs.
Before riding your bike, perform the checks and set up your bike as outlined in the maintenance manual.
Check that all fixings and major components are tightened sufficiently. Check that all nuts, bolts, rear car-
rier fixings, handlebars and seat-post/saddle are also sufficiently tightened.
You must also ensure that your brakes are working correctly before you set off. If you are unsure how to
adjust your brakes yourself, there are guides on our website to help you with this. If you prefer, you can
have your local bike shop adjust them for you. he brakes are the same as you would have on a regular
bike and so any bike shop should be able to adjust them for you. You would obviously have to pay them
for this service.
See the preparation/maintenance manual for details on how to adjust/maintain your bike and its compo-
nents.

11
Riding the bike
o begin using the bike, ensure the battery is switched on then press (and hold) the ‘Mode’ button to
switch on the ‘King-Meter’. he bike is now effectively on, and if you ride it in this state, the motor will
provide assistance when pedalling and you will also be able to use the throttle if you wish. o vary the
amount of assistance provided by the motor, use the up/down buttons to cycle through the 5 assistance
levels.
here are several other features available on the King-Meter and these are covered later in the manual.
he information provided so far is just enough to get you up and running as quickly as possible.
Important note about the maximum speed. You may not reach the maximum speed on throttle alone.
he motor will only assist you up to 15mph. hough of course you are free to pedal as fast as you like, be-
yond 15mph if you wish, but the motor will not help you beyond the 15mph limit. his limit is in accor-
dance with current UK law.
he Krieger comes with a twist-grip/throttle control. he twist-grip is located on the left side of the han-
dlebars as shown below. he more the throttle is twisted, the faster the bike will go, but obviously not
beyond 15 mph.

12
Riding the bike cont
Your bike features an 8 speed Shimano rapid-fire shifter located on the right side of the handlebars.
o move up through the gears, PULL the upper lever with your index finger. o move down the gears,
PRESS the lower lever with your thumb.
You should change the gears one at a time, waiting until the gear is properly engaged before changing
to the next gear
Most of the time, you will likely use the bike in it’s highest gear, but to get the most out of your bike on
hills, you should change down to a suitable gear BEFORE you start your ascent. Please see the next page
for more details on effectively managing the gears on crank drive bikes.

13
Managing gear changes on CD bikes:
If not used correctly, the gear changes on the CD bikes can be anything other than smooth and can also
cause significant wear to the chain and cassette. his is due to the extra tension put on the chain by this
type of motor. While not a massive expense to have these parts replaced when they wear out, you can
extend the life of these parts and effect smoother gear changes by following the guidance below.
When changing gear, if you briefly flick one of the brake levers just before doing so, this will momentarily
cut the power to the motor and relieve the tension on the chain allowing for a much smoother change.
You should not stop pedalling, after a second or so, the motor will kick back in and carry on as normal. Ba-
sically you are using the brake lever in a similar way to how you would use a clutch on a car.
his technique is especially important on hills where the tension on the chain can be significantly greater.
On hills, try and anticipate the gear you are likely to need before you start climbing the hill (usually 2nd
gear or even 1st if particularly steep).
If you do find that you need to change gear whilst actually climbing a hill, be sure to use the aforemen-
tioned technique.
o summarise:
Get ready to change gear
Flick one of the brake levers
Immediately change gear (a single gear at a time)
Continue pedalling throughout

14
Operating the lights:
he rear light is already fitted, to operate the rear light, simply press the button on the top of the light as
shown below.
o change the batteries in this unit, simply reach under the bottom edge and then pull the lower edge of
the light rearwards towards you. his unit requires 2x AA batteries.
If your light doesn’t work initially, it is likely that the insulating material fitted at the factory to stop the
battery going flat is still in place. Simply pull the external tag or if necessary, access the battery compart-
ment and remove the small plastic insulator that sits between the battery and terminal.
he front light may also have a insulating tag that needs to be pulled/removed. If the light still doesn’t
work after removing the tag, undo the screw on the underside of the lamp, remove and then refit the bat-
teries, this will normally solve any issues. he front light uses 3x AAA batteries. he on/off button is lo-
cated on the top of the lamp, pressing the button cycles through the following modes: On/Flashing/Off.

15
King-Meter—Advanced
he King-Meter has many advanced features and modes, these include back-lit display (for night riding),
indicator options for max speed, average speed and current speed, a digital clock and a battery power in-
dicator.
2.
3.
1.
5.
4.
1. Battery Level Indicator
2. Assistance Level (Pedal Assist)
3. Odometer
4. Digital Clock
5. Speed Indicator
Warning:
he King-Meter comes pre-configured specifically for your bike. Incorrect settings could cause damage to
the bike components and also result in a bike that is not UK road legal. Any modifications made to the
controller configuration will void your warranty with immediate effect.
Turning King-Meter On/Off
o turn on the King-Meter press and hold the middle (Mode) button. Press and hold the same button to
turn off the module and disable all electric features of the bike.
Turning Backlight On/Off
o turn on the display backlight, press and hold the “Mode & Up” button, press and hold the same two
buttons to turn it off.
Varying Pedal Assist Level
o alter the level of assistance provided simply press the Up/Down arrows to cycle through the 5 levels of
assistance. Level 1 offers the least assistance while level 5 offers the greatest assistance.
Speed Display Mode
here are three different modes for the speed display, these are current speed, average speed and maxi-
mum speed. o switch between these modes, press and hold the “Up” button for approx. 1 second to cy-
cle through the modes.

16
Riding Distance/Total Distance
o change the display between riding distance and total distance, press the Mode button. he current
mode is indicated by “ rip” for “Current rip Distance” and by “Odo” for “ otal Distance”.
Control Module Battery
he “control module” itself has a battery which retains the settings within the module. his battery
should last for around 2 years. he battery is a standard type and is readily available. If you need a battery
in the future, contact us and we can supply one to you or alternatively you can buy from outlets such as
Maplin’s. Make sure you replace the battery with the correct type to avoid causing damage to your mod-
ule. If you are not sure how to change the battery, contact us for assistance.

17

18
Woosh Bikes
DECLARA ION OF CONFORMI Y
Product name Commercial name(s)
Electrically power as-
sisted cycle
Woosh Sirocco Woosh Sundowner
Woosh Sirocco CDL Woosh Big Bear LS
Woosh Big Bear Woosh Gale
Woosh Krieger Woosh Zephyr CDN
Woosh Zephyr B Woosh Gallego
Woosh Petite
Woosh Sant Ana
Woosh Sant Ana CD/CDL
Manufacturer, address
Made in China for Woosh Bikes Ltd
42-46 Queens Road, Southend-on-Sea, Essex, SS1 1NL, UK
he product (system) identified above is in conformity with the listed European Directive(s).
he following table identifies the applied standards and the conformity assessment procedure.
EMC DIRECTIVE
2004/108/EC
OJ DEC. 2004 L 390/24
Applicable Non Applicable
TWO or THREE-WHEEL MOTOR
VEHICLES DIRECTIVE
2002/24/EC
OJ May 2002 L 124/1
Applicable Non Applicable
MACHINE DIRECTIVE
2006/42 EC
OJ MAY 2006 L 157/24
Applicable Non Applicable
- Applied Standards
• EN 15194
• EN61000-4-2
• EN 55022
- Applied Standards
• EN 15194
- Applied Standards
• EN 15194
Date
01/01/2013
Signature
Authorised representative
Director—Woosh Bikes Ltd
X X
X

19
© 2014 Woosh Bikes Limited
Woosh Support:
Be sure to check the FAQ section on our website before calling as the answers to the most common que-
ries are there and you may find that the solution to your problem is already online. If you do need to get
in touch, our contact details are below.
It can sometimes be useful to see the issue you have, so if possible, email a couple of photos and/or video
illustrating the problem and we’ll normally get back to you within a an hour or two (on weekdays).
Support staff are not available at the weekends, though if you send an email, it will normally be read on
the following Monday morning.
If you need support on a bike purchased from our Cambridge outlet, please note that you should call our
Southend office on the number below.
Support articles and FAQ’s: www.wooshbikes.co.uk/?support
Email: [email protected]
elephone: 01702 684444 (If there is no answer, leave a brief message and contact no. and someone will
call you back asap).
Table of contents
Other Woosh Bicycle manuals

Woosh
Woosh Zephyr 2017 User manual

Woosh
Woosh Zephyr User manual

Woosh
Woosh Sirocco Sport User manual

Woosh
Woosh Zephyr User manual

Woosh
Woosh Gran Camino User manual

Woosh
Woosh Sundowner User manual

Woosh
Woosh Faro User manual

Woosh
Woosh Rio FB User manual

Woosh
Woosh Aspen X User manual

Woosh
Woosh Krieger 2017 User manual