Wow iQ 50 User manual

Art.
Originalbetriebsanleitung
Translation of the original operating instructions
Traduzione delle istruzioni di funzionamento originali
Traduction des instructions de service d’origine
Traducción del manual de instrucciones de servicio original
Vertaling van de originele gebruiksaanwijzing
Oversættelse af den originale betjeningsvejledning
Original driftsinstruks i oversettelse
iQ 50
Operating Manual
Programming and diagnostic tool
W072210050 02/14

2
DE .............................. 4 – 39
GB .............................. 40 – 75
IT .............................. 76 – 111
FR .............................. 112 – 147
ES .............................. 148 – 183
NL .............................. 184 – 219
DK .............................. 220 – 255
NO .............................. 256 – 291
TR .............................. 292 – 327

3
II
I
6
5
4
3
2
1

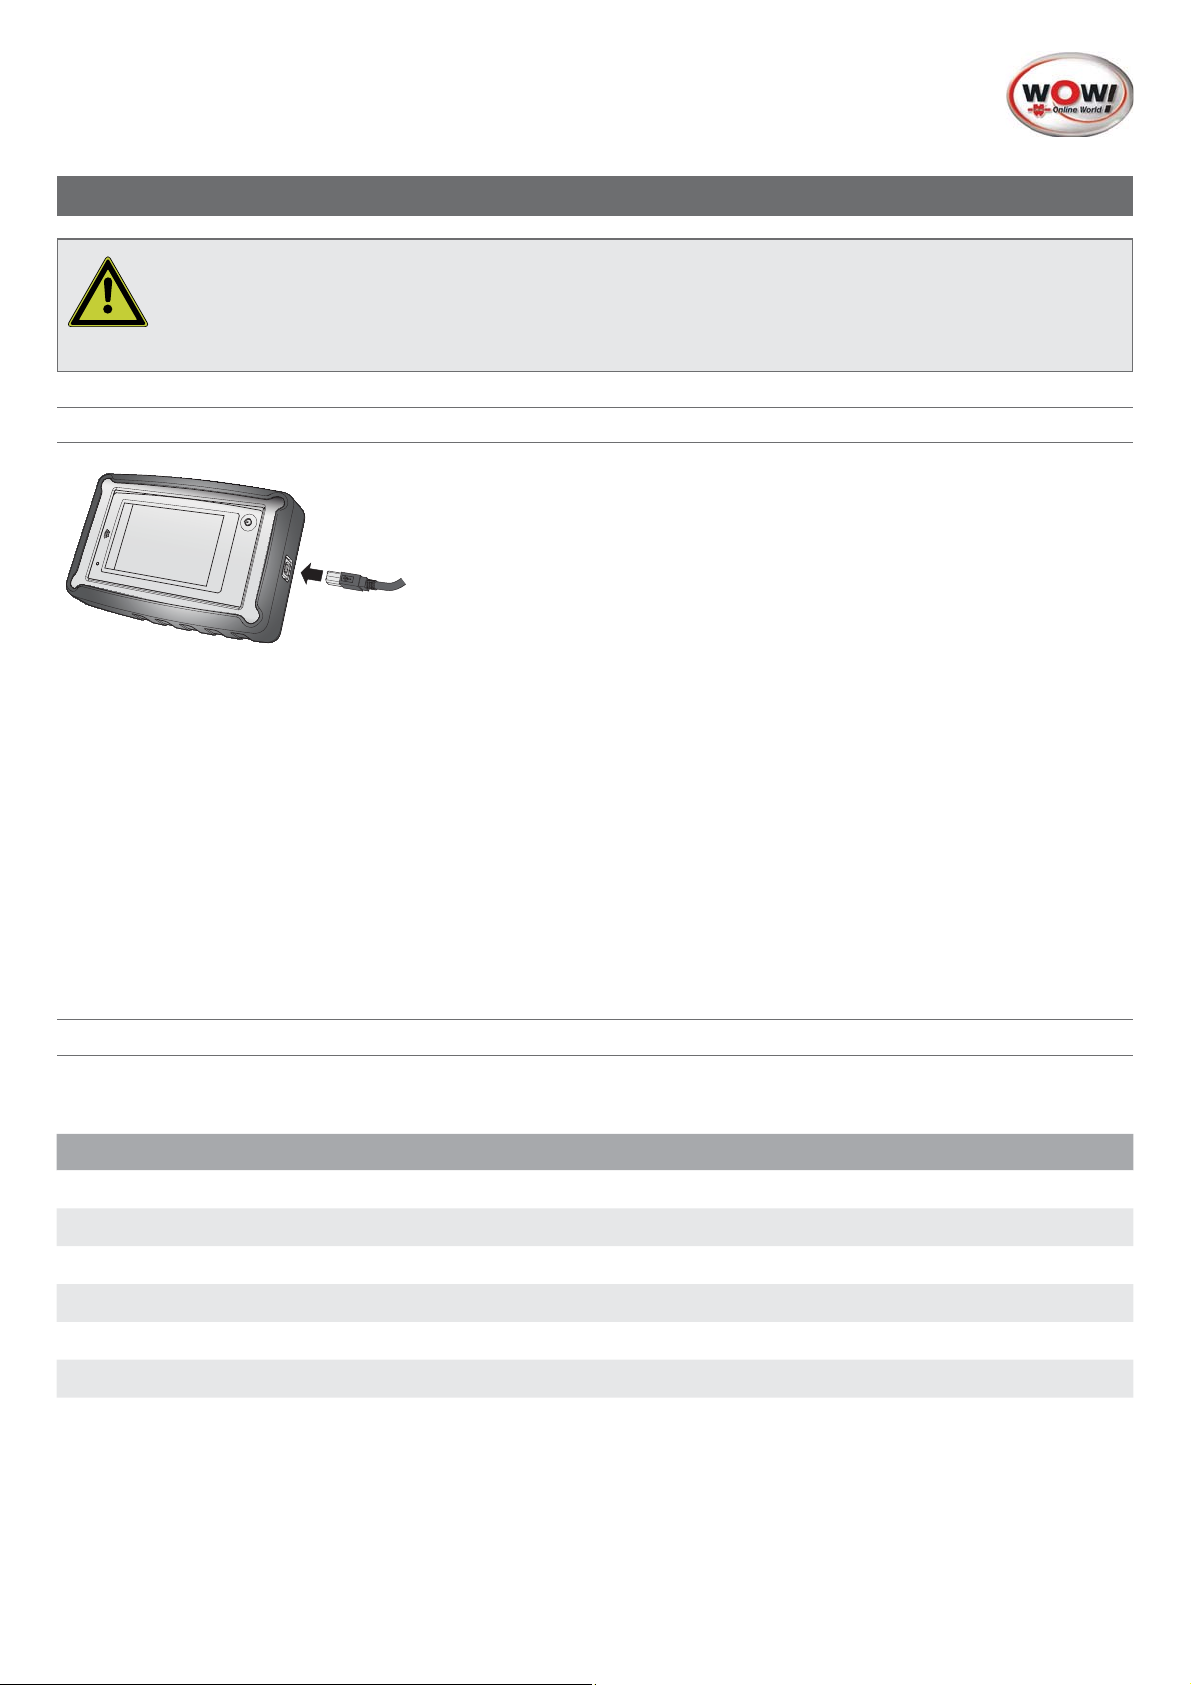
Device Overview [Fig. I]......................................5
Positioning [Fig. II] .............................................5
System Overview iQ 50 .....................................6
Device Data / Ambient Conditions ......................................6
Scope of Supply................................................................6
For Your Safety ..................................................7
Intended Use......................................................7
Warranty...........................................................7
Notes on the Environment ..................................7
Charging Device.................................................8
Charging at Charger .........................................................8
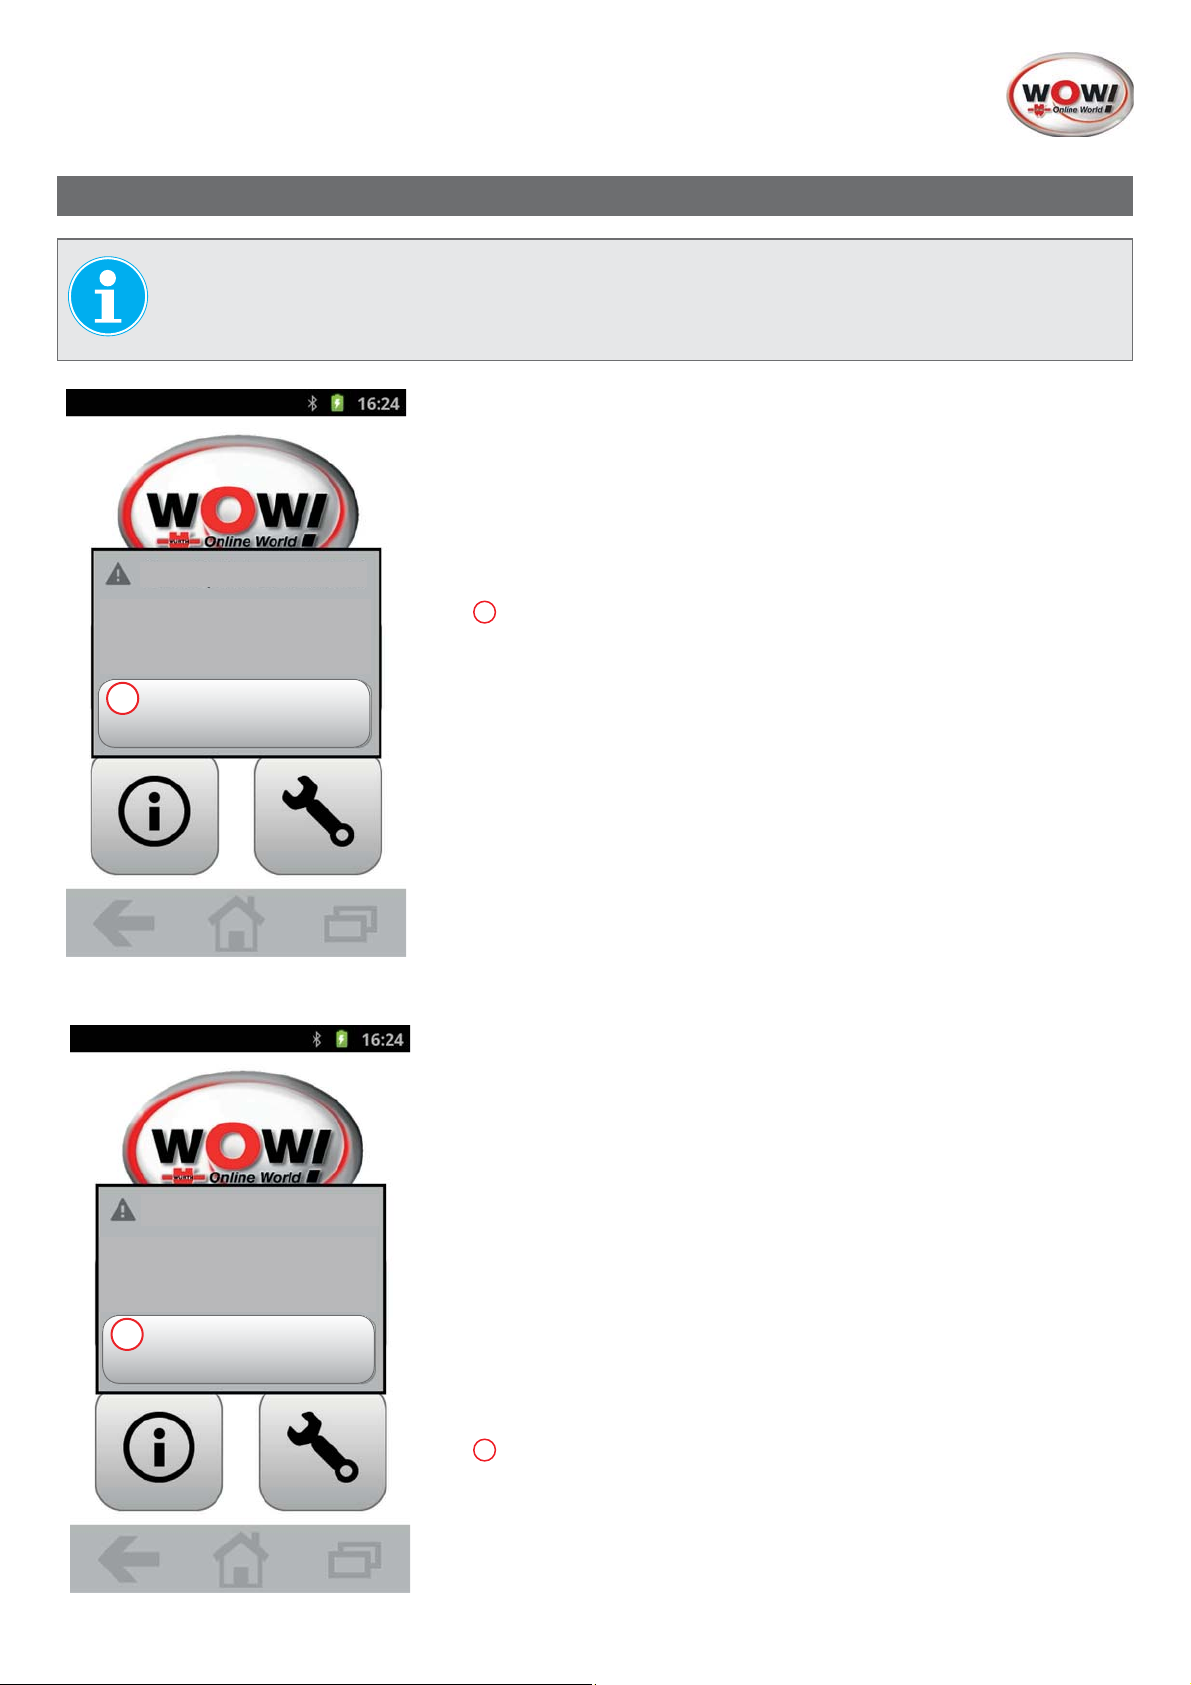
Checking Battery Status .....................................................8
Registration .......................................................9
Commissioning ................................................10
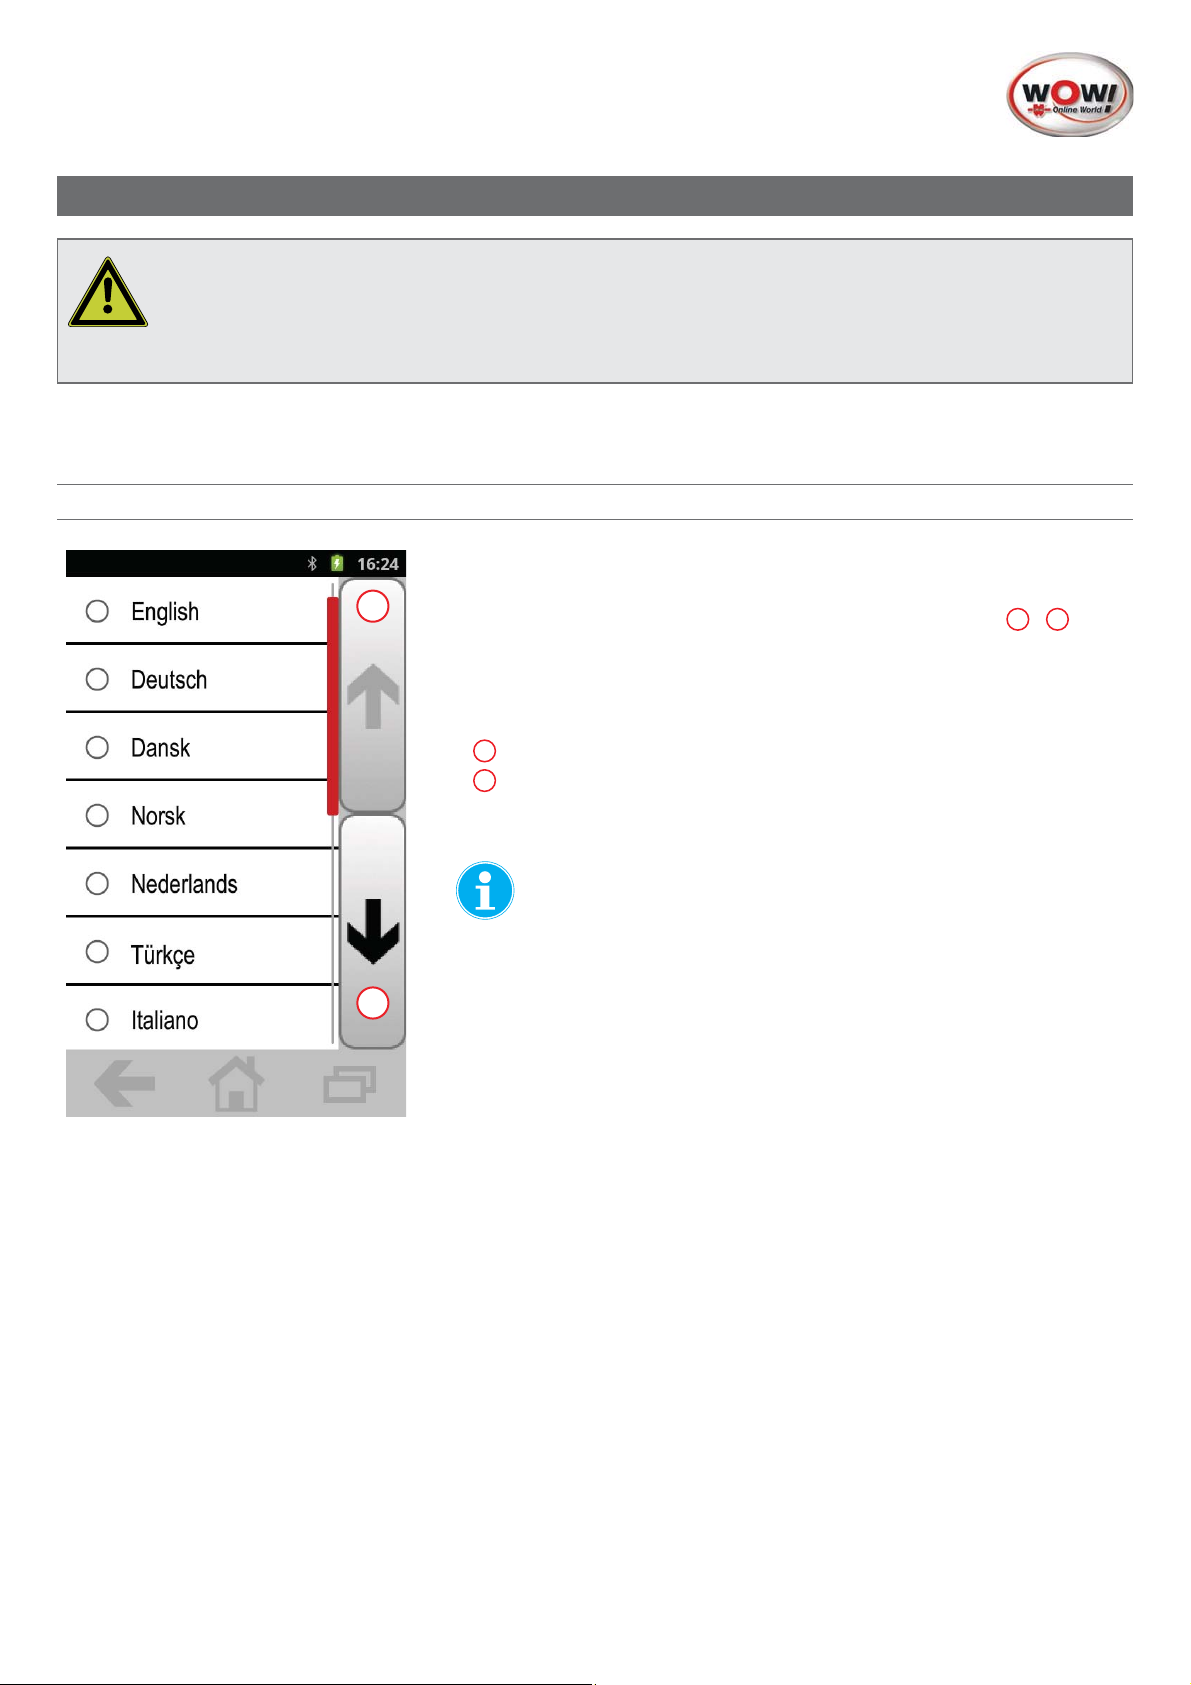
Language Selection .......................................................10
Select Pressure Format......................................................11
Select Temperature Format................................................12
Select Sensor ID Format ...................................................12
Set Time.........................................................................13
Set Date.........................................................................13
1. iQ 50 - (Programming and Diagnostic Tool)14
1.1 Operating Elements...............................................14
1.2 Handling .............................................................14
1.3 Touchscreen .........................................................14
1.4 Status Bar ............................................................15
1.5 Main Menu (Home Screen) ....................................15
1.6 Navigation Bar.....................................................15
2. Vehicle Selection (Button 2)........................16
2.1 Quick Start or New Vehicle ....................................16
2.2 Manufacturer Selection ..........................................17
2.3 Model Selection....................................................17
2.4 Production Year Selection.......................................18
2.4.1 Select Rim Type................................................18
2.4.2 Enter License Plate............................................19
2.5 Start Menu for Programming and Diagnostics ...........20
2.5.1 Wheel Symbols (Meanings)...............................20
2.5.2 Wheel Sensor Context Menu.............................21
2.5.3 Start Menu Context Menu .................................21
2.6 Sensor Information ................................................22
2.6.1 Sensor OK......................................................22
2.6.2 Sensor NOK ...................................................22
2.6.3 Sensor Details .................................................23
2.7 Sensor Test ..........................................................24
2.7.1 Procedure .......................................................24
2.7.2 Sensor Test, Values OK.....................................25
2.7.3 Sensor Test, Values NOK ..................................25
2.7.4 Duplicate Sensor ID Found ................................26
2.7.5 Sensor Not Recognized ....................................26
2.7.6 Battery Voltage Low .........................................27
2.7.7 Overview of All Sensors....................................27
2.8 Replace Sensor.....................................................28
2.8.1 Replace with EZ Sensor ....................................28
2.8.2 Replace with OE Sensor ..................................29
2.9 Program Sensor ....................................................29
2.9.1 Copy/Create Sensor ........................................29
3. Vehicle Selection Last 100 (Button 3)..........30
3.1 List of Last 100 Vehicles .........................................30
4. Help (Button 4)..........................................31
5. Settings (Button 5).....................................31
6. Quick Start................................................32
6.1 Replace / Copy / Create Sensor ............................32
6.2 Teach in Sensor at the Vehicle ................................32
EU Declaration of Conformity ...........................33
WOW! Install Software ....................................36
Installation Procedure.......................................................36
WOW! Register Software.................................................36
Contents
4

Device Overview [Fig. I]
1Antenna range
2LED power display
3Touchscreen
4Protective case
5Power button
6USB port
Positioning [Fig. II]
Device position on the tyre
Note
In order to ensure reliable data reception from the wheel sensor, the iQ 50 must be held at the right point on
the tyre.
Always position the iQ 50 on the sensor so that the transmit/receive antenna is facing towards the wheel
sensor. Never hold against the wheel rim – that impairs the transmission power.
The device must be held against the tyre very close to the area of the valve (the antenna area must be facing
towards the tyre). [see Fig. II]
If data transmission cannot be established, change the position by a few centimetres.
5

System Overview iQ 50
Device Data / Ambient Conditions
Article W0722100050
Dimensions (incl. protective case) approx. 165 x 106 x 41 mm
Weight approx. 450 g
Max. operating time approx. 9 hours (after complete charging)
approx. 150 programming operations of an EZ sensor
approx. 300 activation operations of a TPM sensor
Automatic shutdown after 300 to 1800 sec., freely variable (300 sec. factory setting)
Storage temperature -20°C to +60°C
Operating temperature 20°C to +60°C
Dust / water protection (operation) IP52
Memory (internal) Micro SD card, 8 GB, Class 10
Data interfaces USB V2.0 / Bluetooth Class 1.5 / WiFi 2.4 GHz, 802.11 b g n
Bluetooth range Air approx. 60 m
Building approx. 30 m
Scope of Supply
W072210050 iQ 50 without RDKS Snooper + W072200050 iQ 50 with RDKS Snooper +
iQ 50 programming and diagnostic tool iQ 50 programming and diagnostic tool
USB cable for iQ 50 for charging and data transfer USB cable for iQ 50 for charging and data transfer
Power pack for iQ 50 with EU and UK adapters Power pack for iQ 50 with EU and UK adapters
Quick-start guide for iQ 50 Quick-start guide for iQ 50
WOW! DVD software, manual, links WOW! DVD software, manual, links
TPMS Snooper+
Snooper+ USB cable A-B
Manual Snooper+
6

For Your Safety
manual in a safe place for later use or for a new owner.
This manual can also be downloaded from www.portal.com.
Use only original WOW! accessories and spare parts.
The device must not be operated in a wet or damp environment. Do not expose the device to rain.
Intended Use
The iQ 50 is intended as a programming and diagnostic tool for wheel sensors using the WOW! original accessories.
The device is intended only for the applications described in the operating manual. Any other use is not permitted and can
lead to accidents or destruction of the device. Such uses will immediately void all the user’s guarantee and warranty claims
against the manufacturer.
The user is liable for all damage resulting from any unintended use.
Warranty
The iQ 50 must be handled with care, even though it has been designed for use in a workshop (collisions, shock, vibrations,
dust). For this WOW! device we offer a warranty in accordance with the statutory/national regulations from the date of
purchase (evidenced by invoice or delivery note).
Damage will be remedied by repair or substitute delivery. Damage caused by improper handling is not covered by the war-
ranty. Complaints can only be acknowledged if the device is handed over in one piece to a WOW!-authorised customer
service station.
Notes on the Environment
Electric tools, accessories and packagings should be recycled in an environmentally friendly manner.
For EU countries only:
Do not throw away the electric tool with the household waste.
In accordance with European Directive 2002/96/EC on waste electrical and electronic equipment and its
implementation in national law, electric tools which can no longer be used must be collected separately and
recycled in an environmentally friendly manner.
Batteries:
disposed of in an environmentally friendly manner.
For EU countries only:
In accordance with Directive 2006/66/EC, defective or old batteries must be recycled. In Germany, equipment
and/or batteries which can no longer be used can be returned to WOW! for recycling.
7

Charging Device
Warning
Only the charger and USB charging cable supplied may be used for charging. The device can also be
charged using the USB charging cable supplied by connecting to a USB port of a computer. Use of a different
USB cable or charging of the iQ 50
Charging at Charger
Connect the charger to the USB port of the device.
If the device is not correctly connected to the charger, this can result in serious
damage to the device. All damage caused by misuse is not covered by the
warranty.
fThe device can be used during charging.
fIf the device is connected to an unstable power supply during charging, it is possible that the touchscreen does
not function. In this case, disconnect the power supply.
fIf the Status LED lights up red, the charge state is too low and the device has to be recharged.
fIf the battery is fully discharged and the charger is connected, the device cannot be switched on immediately.
Before the device can be used again, the empty battery has to be charged for a few minutes.
device. If the battery becomes hotter than normal, the charger may stop charging.
If the charger does not charge correctly, please contact your local WOW! service partner.
Checking Battery Status
If the battery is charged while the device is switched off, the charge status is displayed only via the Status LED.
(Position of the LED, see chapter „Device Overview [Fig. I]“ on page 5).
LED Colour Description
Red (lit) Device is charging
Battery charge below 5% and not charging
Wrong charger connected
Temperature outside the permissible range
Green (lit) Device fully charged
Device starting
8

Registration
manufacturer. We recommend that registration is carried out as quickly as possible in order to receive new
updates. For registration of the iQ 50, the WOW! software must be installed on a computer. See chapter
“Install software” on page <ÜS>.
1
New updates available!
Please install the supplied
DVD and register.
Later
1
Registration allows the database of the iQ 50 to be updated. The database
contains comprehensive information on manufacturers, vehicles and the cor-
responding sensor types. The manufacturer strives to keep the database up-to-
date at all times.
Please update the database of your iQ 50 if you cannot test a sensor on a
particular vehicle.
1Press button Later to skip the procedure
-
1Cancel
1
Licence expired!
Please update licence to use
further updates.
A message is displayed when the licence has expired.
Please update your licence then to continue to receive updates for the data-
base of your iQ 50.
Procedure
Start the WOW! application on the PC.
Select Program settings -> Registration -> Shop. In the licence list, select the
following licence “W015000040 WSD 50 Basis Licence iQ 50 Subscrip-
tion” and order.
After receipt of the enable, carry out an online update. Connect the iQ 50 to
the computer with the WOW! application open.
The new licence and any new update is automatically transferred to the
iQ 50.
1Press button Cancel to skip the procedure
9

Commissioning
Warning
Only the charger and USB charging cable supplied may be used. Use of other chargers and/or caboles will
void the warranty.
settings can be called up again and changed at any time in the Settings menu (button 5).
Language Selection
1
2
The available languages are displayed.
1. Display the available languages using the selection buttons 1- 2.
2. Select the desired setting by touching the selection.
fThe next selection menu is displayed automatically.
1Scroll up (not active)
2Scroll down (next menu)
The device can be switched between 9 different languages. The
setting can be changed at any time in the Settings menu.
10

1
3
2
The selected language is Eng-
and start the device in this
language?
Yes No
45
Before the selected language 3
displayed.
1Scroll up (previous menu)
2Scroll down (next menu)
3Activated selection (marked in red)
4Press button Yes (language is changed)
5Button No (back to Select language)
The setting can be changed at any time in the Settings menu.
Select Pressure Format
1
3
2
Page 1 of 5
Set pressure format:
The available pressure units are displayed.
1. Select the pressure units using the selection buttons 1- 2.
2. Select the desired setting by touching the selection.
fThe next selection menu is displayed automatically.
1Scroll up
2Scroll down
3Activated selection (marked in red)
The setting can be changed at any time in the Settings menu.
11

Select Temperature Format
1
3
2
Page 2 of 5
Set temperature format:
The available temperature units are displayed.
1. Select the temperature units using the selection buttons 1- 2.
2. Select the desired setting by touching the selection.
fThe next selection menu is displayed automatically.
1Scroll up
2Scroll down
3Activated selection (marked in red)
The setting can be changed at any time in the Settings menu.
Select Sensor ID Format
1
3
2
Page 3 of 5
Sensor ID format
The available sensor units are displayed.
1. Select the sensor units using the selection buttons 1- 2.
2. Select the desired setting by touching the selection.
(The setting can be changed at any time during operation).
fThe next selection menu is displayed automatically.
1Scroll up
2Scroll down
3Activated selection (marked in red)
The setting can be changed at any time in the Settings menu.
12

Set Time
1
2
Page 4 of 5
Set time:
Set the current time.
1. Set the current hours using the selection buttons +and -.
2. Set the current minutes using the selection buttons +and -.
1Scroll up
2Scroll down
fThe settings are saved.
fThe next selection menu is displayed.
The setting can be changed at any time in the Settings menu.
Set Date
1
2
Page 5 of 5
Set date:
Set the current date.
1. Set the current day using the selection buttons +and -.
2. Set the current month using the selection buttons +and -.
3. Set the current year using the selection buttons +and -.
4. Press button 3.
fThe setting procedure has been completed. The settings are saved.
1Scroll up
2Scroll down (not active)
3Press button
The setting can be changed at any time in the Settings menu.
13

1. iQ 50 - (Programming and Diagnostic Tool)
1.1 Operating Elements
Power button Function Behaviour
ON / OFF Press and hold
Reset Press and hold for longer than 10 seconds.
Device is restarted if there was a malfunction.
Stand by
Switch display ON and OFF.
1.2 Handling
Never touch the area of the antennae [Fig. I] with your hand or cover with other objects.
This can interfere with the data transmission or shorten the battery life.
Position the iQ 50 on the wheel as shown in [Fig. II].
Note
Always position the iQ 50 on the sensor so that the transmit/receive antenna is facing towards the wheel
sensor. Never hold against the wheel rim – that impairs the transmission power.
1.3 Touchscreen
Warning
In order to avoid damage to the touchscreen, do not touch with pointed objects or apply too much pressure.
fDo not bring the touchscreen into contact with other electrical devices. Electrostatic discharges can lead to mal-
functions of the touchscreen.
fEnsure that the touchscreen does not come into contact with water. The touchscreen may malfunction in a damp
atmosphere or on contact with water.
fIf the touchscreen remains switched on for prolonged periods without being used, images may burn into the
screen. Switch off the touchscreen when the device is not being used.
fSwiping movements and other gestures are not supported by the iQ 50 hand-held terminal.
14

1.4 Status Bar
1
Information and symbols in the status
bar are also subject to technical further
development. They can be expanded or
changed by future updates.
The status bar displays information on internal components such as bluetooth,
USB and WiFi. The current time is displayed on the right-hand side.
Status Displays
Display Meaning
USB connection established
Bluetooth connection activated
Battery status display
Current time
1.5 Main Menu (Home Screen)
1
3
2
4
6
5
The Start screen is the starting point. All the functions of the device are called
up via this screen.
1Status bar
2Vehicle selection
see („Vehicle Selection (Button 2)“ on page 16)
3Vehicle Selection Last 100
see („Vehicle Selection Last 100 (Button 3)“ on page 30)
4Help
see („Help (Button 4)“ on page 31)
5Settings
see („Settings (Button 5)“ on page 31)
6Navigation bar
1.6 Navigation Bar
13
2The navigation bar has 3 buttons:
1Back (to the previous mask)
2Home (to the Start screen)
3Context
15

2. Vehicle Selection (Button 2)
Pressing this button calls up the “Vehicle selection” menu in which you select the vehicle to be tested and proceed to the
function “Test before touch”.
During general settings and/or preparatory work (e.g. selection of the vehicle), the iQ 50 can be left
anywhere.
During all actions where a sensor is to be activated, read out or programmed, the iQ 50 must be positioned
against the wheel [see Fig. II].
Yes No
12
Clear all vehicle data?
Are you sure you want to delete
all data for this vehicle and start
again?
shown here is displayed
1. Press button Yes 1to erase the device memory. A new programming and
diagnostic routine can be started.
2. Press button No 2to cancel the operation. The data remain stored for
further use.
2.1 Quick Start or New Vehicle
With the iQ 50 there are two possibilities of starting the wheel sensor test.
1
3
Select New Vehicle
A new vehicle not yet tested is selected.
This comprehensive route is described after the menu, see („2.2 Manufacturer
Selection“).
Quick Start
If a certain vehicle has already been tested once, the database is stored in the
list of the last 100 vehicles.
A test on this vehicle can be called up immediately, see („3.1 List of Last 100
Vehicles“).
16

2.2 Manufacturer Selection
1
2
3
To create a new routine, the exact vehicle type has to be set.
1. Select the manufacturer using the selection buttons.
2.
fThe next menu is displayed automatically.
1Scroll up
2Scroll down
3Activated selection (blue background)
Selected elements are displayed on a blue background.
2.3 Model Selection
1
2
3
All available vehicle models of the selected manufacturer are displayed.
1. Select the model using the selection buttons.
2. Activate the model by pressing.
fThe next menu is displayed automatically.
1Scroll up
2Scroll down
3Activated selection (blue background)
Selected elements are displayed on a blue background.
17

2.4 Production Year Selection
1
2
3
All possible production years of the selected model are displayed.
1. Select the production year using the selection buttons.
2. Activate the production year by pressing.
fThe next menu is displayed automatically.
1Scroll up
2Scroll down
3Activated selection (blue background)
differ from one another.
Please ensure that you select the production year of the vehicle here.
2.4.1 Select Rim Type
Aluminium
Steel
1
2
Select rim type.
1Aluminium rim
2Steel rim
18

2.4.2 Enter License Plate
Enter registration number:
1
2
3
Enter license plate.
The input of the license plate is optional. The input can be switched ON/OFF in
the Settings menu).
1Enter license plate
2Display of the input
3Continue, the input is saved
the list of the last 100 vehicles if it is required again.
19

2.5 Start Menu for Programming and Diagnostics
1
32
6
5
2
2 2
4 4
4
Test
5
The Start menu is the starting point for all programming and
diagnostic functions of the iQ 50.
—The set vehicle data 1are displayed in the upper half of the screen.
—An exemplary vehicle with 4 wheel symbols 2is displayed in the middle.
—
4alongside the wheel symbol.
—The selected wheel is marked with a black triangle 3.
—Pressing the area 4alongside the wheel symbol for longer calls up the con-
text menu of the wheel sensor („2.5.2 Wheel Sensor Context Menu“ on page
21)
—Press button Test 5to activate the selected wheel sensor („2.7 Sensor Test“)
—Press button 6to call up the context menu of the Start menu („2.5.3 Start
Menu Context Menu“)
2.5.1 Wheel Symbols (Meanings)
2
1
EZ
3
D
Test
The wheel symbols can be displayed in 3 different colours:
Colour Meaning
Green 1Sensor activated, values OK
Temperature and pressure are displayed. („2.6.1 Sensor OK“)
Yellow 2Sensor activated, values NOK. („2.6.2 Sensor NOK“)
Grey 3Sensor not tested / not activated.
Various items of information can be displayed alongside the wheel symbols:
Info Meaning
Battery Battery voltage of the wheel sensor very low
The wheel sensor should be replaced immediately .
EZ EZ sensor detected (programmable sensor)
OE OE sensor detected (original sensor from vehicle manufacturer)
D Duplicate sensor ID found
20
Table of contents
Other Wow Diagnostic Equipment manuals