Calibration pH 330i/340i
10
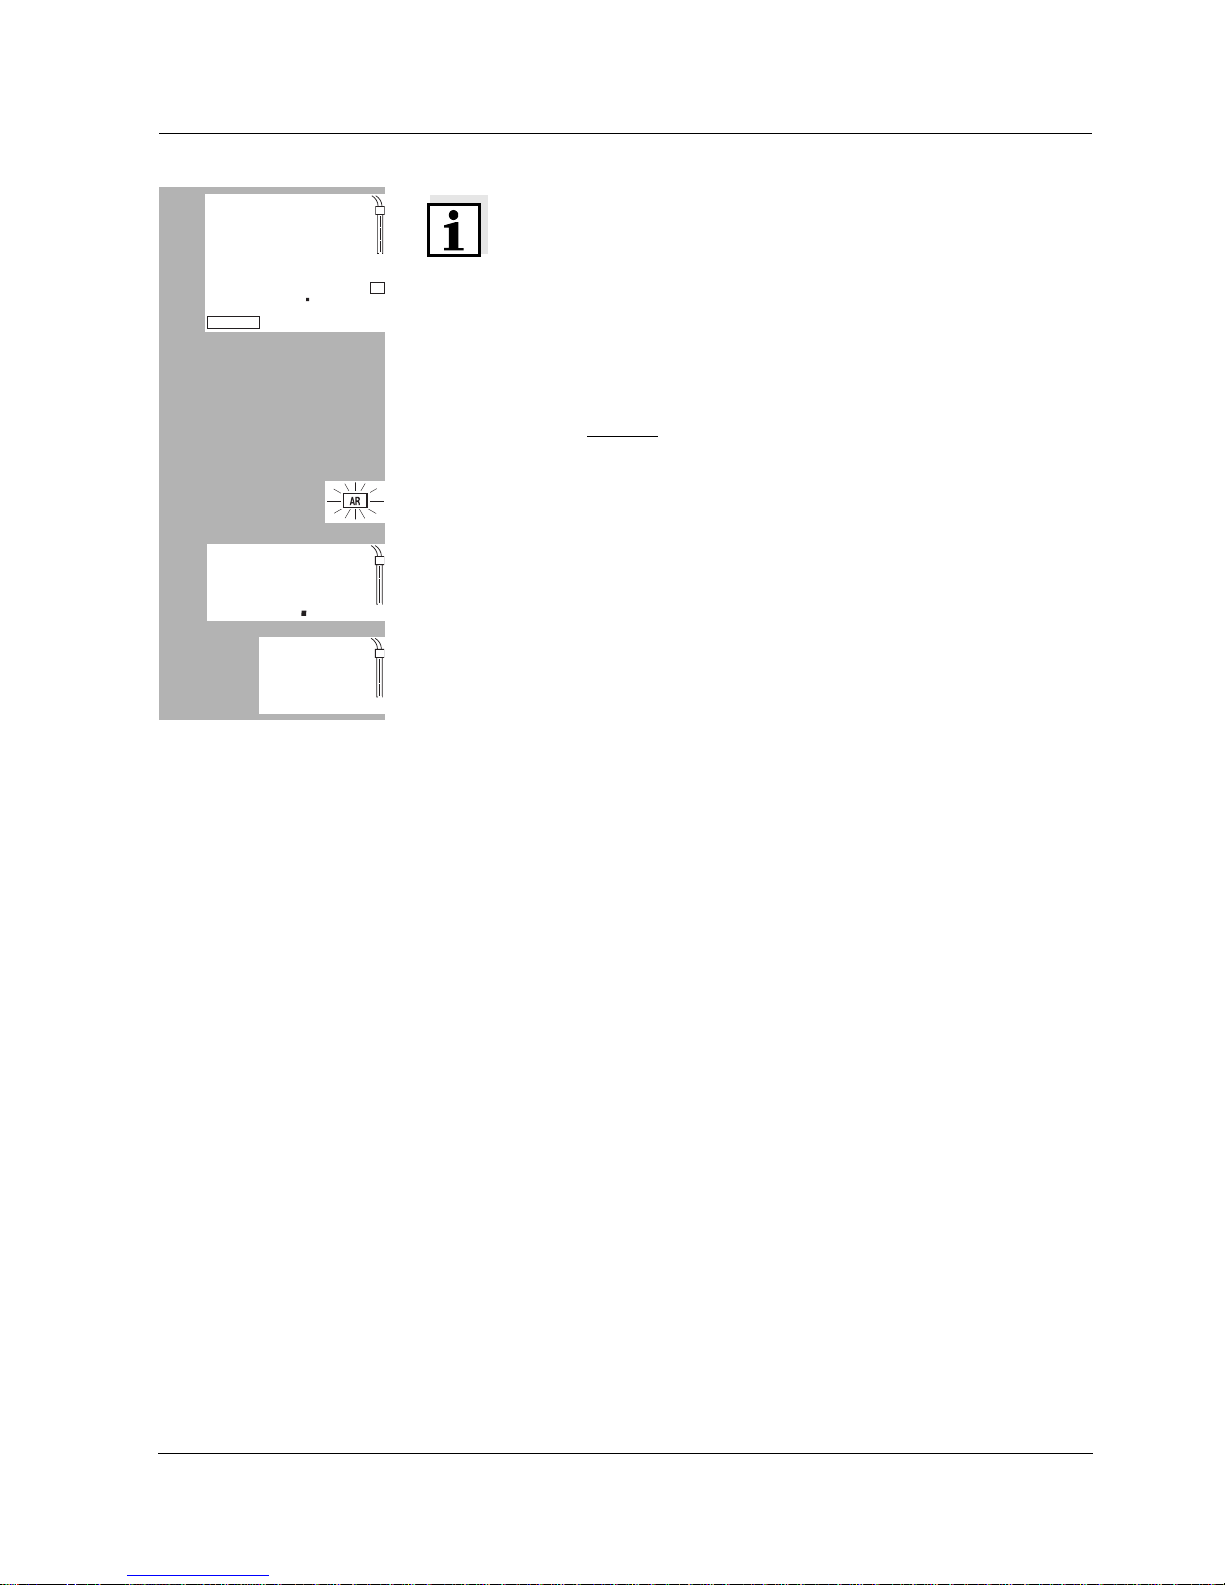
ConCal procedure:
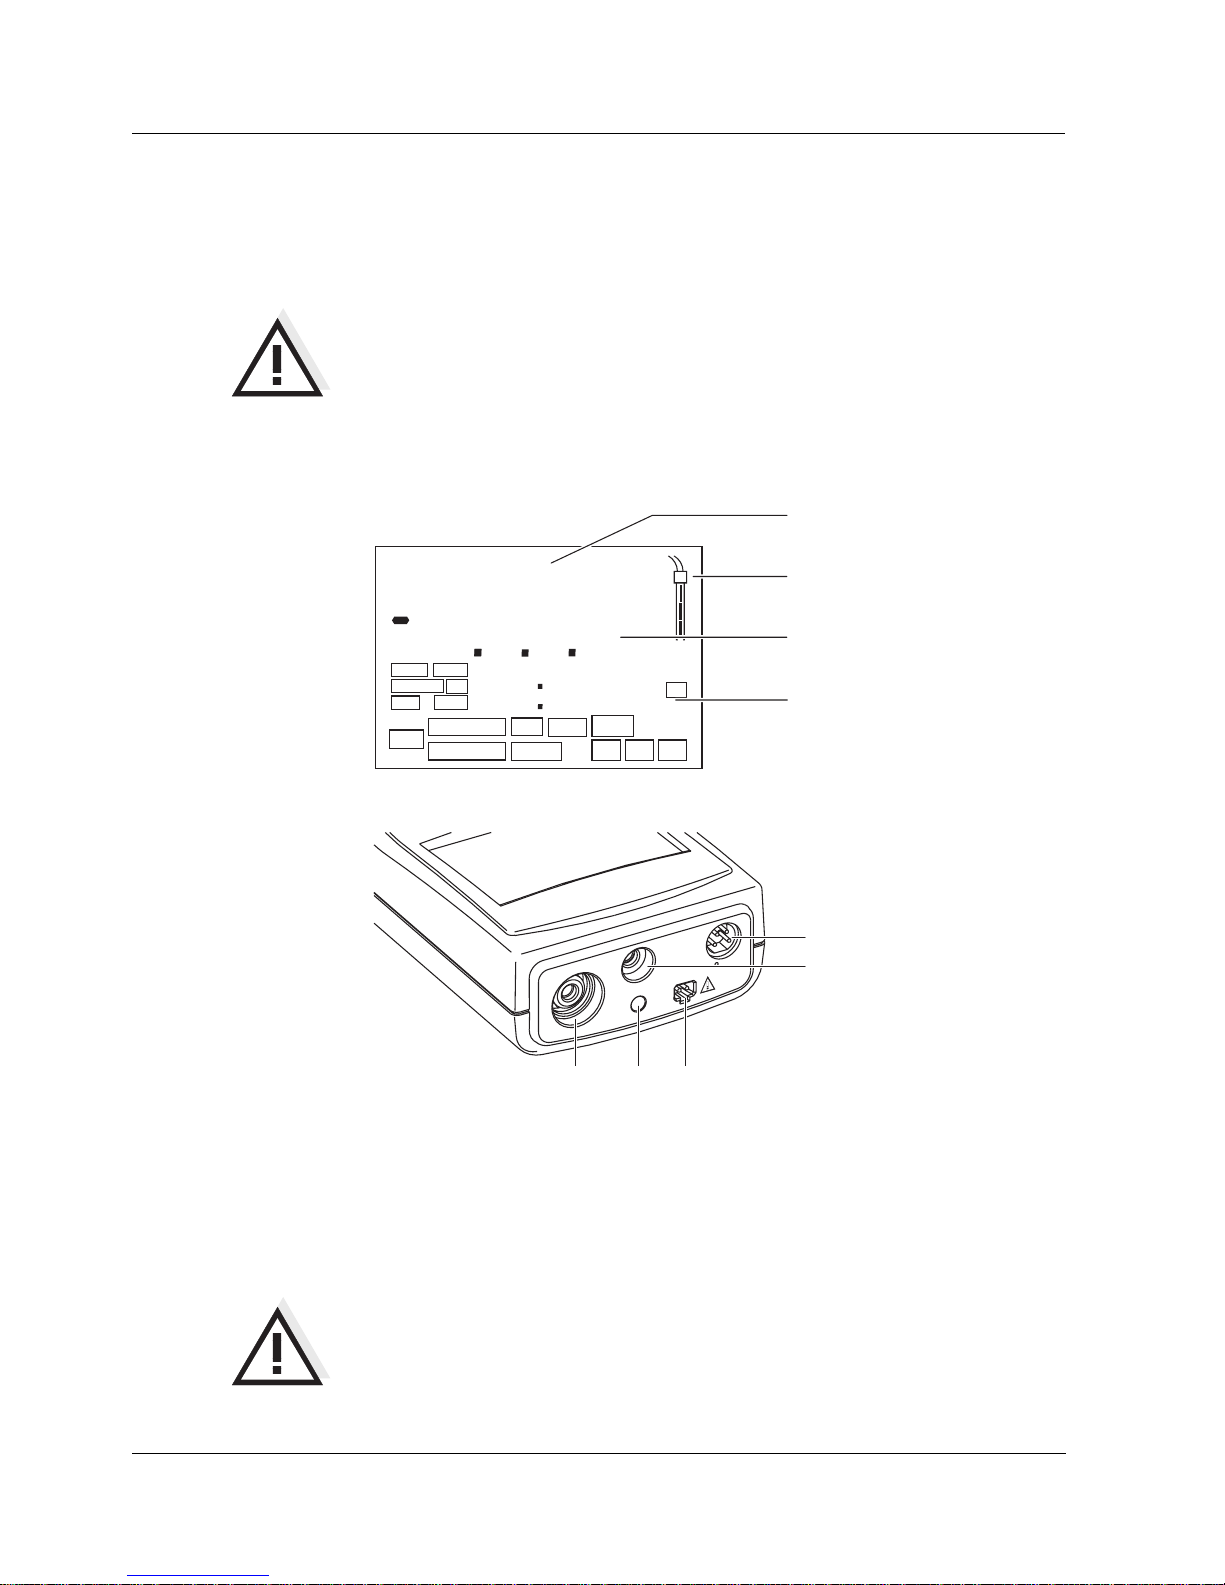
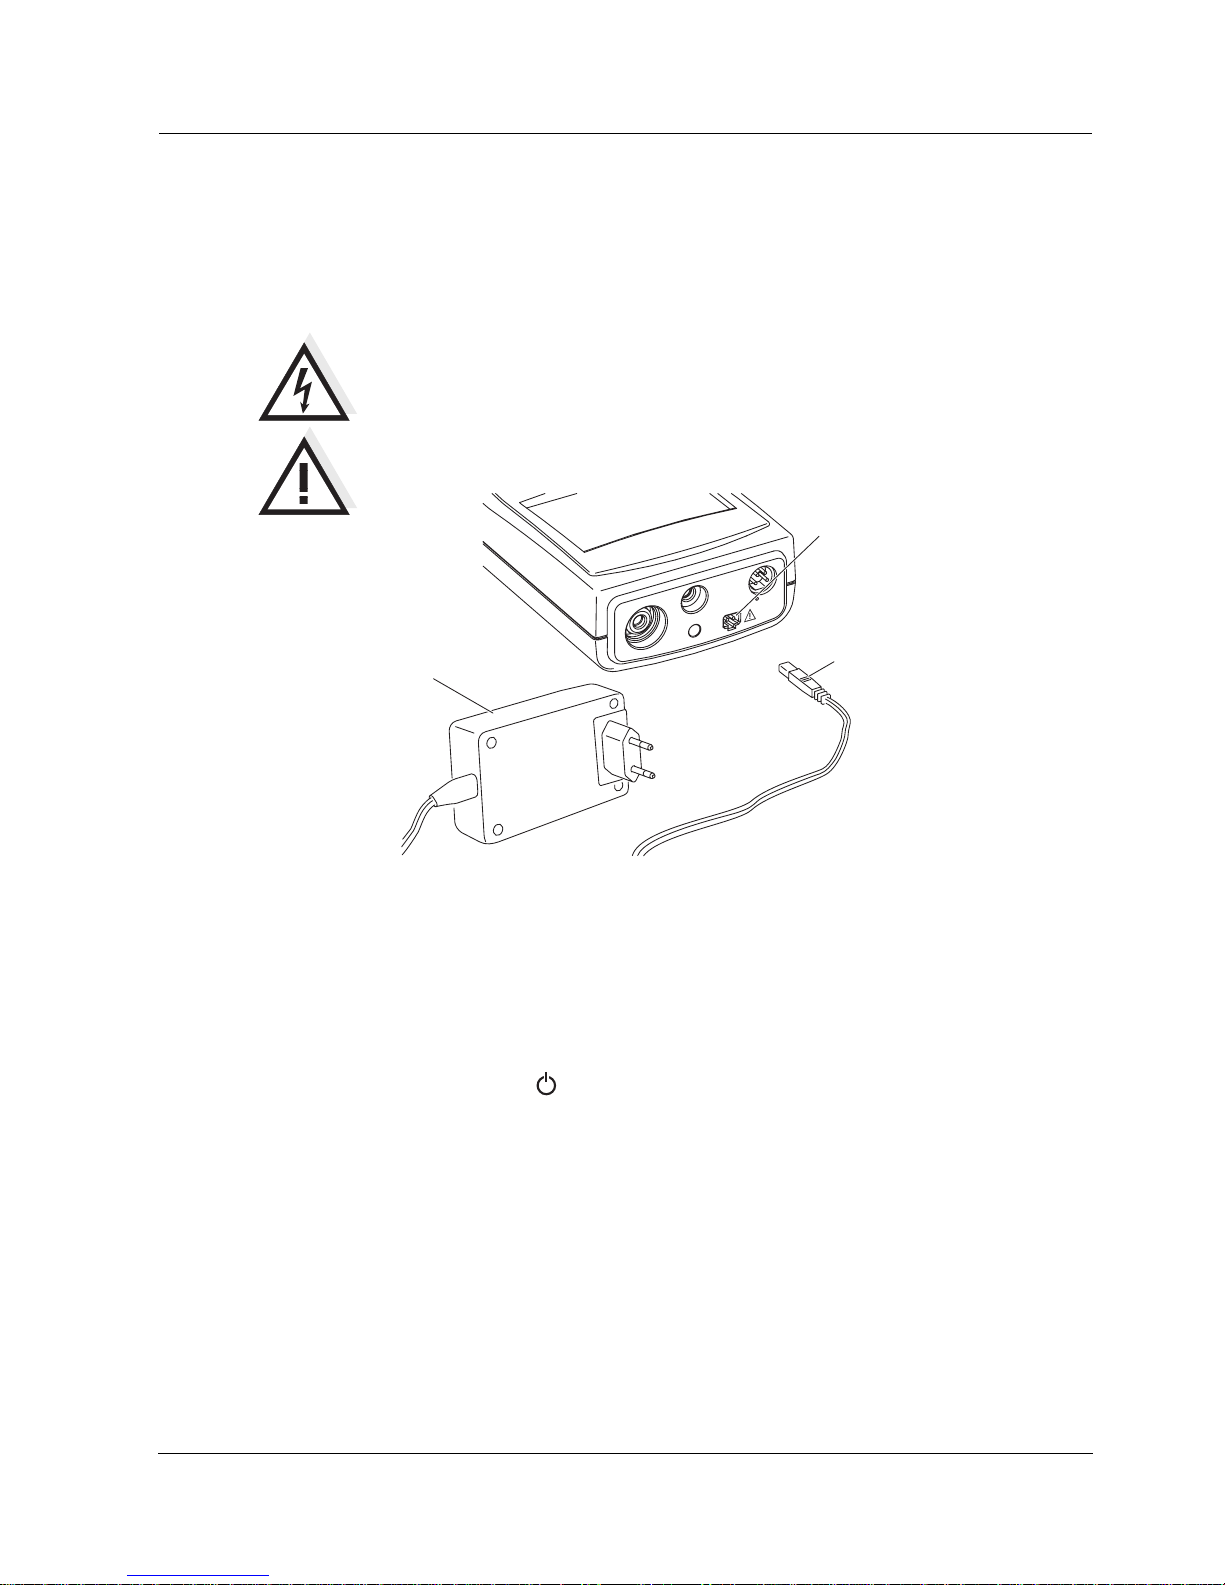
lConnect the pH electrode to the measuring instrument.
lPress the <CAL> key repeatedly until the display ASY and the function
display ConCal appears. The sensor symbol displays the evaluation of
the last calibration (or no sensor symbol in the delivery state or after the
measurement parameter has been reset).
lImmerse the pH electrode in the first buffer solution
(pH 7.0 ± 0.5 in two-point calibration).
lWhen measuring without a temperature sensor:
Enter the temperature of the first buffer solution
with <▲> <▼>while pressing the <RUN/ENTER> key.
lPress the <RUN/ENTER> key.
The measured pH value appears on the display.
lSet the measured value to the nominal pH value of the buffer solution(at
the current temperature) with <▲> <▼>.
lIfthemeasuredvalueis stable,pressthe<RUN/ENTER> key. Thevalue
of the asymmetry appears.
lPress the <RUN/ENTER> key. SLO appears.
Note
At this point, the ConCal calibration can be terminated with
<M>. This corresponds to a single-point calibration. To do
this, the instrument uses the Nernst slope (-59.16 mV/pH at
25 °C) and determines the asymmetry of the electrode.
lImmerse the two-point calibration pH electrode in the secondbuffer so-
lution to continue.
lWhen measuring without a temperature sensor:
Enter the temperature of the second buffer solution with <▲> <▼>while
pressing the <RUN/ENTER> key.
lPress <RUN/ENTER>.
lSet the measured value to the nominal pH value of the buffer solution(at
the current temperature) with <▲> <▼>.
lWhen the measured value is stable, press the <RUN/ENTER> key. The
instrument displays the value of the slope and the calibration evaluation.
lPress <RUN/ENTER>. The instrument displays the value of the asym-
metry.
lSwitch to the measuring mode with <M>.
YAS
TP
pH
ConCal
8
4
2
°C
307 1
pH
ConCal
TP
8
4
2
°C
5
2
OS L
°C
TP
pH
ConCal
554 7
pH
ConCal
TP
8
4
2
°C
pH
25 9
mV/pH
-
pH
3
mV