manuals.online logo
Brands
  1. Home
  2. •
  3. Brands
  4. •
  5. Xerox
  6. •
  7. Printer
  8. •
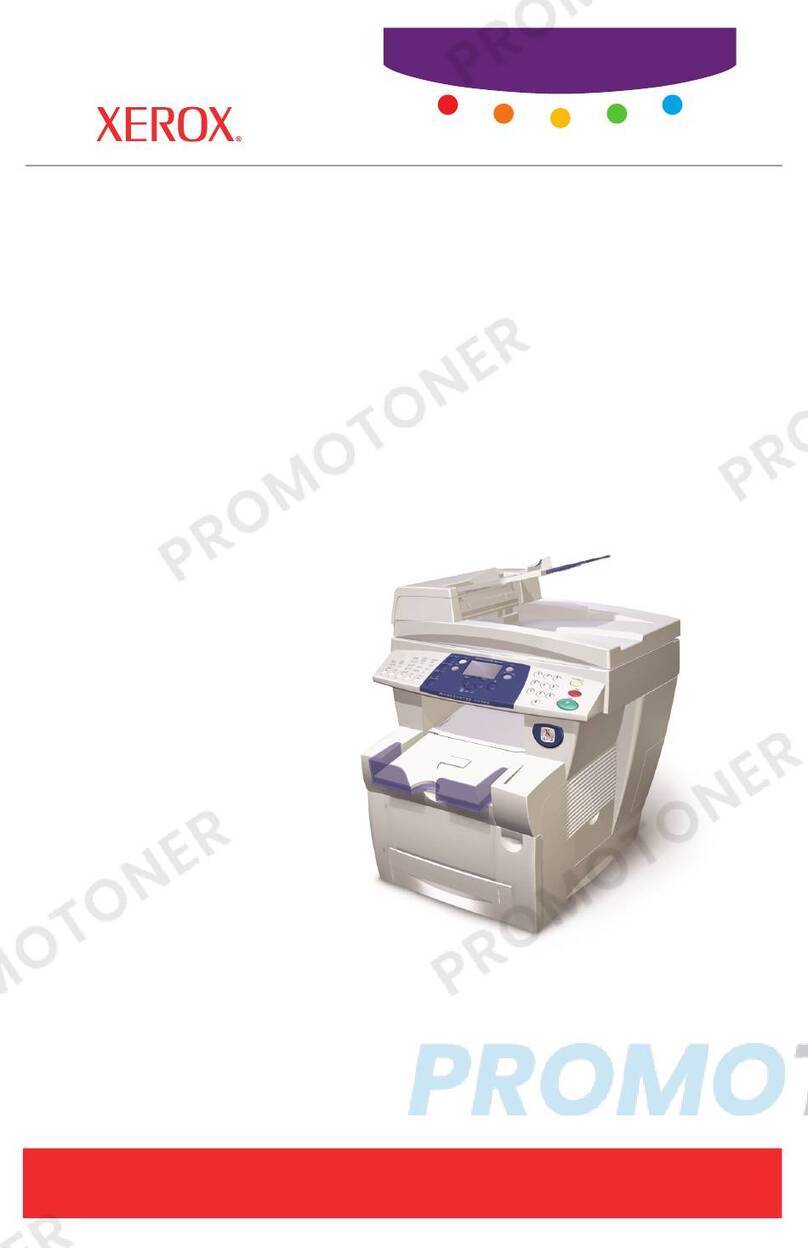
  9. Xerox Document Centre 240 ST Instructions for use

Xerox Document Centre 240 ST Instructions for use

Other manuals for Document Centre 240 ST

2

This manual suits for next models

6

Other Xerox Printer manuals

Xerox Phaser 3330 User manual

Xerox

Xerox Phaser 3330 User manual

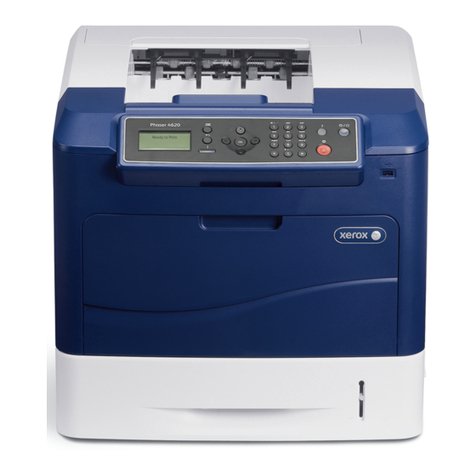
Xerox Phaser 4622 User manual

Xerox

Xerox Phaser 4622 User manual

Xerox Phaser 4510 Operating manual

Xerox

Xerox Phaser 4510 Operating manual

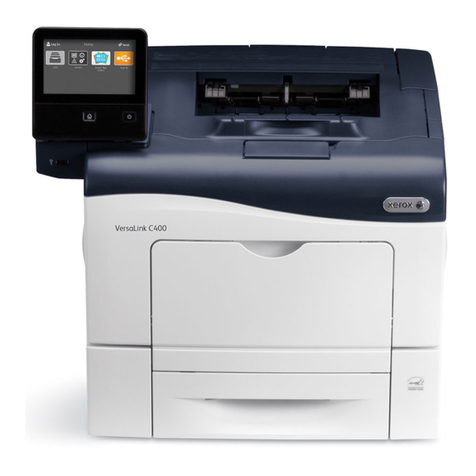
Xerox VersaLink C400 User manual

Xerox

Xerox VersaLink C400 User manual

Xerox Phaser 6300 Manual

Xerox

Xerox Phaser 6300 Manual

Xerox DocuPrint 4517 User manual

Xerox

Xerox DocuPrint 4517 User manual

Xerox Wide Format IJP 2000 User manual

Xerox

Xerox Wide Format IJP 2000 User manual

Xerox Phaser 5500 series Guide

Xerox

Xerox Phaser 5500 series Guide

Xerox 6125N - Phaser Color Laser Printer User manual

Xerox

Xerox 6125N - Phaser Color Laser Printer User manual

Xerox AltaLink B8045 User manual

Xerox

Xerox AltaLink B8045 User manual

Xerox DocuPrint C6 User manual

Xerox

Xerox DocuPrint C6 User manual

Xerox Phaser 6280 Operating manual

Xerox

Xerox Phaser 6280 Operating manual

Xerox DocuPrint 3055 User manual

Xerox

Xerox DocuPrint 3055 User manual

Xerox Phaser  8200 Instruction Manual

Xerox

Xerox Phaser 8200 Instruction Manual

Xerox 8142 Quick start guide

Xerox

Xerox 8142 Quick start guide

Xerox Phaser 8560 Operating manual

Xerox

Xerox Phaser 8560 Operating manual

Xerox Document Centre 240 ST Instructions for use

Xerox

Xerox Document Centre 240 ST Instructions for use

Xerox VersaLink C400 Operating manual

Xerox

Xerox VersaLink C400 Operating manual

Xerox DocuPrint 1300 Installation guide

Xerox

Xerox DocuPrint 1300 Installation guide

Xerox WorkCentre 5632 Operating manual

Xerox

Xerox WorkCentre 5632 Operating manual

Xerox DP N24 Service manual

Xerox

Xerox DP N24 Service manual

Xerox 6100BD - Phaser Color Laser Printer User manual

Xerox

Xerox 6100BD - Phaser Color Laser Printer User manual

Xerox VersaLink C7000 Operating manual

Xerox

Xerox VersaLink C7000 Operating manual

Xerox DocuColor 2060 User manual

Xerox

Xerox DocuColor 2060 User manual

Popular Printer manuals by other brands

Evolis Elypso user guide

Evolis

Evolis Elypso user guide

Lexmark 522n - C Color Laser Printer Service manual

Lexmark

Lexmark 522n - C Color Laser Printer Service manual

Panduit COUGAR LS9Q Operator's manual

Panduit

Panduit COUGAR LS9Q Operator's manual

Olivetti PG L2140 Operation guide

Olivetti

Olivetti PG L2140 Operation guide

Samsung SL-M2820DW user manual

Samsung

Samsung SL-M2820DW user manual

Kyocera FS-9530DN specification

Kyocera

Kyocera FS-9530DN specification

Canon LASER SHOT LBP-1210 Specifications

Canon

Canon LASER SHOT LBP-1210 Specifications

Canon PIXMA PRO-1 Series Getting started

Canon

Canon PIXMA PRO-1 Series Getting started

Canon LBP113w Getting started

Canon

Canon LBP113w Getting started

Lexmark Infoprint 1332 user manual

Lexmark

Lexmark Infoprint 1332 user manual

Epson M1120 user guide

Epson

Epson M1120 user guide

TransAct POSJET 1500 Spare parts

TransAct

TransAct POSJET 1500 Spare parts

Telpar MTP-1500 user manual

Telpar

Telpar MTP-1500 user manual

Star DP8340 SERIES user manual

Star

Star DP8340 SERIES user manual

MGI JETVARNISH 3DS user manual

MGI

MGI JETVARNISH 3DS user manual

Kyocera TASKalfa PA4500ci Operation guide

Kyocera

Kyocera TASKalfa PA4500ci Operation guide

Emaar EP-360 user manual

Emaar

Emaar EP-360 user manual

Fujitsu DL7400 user manual

Fujitsu

Fujitsu DL7400 user manual

manuals.online logo
manuals.online logoBrands
  • About & Mission
  • Contact us
  • Privacy Policy
  • Terms and Conditions

Copyright 2025 Manuals.Online. All Rights Reserved.

Page 1
Banyan VINES Network Quick Install Card
Xerox Document Centre 240/255/265 LP/ST
d) At the next screen, press the Protocol
button.
e) At the next screen, press the Enable
button to start the Banyan Vines
protocol and press Save.
4. Configure User Name settings and
Password.
a) At the next screen, press the Settings
button.
b) At the next screen, press the User
Name/PC Print Destination button,
enter the desired text for this item
using the touch panel keys, then press
Save.
c) Press the User Password button,
enter the desired text for this item
using the touch panel keys, then press
Save.
d) Press the Print Service Name button,
enter the desired text for this item
using the touch panel keys, then press
Save.
e) Press the Exit Tools button.
5. Wait a MINIMUM of 7 minutes for the
printer to reset.
a) Obtain a Configuration Report page
from your printer.
b) Check the Configuration Report
page and verify that Banyan VINES is
enabled and the other Banyan
Settings are correct.
6. From the documentation package
supplied with your printer, retrieve the
CentreWare Network Services CD-ROM
(CD-ROM 2) and the document entitled
Getting Started with Print and Fax
Services. Proceed to the next section of
this procedure called Go to the server
and...
Before You Start
If your printer is equipped with a Token Ring
interface you must enable TCP/IP and use lpr to
submit print jobs. Use the Token Ring Quick
Install Card supplied in this Quick Install Card
set to set the Ring Speed and Source Routing
settings for your environment.
Go to the printer and...
1. Connect your Document Centre to the
network with the appropriate cabling.
2. Enter the Tools pathway
a) Press the Access () button.
b) On the keypad enter 1111 or the
current password. Press the Enter
button when finished. If your printer is
an ST model press the Go to Tools
button, otherwise skip to the next step.
c) The Touch Screen will be used for the
remainder of the data entry.
3. Enable Banyan VINES printing.
a) Press the Connectivity and Network
Setup button.
b) At the next screen, press the Network
Setup button.
c) At the next screen, press the Banyan
VINES button.
For assistance, contact your local Xerox Customer Support Center:
USA: 1-800-821-2797 Canada: 1-800-939-3769
Page 2
Banyan VINES Network Quick Install Card
Xerox Document Centre 240/255/265 LP/ST
2. Configure the Paper Formats.
a) The Configure Paper Formats
Screen will be displayed.
b) Press the Escape key to continue
without making any changes.
3. Configure Access Lists and Print
Destination.
a) The Access Lists Screen will be
displayed.
b) Press the F10 key to accept the
defaults.
c) The Add a Destination Screen will be
displayed.
d) Select PCPrint and press Enter.
e) From the Destination Attributes
Screen, enter the Document Centre
user name as the PCPRINT ST name
and Description, and then press the
F10 key.
Note The PCPrint ST name must be the same
as the user name created and must also
match the Street Talk (user) Name
entered at the printer.
f) The Output Strings Screen will be
displayed. Press the F10 key to accept
the defaults displayed on the screen.
g) The Enable Strings Screen will be
displayed. Press the F10 key to accept
the defaults displayed on the screen.
h) Select No and press Enter when you
are prompted to add another
destination.
4. Enable the Print Queue
a) The Print Queue Status screen will
be displayed.
b) Change the Printing jobs and the
Accepting jobs fields to Yes and then
press the F10 key.
c) A message will be displayed stating
that the printer is ready to accept and
print jobs. Press the F10 key to
continue.
d) The Manage A Service screen will be
displayed.
e) Press the Escape Key to return to the
Manage Services main menu.
5. Power off and power on the Document
Centre 240/255/265 for these setup
options to take effect.
Go to the server and...
1. Configure the Service and Queue.
a) Using the MUSER utility, create a user
name and assign a password for the
printer. The user name and password
must be the same that were entered at
the Document Centre.
b) Using the MSERVICE utility, highlight
and select ADD a server-based
service.
c) At the Add A Service screen, enter
the StreetTalk name and description
when prompted.
d) Select the server on which you want to
create the service.
e) Select Banyan Print Service.
f) Select an appropriate disk location
when prompted.
g) A message will be displayed stating
that the service is running, but is not
yet available to users.
h) Press the F10 key to continue.
i) The Configure Queue screen will be
displayed.
j) Press the F10 key to accept the
defaults.