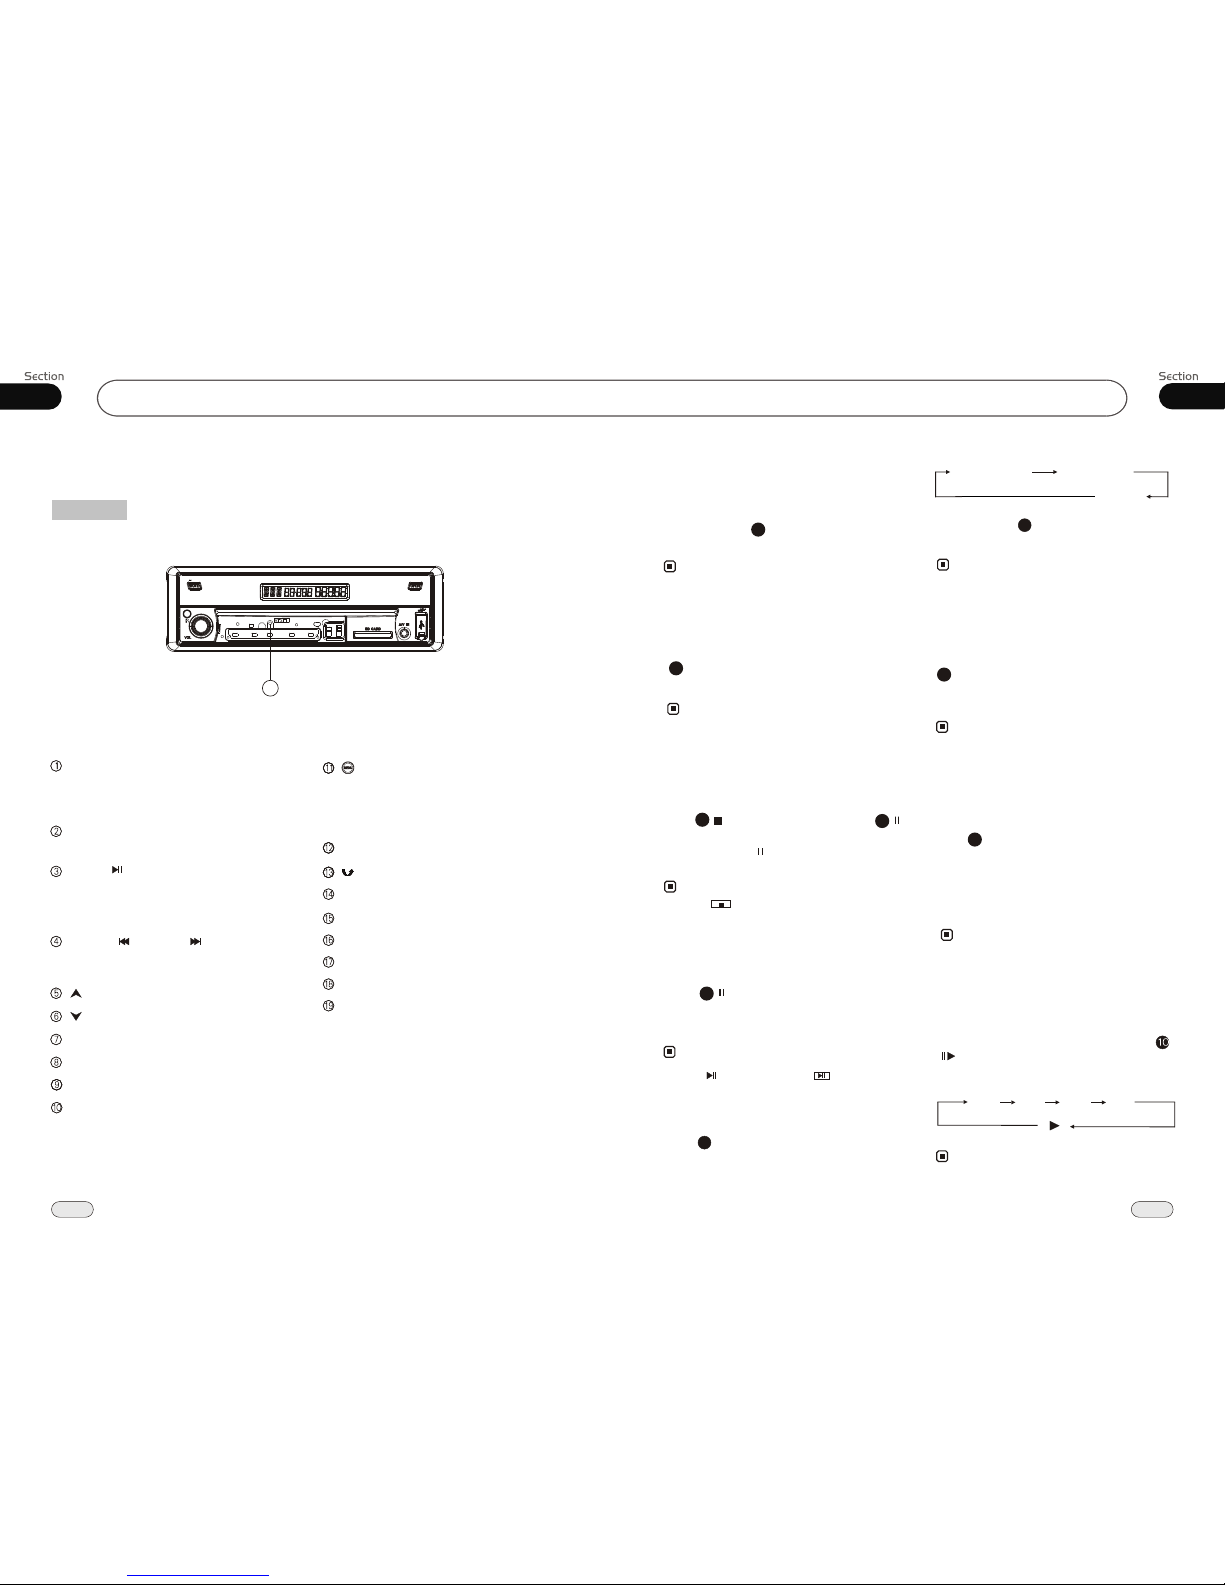
01
5
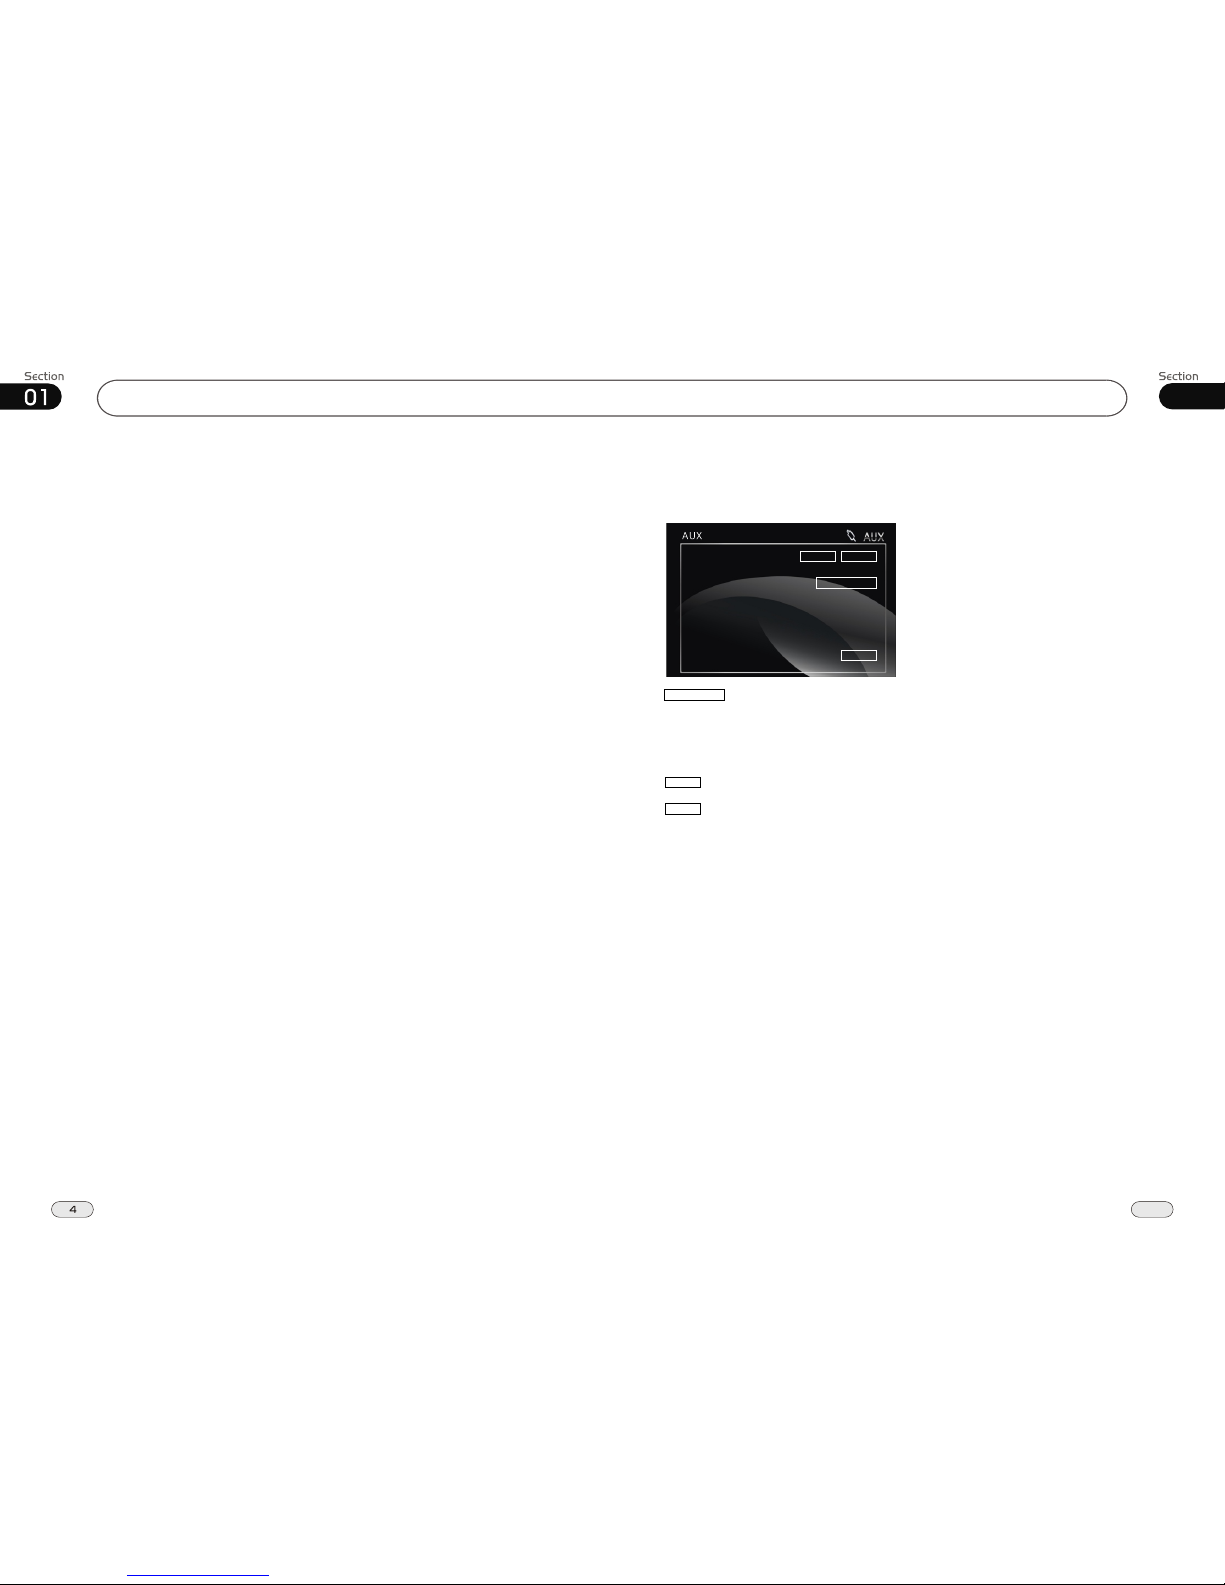
Before You StartTuner
09
40
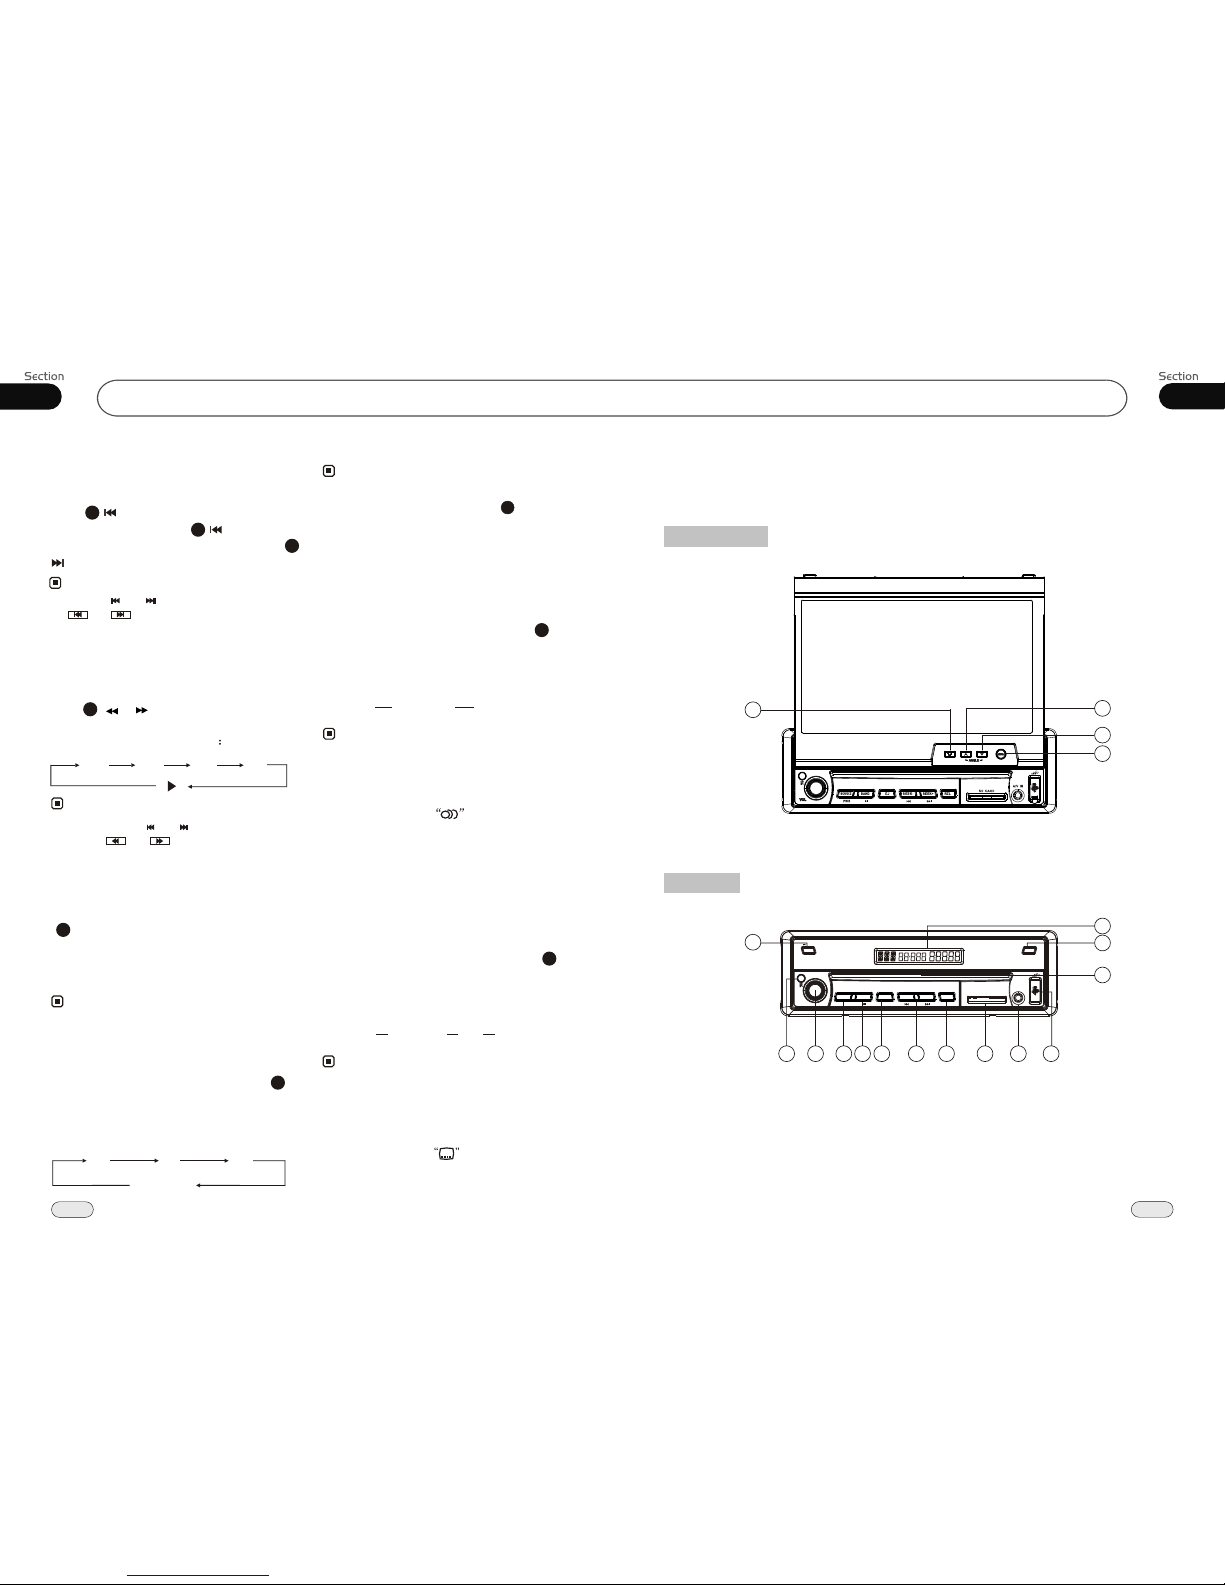
Type of disc
VCD
MP3
CD
NOTE: The unit is compatible with VCD1.0/1.1/2.0/3.0 version and DVCD disc.
DVD
Handle the disc by its edge to keep
the disc clean, and do not touch the surface.
Do not attempt to modify the unit,
modifying the unit may cause an
accident.
Stop the vehicle before carrying
out any operation that could
interfere with your driving.
Do not work in extremely high or
low temperature. Be sure the
temperature inside the vehicle
is between +60 C and -10 C
before turning on your unit .
To enjoy optimum sound and
images while playing, handle the
discs as follows:
Do not use your CDs with paste residue
or ink attached.
Do not use CDs with labels or stickers
attached, which may leave a sticky residue
while beginning to peel off.
(Shown as the picture)
Clean the discs with an optional clean-
ing cloth. Wipe each disc from the center out.
(Shown as the picture)
PRECAUTIONS
This unit can play the following discs only:
Label on the disc Recorded material
Sound and moving
pictures
Sound and moving
pictures
Sound only
Sound only
Size of disc
Besides playing the discs above, the unit also can be connected to other connector.
Please refer to the details on page 19 before you playing them.
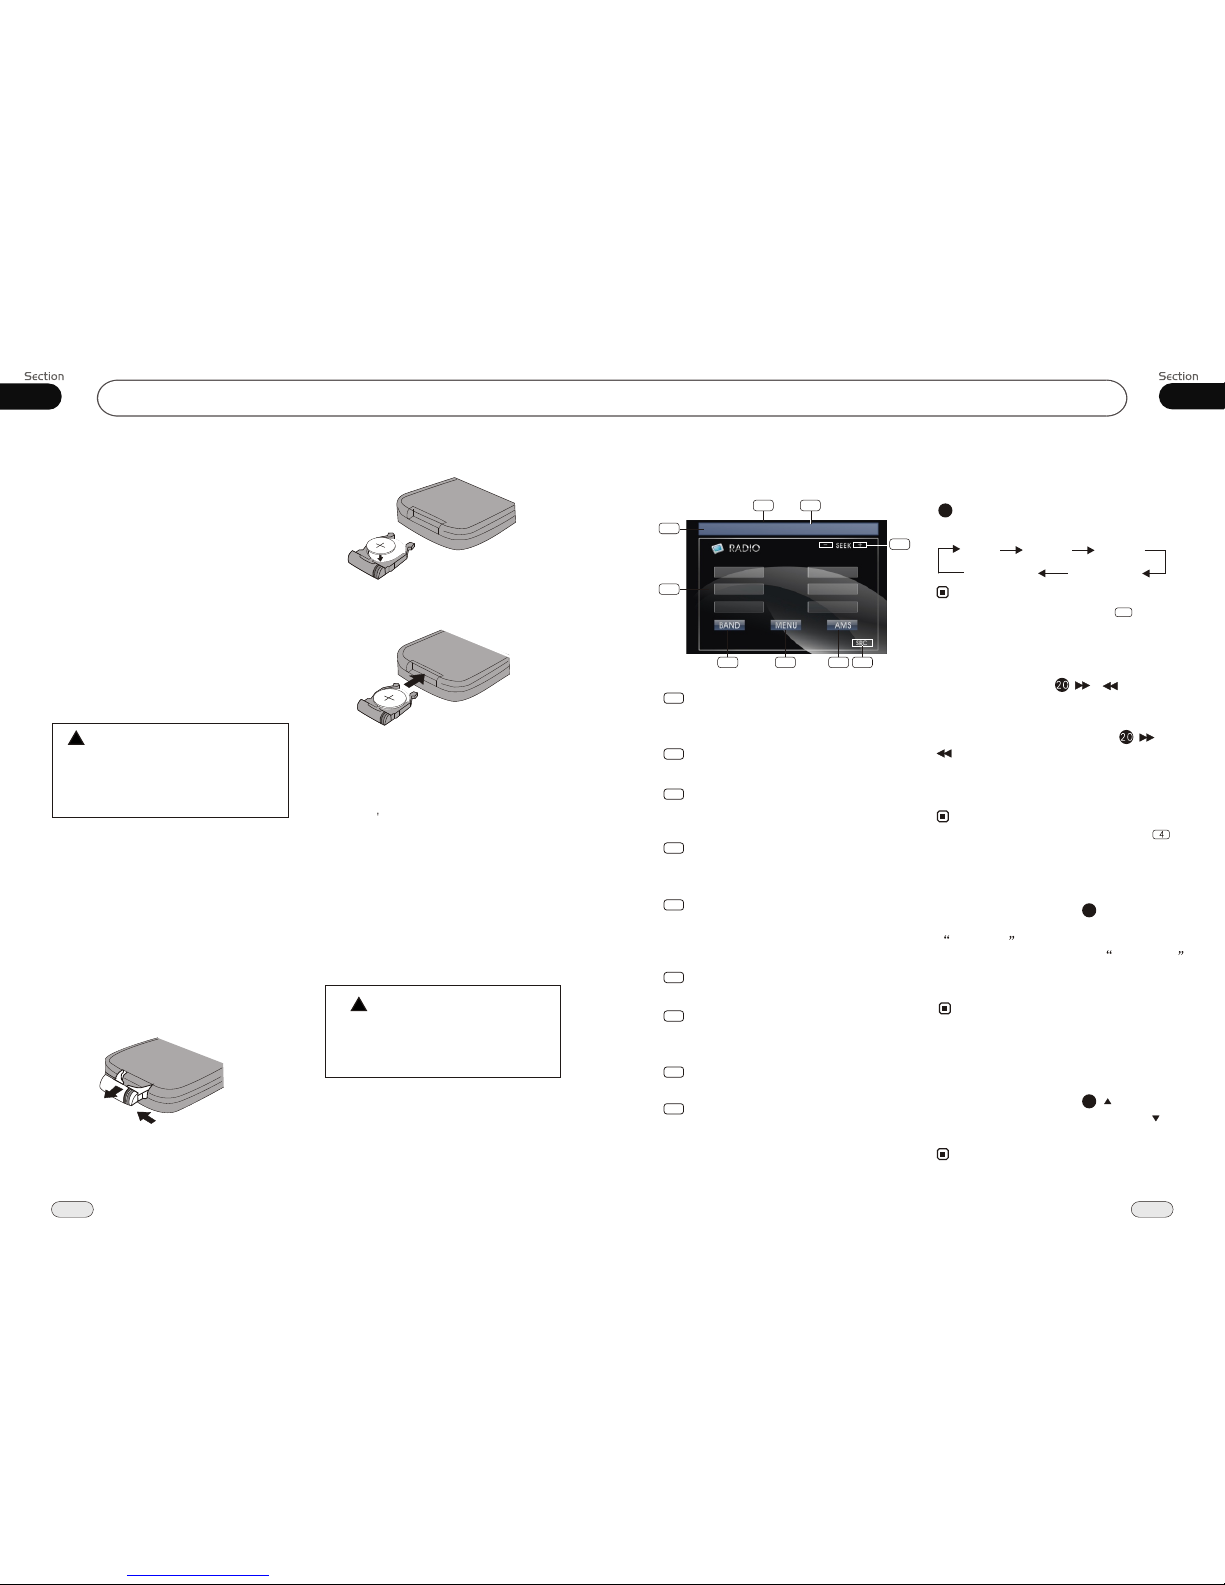
Scanning/Memorizing Stations
Automatically
During radio status, briefly press AMS
button on the remote control to scan each
stored 5 seconds respectively wh-
ich Number Buttons (from 1
to . You can press responding N-
umber Buttons or ton when your
desired station is And it starts pl-
aying that station.
station
stored in
6) the cor
AMS but
charged.
23
4
When press and hold AMS for
more than 2 seconds, auto-
matically memory storing The
radio automatically selects and
has it stored in any one of Number
Buttons (from1 to 6).
button
it will activate
function.
a station
the
Note:
* The unit can be stored up to 6 stations
each band.
* Press in the monitor performs the same
function.
for
Number Buttons
During radio status, Number Buttons
(from 1 to 6) can help you yo-
ur favorite station. You can follow the
as below:
store
steps
Press and hold AMS button to rece-
ive stations automatically, and store th-
em in 1 to 6 number respectively.
Press ST button on the remote control
MONO mode or STEREO
to
select mode.
MO/ST Selector
Stereo reception is charged when STEREO
appears. It is switched to mono mode when
MONO appears. ST OFF appears on
the display to switch to MONO compulsively.
It is only valid on remote control.
It is only valid in FM tuning.
23
During radio status, press Number
Buttons to receive the stored stations.
4
When receiving a station,press and hold
any one of the Number Buttons
(from 1 to 6) until the number app-
ears on the LCD, which indicates that
station is already stored in the corresp-
onding number button.
Press and hold another number button
more than 2 seconds when listening in
a station in one number button s, the
station will be stored in that number bu-
tton.
6
Switch to MONO compulsively to improve
the listening quality when week signal.
Note:
*
*
*
4
23
1
2
3
Press in the monitor performs the same
function.
Note:
*
On Screen Display
8
During radio mode, press OSD to
display the edition information and the
LCD display the current time.
5
Note:
*It is only valid on remote control.
MPEG-4
Sound and moving
pictures