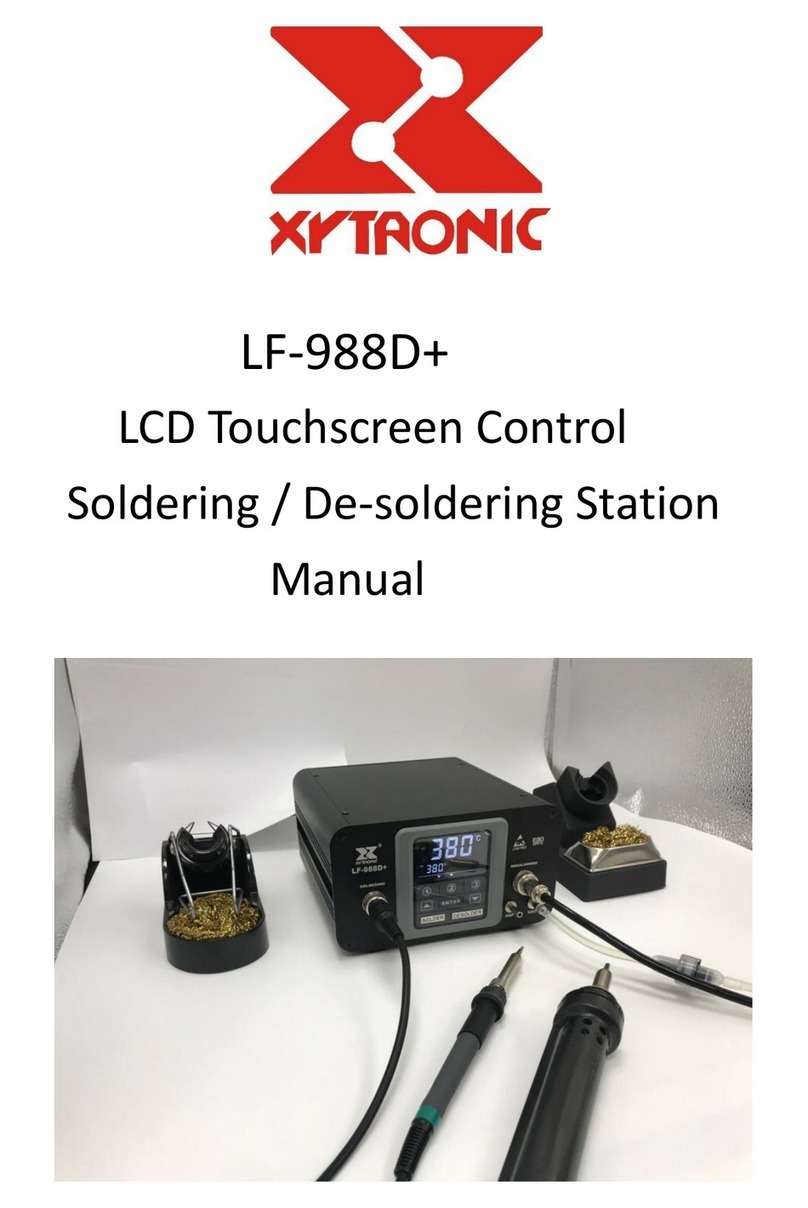
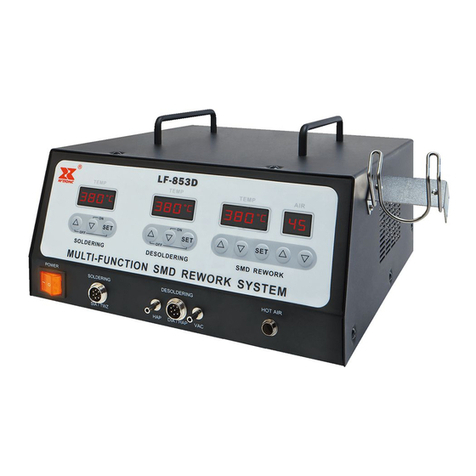
Xytronic LF-389D User manual

INSTRUCTION MANUAL
FOR
LF-399D
&
LF-389D
TEMPERATURE CONTROLLED
SOLDERING STATION

1
INTRODUCTION
Thank you for purchasing our soldering station –the best solution for your soldering
equipment needs! We believe that you will be more than satisfied with many features
and the versatility of your new soldering station. Please carefully read the instruction
manual prior to operation to maximize the advantages of using your new soldering
station.
WARNING:
This appliance is not intended for use by children or other persons without
assistance or supervision if their physical, sensory or mental capabilities prevent
them from using it safely. Children should be supervised to ensure that they do
not play with appliance.
If the supply cord is damaged, it must be replaced by the manufacturer, or its
service agent or similarly qualified persons in order to avoid a hazard.
Failure to observe the safety regulation will result in a risk of life and limb. The
manufacturer shall not be liable for damage resulting from misuse of the unit or
unauthorized alterations.
CAUTION:
REMEMBER, THE TIPIS HOT!
◆Keep the soldering tip and heating element away from the body, clothes and
flammable material when in operation. Always replace the solder wand to its
original holder when not being use. The soldering tip and the heating element are
still remaining hot after being switched off. Ensure that you do not touch the
soldering tip and the heating element.
This tool must be placed on its stand when not in use.
DO NOT WORK ON LIVE CIRCUITS
◆Before working on any mains powered equipment, make sure that it is turned off,
and the mains plug is removed from the power point. You must not undertake
work on live parts.
DO NOT USE IF DAMAGED
◆If the power lead becomes damaged or the soldering station becomes faulty,
discontinue use immediately. To comply with safety standards, the power lead
must only be replaced by authorized technicians as special purpose tools are
required. Only the technician is permitted undertake repairs. Use the original
replacement part only.

2
REMEMBER UNPLUG IN THE POWER CORD
◆The station must be switched off and the power cord must be unplug in before
replacing the fuse in the P.C.B.
Caution: Soldering irons operate at high temperatures and can easily burn the
skins and/or objects. Do not touch the tip and heater at any time and to keep it a
safety distance from flammable materials while the unit is on or while being
cooling. Please allow a sufficient time for it to cool before changing tips or
servicing the unit!
PRODUCT DESCRIPTION
Both LF399D/LF-389D digital readout electronically temperature controlled soldering
stations have been designed to meet the present and future soldering needs of the
electronic production industry, hobbyist and students.
The LF-399D & LF-389D rated current have 220-240Vac, 50Hz or 100-120Vac, 60Hz
for option. Both incorporate electronic circuitry which enables the user to adjust the
temperature from 150℃(392℉) through 480℃(896℉) without changing the tip. The
temperature is maintained to within ±5℃(9℉) of its idling temperature through the
use of its PTC characteristic. Both engineer the heater failed detection, if the heater
circuit fails the display will read “H-E”and will automatically cut off the heater
power. Also the temperature can be locked by “password”code that is convenient for
production line management.
The electronic “ZERO VOLTAGE“ switching protects voltage and current sensitive
components, such as “CMOS” devices, against transient voltage spikes that can be
caused by switching the power or heater on/off or other environmental conditions.
The highly insulated ceramic heating element with heater insulation exceeds 100M
ohms. The specifically design heater brings the temperature up to approximately
565-650℃(1050-1200℉) at full setting in about one minute. This results in very fast
heat-up, instant recovery and superior heat transmission.
The ergonomic and slender soldering iron designs with a comfortable rubber grip that
prevents operator fatigue. The soldering iron is attached to the base unit using a
non-burning silicone rubber cord.
The tip is grounded through the power unit to ensure leakage of less than 0.4milivolt,
and a wide selection of long-lasting, iron clad, nickel/chrome plated and pre-tinned
tips are available to meet all your soldering needs.

3
OPERATING INSTRUCTIONS
Caution: Check carefully for any damage during transportation and ensure that the
working voltage matches your power supply before plugging in the station.
1. Ensure that the base unit power switch is in the “OFF”position.
2. Plug in AC power cord and turn “Mains power switch” to “ON” position then LED
display will be ON and show the temperature value.
3. Press the “▲” key up until the temperature to 250℃(482℉)(If set to degrees
Centigrade, the temperature display window of the upper right corner shows ℃, if
set to degrees Fahrenheit, the temperature display window of the upper right corner
shows ℉). Then tin the surface of the tip by applying a new covering of solder
after being warmed to protect tip and extend its life.
4. Press the key “▲”or “▼” to choose the desired temperature. When the
temperature reaches to the desired temperature that the heating indicator light will
be flashed on and off to maintain the set temperature. The unit now is ready for use.
SPECIFICATIONS
Model
LF-399D
LF-389D
Input
220-240Vac
50Hz
100-120Vac
60Hz
220-240Vac
50Hz
100-120Vac
60Hz
Output
80W
60W
Fuse (Fast type)
1A
2A
0.5A
1A
Temperature Range
150℃-480℃(302℉-896℉)
Temperature
Correction Range
+99℃~-99℃/+210℉~-210℉
Default Setting
150℃/302℉
Temperature correction value“00”
Figure Dimension
105 x 90 x 90mm (W x H x D)
TEMPERATURE SETTING: (No password set)
Increase temperature: By pressing “▲” key one time, the digital will be increase
“1” numeral. If pressing “▲” key over 2 seconds then the digital numerals will be
forwarded counting continuously till the temperature up to what you desire to set.
Decrease temperature: By pressing“▼” key, the same procedure as above.

4
PARAMETER SETTING:
1. Press “SET”key and hold for at least 4 seconds until display shown
“— ——” sign then release the “SET” key. The sign “— ——” starts to flash
and reminding the user to input the mode lock password “010” (fixed). If the user
inputs the same number as “010”, the unit will enter the modes selection
procedure, otherwise, the unit will be back from the current mode automatically.
2. After the unit enters the Modes selection, the LED will display “F-0”and flash.
Press “▲”or “▼” key to select modes. If the user doesn’t press “▲” or “▼” key
within 15 seconds or press “SET” key one time, then the unit will be immediately
back from the Parameter Set status.
For example: F-0 → F-1 → F-2 → F-3
↑ ↓
← ← ←←
3. Password Setting:
When the LED displays “F-1” flashes, press “SET” key one time and the unit
enters the Password Set status. At this moment, the LED displays the pre-set value.
Press “▲” or “▼” key to change password set value. If the user sets “000” that
means the unit will be under the status of no password. If the user sets “100” then
means the unit will be under the password status. Pressing “SET” key once to
finish password setting and the unit will backup mode, the user can continue set
other modes or back from the setting mode.
4. Temperature Correction Setting:
Press “SET” key once when the LED displays “F-2” and flashes that the unit
enters the Temperature Correction Mode. At this moment, the LED displays preset
correction value.
A: Operation of Centigrade temperature correction(+99℃~-99℃)
Press “▲” or “▼” key to change the temperature correction value. The first digit
“— ”means minus (actual temperature is down), “No display” means plus
(actual temperature is up).
B: Operation of Fahrenheit temperature correction value [(+178℉~-178℉)for
LF-389D and (+210℉~-210℉) for LF-399D]
Press “▲” or “▼”key to change the temperature correction value. When the
numbers is sparkling on LED displays, it means minus value (actual temperature
is down), when the numbers stop sparkling, it means plus value (actual
temperature is up). Press “SET” key once to finish the temperature correction
and the unit automatically backup mode. The user may continue set other modes
or back from the current setting mode.

5
Example for temperature correction: The current set temperature value is 200℃,
but the actual temperature is only 190℃. So it needs to correct by +10℃.
Correction method: if the current correction value is 00 or -00; then change it to
10. If the current correction value is -20, then change it to -10. If the current
correction value is 20, then change it to 30.
5. Fahrenheit and Centigrade (Celsius) temperature selection
When temperature display window shows "F-3" and blinking, press the "SET"
button, at this time ,the system enters the degrees Fahrenheit and Centigrade
temperature selection function, indicating the temperature of the window shows
the current status. Press "▲" or "▼" key to change the temperature selection
status. It expressed as degrees Celsius temperature value If set to ℃; it shows as
degrees Fahrenheit temperature if set to ℉.
WORKINGTEMPERATURE
To meet RoHS requirement, the 60/40 solder alloys are not allowed in the production
process. The lead free solder alloys require a working temperature of 30℃(54℉)
higher than previous generation electrical soldering. A low iron temperature will slow
the rate of flow of the solder. A high temperature will burn the flux in the solder,
which in turn will emit a heavy white smoke resulting in a dry joint, or damage to the
P.C.B. When the tip working temperature is set to the correct temperature parameters
suited to the particular solder being used, a good joint is assured.
The working temperature of solder is detailed below and can vary from manufacture
to manufacture.
Melting point 220℃(428℉)
Normal operation 300-360℃(572-680℉)
Production line operation 360-410℃(680-770℉)
IMPORTANT: The temperature above 410℃(770℉) is not recommended for
normal soldering functions, but can be used for short periods of time when high
temperatures are required. Please note that the lead free solder alloys require a higher
soldering temperature which shortens tip life.
COMMON CAUSES OF TIP UNWETTING
1. Tip temperature higher than 410℃(770℉).
2. The tip working surfaces are not well tinned while the iron idling.
3. Lack of flux in soldering, wicking, repairing, and touch-up, etc operation.
4. Wiping tip on a high sulphur content sponge, dirty or dry sponge and/or rage.
5. Touching with organic, such as plastic resins, silicone grease and other chemicals.
6. Impurities in solder and low tin content.

6
CARE OF TIPS
Ca Caution: The soldering iron can reach very high temperature. Be sure to turn the
unit off prior to carrying out any maintenance or trouble shooting steps listed below.
IMPORTANT - Remove the tip and clean after every usage or at least once a week.
Remove any loose build up in the tip retaining assembly to prevent tip freezing. The
solder tips supplied are iron clad pure copper and if used properly will give a long life.
1. Always keep tips tinned before returning to the holder, switching off or storing for
any period of time. Wipe only before using.
2. Don’t keep iron set at high temperature for long periods of time as this will break
down the surfaces of the tip.
3. Don’t give any excessive pressure on a tip or rub a tip on a joint. It does not
improve the heat transfer but only damages the tip.
4. Never clean the tip with abrasive materials or a file.
5. Don’t use a flux containing chloride or acid, use only rosin or activated resin
fluxes.
6. If any oxide does form, it can be cleaned by lightly rubbing with a 600-800 grit
emery cloth, isopropyl alcohol or equivalent, then wrap rosin-core solder around
the newly exposed surfaces and heat, flood the tinned areas with rosin-core solder
after wrapped rosin-core solder melted.
NEW TIP
Used according to the following procedures if a new tip were installed at any time, it
will give the tip much longer life.
1. Turn “Mains power switch” to “ON” position and set temperature to 250℃
(392℉).
2. Flood the tinned surfaces with resin-core solder when temperature reaches 250℃
(392℉).
3. Set at desired temperature after warming for few minutes.
4. The iron will be ready for use once it reaches the preset temperature.
IMPORTANT - Remove and clean the tip daily. If a new tip is installed, remove any
loose build up in the barrel assembly, otherwise tip may fuse to the heating element or
retaining barrel.
MAINTENANCE
TIP REPLACEMENT AND DRESSING
Tip can be changed or replaced simply by unscrewing the knurled nut barrel assembly.
The station must be switched off and allowed to cool before this operation as damage
may result if the system is left on without the tip inserted.
After removing the tip, blow out any oxide dust that may have formed in the tip
retaining area of the barrel. Be careful to avoid getting dust in your eyes. Replace the

7
tip and screw back the knurled nut barrel assembly using only firm hand pressure to
tighten. Pliers should only be used to tighten the nut to avoid burning your fingers, but
care should be taken not to over-tighten as this would damage the element.
GENERAL CLEANING
The outer cover of the iron and station may be cleaned with a damp cloth using small
amounts of liquid detergent. Never submerse the unit in liquid or allow any liquid to
enter the case of the station. Never use any solvent to clean the case.
SERVICE
If the iron or station should become faulty or, for some reason not operate normally,
the system should be returned to the service department of your authorized dealer or
agent.
WARNING: Keep out of the reach of children.
WARNING: Do not inhale solder fumes.
WARNING: Keep tip and heating element away from the body and clothes while in
operation.
REPLACEMENT TIPS:

8
SOLDERING IRON ASSEMBLY
105U (For 100-120Vac) / 105V (For 220-240Vac) for LF-389D
i80U (For 100-120Vac) / i80V (For 220-240Vac) for LF-399D
REPLACEMENT PARTS:
Part No.
Description
28-0135701
Barrel
42-030102
Nut
79-507041
Ceramic Heater 230V/80W for LF-399D
79-407041
Ceramic Heater 120V/80W for LF-399D
79-504541
Ceramic Heater 230V/60W for LF-389D
79-404541
Ceramic Heater 120V/60W for LF-389D
27-010011
Heater holder ass’y
50-210531
Spiral spring ground wire
52-021013
Silicone rubber collar
26-160240
handle
26-170241
Bending guard
34-031091
3-wire silicone cable
66A213098
Heater PCB with cable fixing clip
66A323173SV
Main P.C.B assembly for 220-240V
66A323173SU
Main P.C.B assembly for 110-120V
ACCESSORY:
*105C Soldering iron stand.
*Cleaning brush P/N#459
FUSE REPLACEMENT:
CAUTION: The station must be switched off and the power cord must be
unplug in before replacing the fuse in the P.C.B.

9
REPLACEMENT PROCEDURES:
1. Unplug in the power cord from the AC socket.
2.Unscrew the nut at the rear side of LF-389D / LF-399D as in Figure 1.
Fig. 1
3.Open the panel and take it out as in Figure 2.
Fig. 2

10
4.Replace the fuse as in Figure 3.
Fig. 3
This manual suits for next models
1
Table of contents
Other Xytronic Soldering Gun manuals

Xytronic
Xytronic LF-1000 User manual

Xytronic
Xytronic LF-8000 User manual

Xytronic
Xytronic LF-853D User manual

Xytronic
Xytronic T 1976 User manual

Xytronic
Xytronic LF-3200 User manual

Xytronic
Xytronic LF-3500 User manual

Xytronic
Xytronic LF- 8800 User manual

Xytronic
Xytronic LF-988D+ User manual

Xytronic
Xytronic IR860 User manual

Xytronic
Xytronic LF-1600 User manual