manuals.online logo
Brands
  1. Home
  2. •
  3. Brands
  4. •
  5. YIHUA
  6. •
  7. Soldering Gun
  8. •
  9. YIHUA 938D Technical manual

YIHUA 938D Technical manual

PORTABLESOLDERINGSTATION(TWEEZERTYPE)
TEMPERATURE-CONTROLLED&PARALLELTWEEZERTYPE
English
O P E R AT I O N
INSTRUCTION
MadeinChina Statement: The company reserves the right to improve & upgrade products,
product specifications and design are subject to change without notice.
Thank you for purchasing this product. Please read the manual
carefully before operating and keep this manual for future reference.
    This product should not be thrown in the garbage. In accordance with the European directive
2012/19/EU,electronicequipmentattheendoftheirlifemustbecollected&returnedtoanauthorized
recycling facility.       Este producto no debe desecharse en la basura. De acuerdo a la directiva
europea2012/19/EU,los equipos electrónicosalfinal de suvidasedeberàn recogery trasladarauna
planta de reciclaje autorizada.     Dieses Produkt sollte nicht mit dem Hausmüll entsorgt werden.
In Übereinstimmung mit der europäischen Richtlinie 2012/19/EU müssen elektronische Geräte am
Ende ihrer Lebensdauer eingesammelt und einem autorisierten Recyclingbetrieb zugeführt werden.
04.07.03.237
SPECIFICATION
938dPortable
Mainunitdimensions
Operatingambienttemperature
Temperaturerange
Display
Tiptogroundresistance
°F/°Cconversion
Sleepmode(10-MinuteNon-Adjustable)
L138*W51*H33mm±5mm
0〜40℃/32℉〜104℉
200〜480℃/392℉〜896℉
LEDNixieTube
<2ohms
I. APPLICATIONS
Suitable for soldering and desoldering applications on a broad range of SMD and Through-Hole co-
mponents. This unit is especially great for manufacturing assembly lines, 2 solder joints can be wo-
rked on at the same time to provide high operation efficiency.
II. PARTS LIST
1. Cord (Soldering Iron)
2. Temperature Adjustment Dial
3. °F / °C Temperature Display Selector
4. Temperature Display
5. Power Switch
6. Power Cord
YES
YES
56
1
234
III. OPERATION
1. Set the soldering iron safely and correctly.
2. Connect the station’s power cord to an electrical outlet, and turn ON the power switch. The
soldering station’s heating element will begin heating as per normal, and the operation in-
dicator (the dot located at the bottom-right corner of the display) turns ON. The indicator
light stays ON when heating, blinks rapidly when the temperature is stabilized, turns OFF
when cooling. Begin with the operation when the soldering station’s operation indicator li-
ght blinks rapidly to indicate temperature stabilization.
CAUTION: Upon the first use of the soldering tip, set the temperature to 250°C/482°F. When
the iron is just hot enough to melt solder, coat the soldering iron tip with a layer of solder (
the use of rosin core solder is recommended), then set the temperature to your desired te-
mperature.
3. After work is complete, you can clean the tip with a wet cleaning sponge or a metal wire tip
cleaner. Then recoat the tip with a fresh layer of solder. After this, return the handle to its
holder. At this time, it is available to turn off the soldering station’s switch. If the machine is
not in use for a long period, turn OFF the power switch and unplug the power plug.
Fahrenheit/Celsius Display Mode
IV. MAINTENANCE & PRECAUTIONS
1. If a layer of oxidization forms on the surface of the soldering iron tip, a misconception can
be created that the soldering tip cannot heat up properly to melt the solder and do the tin-
ning. However, the actual temperatures of both the heating element and soldering tip are
high. In such an instance, please do not increase the temperature value confusedly but use
a metal wool ball to remove the oxidization following the steps below:
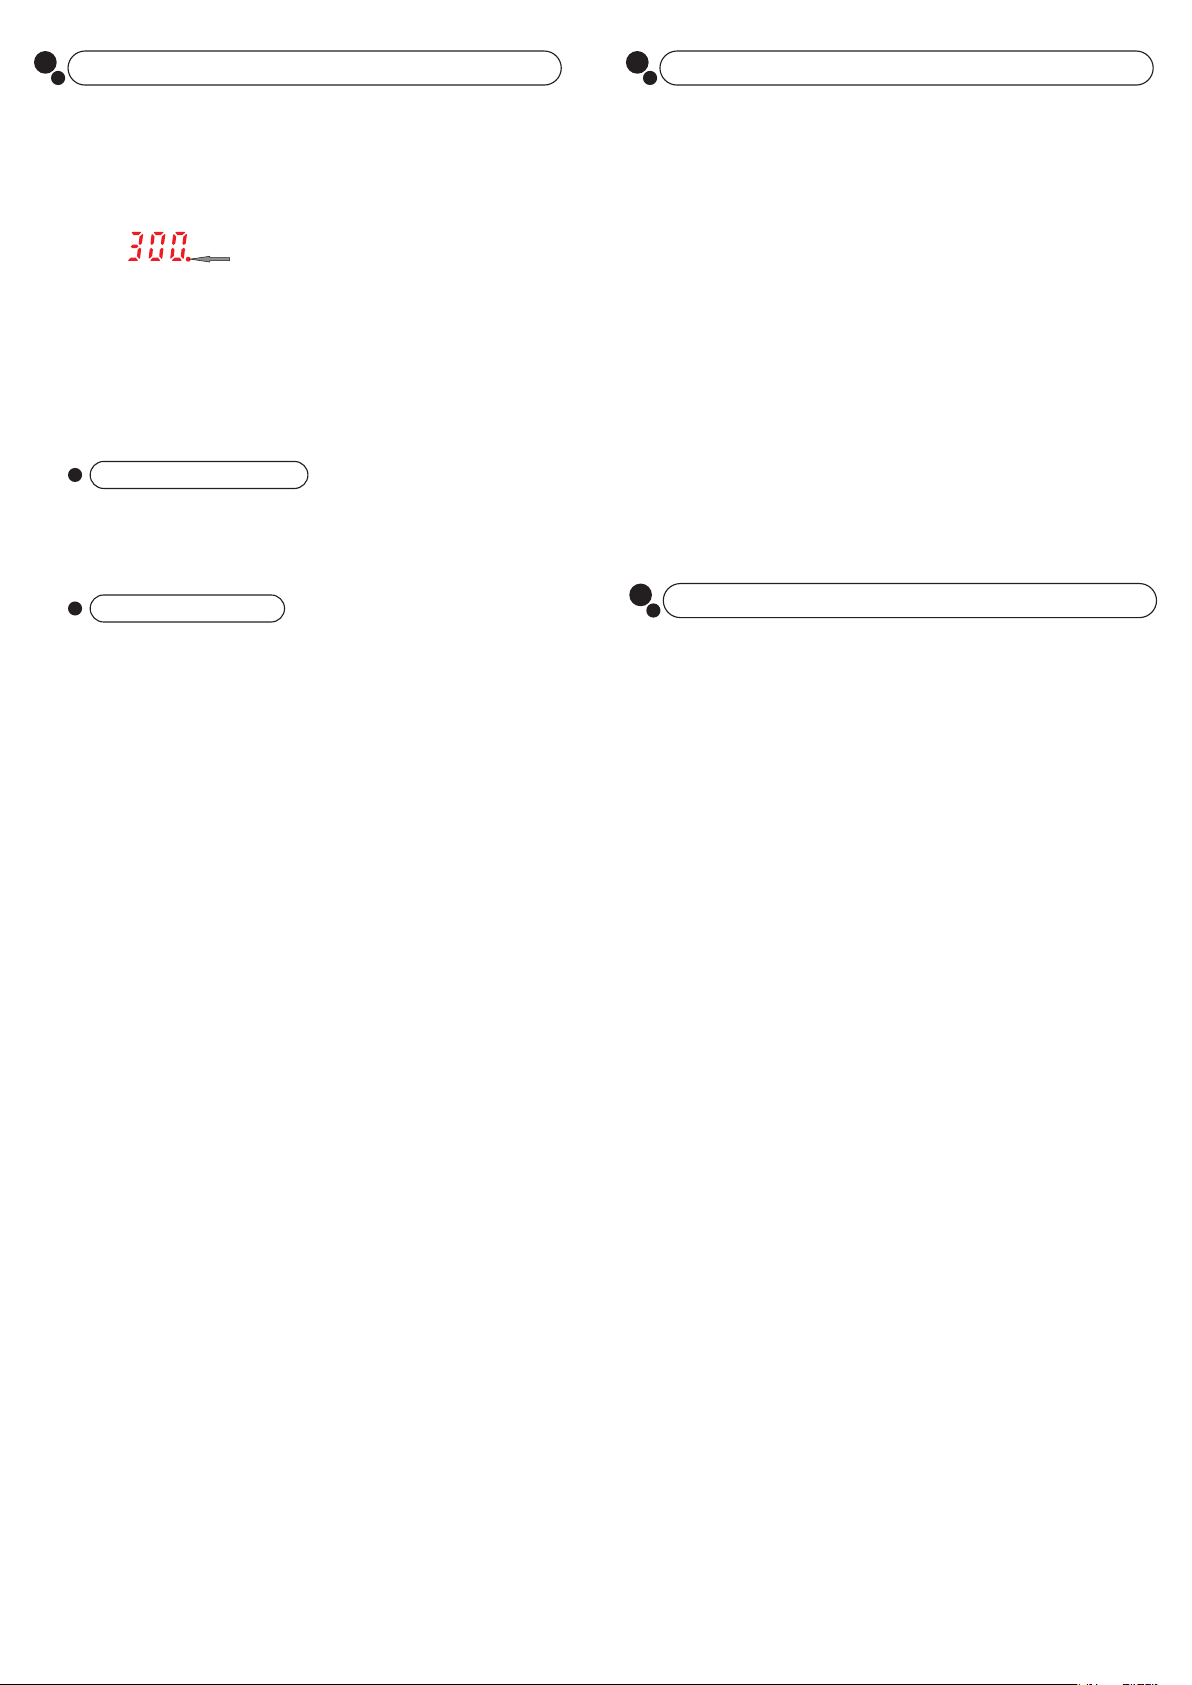
A. Set the temperature to 300°C (572°F).
B. Once the temperature stabilizes, gently rub the soldering iron tip inside the metal wool
ball.
C. When the oxidization is partially removed, continue applying solder onto the tip while
rubbing it until the soldering tip is completely coated with solder. If the tip is too sever-
ely oxidized beyond cleaning, replace the tip with a new one.
2. DO NOT use metal files to remove the oxidization on the soldering iron tip. If the soldering
iron tip deforms or rusts, replace the soldering iron tip with a new tip.
3. DO NOT apply excessive forces on the soldering tip when soldering. Doing so will not only
damage the iron tip but also not improve the heat transfer.
4. When placing the soldering iron back in the holder to idle after a high-temperature operati-
on, adjust the temperature to 250°C (482°F) or below for idling. Failure to do so, and leaving
the soldering iron tip to idle on a high-temperature setting will cause the accelerated aging
of the heating element and shorten the lifespan of the heating element and soldering iron
tip.
5. Clean the soldering iron tip after use, and tin the tip with a new layer of solder to prevent
oxidization.
V. TROUBLESHOOTING
1. S-E – This is an indication that the station’s sensor module is faulty. You need to replace
the heating element (the heating element and the sensor modules).
2. SLP – This is an indication that the soldering station is in Sleep Mode.
3. When replacing the heating element, take note of the original connecting order and colors
of the wires which MUST NOT be connected incorrectly.
Indicator for program tracking temp. at high speed
and making temp. compensation.
This function allows the unit to satisfy user preferences in different regions.
Flip the °F / °C temperature display selector switch to select either the Fahrenheit or Celsius
display mode.
10-Minute Set Sleep Function
The station will automatically detects its own operation status, and when the station detects
no usage and movement for longer than 10 minutes, the soldering iron will enter sleep mode.
This could effectively prevent the oxidization of the soldering iron tip, extend the lifespan of
the soldering iron tip, save energy, and protect the environment.
To start-up from sleep mode:
a. Shake the soldering iron handle a few times.
OR, b. Turn OFF and then turn ON the power switch.

Other YIHUA Soldering Gun manuals

YIHUA 993D User manual

YIHUA

YIHUA 993D User manual

YIHUA 858 Series User manual

YIHUA

YIHUA 858 Series User manual

YIHUA 948DII User manual

YIHUA

YIHUA 948DII User manual

YIHUA 936 Series User manual

YIHUA

YIHUA 936 Series User manual

YIHUA 8858-I Technical manual

YIHUA

YIHUA 8858-I Technical manual

YIHUA 926 LED-III Technical manual

YIHUA

YIHUA 926 LED-III Technical manual

YIHUA 853A User manual

YIHUA

YIHUA 853A User manual

Popular Soldering Gun manuals by other brands

Velleman VTSS7 user manual

Velleman

Velleman VTSS7 user manual

MIG-O-MAT microflame 140 Service instructions

MIG-O-MAT

MIG-O-MAT microflame 140 Service instructions

jbc DI 3000 instruction manual

jbc

jbc DI 3000 instruction manual

Hakko Electronics FX-888D instruction manual

Hakko Electronics

Hakko Electronics FX-888D instruction manual

jcb 1THT Service manual

jcb

jcb 1THT Service manual

Hakko Electronics FM-202 instruction manual

Hakko Electronics

Hakko Electronics FM-202 instruction manual

TOOLCRAFT 58 82 26 operating instructions

TOOLCRAFT

TOOLCRAFT 58 82 26 operating instructions

ESD QUICK 713 instruction manual

ESD

ESD QUICK 713 instruction manual

Weller BP860 user guide

Weller

Weller BP860 user guide

Elenco Electronics SL-5K Assembly and instruction manual

Elenco Electronics

Elenco Electronics SL-5K Assembly and instruction manual

jbc HDE-9E Guide

jbc

jbc HDE-9E Guide

Soldron 385D operation instruction

Soldron

Soldron 385D operation instruction

Velleman VTSS4 user manual

Velleman

Velleman VTSS4 user manual

Hakko Electronics C5045 quick start guide

Hakko Electronics

Hakko Electronics C5045 quick start guide

Doss ZD-929C quick start guide

Doss

Doss ZD-929C quick start guide

Master Appliance ECONOIRON EI-20 instruction manual

Master Appliance

Master Appliance ECONOIRON EI-20 instruction manual

Weller WD 2000 operating instructions

Weller

Weller WD 2000 operating instructions

XTRONIC 5040-XR3 instructions

XTRONIC

XTRONIC 5040-XR3 instructions

manuals.online logo
manuals.online logoBrands
  • About & Mission
  • Contact us
  • Privacy Policy
  • Terms and Conditions

Copyright 2025 Manuals.Online. All Rights Reserved.