manuals.online logo
Brands
  1. Home
  2. •
  3. Brands
  4. •
  5. YitaHome
  6. •
  7. Safe
  8. •
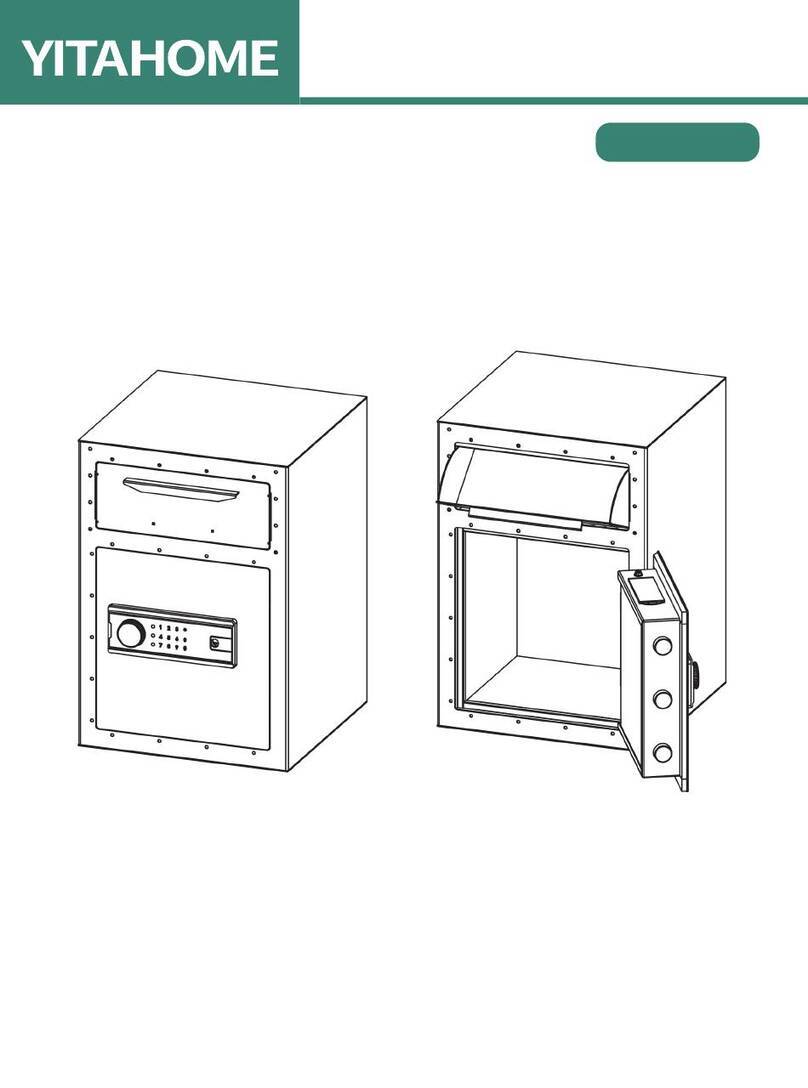
  9. YitaHome IMISSB-0008 User manual

YitaHome IMISSB-0008 User manual

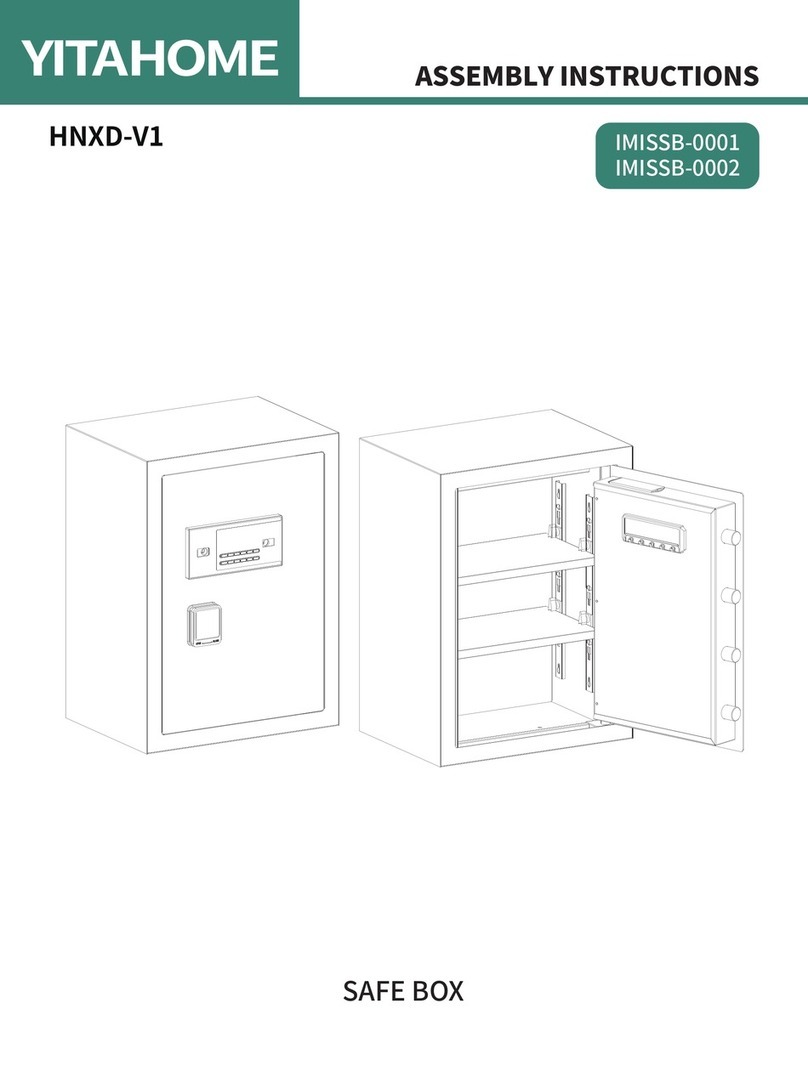
ASSEMBLY INSTRUCTIONS
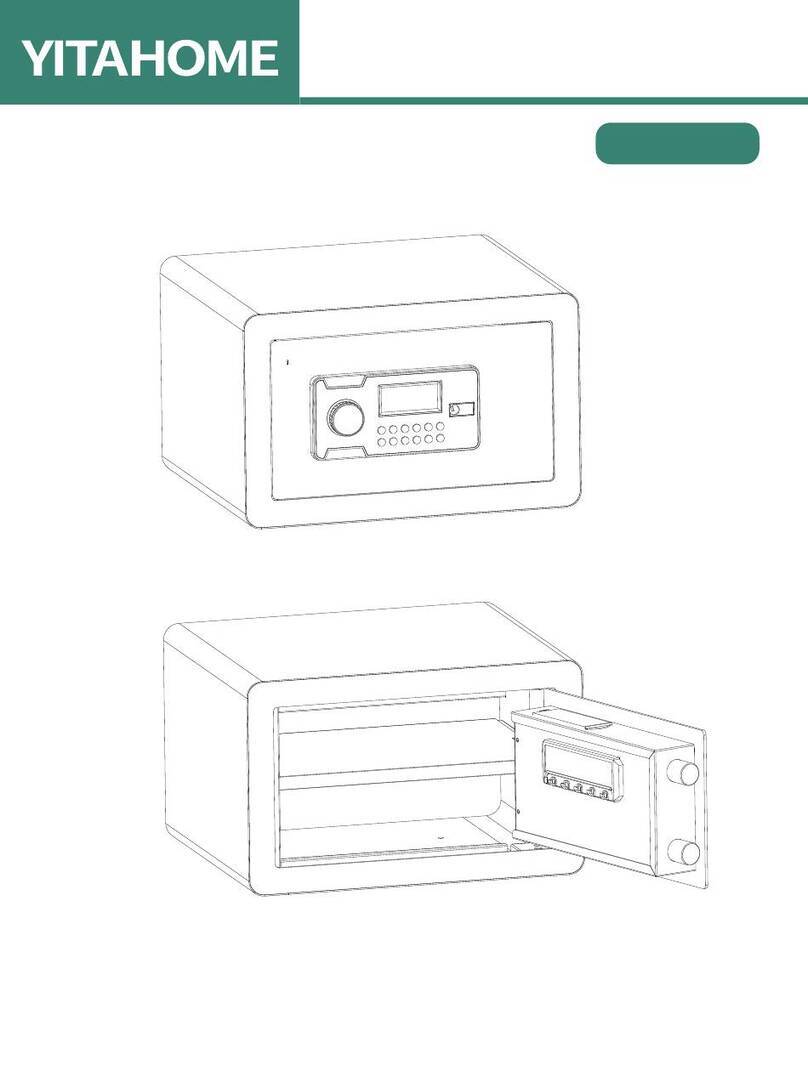
SAFE BOX
HNXD-V1
IMISSB-0008
IMISSB-0009
ASSEMBLY INSTRUCTIONS
1
1.Confirm all parts are present prior to assembly.
2.Do not lock the emergency key or emergency battery box into the cabinet.
B
C
D
E
Item no. Reference Image
Emergency key
Emergency battery box
Expansion screw
Fireproof bag
Qty.
X1
X6
X1
A
X2
X2
Security key
ASSEMBLY INSTRUCTIONS
2
Turn the fastener clockwise and pull out the fastener horizontally, you can
adjust the position of the shelf or take out the shelf according to your needs.
How to use the adjustable shelf
1.Position the cabinet near the wall and mark the locations of the anchor holes
using a marker.
2.Use a hammer drill to create holes at the marked positions.
3.Move the cabinet to its designated location and insert expansion screws into
the drilled holes with a hammer.
4.Tighten the expansion screws securely to complete the installation.
How to Mount the Safe:
13
2
4
ASSEMBLY INSTRUCTIONS
3
User Manual for Electronic Lock
Lock hole cover
Fingerprint
unlocking area
Door handle
Reset button
First-Time Safe Setup:
1. 1. For security key on the left (black) to the right of the products for emergency
key (black) if you want to use the emergency key/password lock needs to be
blue security key clockwise for lateral, if the blue of the security key for the
vertical cannot use the emergency key/password lock, please keep the key, if
lost, please contact us in time.
2. Install the batteries.
3. Set the password (refer to the detailed instructions in the following).
on-state
inactive state
Security key
The keyhole
cover slides
down
ASSEMBLY INSTRUCTIONS
4
User Manual for Electronic Lock
I. Initial Power-up:
1.Upon the system's first power-up, the initial password is set to a personal code
of "1234" and an administrative code of "123456".
2. After a power outage, the password and records of door openings will still be
saved.
II. Door Opening Operation:
1.In standby mode, press the "#" key to enter the password verification state,
enter the correct password verification, the buzzer "beep" two sound, open
the door.
2. Verification failed. Buzzer beeps three times.
3. If you enter the incorrect password three times in a row, the screen will display
an alarm symbol, and the alarm will sound for one minute. Entering the correct
password at this time will disable the alarm and unlock the door.
4. If no key is pressed within 8 seconds during input, the system will return to
standby mode.
5. If no keyis pressed within 8 seconds during input, the system will return to
standby mode.
Tips:Press the setting key for 4-5 seconds. If you hear a beep, the initialization is
successful. The user password and management password are restored to their
initial state. The initial Settings are as follows: The administrator password is
123456. The password is 1234.
ASSEMBLY INSTRUCTIONS
5
III. Changing Personal Password:
1. Tap the setting buzzer for two drops to enter the password
Password setting: Enter the setting mode, enter the 4-8 password
press # to confirm, the buzzer drops 2 sounds and flashes
twice at the same time, then enter again, press # to confirm, the buzzer
often rings, the setting is successful.
2. If the password number is not within the specified range when entering the
password, or if the password is not the same as the first time when entering
exit the setting mode. The setting fails and needs to be reset.
IV. fingerprint setting :
1. After entering the setting mode, place your finger on the fingerprint reader
and move your finger four times after each beep of the buzzer.
After the last input, the buzzer often rings , and the setting is successful.
2. If you leave or cannot recognize the input during the setting process,
the buzzer beeps and exits the setting
mode. The setting fails and needs to be reset.
V. Changing the Administrator Password:
ASSEMBLY INSTRUCTIONS
6
G
1. After waking up the panel, press the "0" key twice, and then press the setting
key to enter the management password setting, After entering the 4-8 password
Press # to confirm, the buzzer drops 2 sounds and then enter again, then press
3. If the password number is not within the specified range when entering the
passwor
d
, or if the password is not the same as the first time when entering
the password for the second time, press # to confirm, the buzzer will beep
three times, exit the setting mode. The setting fails and needs to be reset.
VI. Set the two-factor authentication mode:
1. In the standby state, press the setting key twice. When you hear a beep,
the green light is on, and the dual authentication mode is enabled.
"Beep" two sound, cancel the dual authentication mode;
"Beep" three times, empty fingerprint, cannot set dual
authentication mode
2. The door can be opened only after the password and fingerprint are verified.
VI. Mute function:
1.Wake up the panel, press #00*, hear "beep" two times at the same time
turn off the mute function, wake up the panel, press #00* key, without sound, open
the mute mode.
# to confirm.
ASSEMBLY INSTRUCTIONS
7
VII. Vibration alarm function:
1. Press the "*" key, hear "beep", turn on the vibration alarm function,
wake up the panel,
2. press the "*" key, hear "beep" twice, turn off the vibration alarm function.
Alarm triggered alarm 30S, enter the correct password can stop the alarm,
after opening the door, the vibration alarm function automatically closed.
3. Door opening error alarm
When six consecutive fingerprint errors or four consecutive password errors
are entered, a sharp alarm will sound inside the safe.
4. The alarm can last for up to 1 minute. In the above two cases, only enter the
correct.password or fingerprint to open the cabinet door can be lifted. In
the case od dualauthentication, the password and fingerprint must be
at the same time to be lifted.
Vlll. Power and voltage in dicator:
The voltage is below 4.8V, and the blue light flashes when the door is verified.
Battery voltage is lower than 3.8V, when the user operates, the user is prohibited
to operate, and the buzzer sounds "Didi, didi, didi" 6 to remind the customer that
the battery is low.
1.replace the batteries.
2. Operating voltage: 4.2~7.5V
3. Operating current: 320mA
4. Static current: 35uA (at 6.0V)
5. Operating temperature: 0-50 ℃
Pure & Easy

This manual suits for next models

1

Other YitaHome Safe manuals

YitaHome HNXD-V1 User manual

YitaHome

YitaHome HNXD-V1 User manual

YitaHome IMISSB-0003 User manual

YitaHome

YitaHome IMISSB-0003 User manual

YitaHome HNXD-V1 User manual

YitaHome

YitaHome HNXD-V1 User manual

Popular Safe manuals by other brands

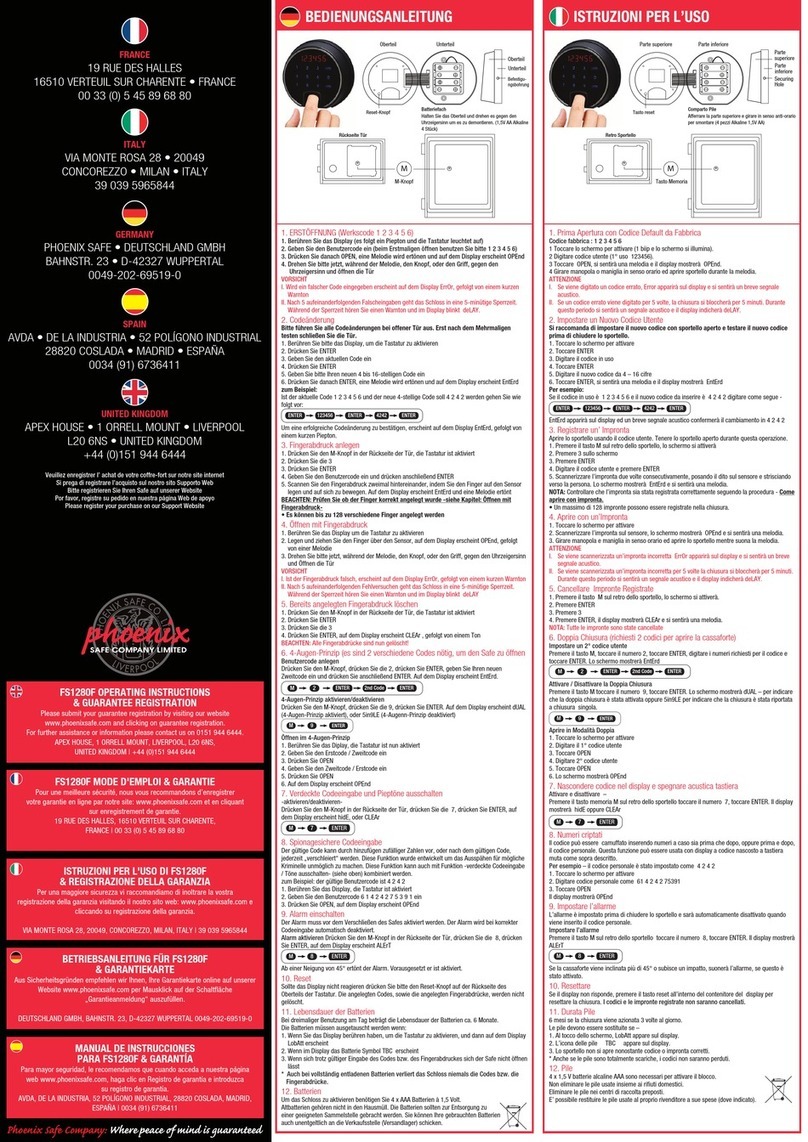
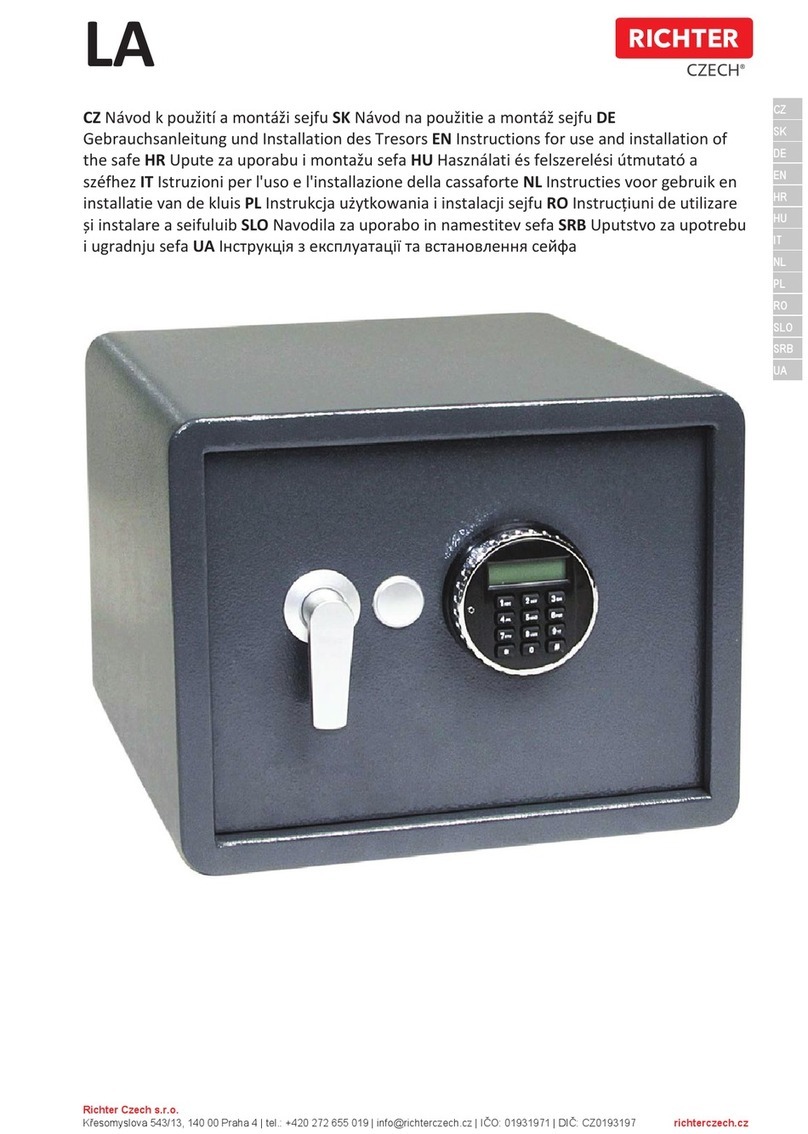
SPORTS AFIELD SA-HD1-BIO instruction manual

SPORTS AFIELD

SPORTS AFIELD SA-HD1-BIO instruction manual

Stack-On QAS-1304-12 instructions

Stack-On

Stack-On QAS-1304-12 instructions

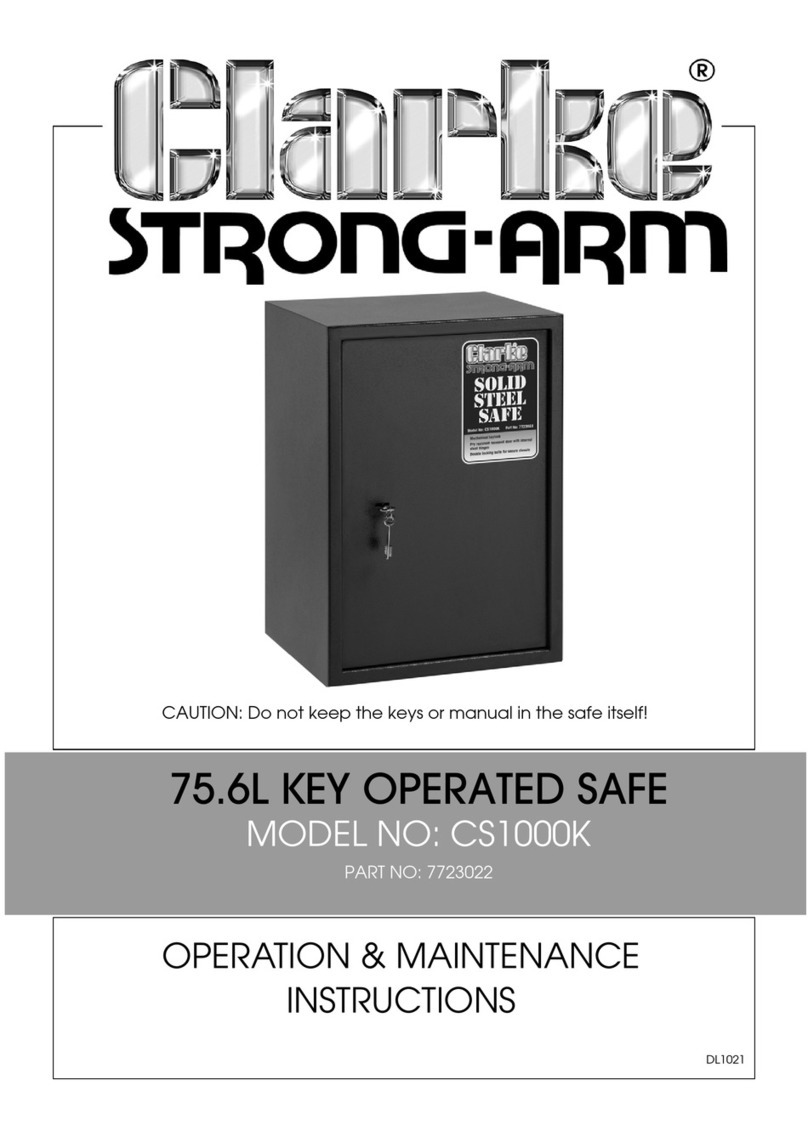
Clarke STRONG-ARM CS300K Operation & maintenance instructions
Clarke

Clarke STRONG-ARM CS300K Operation & maintenance instructions
BorMann HOME BDS5000 owner's manual

BorMann

BorMann HOME BDS5000 owner's manual

Burg Wächter TRSE 10 operating instructions

Burg Wächter

Burg Wächter TRSE 10 operating instructions

Phoenix FIRECHIEF FS1650 Instructions & Guarantee Registration

Phoenix

Phoenix FIRECHIEF FS1650 Instructions & Guarantee Registration

CISA Vision instructions

CISA

CISA Vision instructions

Rottner PS-600 user manual

Rottner

Rottner PS-600 user manual

NavePoint Basic Series quick start guide

NavePoint

NavePoint Basic Series quick start guide

Aegis PS-10 user manual

Aegis

Aegis PS-10 user manual

Honeywell 2074E Operations & installation guide

Honeywell

Honeywell 2074E Operations & installation guide

Stack-On TD14-22-GP-E-S instructions

Stack-On

Stack-On TD14-22-GP-E-S instructions

Bunker Hill Security 61724 Owner's manual & safety instructions

Bunker Hill Security

Bunker Hill Security 61724 Owner's manual & safety instructions

Sealey SECK50 instructions

Sealey

Sealey SECK50 instructions

Guzzanti GZ-503 user manual

Guzzanti

Guzzanti GZ-503 user manual

Stack-On E18-30-MB-E instructions

Stack-On

Stack-On E18-30-MB-E instructions

SentrySafe P008E owner's manual

SentrySafe

SentrySafe P008E owner's manual

Night Owl Smart Safe user manual

Night Owl

Night Owl Smart Safe user manual

manuals.online logo
manuals.online logoBrands
  • About & Mission
  • Contact us
  • Privacy Policy
  • Terms and Conditions

Copyright 2025 Manuals.Online. All Rights Reserved.