manuals.online logo
Brands
  1. Home
  2. •
  3. Brands
  4. •
  5. Zempire
  6. •
  7. Tent
  8. •
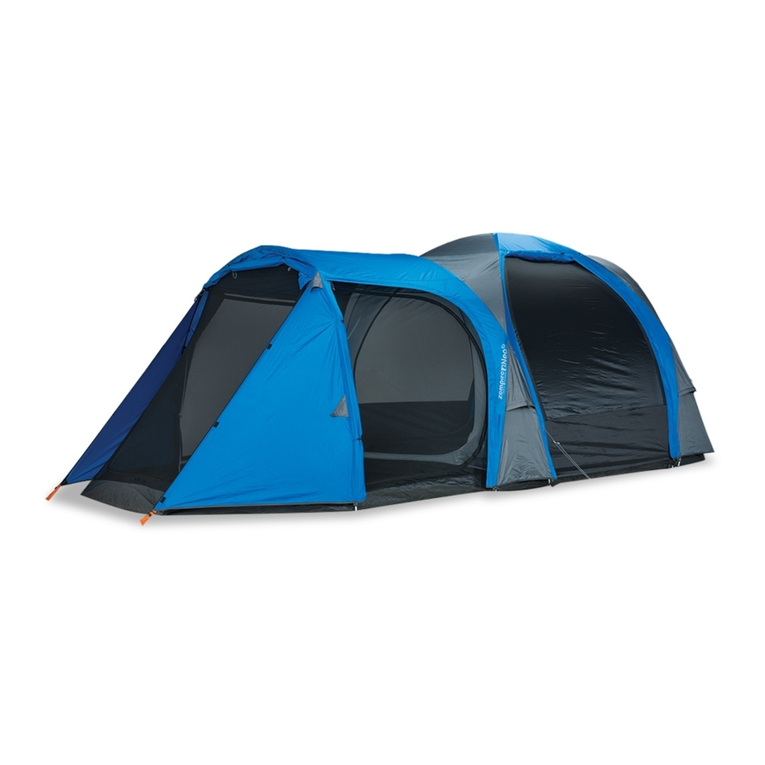
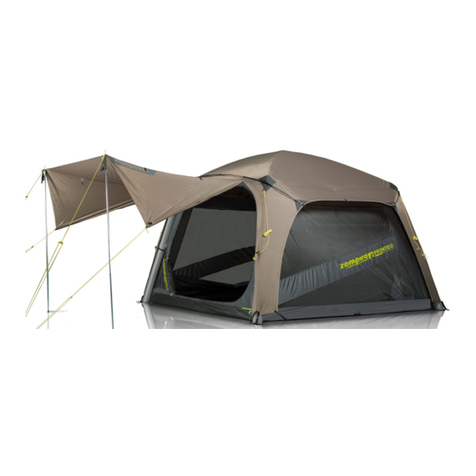
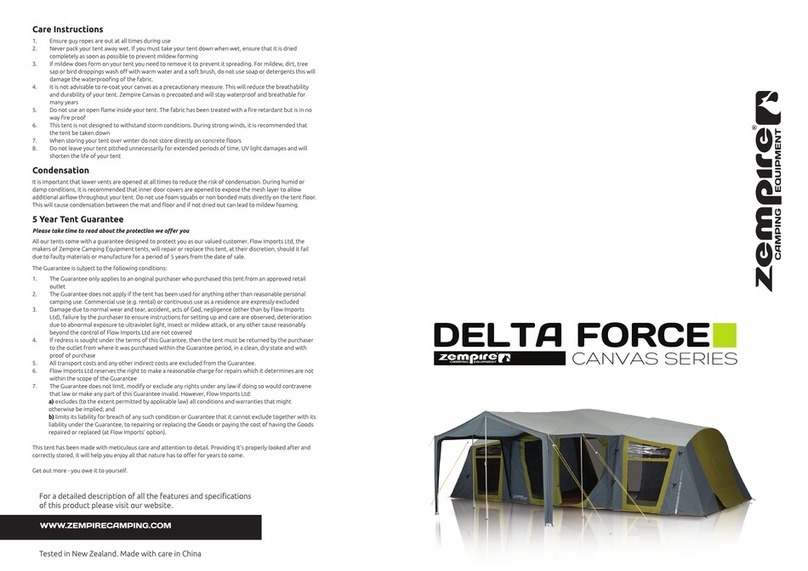
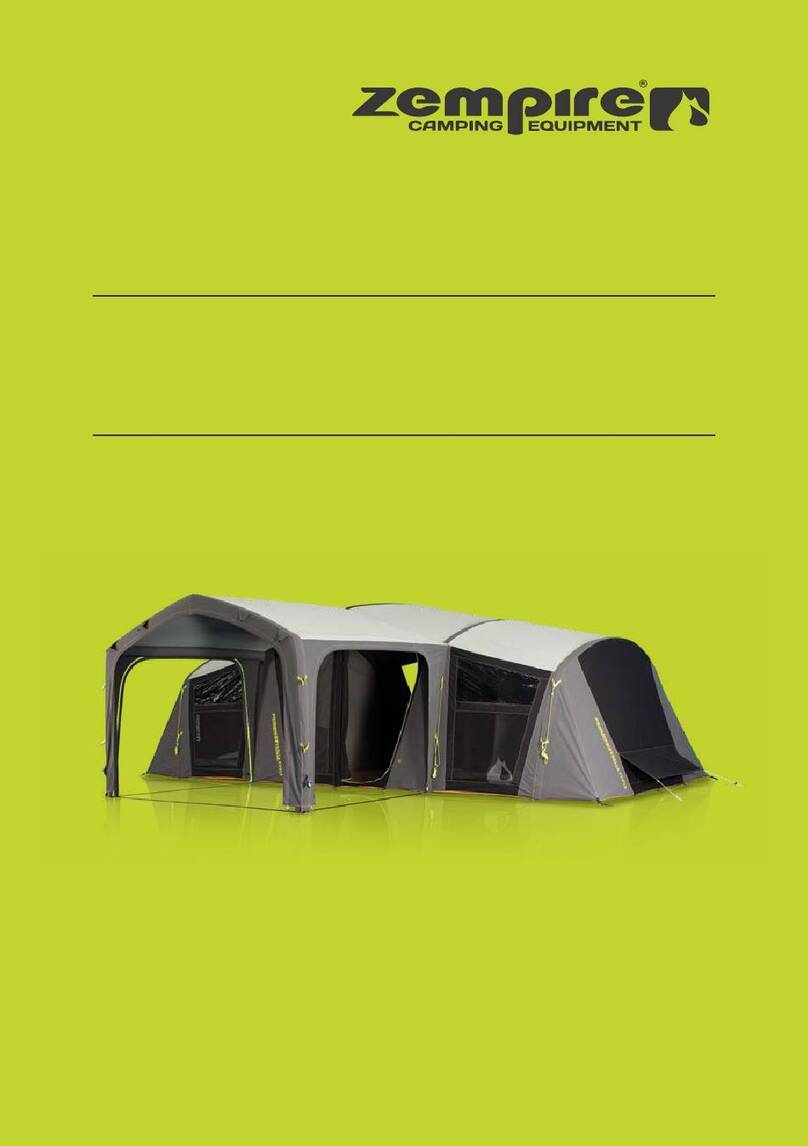
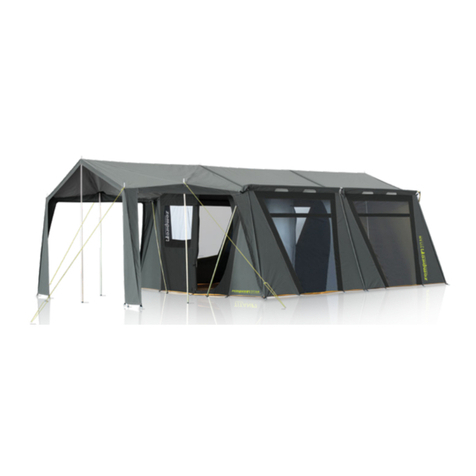
  9. Zempire Bathroom Series Configuration guide

Zempire Bathroom Series Configuration guide

WARRANTY & CARE
2 Year Shelter Guarantee
Please take time to read about the protection we offer you.
All our shelters come with a guarantee designed to protect you as our valued customer. Flow
Imports Ltd., the makers of ZEMPIRE®Camping Equipment shelters, will repair or replace this
shelter, at their discretion, should it fail due to faulty materials or manufacture for a period of 2
years from the date of sale.
The Guarantee is subject to the following conditions:
1. The Guarantee only applies to an original purchaser who purchased this shelter from an
approved retail outlet.
2. The Guarantee does not apply if the shelter has been used for anything other than reasonable
personal camping use. Commercial use (e.g. rental) or continuous use as a residence are
expressly excluded.
3. Damage due to normal wear and tear, accident, acts of God, negligence (other than by Flow
Imports Ltd.), failure by the purchaser to ensure instructions for setting up and care are
observed, deterioration due to abnormal exposure to ultraviolet light, insect or mildew attack,
or any other cause reasonably beyond the control of Flow Imports Ltd. are not covered.
4. If redress is sought under the terms of this Guarantee, then the shelter must be returned by the
purchaser to the outlet from where it was purchased within the Guarantee period, in a clean,
dry state and with proof of purchase.
5. All transport costs and any other indirect costs are excluded from the Guarantee.
6. Flow Imports Ltd. reserves the right to make a reasonable charge for repairs which it
determines are not within the scope of the Guarantee.
7. The Guarantee does not limit, modify or exclude any rights under any law if doing so would
contravene that law or make any part of this Guarantee invalid. However, Flow Imports Ltd.:
a) excludes (to the extent permitted by applicable law) all conditions and warranties that might
otherwise be implied; and
b) limits its liability for breach of any such condition or Guarantee that it cannot exclude
together with its liability under the Guarantee, to repairing or replacing the goods or paying
the cost of having the goods repaired or replaced (at Flow Imports’ option).
This shelter has been made with meticulous care and attention to detail. Providing it’s properly
looked after and correctly stored, it will help you enjoy all that nature has to offer for years to come.
Care Instructions
1. Ensure guy ropes are out at all times during use.
2. Never pack your shelter away wet. If you must take your shelter down when wet, ensure that it
is dried completely as soon as possible to prevent mildew forming.
3. If mildew does form on your shelter, wash off with warm water and a soft brush to prevent
further growth, do not use soap or detergents.
4. Do not use an open flame inside your shelter. The fabric has been treated with a fire retardant
but is in no way fire-proof.
5. Clean all pegs and poles before storing.
6. This shelter is not designed to withstand storm conditions. During strong winds, it is
recommended that the shelter be taken down.
7. Do not leave your shelter pitched unnecessarily for extended periods of time, UV light damages
the fly and will shorten the life of your shelter.
This tent design is under copyright protection by Flow imports Ltd. The Zempire Logo and related
Campfire mark are registered trademarks of Flow imports Ltd, New Zealand. Any reproduction of this
manual is prohibited without prior consent by Flow imports Ltd.
4x
4. Connect the C Clips sewn into the
tent around the corresponding pole.
You may need to lay tent down to reach
the top clips.
2. Insert the end of the pole
without the steel connector
into the 4 way connector
attached to the top of the
tent. Repeat with all 4 poles
1. Assemble the 2 pole
sections. Ensure that the
poles are inserted fully into
the steel connectors.
5. Place the vent cover over the top
of the tent and hook on the corners
to the loops sewn along each pole
line. once again, it may be easier to
lay the tent on its side to do this
step.
7. It is recommended that guy ropes are
pegged out at all times. Try to have guy
ropes at a 45oangle to the ground.
3. Tension the poles and
insert the pins located at the
base of the tent into the
ends.
6. Ensure the door is closed. Peg out
all peg points around the base of the
tent. Try to make the poles evenly
spaced apart.
UV Degradation
Shelter fabrics can be weakened by prolonged
exposure to sunlight. Under normal holiday use,
your ZEMPIRE®Shelter will give you many years
of camping enjoyment. However, extended use
in strong sunlight will cause degradation. It is
recommended that during periods of strong
sunlight a ZEMPIRE®Roof Cover is used to help
protect from UV damage. UV degradation is not
covered under warranty. The warranty does not
cover permanent sites, displays or commercial
use.
WARNING
KEEP ALL FLAME AND
HEAT SOURCES AWAY
FROM THIS TENT FABRIC
This manual suits for next models

1

Other Zempire Tent manuals

Zempire Zeus Adventure Series User manual

Zempire

Zempire Zeus Adventure Series User manual

Zempire JETSET Series Configuration guide

Zempire

Zempire JETSET Series Configuration guide

Zempire AEROBASE 3 SHELTER Series User manual

Zempire

Zempire AEROBASE 3 SHELTER Series User manual

Zempire Neo Series User manual

Zempire

Zempire Neo Series User manual

Zempire Canvaslite Configuration guide

Zempire

Zempire Canvaslite Configuration guide

Zempire TRILOGY ADVENTURE Series User manual

Zempire

Zempire TRILOGY ADVENTURE Series User manual

Zempire Pro Link Configuration guide

Zempire

Zempire Pro Link Configuration guide

Zempire GROUND SHEET User manual

Zempire

Zempire GROUND SHEET User manual

Zempire Neo Series Configuration guide

Zempire

Zempire Neo Series Configuration guide

Zempire ATLAS CANVAS Series Configuration guide

Zempire

Zempire ATLAS CANVAS Series Configuration guide

Zempire Pronto Series User manual

Zempire

Zempire Pronto Series User manual

Zempire NEO Series User manual

Zempire

Zempire NEO Series User manual

Zempire AERO T SHADE LITE Series User manual

Zempire

Zempire AERO T SHADE LITE Series User manual

Zempire NEO Series User manual

Zempire

Zempire NEO Series User manual

Zempire MONO ADVENTURE Series User manual

Zempire

Zempire MONO ADVENTURE Series User manual

Zempire Adventure Series User manual

Zempire

Zempire Adventure Series User manual

Zempire Shelter AeroBase 4 User manual

Zempire

Zempire Shelter AeroBase 4 User manual

Zempire DELTA FORCE CANVAS Series User manual

Zempire

Zempire DELTA FORCE CANVAS Series User manual

Zempire PRONTO 10V2 User manual

Zempire

Zempire PRONTO 10V2 User manual

Zempire AERO TXL PRO Series User manual

Zempire

Zempire AERO TXL PRO Series User manual

Zempire NEO Series User manual

Zempire

Zempire NEO Series User manual

Zempire TITAN CANVAS Series Configuration guide

Zempire

Zempire TITAN CANVAS Series Configuration guide

Zempire DELTA FORCEV2 User manual

Zempire

Zempire DELTA FORCEV2 User manual

Zempire Inflatable Series User manual

Zempire

Zempire Inflatable Series User manual

Popular Tent manuals by other brands

Wenzel 7363417 Assembly instructions

Wenzel

Wenzel 7363417 Assembly instructions

Alice's Garden ALBIGA PGCP3X4 manual

Alice's Garden

Alice's Garden ALBIGA PGCP3X4 manual

Boutique Camping ADVENTURE LUNA EMPEROR BELL TENT instruction manual

Boutique Camping

Boutique Camping ADVENTURE LUNA EMPEROR BELL TENT instruction manual

Dancover Marquee 10x15 m PRO+ EventZone manual

Dancover

Dancover Marquee 10x15 m PRO+ EventZone manual

Tentipi Safirflex Nordic tipi manual

Tentipi

Tentipi Safirflex Nordic tipi manual

RioOutdoors 6S-WDC installation instructions

RioOutdoors

RioOutdoors 6S-WDC installation instructions

PHI VILLA E02GA0505-005-01 manual

PHI VILLA

PHI VILLA E02GA0505-005-01 manual

Palram solid LOUISA 2.1x0.9 How to assemble

Palram

Palram solid LOUISA 2.1x0.9 How to assemble

Skywalk X-GLOO Setup guide

Skywalk

Skywalk X-GLOO Setup guide

Clarke CIS788 Assembly instructions

Clarke

Clarke CIS788 Assembly instructions

X-METAL 37911 Assembly instructions

X-METAL

X-METAL 37911 Assembly instructions

Western Shelter Systems AIRFRAME SENTINEL II Technical manual

Western Shelter Systems

Western Shelter Systems AIRFRAME SENTINEL II Technical manual

Arrow Storage Products EPA64 Owner's manual & assembly guide

Arrow Storage Products

Arrow Storage Products EPA64 Owner's manual & assembly guide

Skandika Comanche Setup & maintenance

Skandika

Skandika Comanche Setup & maintenance

Fritz Wilhelm Hub & Spoke Round Pavilon Setup instructions

Fritz Wilhelm

Fritz Wilhelm Hub & Spoke Round Pavilon Setup instructions

Sea Eagle SE-9 Instruction & owner's manual

Sea Eagle

Sea Eagle SE-9 Instruction & owner's manual

Core 40080 quick start guide

Core

Core 40080 quick start guide

THE NORTH FACE Himalayan 47 quick start guide

THE NORTH FACE

THE NORTH FACE Himalayan 47 quick start guide

manuals.online logo
manuals.online logoBrands
  • About & Mission
  • Contact us
  • Privacy Policy
  • Terms and Conditions

Copyright 2025 Manuals.Online. All Rights Reserved.