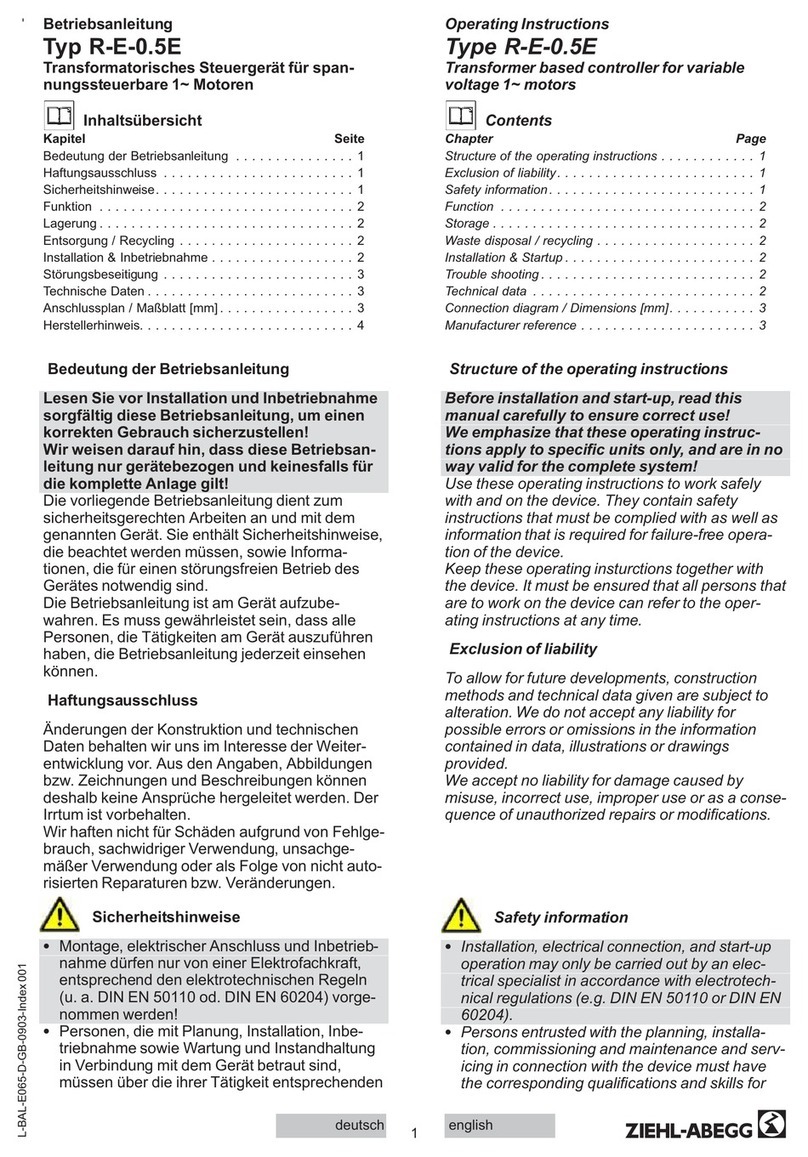
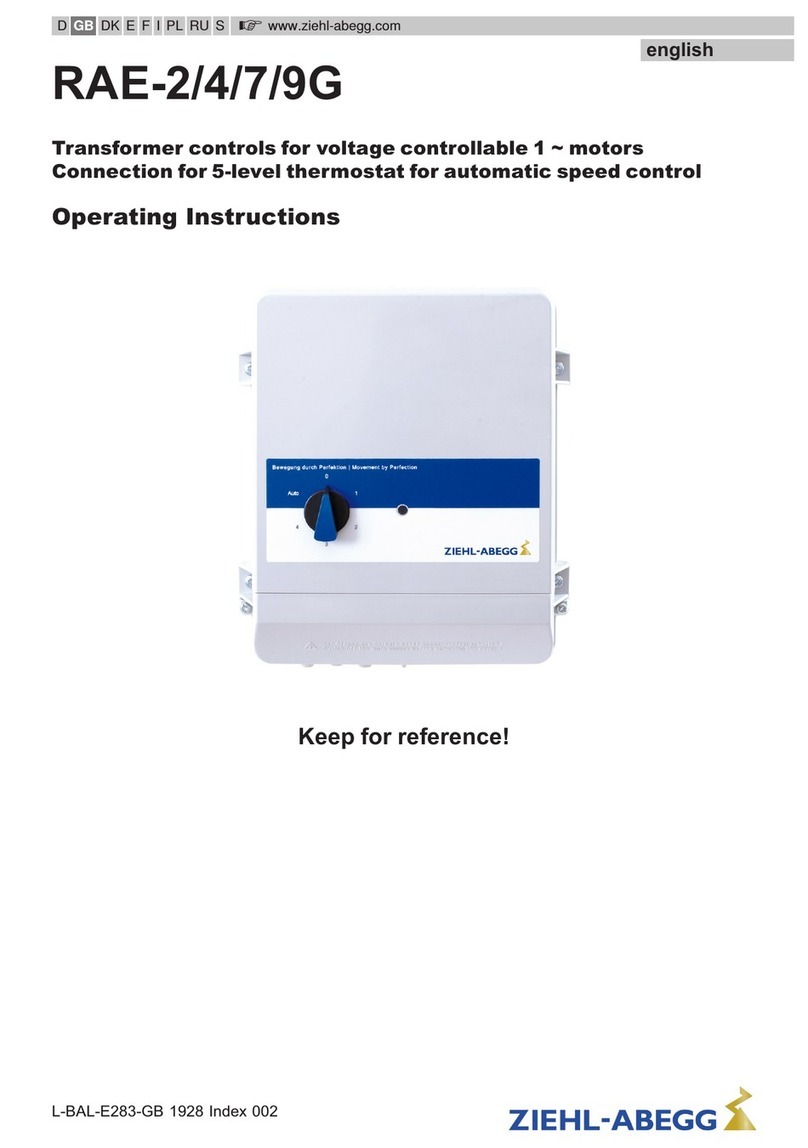
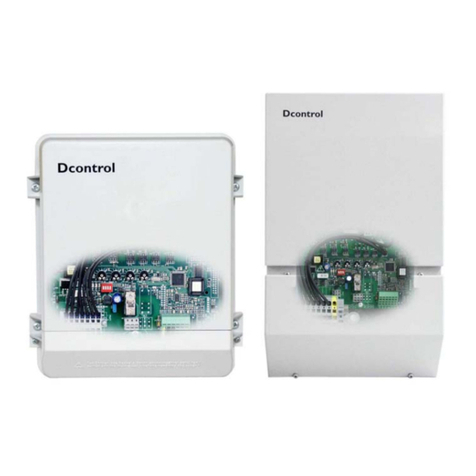
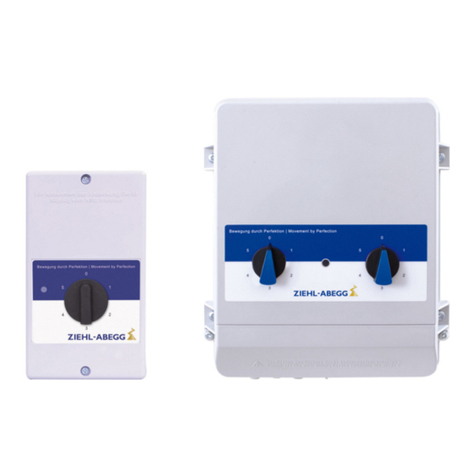
ZIEHL-ABEGG PAE10E-M User manual

Operating Instructions
R-TBL95_35_GB 0618 Part-No. 00158612-GB - 1 -
PAE10E-M Part-No. 303510
PSE-6V Part-No. 303570
PSE-14V Part-No. 303585
Electronic speed controller
for variable voltage 1~ motors
Manufacturer: ZIEHL-ABEGG AG
Heinz-Ziehl-Straße
D-74653 Künzelsau
Phone: +49 (0) 7940 16-0
Fax: +49 (0) 7940 16-200
Internet: http://www.ziehl-abegg.de
Software D1005A Part.-No. 00158913 from version 15
Year of construction: 1996

Operating Instructions PAE10E-M / PSE-6/14V Date 0618
R-TBL95_35_GB 0618 Part-No. 00158612-GB
- 2 -
Contents
1. General............................................................................................................................................. 3
2. Safety measures.............................................................................................................................. 3
3. General description ........................................................................................................................4
3.1 Range of application .........................................................................................................................................4
3.2 Technical data...................................................................................................................................................4
3.3 Versions ............................................................................................................................................................4
3.4 Controls.............................................................................................................................................................5
3.4.1 Manual speed setting or adjust of min. speed ( basic speed) .......................................................................5
3.4.2 Setting of max. speed-potentiometer (speed limiter) and cos ϕadjustment .................................................5
4. Installation ....................................................................................................................................... 6
4.1 Mounting ...........................................................................................................................................................6
4.2 Minimum space requirement ............................................................................................................................6
4.3 Outdoor installation (PSE-6/14V or PAE10E-M in empty case IP 54)..............................................................6
4.4 Temperature influences during commissioning................................................................................................6
4.5 Systems with current-operated circuit-breaker.................................................................................................6
4.6 Potential of control voltage connections ..........................................................................................................6
4.7 Interference Emissions / Cable installation.......................................................................................................7
4.8 Electrical installation .........................................................................................................................................7
5. Basic settings / connections possible ..........................................................................................8
5.1 Adjustment of the speed by an external potentiometer ....................................................................................8
5.2 Adjustment of the speed by an external signal.................................................................................................8
5.3 Voltage supply for external equipment .............................................................................................................8
5.4 Running several fans from one controller.........................................................................................................8
5.5 Stabilisation of the output voltage for fluctuations in the line voltage ...............................................................9
5.6 Output voltage 0-10 V.......................................................................................................................................9
6. Faults and their rectification .......................................................................................................... 9
6.1 Line faults..........................................................................................................................................................9
7. Enclosure....................................................................................................................................... 10
7.1 Connection diagram....................................................................................................................................... 10
7.2 Anschlussplan von Motorschutzgerät für Motoren mit Thermokontakten Typ S-ET10................................. 10
7.2 Dimension sheet ............................................................................................................................................ 11

Operating Instructions PAE10E-M / PSE-6/14V Date 0618
R-TBL95_35_GB 0618 Part-No. 00158612-GB
- 3 -
1. General
Before installation and start-up, read this manual carefully to ensure a correct use.
Attention! Hazardous area!
Danger owing to electric current or voltage!!
Important information!
•The copyright for these operating instructions remains to ZIEHL-ABEGG AG, Künzelsau.
•The device is constructed in accordance with the current state of technology and the recognised safety regulations.
Nevertheless, use of the device is associated with dangers which may cause death or injury to users or third parties as
well as damage to the system and other objects.
•The device is intended exclusively for the tasks listed in the order confirmation. Any other or extraordinary uses of the
device (unless previously agreed by contract) are considered contrary to regulations. The manufacturer is not liable for
damages resulting from incorrect use. The operating company alone bears the risk.
•To allow for future developments, construction methods and technical data given are subject to alteration. We do not
accept any liability for possible errors or omissions in the information contained in data, illustrations or drawings
provided.
•The controllers are packed ex factory to suit the transport method previously agreed. Always use the original packaging
materials when transporting the controller. When transporting by hand, ensure that personnel possess the strength
required to lift and carry the device. Avoid shocks and impacts to the device. Check the packaging and controller for
damage.
•Store the controller in its original packaging in a dry and weather-proof room. The device must not be exposed to
extreme heat and low temperatures.
2. Safety measures
In the case of a malfunction or a failure of the equipment check all functions with alarms in order to prevent
injury to persons or property. Note possibility of back-up operation.
If used in intensive animal environments, any malfunctions in the air supply must be detected as soon as
possible to prevent the development of a life-threatening situation for the animals. The design and installation of
the system must comply with local regulations and directives. In Germany these include DIN VDE 0100, the
animal protection and the keeping of working animals ordinance and the pig-keeping ordinance etc.
Also note the instructions of AEL, DLG, VdS.
•Apart from the operating instructions and the obligatory regulations to be followed by users relating to accident
prevention, the recognised technical regulations must also be observed (safety and branch-related work as per UVV,
VBG, VDE, etc.).
•These devices are potentially dangerous if they are used incorrectly by untrained personnel or are not implemented
according to their specified use.
•Work on electric components/modules may only be carried out by trained electricians in accordance with
electro-technical regulations (e.g. EN 60204, DIN VDE 0100/0113/0160).
•The contractor or owner must also ensure that the electric systems and equipment are operated and maintained in
accordance with electro-technical regulations. The owner is obliged to ensure that the device are operated in perfect
working order only.
•It is forbidden to carry out work on electrically live parts. The rating given in the enclosure for the device when
open is IP00! It is possible to inadvertently touch components carrying hazardous voltages!
•During operation, the device must be closed or installed in a control cabinet.
•Fuses may only be replaced by new ones and must not be repaired or bypassed. The data for the maximum line fuse
are to be considered absolutely ()Technical data). Use only fuses specified in schematic diagrams.
•The safe isolation from the supply must be checked using a two-pole voltage detector.
•Any faults detected in the electric system/modules/operating equipment must be corrected immediately. If these faults
are not corrected, the device/system is potentially very dangerous. The device/system must therefore not be operated
when it is faulty.
Operating Instructions PAE10E-M / PSE-6/14V Date 0618
R-TBL95_35_GB 0618 Part-No. 00158612-GB
- 4 -
3. General description
3.1 Range of application
The controlling device as described is intended for infinitely variable speed settings in voltage-regulated 1-phase motors
for driving fans and pumps.
3.2 Technical data
{Line voltage 1~ 230 V (-15 / +10 %), 50/60 Hz
The name plate data refer to a maximum ambient temperature of 40°C.
{Minimal motor current 0.2 A
{Controlled output voltage about 0-100 %
{Input resistance (input 0-10V) Ri>100 kΩ/ Ri = 500 Ω(input 0-20 mA)
{Output 0-10 V PAE10E-M / PSE14-V : Imax 10 mA (short circuit-proof)
PSE-6V:Imax 1 mA (short circuit-proof)
{Permissible ambient temperature 0-40° C
{Acceptable rel. humidity 85 % no condensation
{Interference emission EN 61000-6-3
{Harmonics current EN 61000-3-2*
{Interference immunity EN 61000-6-2
* The units comply with EN 61000-3-2 for a "professional unit". Up to a maximum current of 4 ampere
the limits were complied without any qualification.
3.3 Versions
Type Part.-No.: Housing Protection class
PAE10E-M 303510 Aluminium channel IP 20
PSE-6V 303570 Plastic IP 54
PSE-14V 303585 top ABS plastic bottom
aluminium die casting IP54
Type PAE10E-M PSE-6V PSE-14V
Part-No. 303510 303570 303585
Rated current / A 10 6 14
Max. line fuse* / A 16 10 20
Semiconducor fuse construction site**/A FF20A FF20A FF25A
Heat dissipation / W 17 12 26
Housing protection IP20 IP54 IP54
Weight / kg 0.63 0.65 1.9
* Max. supply side line fuse according to DIN EN 60204-1 classification VDE0113 chapter 1
** Semiconductor fuse, not in the scope of suply! Installation on site recommended for protection for damages in the
case of short-circuits.

Operating Instructions PAE10E-M / PSE-6/14V Date 0618
R-TBL95_35_GB 0618 Part-No. 00158612-GB
- 5 -
3.4 Controls
PAE10E-M PSE-6/14V
„n-min“ (R28) Potentiometer
min. speed
Speed adjuster (0-100 %) or setting the minimal output (basic speed)
„n-max“ (R35) Potentiometer
max. speed
Setting the max. Output (speed limit)
3.4.1 Manual speed setting or adjust of min. speed ( basic speed)
Setting range: approx. 0% up to 100% line voltage
1. Adjustment “0 V” by external signal or potentiometer
2. Adjust desired min. speed by means of potentiometer "n-min".
3.4.2 Setting of max. speed-potentiometer (speed limiter) and cos ϕadjustment
Setting range from 100% down to setting “n-min”
This adjustment has to be made with full load condition i.e. when radial fans are used all dampers must be open.
1. Adjustment by external signal: input signal 10 V (20 mA).
2. Adjust the desired max. speed by means of potentiometer "n-max". For cos ϕadjustment, turn “n-max“ counter-
clockwise such that the maximum output voltage will just be measured (with TRUE-RMS multimeter).
Cos ϕadjustment
The output voltage from the unit depends on the inductance of the motor (cos ϕ). By this, the maximum output
voltage can already be reached below the maximum input signal (<10 V / 20 mA). A correction is possible by setting
“n-max" (cos ϕadjustment).
n-min (R28) n-max (R35)

Operating Instructions PAE10E-M / PSE-6/14V Date 0618
R-TBL95_35_GB 0618 Part-No. 00158612-GB
- 6 -
4. Installation
4.1 Mounting
•Assemble the device on a clean and stable base. Do not distort during assembly! Use the appropriate mounting
devices for proper installation of the unit!
•Do not mount equipment on vibrating base!
•Use the appropriate fixing equipment. The plastic washers must be installed between the screw heads and the
housing for models with mounting holes on the inside of the housing!
•Install the device away from transport routes. However, ensure however that the device is still easily accessible!
•Depending on the housing model cut off necessary cable inlets respectively to the cable diameter. Or alternative use
cable inlet for cable glands. Metal sheet housings are supplied with stoppers. Any cable ducts openings not used
must be sealed!
•Protect the device from direct exposure to sunlight!
•The device is designed for vertical installation (cable inlet down). A horizontal or reclined installation is only
permissible after consultation with the manufacturer.
•Be sure to observe proper heat dissipation ()Technical data, “heat dissipation”)
4.2 Minimum space requirement
In order to ensure sufficient ventilation of the device, clearance on all sides of at
least 50 mm has to be maintained to the housing walls, switch cabinet doors,
wiring ducts, etc. The same clearance applies to the installation of several
devices next to each other ()illustration).
When installing several devices on top of each other, the danger of reciprocal
heating exists. This layout is only then permissible when the air suctioned from
the upper unit does not become warmer than the permissible ambient
temperature ()Technical data). I.e., a correspondingly larger clearance or
thermal shielding is required.
4.3 Outdoor installation (PSE-6/14V or PAE10E-M in empty case IP 54)
Outdoor installation in IP 54 is possible up to -20° C, if device is not switched off.
4.4 Temperature influences during commissioning
To prevent functional faults, no condensing humidity must be allowed to enter the controller. The controller should
therefore be stored at room temperature!
4.5 Systems with current-operated circuit-breaker
Owing to possible leakage currents occurring when the device is switched on, it is advisable to use time-delay current-
operated circuit-breakers. This prevents false triggering.
4.6 Potential of control voltage connections
As a result of the ex factory connection between a "GND" terminal and the "PE" connection, the control voltage
connections are, for safety reasons, applied to the protective-conductor potential. If, in exceptional cases, disconnection
of the potential is necessary, this connection can be removed.
{If this connection is removed, it must be ensured that the maximum external voltage at the control
voltage connections does not exceed 20 V (between the "GND" terminals and the "PE" protective
conductor).
{An insulated power cable must be used for the sensor cable.
min. 50 mm

Operating Instructions PAE10E-M / PSE-6/14V Date 0618
R-TBL95_35_GB 0618 Part-No. 00158612-GB
- 7 -
4.7 Interference Emissions / Cable installation
Motor cable
The applicable standard for radiating interference is EN 61000-6-3.
For type PAE10E-M and type PSE-6V:
Interference level „B“ according to EN 55022 up to maximum 2 m motor cable not screend or maximum 5m motor
cable screend.
Interference level „A“ according to EN 55022 up to maximum 50 m motor cable length screend.
For type PSE-14V:
Interverence level „B“ according to EN 55022 up to maximal 15 m motor cable not screend.
If a shielded cable is used, the shielding (as short as possible) must be connected to the protective conductor of the
device.
Signal cable
Pay attention to sufficient distance from powerlines and motor wires to prevent interferences.
The control cables may not be longer than 30 m. Screened control cables must be used when the cable length is
longer than 20 m. When using a screened cable, the screen must be connected to the protective conductor at one
end, i.e. only at the control unit (as short and of as low an inductance as possible!).
4.8 Electrical installation
{Electrical installation may only be carried out by trained specialists in accordance
with general and locally applicable directives!
{Dangerous electric voltages are exposed when the controller is opened. Behave
accordingly when installing the device and ensure that employees without
appropriate training cannot enter the hazardous area!
The relevant connections can be found in the circuit diagram enclosed in the Appendix
at the back of these operating instructions ()Chap. 7.1 Connection diagram)!
With "WAGO" terminal strips, insert only one conductor with max. 2.5 .
Before final commissioning is performed, the housing must be correctly screwed
into position and the unused cable ducts must be sealed using the supplied stoppers!

Operating Instructions PAE10E-M / PSE-6/14V Date 0618
R-TBL95_35_GB 0618 Part-No. 00158612-GB
- 8 -
5. Basic settings / connections possible
5.1 Adjustment of the speed by an external potentiometer
The external potentiometer (10 kΩ) is connected to the terminals “A” and “GND”. Depending on the setting, a voltage of
0-10 V is returned to the input terminal “E” by the potentiometer pick-off (for 10 V max. output voltage). The connector J
10 (in the terminal compartment) must be inserted in the “up” position, i.e. in position “A”, to do this,(see terminal
connection plan).
J10 “up” position “A” (factory setting) = fixed voltage at terminal “A” (+ 10 V for potentiometer)
J10 “down” position “B” = voltage at terminal “A” = 0-10 V proportional to the motor voltage.
5.2 Adjustment of the speed by an external signal
The external signal for selecting the speed is connected to terminals “E” and “GND” (see terminal connection plan). The
speed of the motors connected is controlled as a direct variance of the signal at the input terminals (for max. 10 V output
voltage).
Subsequent change from 0-10 V to 0-20 mA for the input signal:
Control by a 0-20 mA signal is possible by an external circuit resistor (499 Ω/ 0.25 W) between the terminals “E” and
“GND”.
5.3 Voltage supply for external equipment
There is an integrated power supply for external equipment. A selection between +15 V and +24 V is possible by mean
of jumper J15.
Reference point for voltage = next GND-terminal, max. 20 mA
J15 up position “A“ +15 V output voltage ± 5 %.
J15 down position “B“ +24 V (standard setting) output voltage ± 20 %.
The voltage stabilisation function for the motor voltage is limited for a load on this voltage
supply. Thus this must be interrupted in the terminal compartment by connector J 3 ()Section
5.5 Stabilisation of output voltage)
5.4 Running several fans from one controller
Several fans can be connected to the controller. The maximum total current of all motors (maximum rated current for
electronic control of the voltage) must not exceed the current rating of the controller.
If the maximum control current for the electronic voltage control is not known, then allowance for an increase up to 20 %
in the motor nominal current must be made.
For the control of motors made by other manufacturers (not Ziehl-Abegg), the control characteristics and the maximum
current for electronic regulation of the voltage should be enquired from the manufacturer.
It is recommended that a separate motor surveillance unit (e.g. S-ET10) is foreseen for each fan.

Operating Instructions PAE10E-M / PSE-6/14V Date 0618
R-TBL95_35_GB 0618 Part-No. 00158612-GB
- 9 -
5.5 Stabilisation of the output voltage for fluctuations in the line voltage
By means of the integrated voltage stabilisation function, the output voltage and hence the speed of the connected
motor remain essentially constant throughout fluctuations in the line voltage.
The unit supplies the maximum output voltage (approximately the line voltage) for line voltages above the signal input
which are less than the specified output voltage. The output voltage of the unit cannot rise above the line voltage for
system reasons.
Characteristic for ohmic loads
By comparison, units without integrated voltage stabilisation for line voltage + and -10 %.
0
50
100
150
200
250
12345678910
Setpoint signal Uv [V]
On-load voltage U_load [V]
Ideal curve
Nominal voltage
+10% stab.
Nominal voltage -10%
stab.
Nominal voltage
+10%
Nominal voltage -10%
(BA_PAE.xls/ds)
Stabilisation of the output voltage can be switched on and off again with the jumper J3.
Jumper J3 “up”: without stabilisation (factory setting)
Jumper J3 “down”: with stabilisation
The stabilisation must be switched off when loading the voltage supply for external
units (+15 V / +24 V) (section 5.3 Voltage supply) or for running from a mains
transformer.
It is not meaningful to operate with stabilisation for control (0-10 V) by a control unit
(e.g. when used as a “follower controller”).
The function “stabilisation” serves to specify a voltage as constant as possible, e.g.
over a potentiometer.
5.6 Output voltage 0-10 V
The output voltage 0-10 V, (terminal “A” / “GND”) is almost proportional to the regulated motor voltage. This can be used
for example, if a speed controller, type PAE / PASTE, or valve positioning motor, is installed. The output is set to a fixed
voltage of 10 V at the factory for supply to a potentiometer. A switchover to 0-10 V proportional to the motor voltage is
possible by means of the connector J10 in the terminal compartment.
J10 „up“ position „A“ (standard setting) = fixed voltage to terminal „A“ (+10 V for potentiometer)
J10 „down“ position „B“ = voltage to terminal „A“ 0-10 V proportional to the controlled motor
Max. load output voltage 0-10V
- PAE10E-M and PSE-14: Imax 10 mA
- PSE-6V: Imax 1 mA
6. Faults and their rectification
6.1 Line faults
The controller switches off in the event of a line fault, e.g. fuse or network failures. The controller switches on again
automatically following restoration of the voltage.

Operating Instructions PAE10E-M / PSE-6/14V Date 0618
R-TBL95_35_GB 0618 Part-No. 00158612-GB
- 10 -
7. Enclosure
7.1 Connection diagram
7.2 Anschlussplan von Motorschutzgerät für Motoren mit Thermokontakten Typ S-ET10
•Total motor protection: Automatic cut-off by thermocontact actuation ^ motor overtemperature. Button for Reset after
malfunction.
•No cut-off if the mains supply is interrupted.
KT00008G
15.07.2004
PELN
Netz oder geregelte Spannung
line or controlled voltage
Reseau ou tension variable
Nat eller reglerad spanning
1~ 60V...250V 50/60Hz
1
246
12
11
24
23
* = Option ZB / ZK(2S)
Kontaktbelastung der Hilfskontakte
contact rating of auxiliary contacts
pouvoir de coupure des contacts auxiliaires
Kontaktbelastning Larmkontakter
I>
5
max.
25A
24 110 230 400 690
U
V
6 4 4 2 1
I
A
AC15 max.
1~ Motor
mit eingebauten Thermokontakten
with internal thermocontacts
à thermocontacts intégrés
med integrerade termokontakter
M
1~
PETK U1TK U2
S-ET10E ZB *
14
13
24
23
ZK(2S) *

Operating Instructions PAE10E-M / PSE-6/14V Date 0618
R-TBL95_35_GB 0618 Part-No. 00158612-GB
- 11 -
Switch off the main supply before removing the cover!
V
or Öffnen des Deckels Gerät s
p
annun
g
sfrei schalten!
7.2 Dimension sheet
PAE10E-M PSE-6V
PSE-14V
This manual suits for next models
5
Table of contents
Other ZIEHL-ABEGG Controllers manuals

ZIEHL-ABEGG
ZIEHL-ABEGG Dcontrol PKDM6 User manual

ZIEHL-ABEGG
ZIEHL-ABEGG R-E-0.5E User manual

ZIEHL-ABEGG
ZIEHL-ABEGG R-ET6KTG User manual

ZIEHL-ABEGG
ZIEHL-ABEGG Ucontrol PXDM Series User manual

ZIEHL-ABEGG
ZIEHL-ABEGG R-DK Series User manual

ZIEHL-ABEGG
ZIEHL-ABEGG Acontrol PXET6Q User manual

ZIEHL-ABEGG
ZIEHL-ABEGG Acontrol PSET6 User manual

ZIEHL-ABEGG
ZIEHL-ABEGG DControl PKDT Series User manual

ZIEHL-ABEGG
ZIEHL-ABEGG RAE-2G User manual

ZIEHL-ABEGG
ZIEHL-ABEGG R-E-1.5G User manual