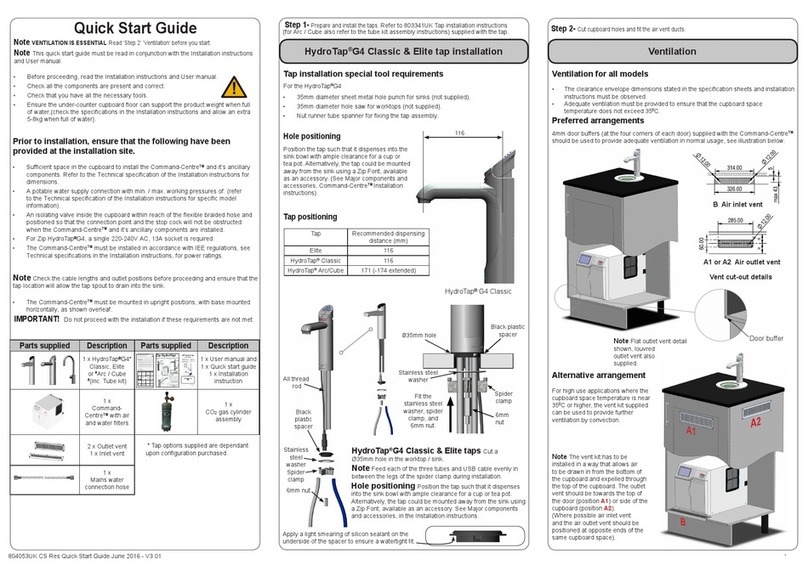
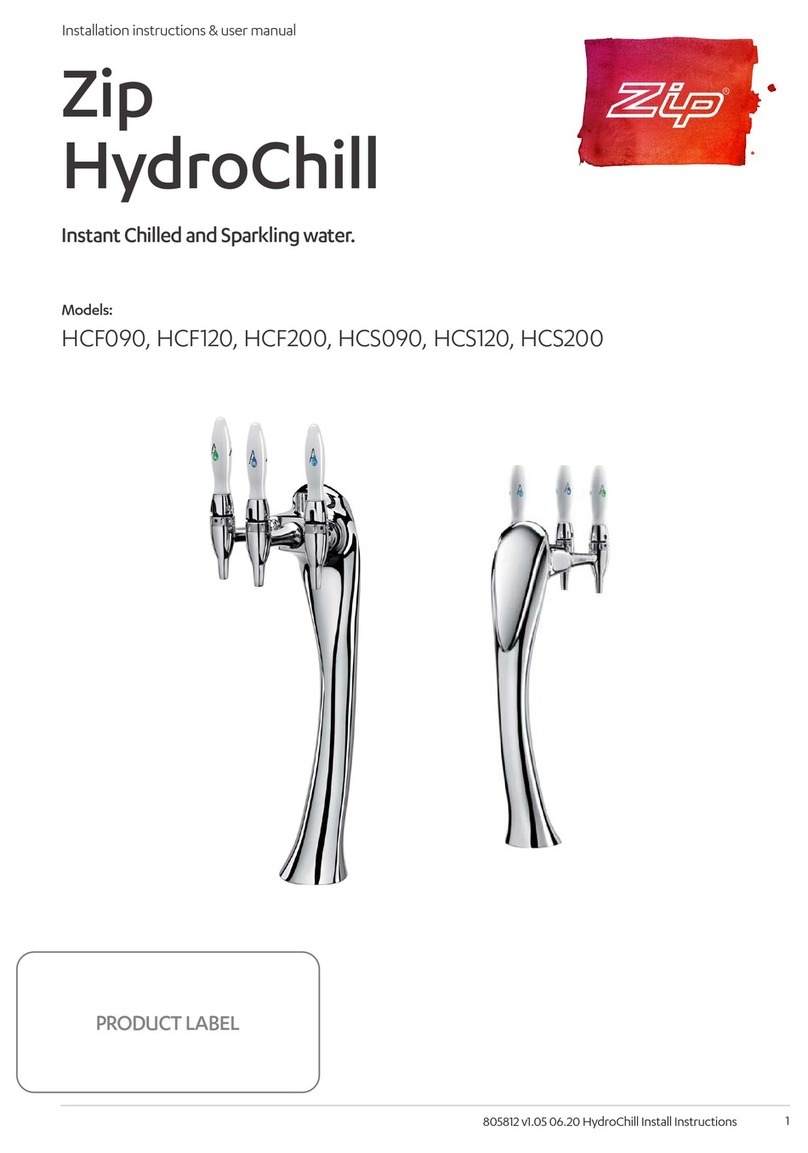
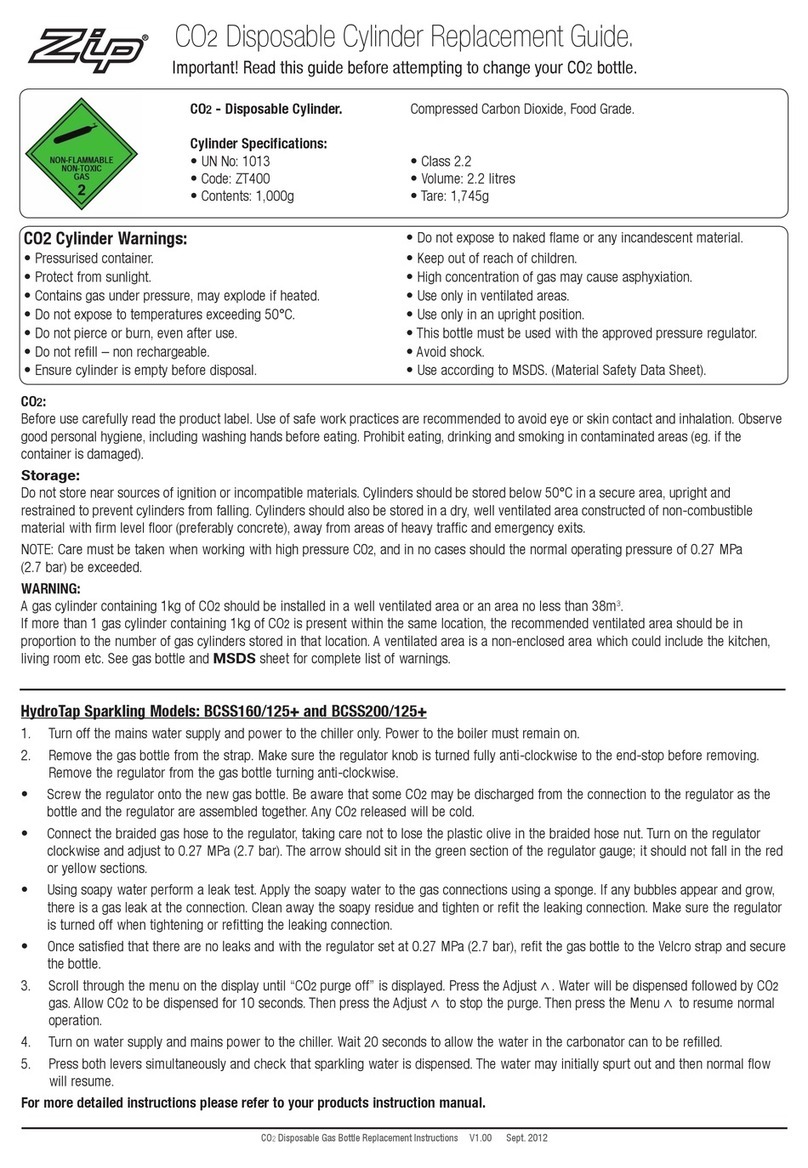
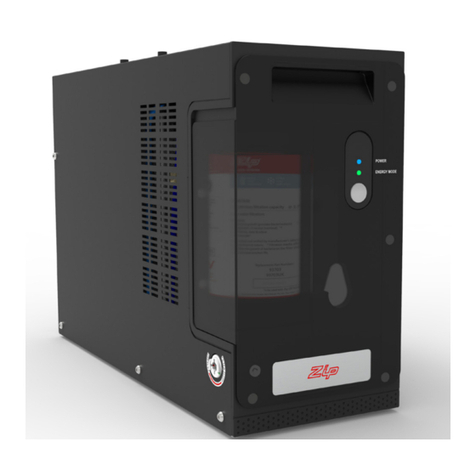
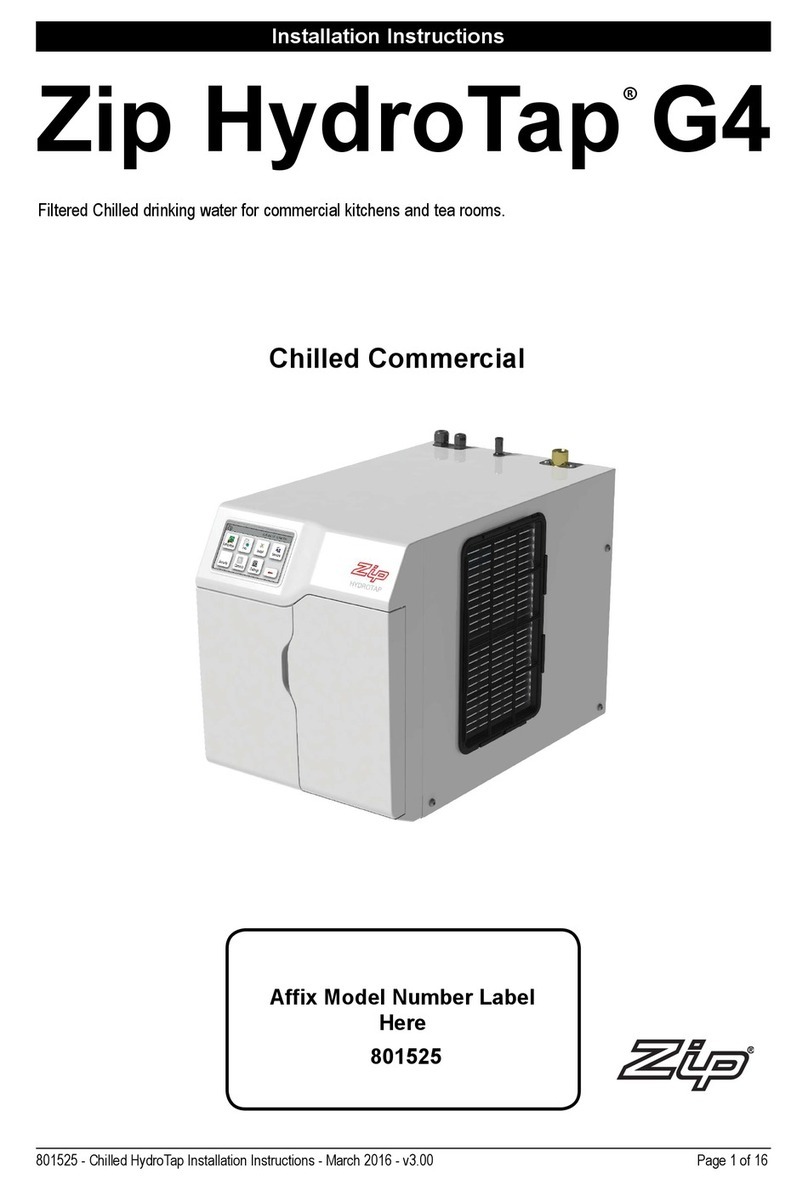
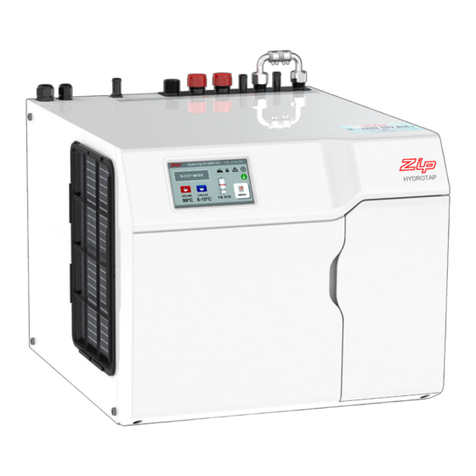
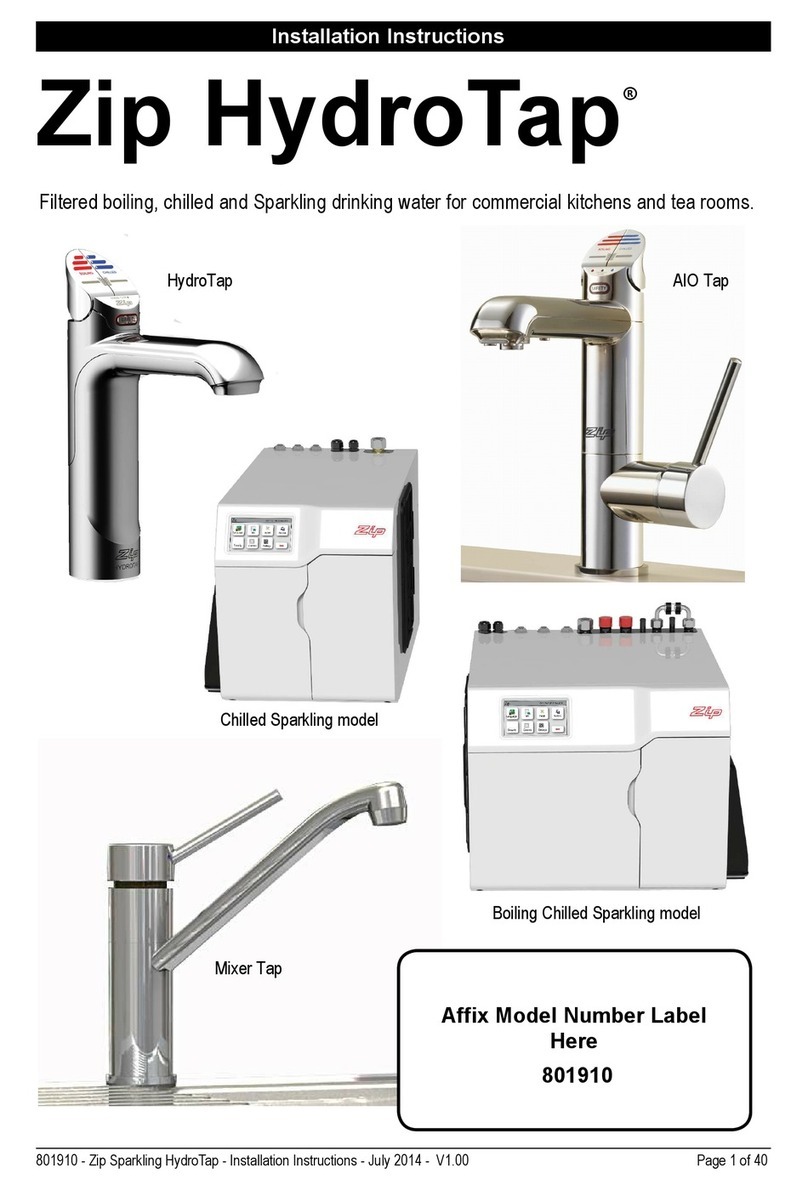
Zip 801623 User manual

801623 - Chilled HT User Guide - 7-15 - v2.00 Page 1 of 20
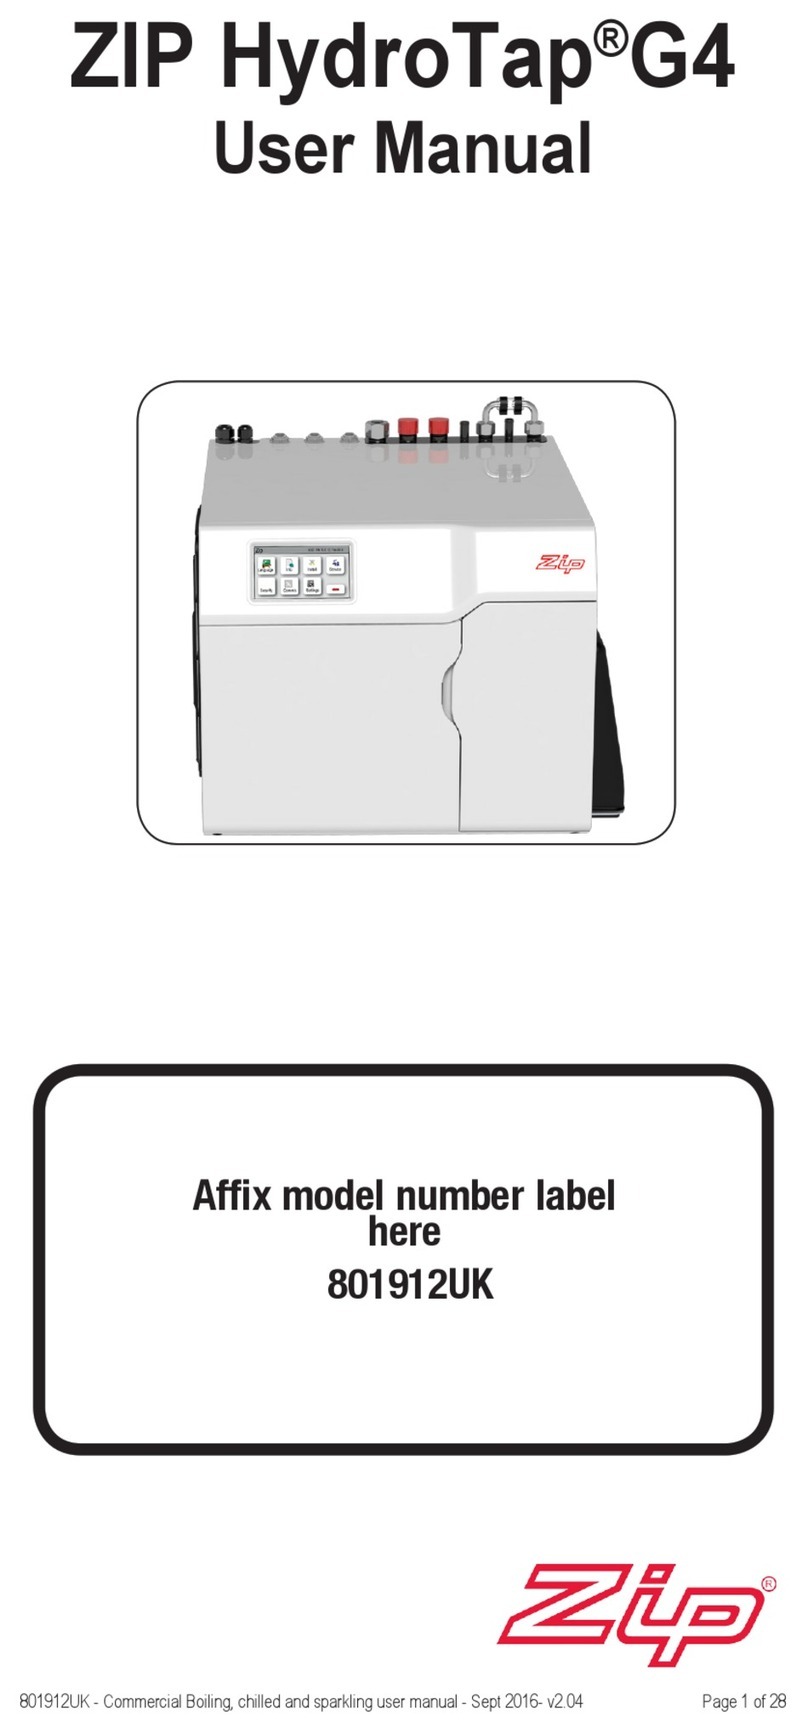
ZIP HydroTap G4
User Guide
®
• Tap Operation...................(Pages 2-6)
• LCD Screen & Menu .......(Pages 7-17)
• Maintenance.................... (Page 17-19)
• Menu Icons.......................(Page 19)
Date of Installation............./........./..........
Affix Model Number Label
Here
801623
Chilled
Commercial
model

Page 2 of 20 801623 - Chilled HT User Guide - 7-15 - v2.00
3. Tap operation
Press or pull lever
To dispense chilled water:
HydroTap Classic:
Depressing the “Blue” lever allows
the dispensing of chilled water.
Pulling forward the Blue lever
allows the tap to operate in a “no-
touch” mode. Water will flow from
between 5 and 15 seconds (This is
user adjustable). To reset, return
the handle to the “Off” position and
repeat the step. The lever has to
be manually returned to the “Off”
position.
Elite Tap:
Touching any of the chilled buttons
allows the dispensing of chilled water.
HydroTap Arc/Cube:
Rotating the control , when the chilled
indicator light is BLUE, allows the
dispensing of chilled water.
Chilled buttons
Chilled water Light
Chilled water Light
Note:
The select and safety buttons on the
Chilled Hydrotap Arc/Cube are non
functional.
(Indicator only)
801623 - Chilled HT User Guide - 7-15 - v2.00 Page 3 of 20
Elite Tap:
The Elite tap uses touch sensitive controls, in lieu of levers, to dispense
Chilled water. Touching any of the chilled buttons allows the dispensing of
chilled water.
Chilled Button Chilled Button
3. Tap functions

801623 - Chilled HT User Guide - 7-15 - v2.00 Page 3 of 20
Elite Tap:
The Elite tap uses touch sensitive controls, in lieu of levers, to dispense
Chilled water. Touching any of the chilled buttons allows the dispensing of
chilled water.
Chilled Button Chilled Button
3. Tap functions

Page 4 of 20 801623 - Chilled HT User Guide - 7-15 - v2.00
3. Tap functions
Rotary control
Select Button
Safety Lock
ARC & CUBE Tap:
On powerup, wait 30secs. for
the unit to calibrate. The Arc/
Cube control may be rotated in
a forward or reverse direction
to dispense Chilled water.
The rotary control is spring
loaded in the anticlockwise
direction and when released,
will return to the OFF position.
When rotated clockwise the
tap operates in a “Pot fill”
mode. Water will flow from
between 5 and 15 seconds
(This is user adjustable). To
reset, return the handle to
the “Off” position and repeat
the step. The lever has to be
manually returned to the “Off”
position.
Note:
The select and safety buttons on the Chilled Hydrotap Arc/Cube are non
functional.
(Indicator only)
801623 - Chilled HT User Guide - 7-15 - v2.00 Page 5 of 20
Chilled water Lights
3. Tap Lights
Note:
The safety button on all the Chilled Hydrotaps is non functional
Chilled Water Light: (All)
On all the time:
This indicates that the temperature of the
chilled water is within the set temperature
range.
Flashing slowly:
This indicates that the chilled water is not within
the set temperature range. When the chilled
water is at the set temperature, the light will
stop flashing. This could take several minutes.
During heavy usage, the temperature can rise
out of this range.

Page 6 of 20 801623 - Chilled HT User Guide - 7-15 - v2.00
Filter light:
Filter Change Light Off:
This indicates the filter is operating within its
normal specified lifespan.
Filter Change light flashing slowly:
The light will flash slowly when the filter is due
for replacement and the LCD will show “Filter
Change”. Refer to “Replacing the filter” in
section ‘C’ of this document.
Filter Light
Filter light
3. Filter light
HydroTap Arc/Cube
Flashing filter lights:
All three tap lights (Safety; Select and
Indicator lights) will flash every 10 seconds,
indicating a Filter change is required.
Set filter light OFF: (All
models)
Refer to “Replacing the filter” in
section ‘C’ of this document.

801623 - Chilled HT User Guide - 7-15 - v2.00 Page 7 of 20
Note: When selecting Menu options, the screen will revert to the main menu,
if the screen remains inactive for a period, in excess of 10 seconds.
Zip HydroTap introduces a ‘TOUCH’ screen for easy setup and operation
adjustment. See page 19 for icon details.
Other possible messages in status window:
**Status Information Notes
System Fault Product has one or more system
faults
Refer to section B
Change Filter External/Internal filter needs to be
replaced
Refer to section C
3LCD Screen
Set chilled water temp. Filter usage
**Status window

Page 8 of 20 801623 - Chilled HT User Guide - 7-15 - v2.00
3LCD Screen Menu
Main Menu Sub Menu Sub Menu Options Section
Language
•
English
•
Deutsch
A
•
Product Info
•
System
Faults
•
Event Log
•
Product serial
no.
•
Lists
B
Information
Installation
•
Filter Flush
•
Filter Reset
•
Reset options
•
Calibration
options
C
Service Password protected
D
Security
•
Enable
Password
•
Set Password
•
Change
Password
E
Communication
•
Remote
Monitor
•
Remote
Control
•
Wifi / Bluetooth
Options
•
Wifi / Bluetooth
Options
F
Settings
•
Date/Time
•
Temperature
•
Filter
•
Dispense
Times
•
12hr/24hr
Mode
•
Cold Setpoint
•
Filter Life
(Litres)
•
Filter Life
(Months)
•
Cold
Dispensing
G

801623 - Chilled HT User Guide - 7-15 - v2.00 Page 9 of 20
A Set Language
B System Information
In this section, you can find your product serial number , check system fault
messages or view the event logs of your product.
LCD Screen operation - Section A
LCD Screen operation - Section B
1.
Press [Product Info] to view the
current product information.
2.
Press [<=] button for the previous
menu or press [Home] button to
return to the home screen.
1.
Press [System Faults] to check the
fault information;
2.
Press [<=] button for the previous
menu or press
[Home] button to return to the
home screen.
1.
Press [MENU] for main menu.
2.
Press [Language] button.
3.
Select the country to change the
language
4.
Press [<=] button for the previous
menu
1.
Press the [MENU] button for the
main menu.
2.
Press the [Info] button to view the
current product serial number and
other key information
1.
Press [Filters Log] to view the
system’s filter log.
2.
Press [<=] button for the previous
menu or press
[Home] button to return to the
home screen.

Page 10 of 20 801623 - Chilled HT User Guide - 7-15 - v2.00
C Install
Have a 10L bucket or similar container (not supplied) at the ready to hold
a quantity of water that will be ejected while the Filter Flush Mode is in
operation. Open the filter access door on the front of the HydroTap and the
filter cartridge will be exposed. Located to the rear RHS of the cartridge is a
flush line, approx 600mm long and the flush line stop cock. Place the valve
end of the flush line into the 10L bucket or container.
Once your Zip HydroTap G4 unit has been installed, Go to Install menu to
configure the system settings for your product.
1. - Filter Flush
Note:
Run at least 10 Ltrs of
water through to flush the filter
of any excess black carbon
particles (this is normal), before
pressing the Stop button.Once
the filter flush has finished,
press the Stop button to display
the main menu
Sub menu:
1 - Filter Flush
2 - Filter Reset
3 - Lux sensor calibration
LCD Screen operation - Section C
OPEN
Position
CLOSED
Position
ON
OFF
The Zip HydroTap allows the user to adjust the filter life and to edit the filter
usage. (See filter details on Pages 14).
1.
Press [MENU] button for main
menu.
2.
Press [Install] button. Turn the stop
cock ON.
3.
Press [Filter Flush] button.
4.
Press [Start] button to start filter
flush. Once the filter flush is
finished, Turn the stop cock OFF
first (to ensure the cock is properly
closed) then press [Stop] to end
filter flush mode.
5.
Press [<=] button for the previous
menu or press [Home] button to
return to the home screen.
6.
After initial installation, Turning
OFF the Filter Flush Mode puts the
HydroTap into calibration mode.
With subsequent filter changes, the
system reverts to the main menu.
This manual suits for next models
1
Table of contents
Other Zip Water Dispenser manuals

Zip
Zip Classic HydroTap G4 range User manual

Zip
Zip Micro BC Manual

Zip
Zip HydroTap G4 User manual

Zip
Zip HydroTap G4 User manual

Zip
Zip HydroTap G4 User manual

Zip
Zip HC03CTU15 Manual

Zip
Zip 801912UK User manual

Zip
Zip HYDROCHILL HC20 Series Manual

Zip
Zip HydroTap G4 Boiling, chilled sparkling... User manual

Zip
Zip HydroTap G4 User manual