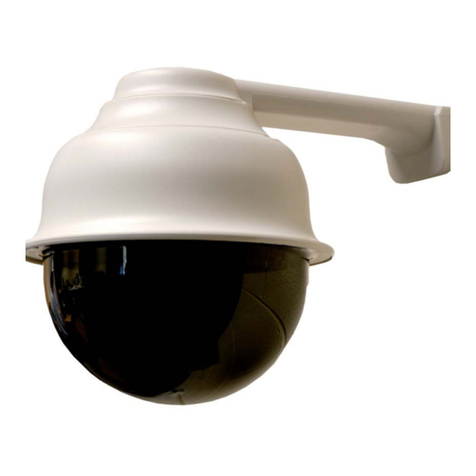
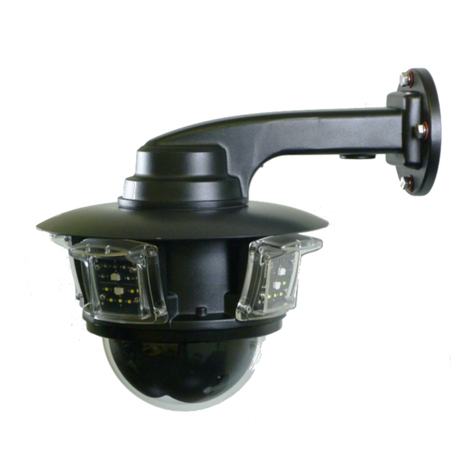
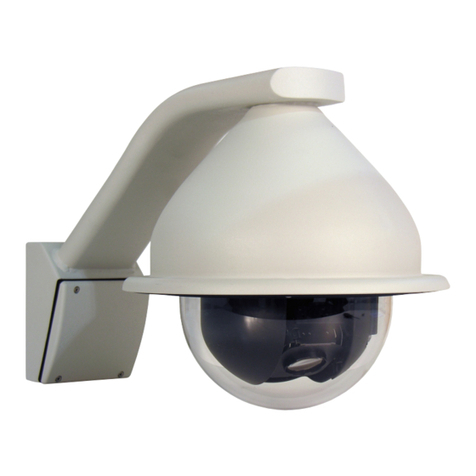
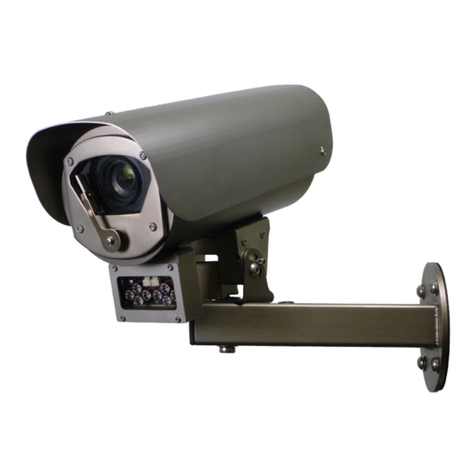
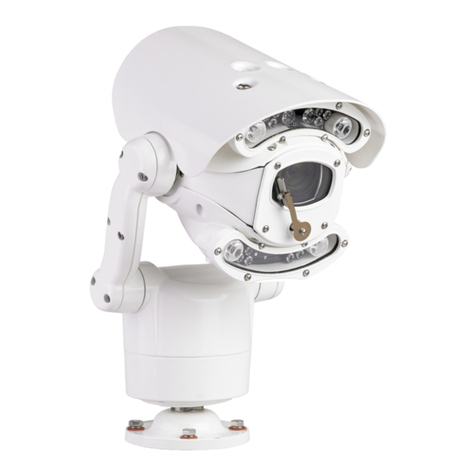
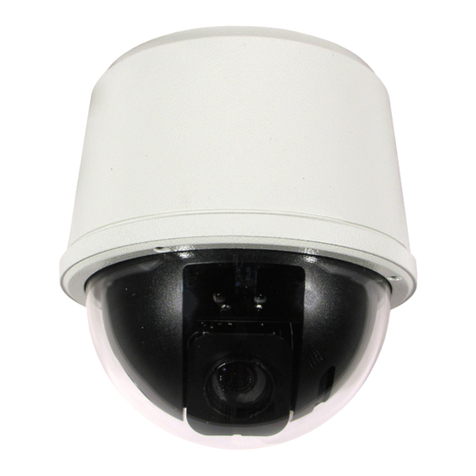
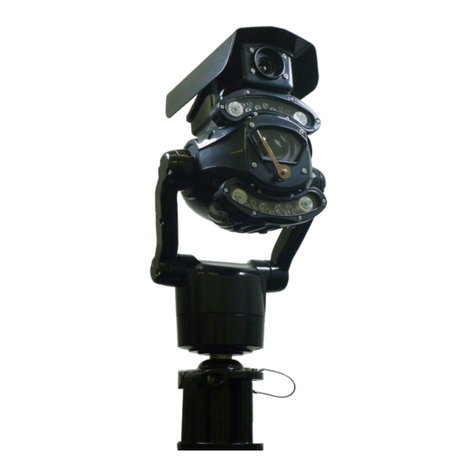
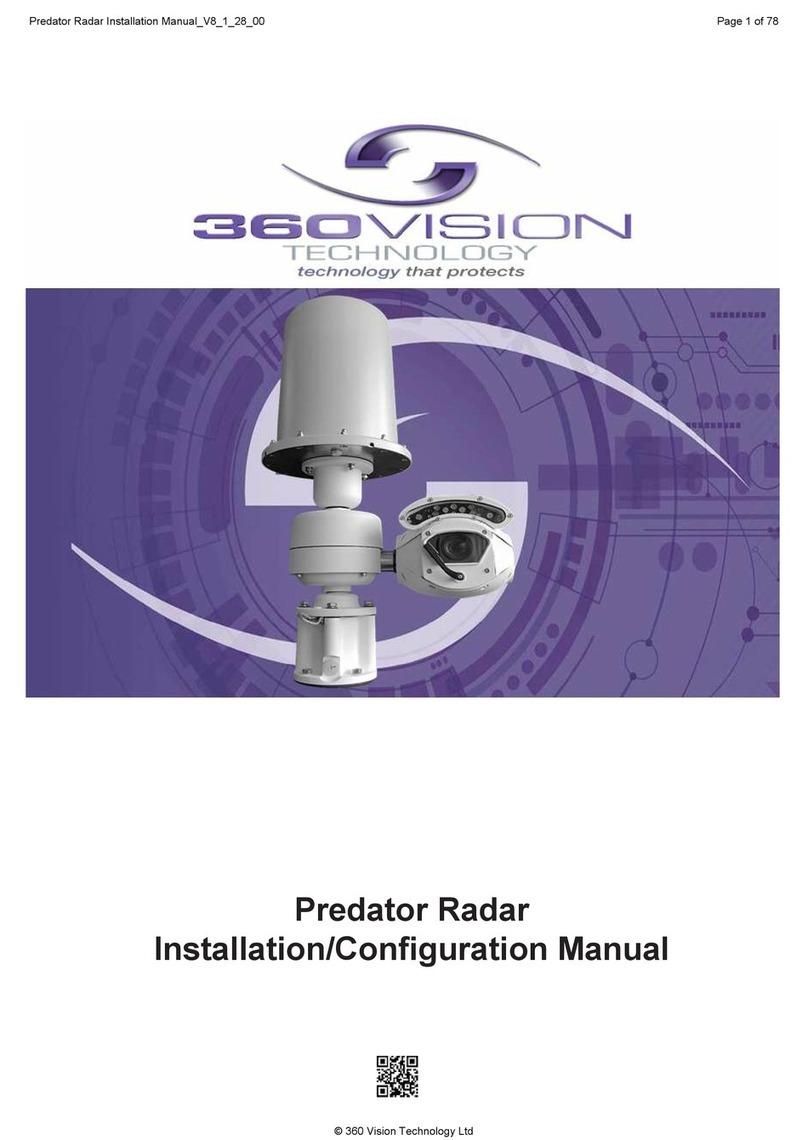
360 Vision Affiniti Thermal IP Instruction sheet

Afniti Thermal IP Install Manual V2.1.17.3 Page 1
© 360 Vision Technology Ltd.
Afniti Thermal IP
Installation/Conguration Manual

Afniti Thermal IP Install Manual V2.1.17.3 Page 2
© 360 Vision Technology Ltd.
Table of Contents
1 Safety and Precautions .............................................................................................................................. 2
2 Dimensional Drawing ................................................................................................................................. 3
3 Connections ............................................................................................................................................... 5
4 Locating the Afniti Thermal IP on your Network ....................................................................................... 7
5 Connecting to the Afniti Thermal IP .......................................................................................................... 7
5.1 Live Video .......................................................................................................................................... 8
5.2 Add/Edit Users ................................................................................................................................... 9
5.3 Video ................................................................................................................................................ 10
5.4 Advanced Video/Stream ....................................................................................................................11
5.5 Advanced Features .......................................................................................................................... 12
5.6 Camera ............................................................................................................................................ 13
5.7 Date/Time ......................................................................................................................................... 15
5.8 Network ............................................................................................................................................ 16
5.9 Maintenance ..................................................................................................................................... 17
6 Network Settings Recovery ...................................................................................................................... 18
7 Special Presets ........................................................................................................................................ 18
8 Important - Care of Painted Surfaces ....................................................................................................... 19
9 Storage and Handling............................................................................................................................... 19
10 Warranty ................................................................................................................................................. 19
11 Stream Resolutions & RTSP Links ......................................................................................................... 20
1 Safety and Precautions
1. Please read these notes before attempting to operate the 360 Vision Afniti, and keep for future reference.
2. DO NOT disassemble or remove covers. This will break the water seals and invalidate the warranty.
3. All servicing and repairs must be handled by 360 Vision Technology.
4. Avoid pointing the camera directly towards a bright light source (sunlight), or expose the camera to intensive
light situations as this may damage the camera pick-up device.
5. Installation should be carried out by suitably qualied personnel, in accordance with local codes of practice
and regulations.
6. 360 Vision Technology Limited accept no liability for any damage caused by incorrect or improper installation.
7. Please handle the Afniti with care, as improper handling may cause damage within this unit.
Afniti Thermal IP Install Manual V2.1.17.3 Page 3
© 360 Vision Technology Ltd.
2 Dimensional Drawing
Pole Mount
Soft/Ceiling Mount
Wall Mount

Afniti Thermal IP Install Manual V2.1.17.3 Page 4
© 360 Vision Technology Ltd.
MUST NOT BE REPRODUCED OR SHOWN TO
DO NOT SCALE
ALL DIMENSIONS IN MM
REMOVE ALL SHARP EDGES
SHEET:
D
C
B
A
D
C
B
A
4
3
2
1
4
3
2
1
A3
DESCRIPTION SCALE:
PERMISSION OF THE AUTHOR.
ANY THIRD PARTY WITHOUT THE DIRECT WRITTEN
C COPYRIGHT PROTECTED AND
THIS DRAWING AND ALL COPIES ARE
PART NUMBER:
0.200 2 OF 2
TOLERANCES:-
X = 0.5
X.X = 0.1
X.XX = 0.05
A3
3rd ANGLE PROJECTION
360 Vision Technology Ltd.
Unit 7, Seymour Court,
Manor Park, Runcorn, Cheshire,
WA7 1SY. United Kingdom.
www.360visiontechnology.com
56.6 REF
56.6 REF
196
417
368
368
165
102.0
32.0
5.5x9.5 SLOT
(x4) ON 80 PCD
50
5.5 (x4) ON
50.8 (2") PCD
NAME:
M3435-A
AFFINITI MANUAL
ISS DATE REFERENCE
A 300915 FIRST ISSUE
300915
DATE :
K.CRAIK
RELEASED:
APPROVED:
ENGINEER:
--
MATERIAL: FINISH:
SCALE 0.3
Wall Mount
MUST NOT BE REPRODUCED OR SHOWN TO
DO NOT SCALE
ALL DIMENSIONS IN MM
REMOVE ALL SHARP EDGES
SHEET:
D
C
B
A
D
C
B
A
4
3
2
1
4
3
2
1
A3
DESCRIPTION SCALE:
PERMISSION OF THE AUTHOR.
ANY THIRD PARTY WITHOUT THE DIRECT WRITTEN
C COPYRIGHT PROTECTED AND
THIS DRAWING AND ALL COPIES ARE
PART NUMBER:
0.250 1 OF 2
TOLERANCES:-
X = 0.5
X.X = 0.1
X.XX = 0.05
A3
3rd ANGLE PROJECTION
360 Vision Technology Ltd.
Unit 7, Seymour Court,
Manor Park, Runcorn, Cheshire,
WA7 1SY. United Kingdom.
www.360visiontechnology.com
196 323
569
102.0
102.0
32.5
7.0 (x4)
ON 101.6 (4") PCD
189
NAME:
M3435-A
AFFINITI MANUAL
ISS DATE REFERENCE
A 300915 FIRST ISSUE
300915
DATE :
K.CRAIK
RELEASED:
APPROVED:
ENGINEER:
- -
MATERIAL: FINISH:
SCALE 0.25 SCALE 0.25
Swan Neck/Pole mount

Afniti Thermal IP Install Manual V2.1.17.3 Page 5
© 360 Vision Technology Ltd.
False Ceiling Mount
3 Connections
The Afniti Thermal IP is tted with a 3 metre CAT5 cable, using the below connections.
RJ45 CAT5, CAT5e, CAT6 Cable Signal
Pin 1 White with Orange Band Tx+
Pin 2 Orange Tx-
Pin 3 White with Green Band Rx+
Pin 4 Blue
Pin 5 White with Blue Band
Pin 6 Green Rx-
Pin 7 White with Brown Band
Pin 8 Brown
The Afniti Thermal IP is tted with a 3 metre power cable, connect the camera to the PSU dome connections.
1 8 8 1
Top View
Front View

Afniti Thermal IP Install Manual V2.1.17.3 Page 6
© 360 Vision Technology Ltd.
MAINS input
230Vac
N
L
E
MAINS FUSE
VDE-PSU
MAINS FUSE = 1.0AF
OUTPUT FUSE
VDE-PSU
FUSE 1 = 1.25AT
VDE-PSU

Afniti Thermal IP Install Manual V2.1.17.3 Page 7
© 360 Vision Technology Ltd.
Afniti Thermal IP Conguration
4 Locating the Afniti Thermal IP on your Network
Default IP Address 192.168.1.187
Subnet 255.255.255.0
Gateway 192.168.1.4
Using the DVR management software or ‘Onvif Device Manager’ (which can be found on the CD supplied or
from the 360 Vision Technology ftp web site) to nd the IP address of the Afniti Thermal IP. Note the ports used
by the Afniti Thermal IP are:-
Protocol Port
ONVIF/HTTP 80 TCP
RTP Stream 1 6970 TCP/UDP
RTCP Stream 1 6971 TCP/UDP
RTP Stream 2 6972 TCP/UDP
RTCP Stream 2 6973 TCP/UDP
RTSP 554 TCP
360 SDK 3600 TCP
360 Event 9001 TCP
5 Connecting to the Afniti Thermal IP
Type in the IP address of the Afniti Thermal IP into the address bar of Windows Internet Explorer and install the
plug-ins as required. The web page of the camera will then appear.
Afniti Thermal IP Web Page Login screen
Enter the User Name (default is admin)
Enter the Password (default is 9999)

Afniti Thermal IP Install Manual V2.1.17.3 Page 8
© 360 Vision Technology Ltd.
If you select the box ‘Remember Password’ it could compromise the security of the Afniti Thermal IP camera.
Select Submit
There are four main tabs on the left of the web page/screen.
1 Live Video
2 Add/Edit Users
3 Settings
4 Maintenance
5.1 Live Video
The Live Video page offers options to:-
• Display all Streams - This will show both streams (if dual streams are enabled).
(See Video - Stream Type - page 10)
• Preset Seek/Dene - This will allow admin and operator user levels to seek or dene presets (Viewer
user level can only seek presets). (See Advanced Features - Presets - page 12)
• Logout - Allows the user to logout of the conguration web pages.

Afniti Thermal IP Install Manual V2.1.17.3 Page 9
© 360 Vision Technology Ltd.
5.2 Add/Edit Users
The Add/Edit Users page, allows the admin user to create both operator and viewer level login details. The
admin user login password, can also be changed here. The web page admin password is also the Onvif admin
password. Care must be taken, when changing the admin password.
There is no way of recovering the Afniti Thermal IP admin password if forgotten.

Afniti Thermal IP Install Manual V2.1.17.3 Page 10
© 360 Vision Technology Ltd.
5.3 Video
The Video page,offers options to setup:-
• Camera - Add or edit the camera name.
• Stream Type - Choice of single or dual video streams.
• Codec Combo - Choose which compression format, the stream will use.
• (See page 20 for table of options).
• Resolution - Set what resolution the stream will use. (See page 20 for table of options).
Stream Tabs, offer options to:-
• Framerate - Congure how many frames per second (fps) the stream uses.
• Bit Rate - Set the bit rate that the stream will use. Type in gure in Kbps. (E.g. 4000Kbps is 4Mbps)
• Rate Control - Congure the rate control of the stream, choices are VBR (Variable), CBR (Constant),
CVBR (Constrained Variable, limited to 8Mbps) and Off.
• Date - Selecting this option will show the date as text on the video stream.
(See section - Date/Time - page 15).
• Time - Selecting this option will show the time as text on the video stream.
(See section - Date/Time - page 15).
• Text - Selecting this option will show the selected text on the video stream. Positions available are top
left or right of the image.
• Detailed Info - This will show the information about the stream on the video.
OK to program the new settings into the Afniti Thermal IP.
Cancel to abandon the changes to the video settings.
Advanced to gain access to advanced stream settings.

Afniti Thermal IP Install Manual V2.1.17.3 Page 11
© 360 Vision Technology Ltd.
5.4 Advanced Video/Stream
Stream 1
IP Ratio/GOP value
(type in a number) 25 (default) E.g. 1 ‘i-frame’ every 25th image.
RTP Block Size 15000 (default) Range 0 (Ethernet MTU), 1440 to 65500
Force I Frame
(Tick box to select Yes)
Yes
No (default) Forces camera to send an ‘i-frame’ when OK is selected.
I Frame Size 99 Range 0 to 99
(average frame size x value/10 = i frame size)
QP Value
(Quantization
Parameter).
Init
Min
Max
-1 (default)
8 (default)
44 (default) For engineers use only.
DO NOT ADJUST.
Always use the default settings.
Encode Preset
Auto (default)
Custom
SVC
Packet Size
(% of Frame Data Value) 100 (default)
OK to program the new settings into the Afniti Thermal IP.
Cancel to abandon the changes to the advanced video settings.
Back to return to the video settings.

Afniti Thermal IP Install Manual V2.1.17.3 Page 12
© 360 Vision Technology Ltd.
5.5 Advanced Features
The Advanced Features page, offers options to:-
• Camera - Cannot be edited, shows label/name given to the camera.
(See section Video - Camera - page 10).
A ‘Preset’ is a stored view. When a preset is dened, it will store the pan, tilt, zoom, focus and iris positions. Use
the up, down left and right buttons to move the camera to the desired position and then use the zoom buttons to
set the image as required.
Set Preset using the following options:-
• Preset - Choose from a list of presets using the drop down box.
• Name - Edit the preset name to suit/help identify the position.
• Type - Options available are:-
Night - Allows different options to be used for the preset when in dark mode.
Simple - For setting a simple preset, no lamp options.
Wiper - Feature not available.
Washer - Feature not available.
Re-Map - Choose which function/preset you want to re-map to the new preset number above.
Tour - Set the preset to start or stop a preset tour.
Mimic - Set the preset to start or stop a mimic tour.
User - Used on systems supporting 360 SDK.
• Function - Function option will change to suit the above type.
• Illumination - Feature not available.
• Intensity - Feature not available.
• Sensor - Presets have the choice of being either colour or mono, when the scene is dark. Feature not
available.
• Focus Range - Sets how the camera will focus when in mono. Options are ambient or IR. Feature not
available.
Use the Seek preset button to test the preset.
Dene preset button to set the above parameters.
Delete preset to remove the preset.

Afniti Thermal IP Install Manual V2.1.17.3 Page 13
© 360 Vision Technology Ltd.
Force Onvif Version
Can be used to change the Onvif version reported by the camera to the VMS, options are:-
• Default - Onvif 2.40
• V2.02
• V2.20
• V2.40
Ok setting and then re-boot camera from web page to apply.
Presets
• Default - Used on certain VMS servers. Uses mix of text and ‘P’ zero-pad number as preset tokens.
• Number only - Used on certain VMS servers. Uses numbers as preset tokens.
• ‘P’ zero-pad number - Used on certain VMS servers. Uses P001 to P360 as preset tokens.
•
Auth
Used on Vicon VMS, allows the anonymous user to set as admin, viewer or operator.
Pan/Tilt Position
Used on VMS systems that apply different Onvif parameters.
Camera Reset
• Power reset - This will reboot the camera, no settings will be lost.
• Factory reset - This will reboot the camera and all the settings, except IP address will be lost.
Select option from the drop down box, and then click on perform reset.
OK to program the new settings into the Afniti Thermal IP.
Cancel to abandon the changes to the advanced feature settings.
5.6 Camera
• Camera - Cannot be edited, shows label/name given to the camera.
(See section Video - Camera - page 10).
The Camera page, offers options to:-
• Digital Zoom - Feature not available.
• White Balance - Feature not available.
• Wide Dynamic range - Feature not available.

Afniti Thermal IP Install Manual V2.1.17.3 Page 14
© 360 Vision Technology Ltd.
• Sun Shield - Feature not available.
• Auto Flip - Feature not available.
• Zoom speed - Feature not available.
• Attack Detect - Feature not available.
• Proportional Zoom - Feature not available.
• Freeze Preset - Feature not available.
• Day Aperture - Feature not available.
• Sensor Frame Rate - Feature not available.
• Upright Mount - Can be used to ip the image, so the camera can be used on a pole or a ceiling.
• AF/AI when PTZ - Feature not available.
• Power on Park - Feature not available.
• Fast Shutter - Feature not available.
• Pan/Tilt Speed - Feature not available.
• Night Changeover - Feature not available.
• Custom On Level - Feature not available.
• Custom Off Level - Feature not available.
• Night Brightness - Feature not available.
• Night Illumination - Feature not available.
• Night Intensity - Feature not available.
• Night Sensor - Feature not available.
• Night Focus Range - Feature not available.
• Night Focus Sens - Feature not available.
• Night Aperture - Feature not available.
• Night Noise Reduction - Feature not available.
• Night Presets - Feature not available.
• Thermal Gain Mode - Automatic, Low Gain Only, High Gain Only, Manual.
• Thermal Gain Control - Histogram, Linear and Auto Bright.
• Wiper Rest Time - Feature not available.
• Wiper On Time - Feature not available.
• Auto Dimming - Feature not available.
• White Lamps - Feature not available.
• White Timer - Feature not available.
• White Exclusion - Feature not available.
• Home Action - This sends the camera to a preset after a period of inactivity.
• Home Number - This sets the preset, the camera will go to.
• Home Timer - This sets the time for the period of inactivity.
• Steady Shot - Feature not available.
• Status Refresh Rate - Can be used to help speed up telemetry control of the camera, by slowing
down the refresh rate.
• Thermal Colour - White Hot, Black Hot, Fusion, Ice and Fire, Rain, Red Hot, Green Hot, Rainbow,
Globow, Ironbow1, Ironbow2, Sepia, Colour1 and Colour2.

Afniti Thermal IP Install Manual V2.1.17.3 Page 15
© 360 Vision Technology Ltd.
5.7 Date/Time
• Camera - Cannot be edited, shows label/name given to the camera.
(See section Video - Camera - page 10).
• Time in Camera - Cannot be edited, shows the current date and time of the camera.
The Date/Time page, offers options to:-
• Set Manually - Input time/date manually.
• Synchronize with Computer Time - Put a tick in the button and then click OK, to apply the local
computer date/time to the camera.
• Synchronize with SNTP Server - Put a tick in the button and then click OK, to apply the local server
date/time to the camera.
• SNTP Server - Input the address of the time server required, default is pool.ntp.org.
• Time Zone - Select time zone to suit the location of the camera/system.
• Date Format - Select from the drop down the date format.
• Time Format - Choose 24hr or 12hr time display.
• Date Position - Choose date text to bottom right or left of the image.
• Time Position - Choose time text to bottom right or left of the image.
(See section Video - Stream Tabs - page 10).
NTP Calibration
This is used to calibrate the codec clock to a SNTP server so that the codec time is more accurate.
• Start - Click on this option to start the process. Synchronize with SNTP Server option must be
selected with access to the SNTP server. The process takes approx 20 minutes.
• Refresh - Use this option to manually refresh the web page to show how much of the process has
been done, or if it is complete.
OK to apply the new settings into the Afniti Thermal IP.
Cancel to abandon the changes to the date/time settings.

Afniti Thermal IP Install Manual V2.1.17.3 Page 16
© 360 Vision Technology Ltd.
5.8 Network
• Camera - Cannot be edited, shows label/name given to the camera.
(See section Video - Camera - page 10).
The Network page, offers options to:-
• DHCP Enable - Allows the camera to be set using a dynamic IP address.
• IP Address - Input a static IP address, if DHCP is not used.
Note: Power reset required to change camera IP address.
• Netmask - Input the Network Subnet Mask.
• Default Gateway - Input the Network Gateway.
• Primary Name Server - Input the Domain name server, if required.
• MTU Size - Option to change the MTU size, default is 1500 bytes.
RTSP Tab - (See Stream Tables - page 20).
Tick the box to enable ‘multicast’. If the box is not ticked then ‘unicast’ is selected.
• Multicast Stream 1 - Set IP address and port for stream 1.
• Multicast Stream 2 - Set IP address and port for stream 2.
RTSP protocols allow ‘multicast’ or ‘unicast’ transmission. In addition to the ‘multicast’ feature being available on
the Afniti Thermal IP, the ‘multicast’ feature must also be available on the receiving device.
Unicast
If lots of receivers (users) want to receive video streams from the Afniti Thermal IP, each receiver will have
a separate video stream. This would increase the network bandwidth used. E.g. ve users would require ve
video streams, that typically will require ve times the bandwidth.
Multicast
If the receivers of the video streams are suitable for using ‘multicast’ and the video streams will all have the
same format, then it may be possible to use ‘multicast’. In this mode, the CODEC in the Afniti Thermal IP
chooses a ‘new UDP address’ (Typically an address which is outside the normal range of addresses for the
network to which the Afniti Thermal IP is connected) and sends a video stream to the ‘new UDP address’.
Multiple receivers can then access this single video stream. Consequently the bandwidth that is required by the
Afniti Thermal IP is typically reduced to the single video stream.

Afniti Thermal IP Install Manual V2.1.17.3 Page 17
© 360 Vision Technology Ltd.
When using ‘multicast’ all intermediate network-switches and routers must be set to allow the stream from the
‘new UDP address’ to be routed correctly.
OK to apply the new settings into the Afniti Thermal IP.
Cancel to abandon the changes to the network settings.
5.9 Maintenance
• Camera - Cannot be edited, shows label/name given to the camera.
(See section Video - Camera - page 10).
• Firmware - Current rmware loaded onto the camera.
• Hardware - Current mainboard software loaded onto the camera.
• Storage - Used and free space on the memory device. Used for the rmware update process.
• Format - You can use this option to format the storage device. Please stay on the web page while it is
doing this. Once formatted the Unmount button will show as mount. Use this to mount the device so
that it can be used by the camera.
• Unmount - Select this option to unmount the storage, once you have conrmed this is what you want
to do it will report back that the process is successful.
Event logs
• System Log - Currently not available.
• Access Log - Currently not available.
Camera Log
• Active Connection log - Currently not available.
• Current Parameter log - View - Selecting this option shows the current stream settings.
Save - Allows the current camera stream settings to be copied and then
pasted as a text le.
Clear - Selecting this option will default the Afniti Thermal IP camera
settings. Admin login details are required to perform this action.

Afniti Thermal IP Install Manual V2.1.17.3 Page 18
© 360 Vision Technology Ltd.
Camera Maintenance
• Firmware - Browse to codec le and then click on open. The camera codec will then be updated. The
Afniti Thermal IP camera will re-boot once the update has been performed.
DO NOT interfere with this process as it may stop the camera from working.
Contact 360 Vision Technical Support for the link to the codec update les.
6 Network Settings Recovery
When network settings are changed, the IP address, Net Mask and Gateway are validated before they are
saved. However if the settings are such that the Afniti Thermal IP has settings which mean that it cannot
be seen on the user’s network, it may become necessary to use the ‘Network Settings Recovery’ feature as
described below.
The ‘Network Settings Recovery’ IP address may conict with an IP address that is already dened on the
network, it may be necessary to disconnect the Afniti Thermal IP from the network and control it locally using a
network connection to a laptop so that the IP address can be set to a suitable setting before the Afniti Thermal
IP is reconnected to the main network.
Procedure for ‘Network Settings Recovery’
Disconnect the Afniti Thermal IP from the network, until process is complete.
Turn power to the Afniti Thermal IP OFF for 3 seconds.
Turn power to the Afniti Thermal IP ON for approx. 1 minute.
Repeat the above three times.
On the nal power ON, leave the power switched on for at least 5 minutes to allow the Afniti Thermal IP to
initialise. (See section Locating the Afniti Thermal IP on your network - page 7).
7 Special Presets
Thermal Camera
Seek 102 Digital Zoom Off
Seek 103 Digital Zoom x2
Seek 104 Digital Zoom x4
Seek 105 Display Blue Spot, Read Spot Temperature
Seek 106 Remove Spot Temperature
Seek 107 Turn Off all thermal alarms
Seek 108 Perform FFC

Afniti Thermal IP Install Manual V2.1.17.3 Page 19
© 360 Vision Technology Ltd.
8 Important - Care of Painted Surfaces
The powder coating applied to the Afniti Thermal IP external housing is recognised as being in the forefront
for quality and nish. However, in order to preserve the aesthetic nish it is recommended that the coating is
regularly cleaned.
Regular cleaning on a maximum three month interval, using warm and mild detergent must be undertaken.
Abrasive cleaners including strong solvent must NOT be used at any time.
In areas where the coating may come in contact with concentrated atmospheric pollutants [marine, chemical
and especially bird droppings] it would be prudent to clean more frequently e.g. monthly.
Full documentation of the cleaning schedule MUST be maintained to ensure that a warranty claim can be
considered.
If damage occurs to the coating (e.g. the Afniti Thermal IP is dropped, scrapped etc), repairs MUST be carried
out immediately.
When the Afniti Thermal IP is installed in areas where there is a high risk of damage from birds or their
droppings, additional precautions and measures should be used to keep the birds away from the Afniti Thermal
IP e.g. t anti-bird spikes.
9 Storage and Handling
Afniti Thermal IP should be handled with care and must not be dropped. When Afniti Thermal IP are being
stored before installation they should be kept in the transit packaging and located in a dry indoor environment
preferably between 1°C and 35°C which is dry and dust free. Humidity should such that water vapour is non-
condensing. Afniti Thermal IP can be allowed to be outside this range for short periods of time (24 hours
maximum) for transport (e.g. in aircraft or vans) but must never be allowed to be outside the normal operating
temperature range of -40°C to +60°C even during storage. Before installation the Afniti Thermal IP should be
clean and dry. (If necessary it should be cleaned and dried taking care that the glass is not scratched).
10 Warranty
This information and/or any technical information – whether received verbally or writing – is given in good faith
but without warranty and this also applies where proprietary rights of third parties are involved. The information
provided does not release you from your obligation to check its validity and to test the products suitability for
the intended purpose(s) and use(s). The application, use and installation of the products either in isolation or in
conjunction with other products used, provided and installed by you on the basis of the technical advice issued
are beyond our control and therefore remain entirely your own responsibility.
©2015 ALL DESIGNS AND SPECIFICATIONS ARE SUBJECT TO CHANGE WITHOUT NOTICE

Afniti Thermal IP Install Manual V2.1.17.3 Page 20
© 360 Vision Technology Ltd.
11 Stream Resolutions & RTSP Links
Resolution
MJPEG
(rtsp://ipaddress/mjpeg) D1 (720 x 576)
Resolution
H.264
(rtsp://ipaddress/h264main) D1 (720 x 576)
Resolution
MPEG4
(rtsp://ipaddress/mpeg4main) D1 (720 x 576)
Resolution
H.264 MJPEG
H.264 (rtsp://ipaddress/h264main)
&
MJPEG (rtsp://ipaddress/mjpeg)
D1 (720 x 576) D1 (720 x 576)
Resolution
MPEG4 MJPEG
MPEG4 (rtsp://ipaddress/mpeg4main)
&
MJPEG (rtsp://ipaddress/mjpeg)
D1 (720 x 576) D1 (720 x 576)
Resolution
Dual MPEG4
(rtsp://ipaddress/mpeg4main)
(rtsp://ipaddress/mpeg4sub)
D1 (720 x 576) D1 (720 x 576)
D1 (720 x 576) QVGA (432 x 240)
Resolution
H.264 MJPEG
H.264 (rtsp://ipaddress/h264main) &
MPEG4 (rtsp://ipaddress/mpeg4sub) D1 (720 x 576) D1 (720 x 576)
Resolution
Dual H.264
(rtsp://ipaddress/h264main)
(rtsp://ipaddress/h2644sub)
D1 (720 x 576) D1 (720 x 576)
D1 (720 x 576) QVGA (432 x 240)
Table of contents
Other 360 Vision Security Camera manuals

360 Vision
360 Vision Vision i Dome Instruction sheet

360 Vision
360 Vision Predator Ultra Instruction sheet

360 Vision
360 Vision Illuminator HD Instruction sheet

360 Vision
360 Vision Predator Ultra Instruction sheet

360 Vision
360 Vision Invictus Hybrid Manual

360 Vision
360 Vision Eclipse HD Stainless Steel Instruction sheet

360 Vision
360 Vision Visiondome-HD Instruction sheet

360 Vision
360 Vision Invictus Hybrid Instruction sheet

360 Vision
360 Vision Visiondome-VR Instruction sheet

360 Vision
360 Vision Predator-Dualview Manual