5
ENGLISH
CAUTION
To reduce the risks associated with tripping, falling andtipping:
• Route air hoses and any extension cords away from trac areas, sharp edges, moving parts and hot surfaces. Do not
pull on air hoses to move thecompressor.
To reduce the risks associated with hazardous airpressure:
• Care for the spray gun per 3M instructions in the applicable owner’smanual.
• Ensure air input pressure and all applicator system regulators are properly
adjusted per material’s recommendations prior to eachuse.
• Always follow required air pressure relief procedures for relieving air pressure from the spraygun.
CAUTION
To reduce the risks associated with impact from an atomizing headprojectile:
• Always inspect to ensure that the atomizing head is securely in place and test the spray gun for possible obstruction
prior to eachuse.
To reduce the risks associated with sharppoint:
• Do not touch the sharp end of the fluid needle when exposed and handle fluid needles carefully duringreplacement.
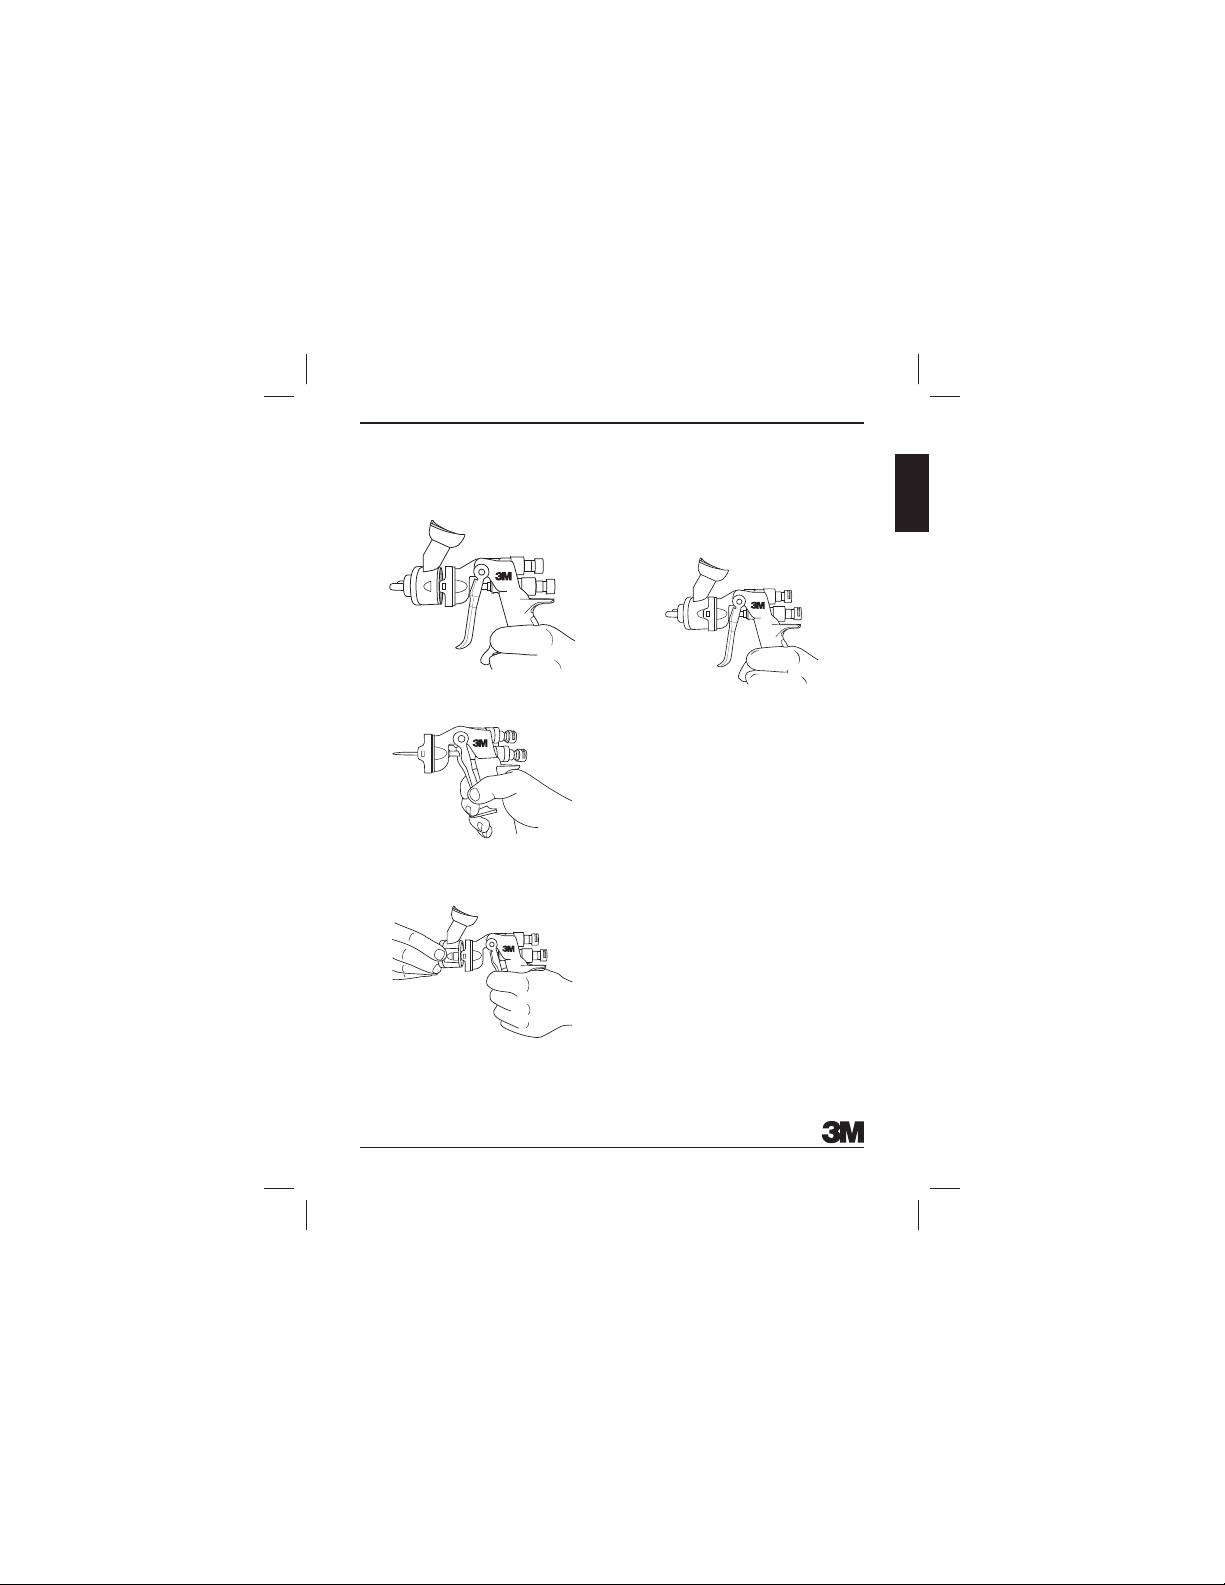
To reduce the risks associated with musclestrain:
• Avoid using spray equipment continuously without taking occasionalbreaks.
To reduce the risks associated with propertydamage:
• Do not maintain or service the spray gun other than as instructed in the user’smanual.
To reduce the risks associated with environmentalcontamination:
• Spray materials, solvents, other cleaning materials and electronic components must be disposed of per federal, state
and local regulations.
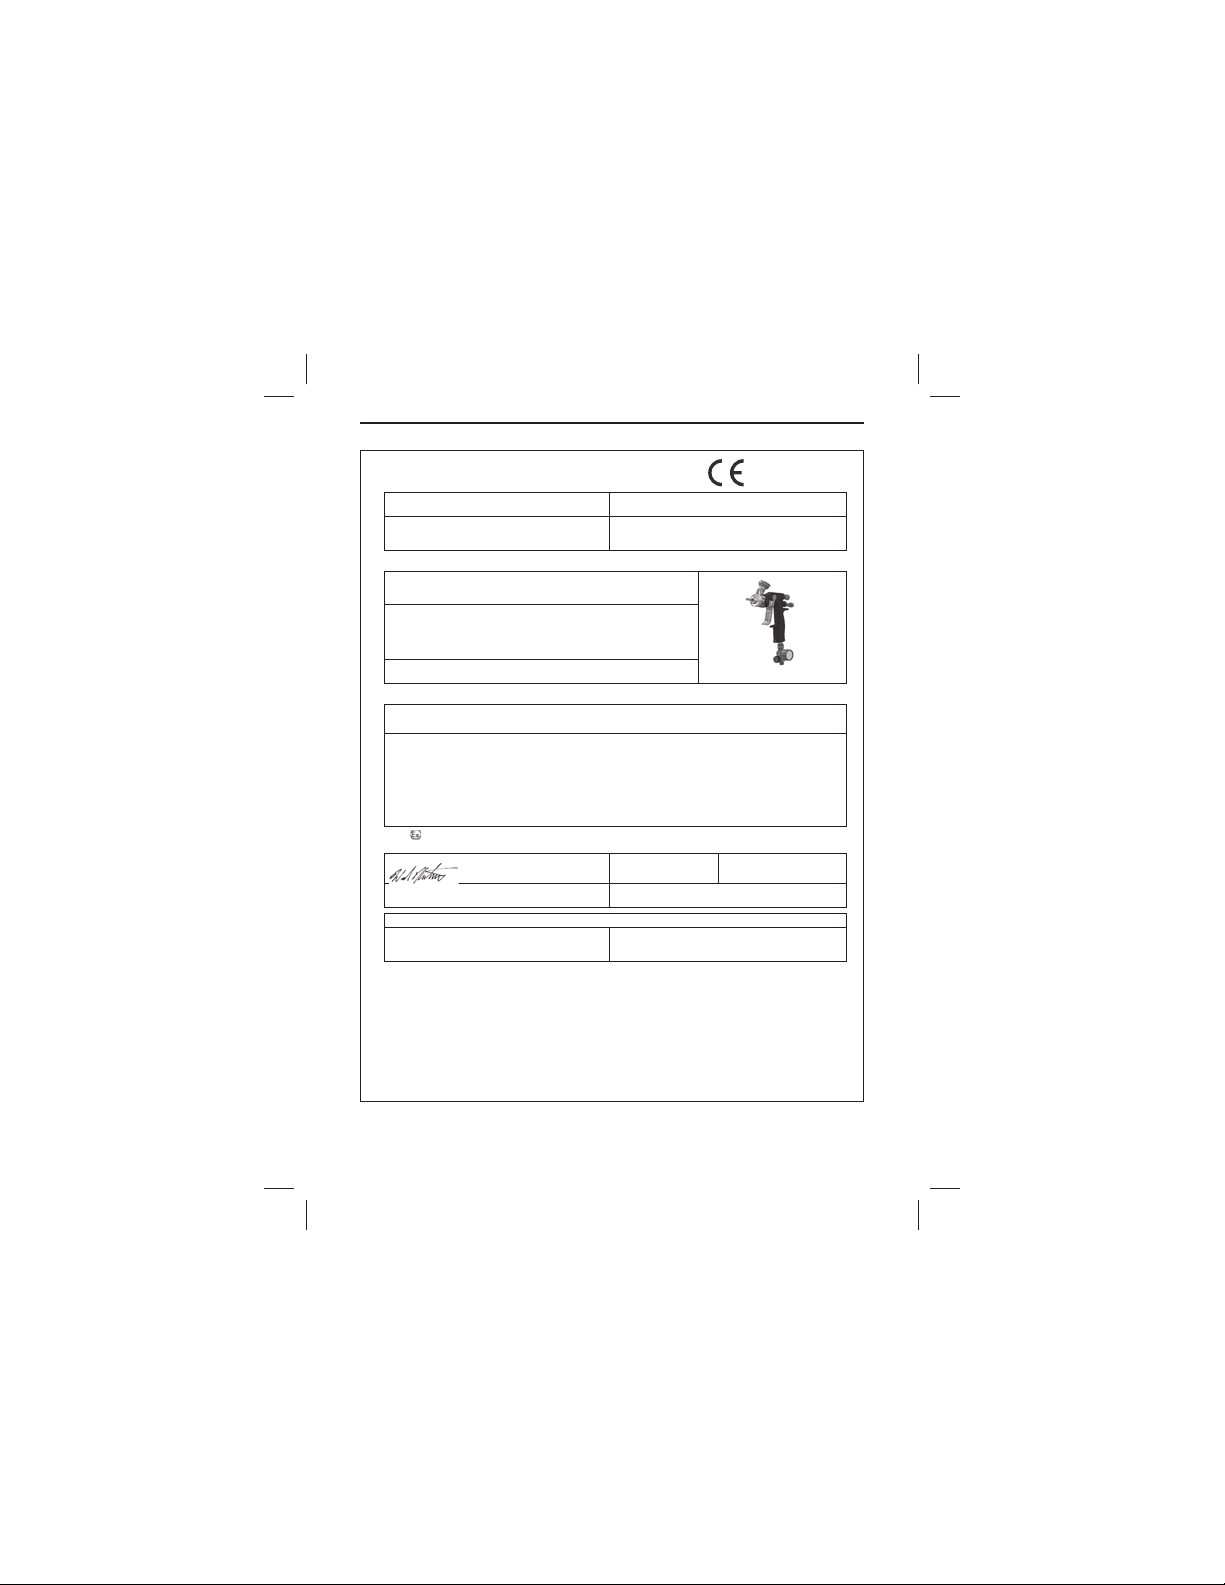
TechnicalSpecifications:
Operator Hand/Arm Vibration level: less than 2.5m/s²
Declared vibration level in accordance with EN 12096, measurements carried out in accordance with standard EN ISO
28662-1 and EN ISO20643.
Declared Dual-Number Noise Emission Values according to EN ISO4871
A-WEIGHTED EMISSION SOUND PRESSURE LEVEL AT THEWORKSTATION:
Measured value: LpA = 71,4 dB(A) (ref20μPa)
Uncertainty: KpA = 2,5dB
A-WEIGHTED SOUND POWERLEVEL:
Measured value: LWA = 83,1 dB(A) (ref 1pW)
Uncertainty: KWA = 2,5dB
Values determined according to noise test code EN 14462 using the basicstandards
EN ISO 11201 - grade 2, and EN ISO3741
Usage Rated - II 2G Ex h IIB T4
NOTE: The sum of a measured noise emission value and its associated uncertainty represents an upper bound of the range
of values which can occur in themeasurements.
IMPORTANT NOTE: The noise and vibration values stated are from laboratory testing in conformity with stated codes and
standards and are not sucient risk evaluation for all exposure scenarios. Values measured in a particular work place may
be higher than the declared values. The actual exposure values and amount of risk or harm experienced to an individual
is unique to each situation and depends upon the surrounding environment, the way in which the individual works, the
particular material being worked, work station design, as well as upon the exposure time and the physical condition of the
user. 3M cannot be held responsible for the consequences of using declared values instead of actual
exposure values for any individual risk assessment.
For the most up-to-date version of this manual, please visit your local 3M Collision. website.